Deleted
Deleted Member
Posts: 0
|
Post by Deleted on Feb 25, 2012 13:27:03 GMT
Whilst attending the Milton Keynes show a couple of weeks ago I bought a new book on weathering techniques ... 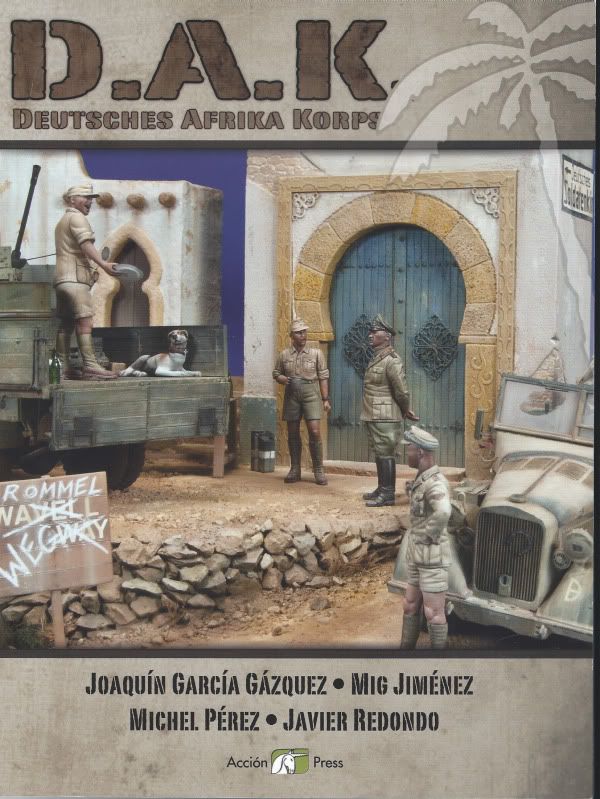 ... it's from the MIG stable and has a distinct military theme. I was looking for a spark to get my juices flowing for a display at the forthcoming 'War and Peace' show at Beltring in Kent in July. I visit this show every year and as part of the show there is a model show which means I sit in the modelling marquee for 5 days just enjoying myself fiddling with plastic. This year however, I wanted a new display, something different. I've already started one detailed project, the Paris TN6C bus which was converted to a German medical vehicle but this project needs a bit more research so I need something quick and easy to get stuck into. With this in mind, whilst attending the Huddersfield show last weekend I found a kit I'd been wanting to build for a while. It was at the right price at the right time ... 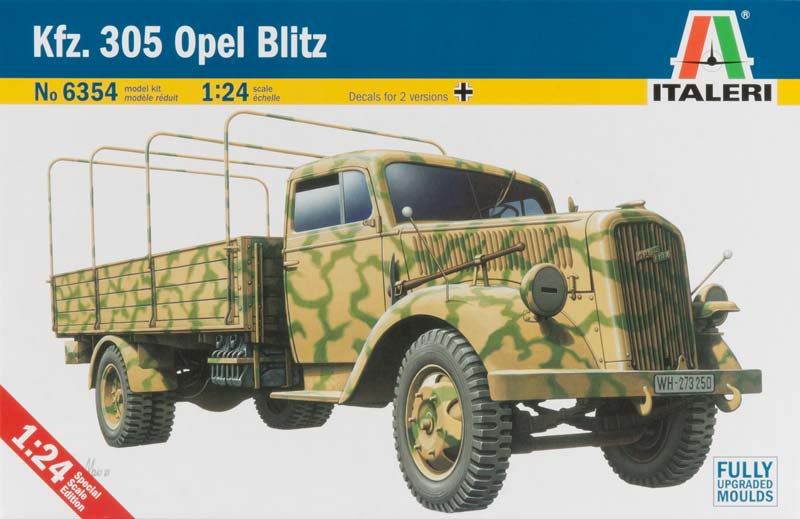 ... it's basically the old Italeri Opel Blitz (kit 773) with a few new military bits and pieces added to the sprues. So, what I want to do over the next couple of weeks is to start the kit and finish it and apply a bit of weathering in the process. I'm going to attempt to follow the article and also use a few of my own techniques at the same time. I've started the chassis which will be finished in a couple of days and then I'll treat the chassis to a primer and two separate but different colours to represent a repaint and worn paint scheme. |
|
Deleted
Deleted Member
Posts: 0
|
Post by Deleted on Feb 25, 2012 13:32:04 GMT
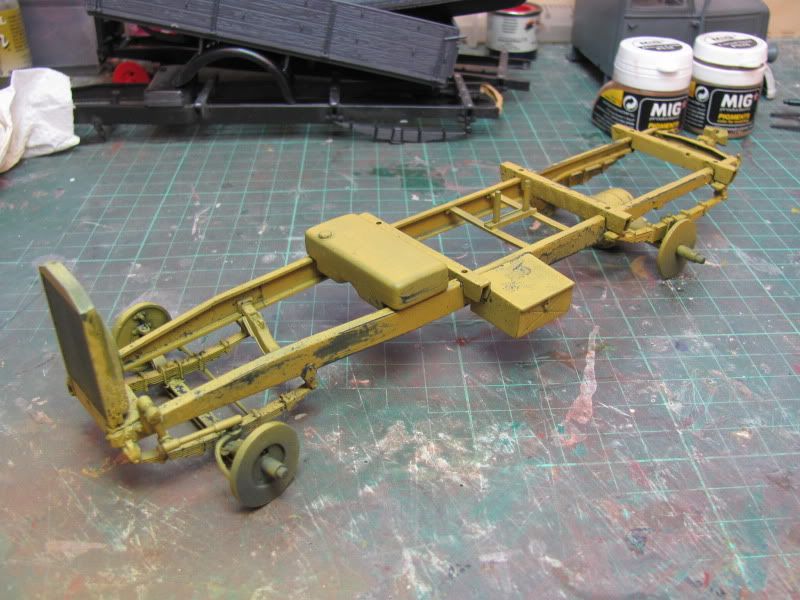
Here's the basic chassis with its first coat of paint ... 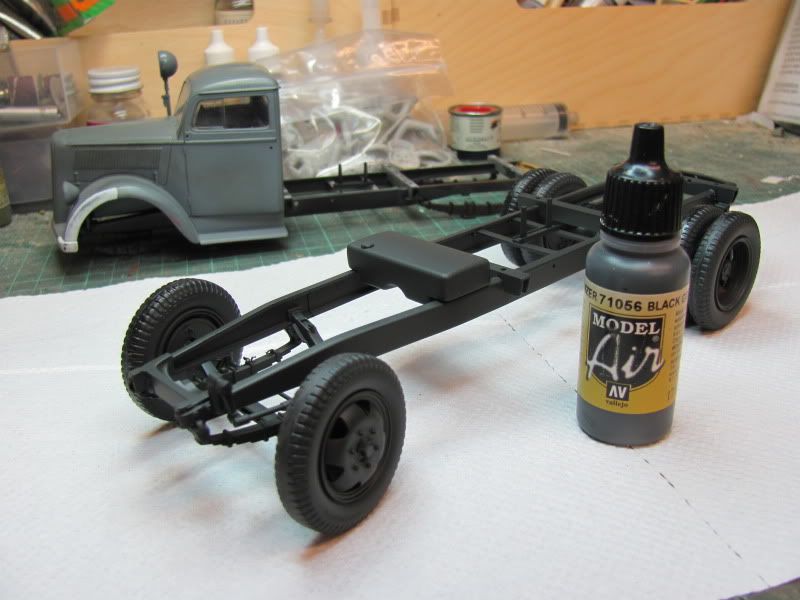 ... rather than use Halfords primer and then apply two top coats of paint, I'm using this military grey colour as the primer. The colour is Vallejo Air 71056 (Black/Grey)I need to add a tool box to the chassis and possibly the radiator and then spray them, I wanted to give the chassis an even coat of paint that's why I didn't add the accessories. When the basic undercoat is dry I'm going to add salt in various areas and allow that to dry thoroughly before spraying the lighter sand coloured paint on the chassis, and then I'll continue with degrading the chassis. For those of you considering buying this kit, I thought I'd tell you about the additions which have been made to the original kit. This is basically the previous offering (kit 773) with a few additions. There's a new set of wheels with 6 studs, the original 8 stud wheels are also included with the kit, unfortunately the spare wheel still has 8 studs, ah well! There are two new sprues which include the pick and shovel which is carried on the front of the vehicle, together with the associated carriers. There are also two width markers for the front wings, a Notek lamp, headlamp covers, jerry cans and carriers and 4 canvas tilt hoops c/w supports. Unfortunately Italeri have not taken the opportunity to provide a decent set of military pattern tyres, they're still the same crappy offerings supplied with the original kit. I'll be splitting the build and paint into three sections ... chassis, cab and rear cargo bed. I'm having a full day in the workshop on Sunday, hopefully i'll have a little more progress to report. |
|
Deleted
Deleted Member
Posts: 0
|
Post by Deleted on Feb 26, 2012 13:17:12 GMT
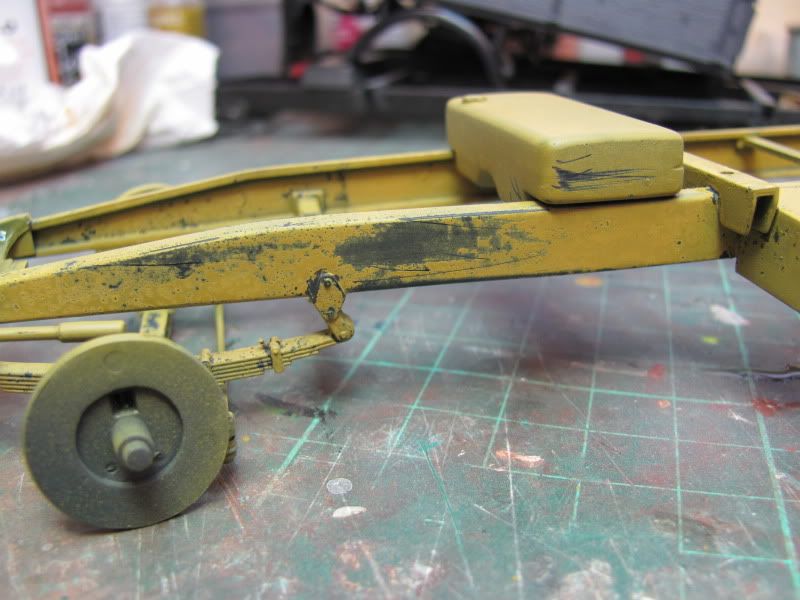
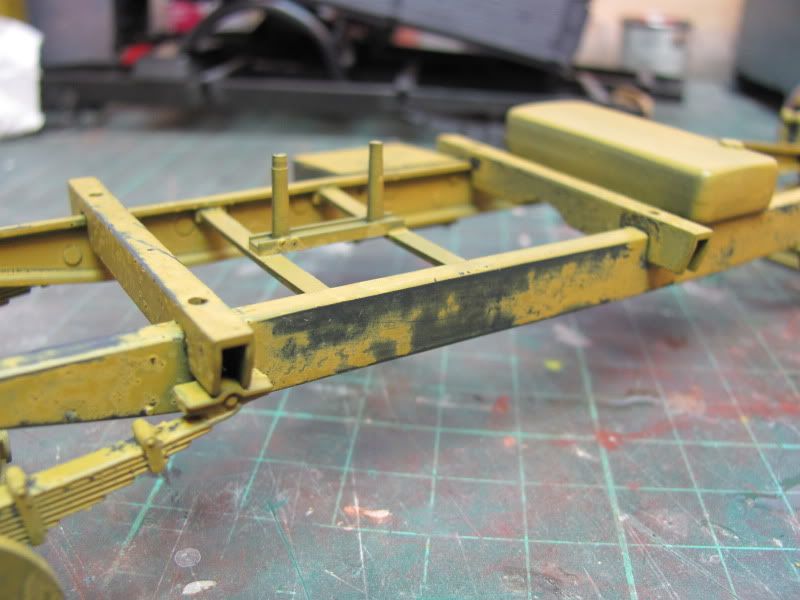
Quick progress report whilst the second coat dries. I've used a thin salt wash on the chassis over the first coat. When dry, the salt provides a barrier between the first and second coats, the idea is to show a coat of paint which has been worn away by dust, sand and heavy use. Here's the chassis as the salt is drying ... 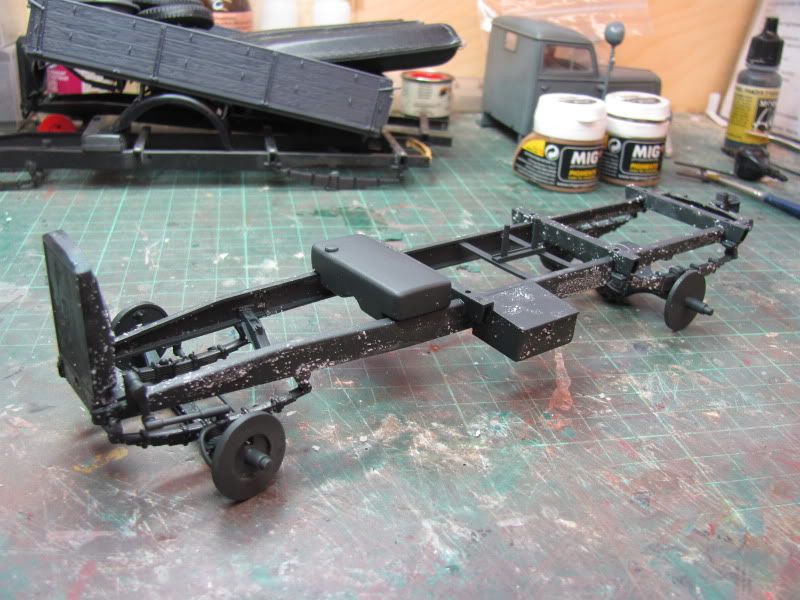 ... I allow the salt to dry naturally for a while and then force dry it with a miniature hair dryer. Once totally dry I applied the second coat of paint ... 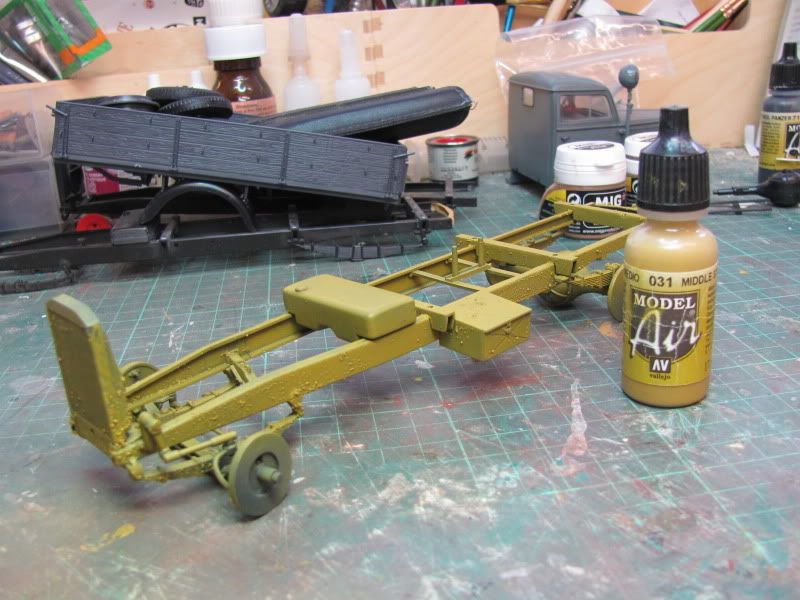 ... in this instance it's Vallejo 'Mid Stone', a little lighter than the shade recommended but once it's dry and had a darker filter applied, it should be approximately the correct colour. |
|
Deleted
Deleted Member
Posts: 0
|
Post by Deleted on Feb 26, 2012 13:20:08 GMT
|
|
Deleted
Deleted Member
Posts: 0
|
Post by Deleted on Feb 26, 2012 14:58:02 GMT
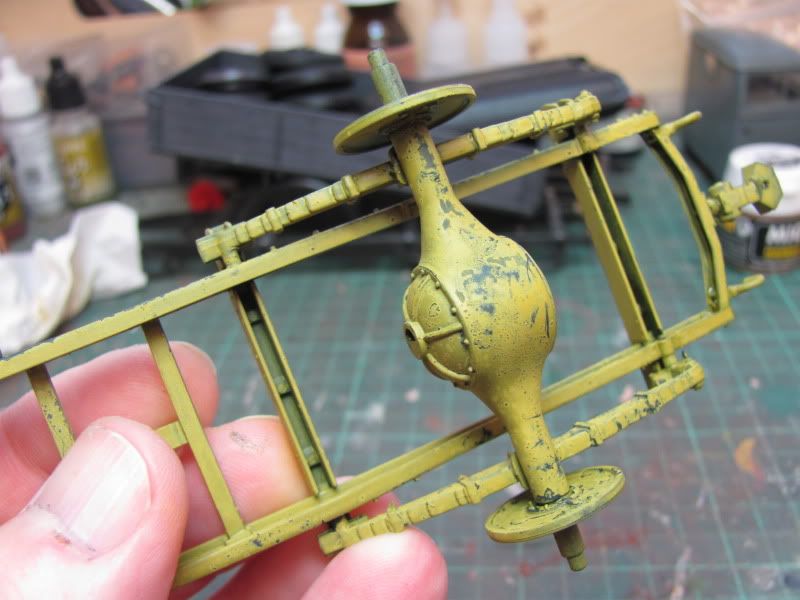
A little more progress, the tyres have been painted and the wheels placed on the axles but not yet glued ... 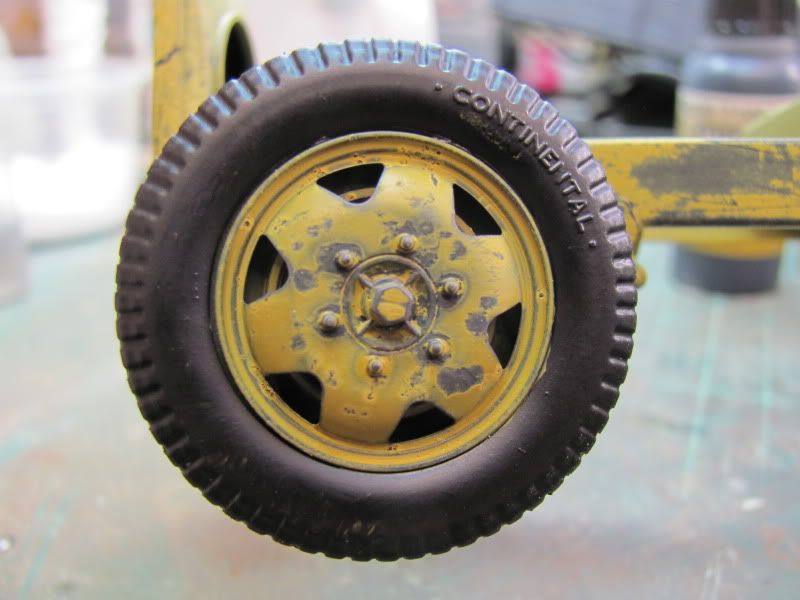 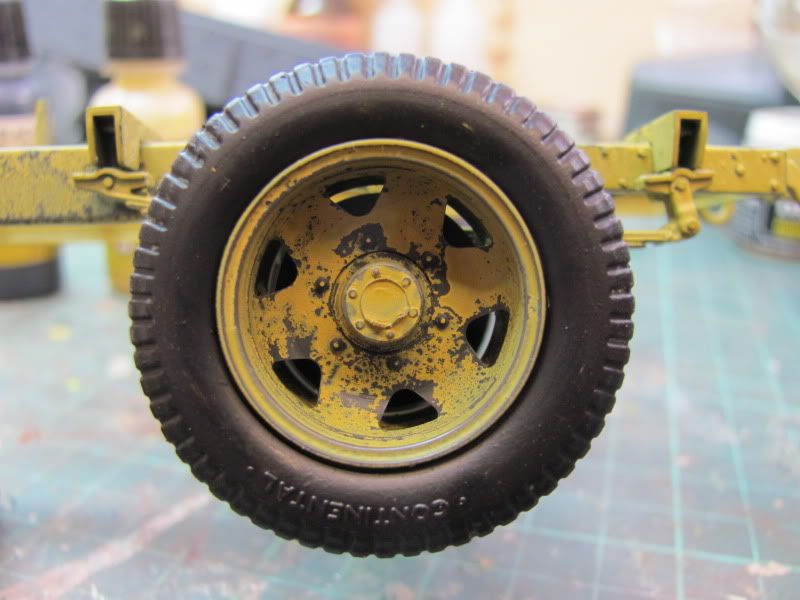 ... and here's how it looks at the moment ... 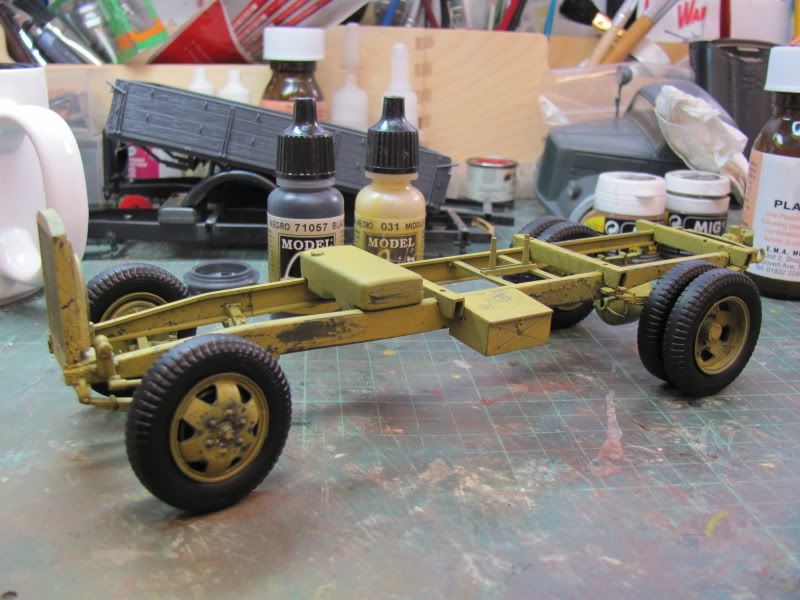 The reason for painting the tyres is to give me a clear canvas for the next stage which is mud / sand dirt, dust and rust, I'll also be using an HB pencil to add scratches, more soon! |
|
Deleted
Deleted Member
Posts: 0
|
Post by Deleted on Mar 2, 2012 22:45:30 GMT
I managed to cure all the little problems caused by the white spirit in the weathering solution attacking the glue, the chassis is back together again and stable. Just a warning about using some of the AK and SIN Industries weathering products, they're white spirit based and as such should be used sparingly, plastic glue and white spirit don't get along, you've been warned. With that in mind, I've used two weathering products to give me the effect I want ... 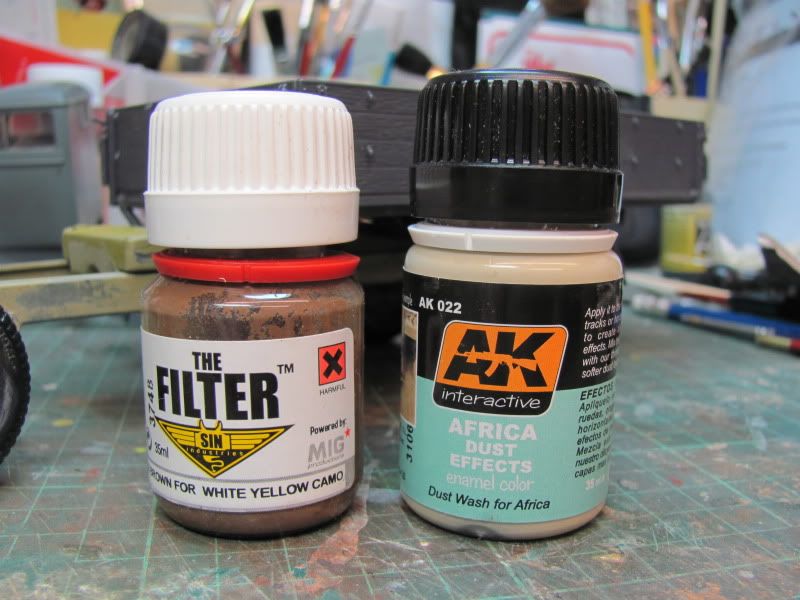 ... the first is a filter, used to tone down the original effect of the paint used on the chassis, the second is a dust effect specifically for the area the vehicle will be used, in this case North Africa. I now have a weathered rolling chassis ... 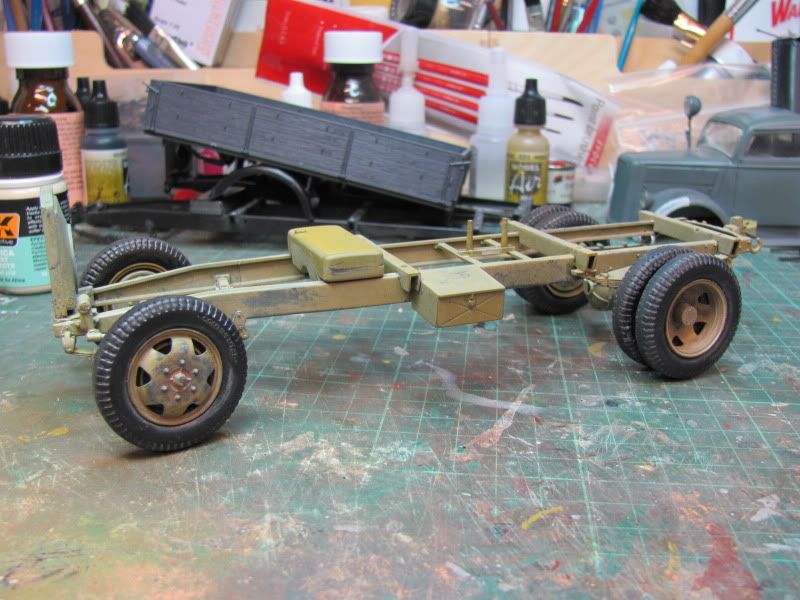 So, next step is to build the engine and add the drive train to the chassis. |
|
Deleted
Deleted Member
Posts: 0
|
Post by Deleted on Mar 2, 2012 22:53:07 GMT
According to the reference material I have the engine was either black or grey, however, due to engine swaps and field repairs, the engine could be a multitude of colours so that's what I have in mind. The main engine block will be black, the rocker cover will have the same colour as the vehicle and the sump tray will be red. The colours will not clash however as the engine will be dirty and weathered. More soon!
|
|
Deleted
Deleted Member
Posts: 0
|
Post by Deleted on Mar 4, 2012 16:21:35 GMT
A couple of hours in the workshop this morning and the engine is taking shape. As it won't be seen on this build, I'm not going to plumb and wire it, simply detail the paint. So, first things first, a quick coat of primer ... 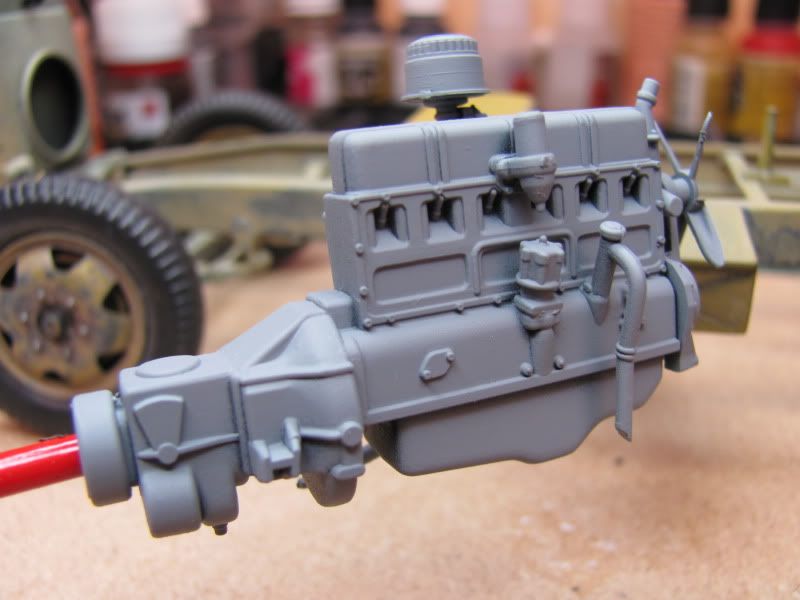 ... this was followed by a coat of Vallejo Black / Grey, the same colour as the original paint on the chassis ... 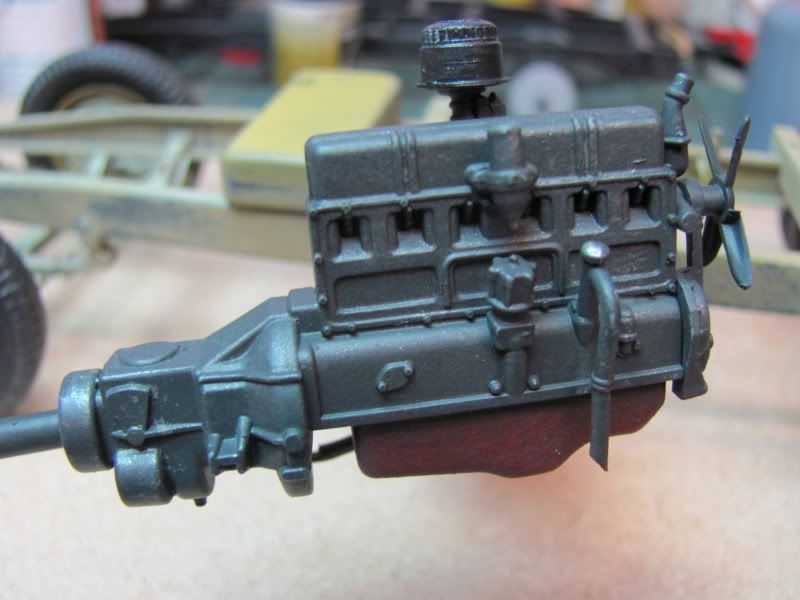 ... I decided to paint the sump pan a different colour just to add a bit of interest. The engine was then dry brushed with Vallejo Oily Steel to show a bit of highlight. This was followed with a mixture of MIG rust pigments to detail the exhaust manifold ... 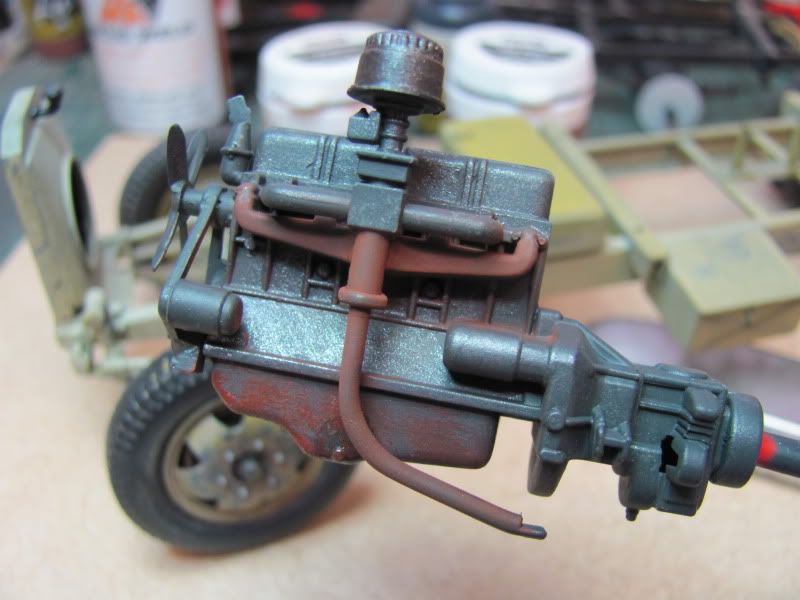 ... apart from a little touching up here and there, the engine is done and will be set in place along with the drive shaft later this evening. Time for a coffee and something to eat, more later. |
|
Deleted
Deleted Member
Posts: 0
|
Post by Deleted on Mar 4, 2012 21:40:27 GMT
Last update for today. The engine has been fitted in place ... 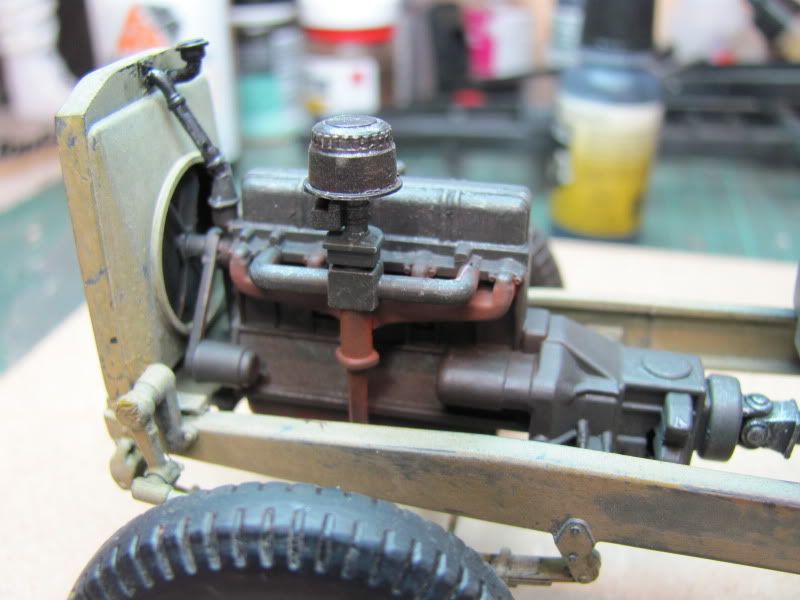 ... a little more weathering has been added including a wash with oil stain ... 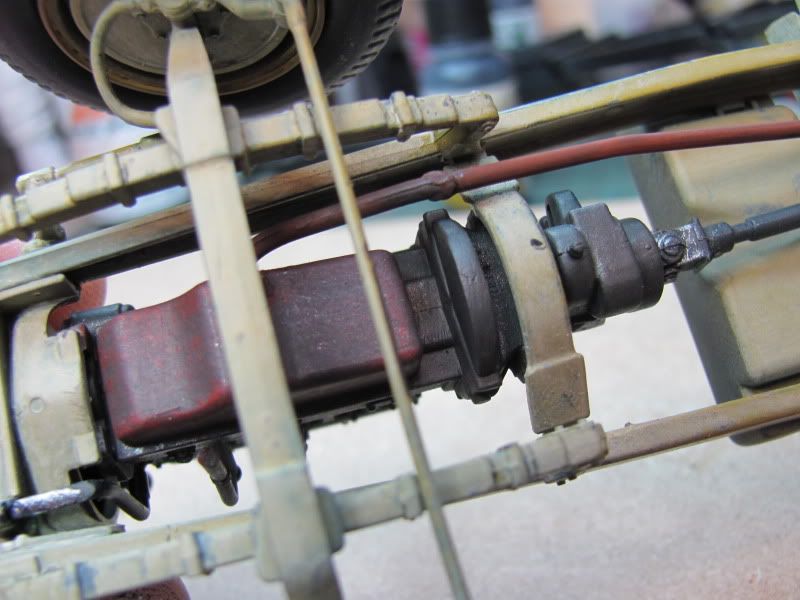 ... the drive train has been painted and weathered as has the exhaust system. Next stage is the cab, more soon. |
|
Deleted
Deleted Member
Posts: 0
|
Post by Deleted on Aug 4, 2013 23:31:07 GMT
|
|
 Members' Forum")