|
|
Post by Paul Senter on Feb 9, 2008 17:17:07 GMT
Once I have finished the Rail GB, the next project will be the FM 1/48 Henschel HS 126. The 126 was a dedicated Luftwaffe recce bird and Army liaision aircraft and utilised a handheld camera operated by the gunner. Its low speed and STOL characteristics made it invaluable during the early part of the war but was based on an obsolete design using a high 'parasol' type wing. Its low speed made it easy prey for modern fighters however it remained in service throughout the war, particularly on the Eastern front.
The kit itself is a shocking example of 'how not to mould a kit' FM have some real explaining to do. Every piece is covered in flash, the white metal pieces are unrecognisable and resin has a number of bubbles throughout. This will truly be a test of mind over matter.
I hope to explain each step so that this WIP will hopefully show every technique I use for anyone who may be interested. The colour scheme will be based on an aircraft operating on the eastern front and as such will have a weathered winter coat over its normal colours, not something I have done before. Phots and text to follow.....
Paul
|
|
|
|
Post by COLIN SHIPTON-KNIGHT on Feb 12, 2008 19:56:25 GMT
Paul,
Only just cast my eyes over the first "FM" kit I have ever seen......
Wow there is a lot of 'flash' isn't there.....and the price was a bit steep as well, you would have to want to do the model......
and pay the price....
Surprised......! Does make you wonder what 'FM' stands for..?
Particularly as they say they are going to produce something,
(RF 84), that I want to try this year.
Colin
|
|
MikeC
Moderator   Too many SIGs for my own good!
Posts: 804
|
Post by MikeC on Feb 14, 2008 21:57:20 GMT
... Does make you wonder what 'FM' stands for..? Colin I believe it was our very own Julien provided a translation of "Fonderie Miniatures" on another forum - what was it Julien? |
|
|
|
Post by Julien on Feb 14, 2008 23:06:33 GMT
Fonderie Miniatures is French for badly fitting expensive resin kit ;D    Colin, stick with the Heller RF-84 is an olde but a goode  Julien |
|
|
|
Post by COLIN SHIPTON-KNIGHT on Feb 15, 2008 17:54:27 GMT
Thanks to you Julien,
I can........ thanks again.
Not impressed by "FM"
Colin
|
|
|
|
Post by Paul Senter on Feb 18, 2008 12:05:55 GMT
Colin
...me neither.
Have managed to put the cockpit together and glue the sidewalls to the fuselage. I didn't bother with the instructions as they are just a vague representation of where the bits should go - besides it is not overly complicated.
One omission found so far is the lack of control stick! I actually had the gunners seat glued in place before I realised my mistake - again the instructions gave a poor representation.
I fabricated a control stick using the wheel from the 262 I did last year and a gear leg from a 1/72 Bf109 - looks surprisingly good!
The cockpit has been primed and as soon as I get some colour on it ill start posting pics. This is going to be a tough one - patience...patience.
Paul
|
|
|
|
Post by Paul Senter on Feb 24, 2008 23:00:34 GMT
Finally, after much dry fitting, sanding, fitting, frustrated howling at the Gods and a bit more sanding and dry fitting, I have managed to get some paint down. Fuselage with resin side panel painted in RLM 02 (Vallejo Model Air 044) 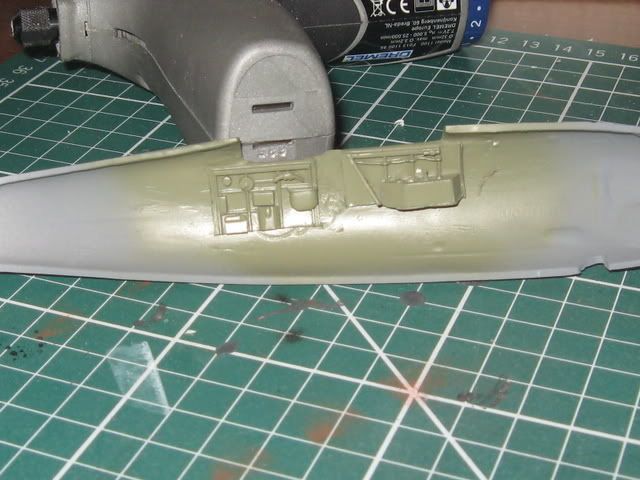 Individual cockpit parts painted separately as each one needed adjust ment somewhere or other. 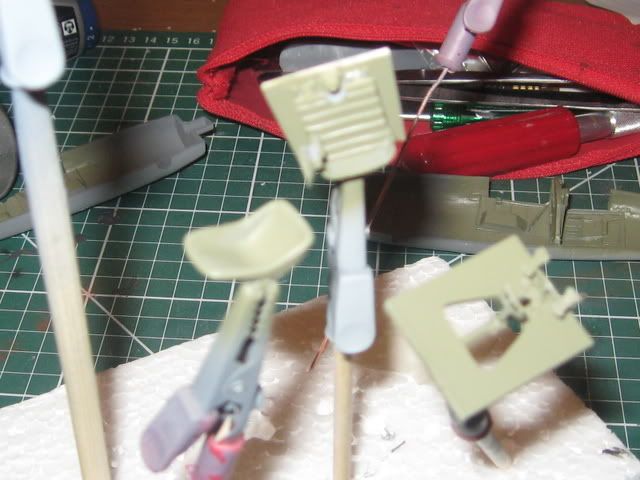 Cockpit now pin washed in windsor and newton black oils and some of the wires given a light coat of red and yello to break the monotony. Also lightly dry brushed in humbrol 11 silver. 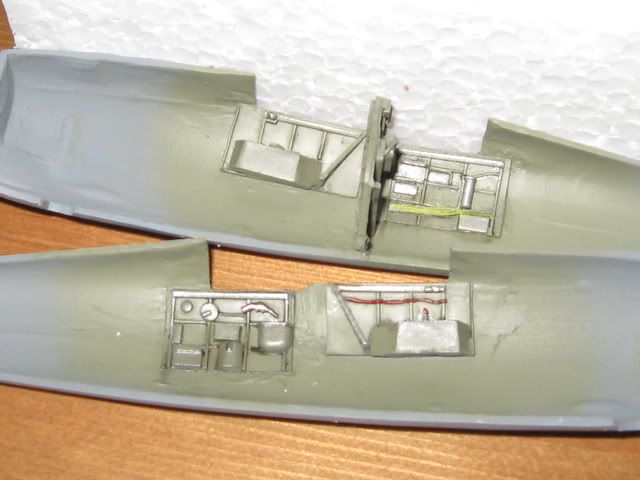 Cockpit given the same treatment 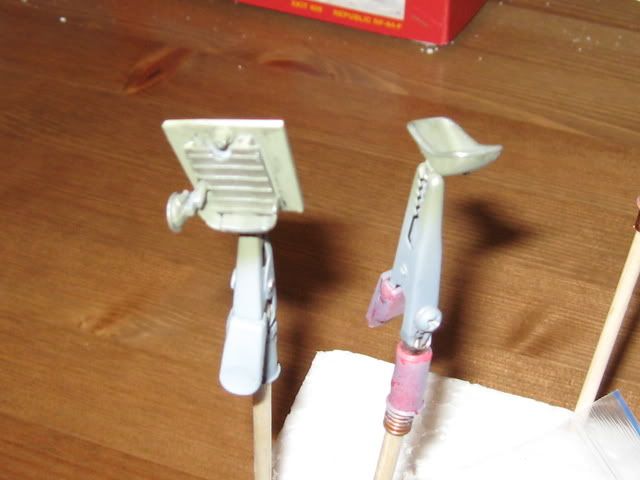 And finally the control panel. Again RLM 02, black oil pin wash, light dry brushing and dials picked out in red and yellow but instead of white I used light flesh tone which is a very very pale pink as the name suggests and is not so stark as straight white. 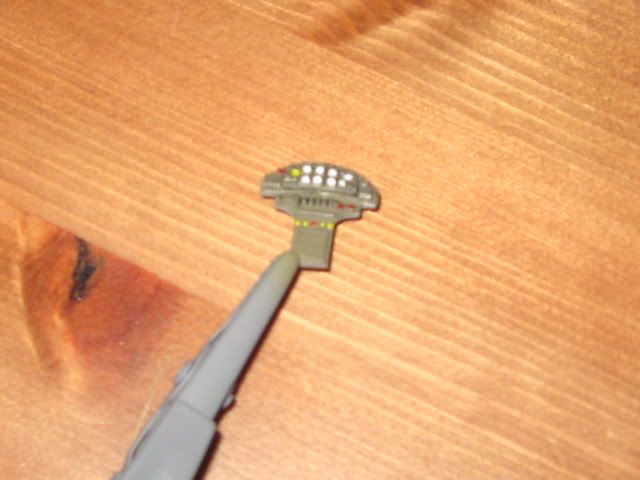 More to come as the tricky part of actually putting it all together and the fuselage halves joined. Initial dry fitting has shown only two areas where the fuselage actually touches - lots of filling methinks. Paul |
|
MikeC
Moderator   Too many SIGs for my own good!
Posts: 804
|
Post by MikeC on Feb 26, 2008 21:08:36 GMT
|
|
|
|
Post by Paul Senter on Feb 27, 2008 20:15:25 GMT
Mike Tried getting onto LEMB but failed dismally - kept telling me the code was entered incorrectly. The mushroom books are very good however my funds are limited especially after managing to get hold of 'Recon for Rommel' which has some stunning pic's of the 126 in there. Also managed to pick up a 1/48 Lysander on a well known auction site. Its in the Italieri box but the instructons are marked 'Testors' - this make sense to you? Anyhoo, progress so far... I have managed to place the cockpit between the fuselage halves and with a judicious amount of trimming managed to close the halves up. However there are one or two problems... You can see the enorous gap that will need to be dealt with 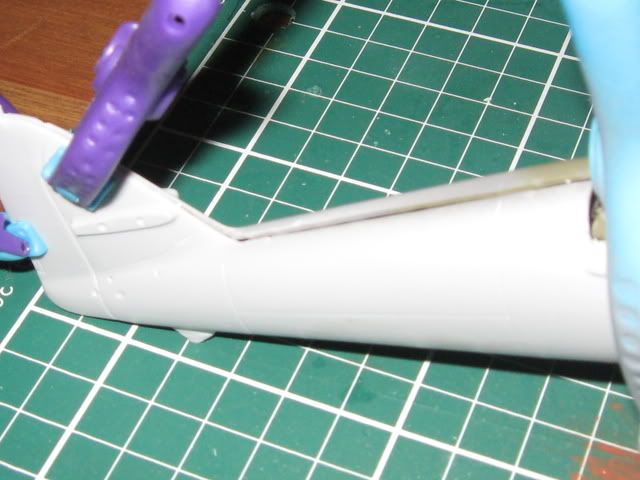 ...and here, although not so bad 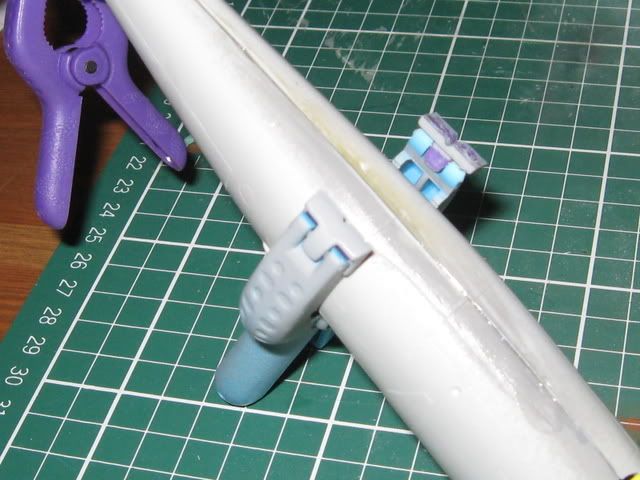 and again on the top 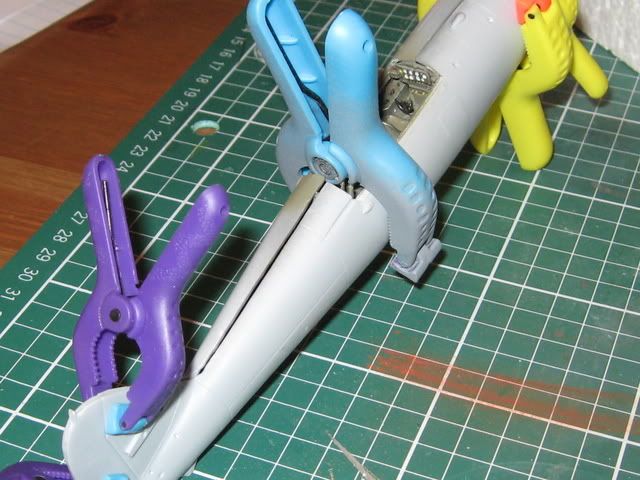 The fuselage has been glued with good old tube cement for that permanent feel. It will be left for a few days to fully cure before I attack it with plasticard, sanders and filler. Once filled and sanded to within an inch of its life I will take the chance to try out my Mission Models scriber set. Life is full of opportunities! Paul |
|
|
|
Post by Paul Senter on Mar 1, 2008 23:11:00 GMT
Managed to fill that gaping chasm with a mixture of tube cement and oversized metal crocodile clips holding it all together while it dried. I had considered filling the gap with cement soaked sprue but decided against it as I wasn't sure if the increased girth would effect the build later. Progress so far 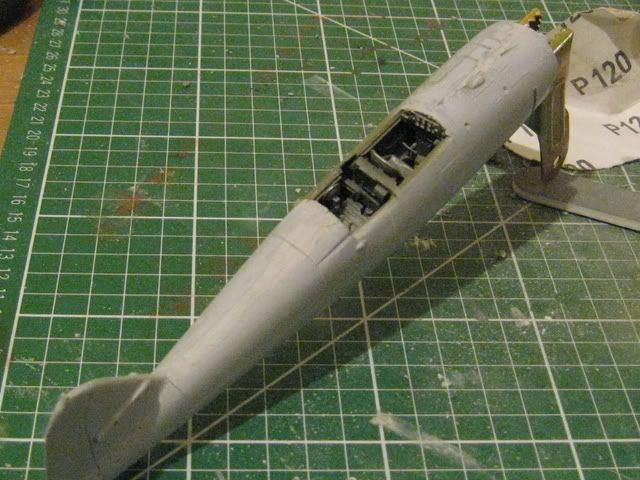 Not terribly exciting but after nearly a full day of sanding, filling, sanding, polishing then a bit more filling, I think I have closed the gap. 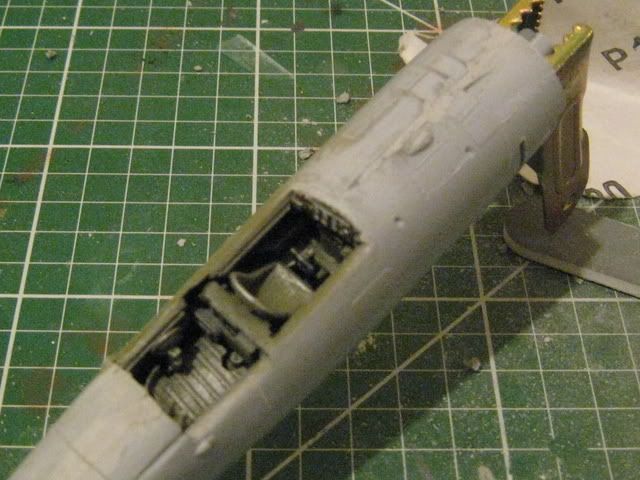 Had to re scribe most of the panel lines which gave me the opportunity tuse my nice new Missin Models Scibing tips. I have to say I am not wholly conviced as the sharp blade digs quite deeply into the plastic - more practice needed. Finished off the scribing with the pointed tip in the MM handle - no problems. MM handle and chisel tip is superb. Same detail with the one piece wing - lots to fill along the leading/trailing edge. Tried thinning it a little but didn't want to lose what little detail is shown. Paul |
|
|
|
Post by Paul Senter on Mar 2, 2008 20:58:18 GMT
Work is progressing. Whie the primer on the fuselage was drying I cleaned up the engine parts and sprayed on Vallejo Model air Metallic Gun. After it dried a wash of Ivory Black Oil paint was applied. 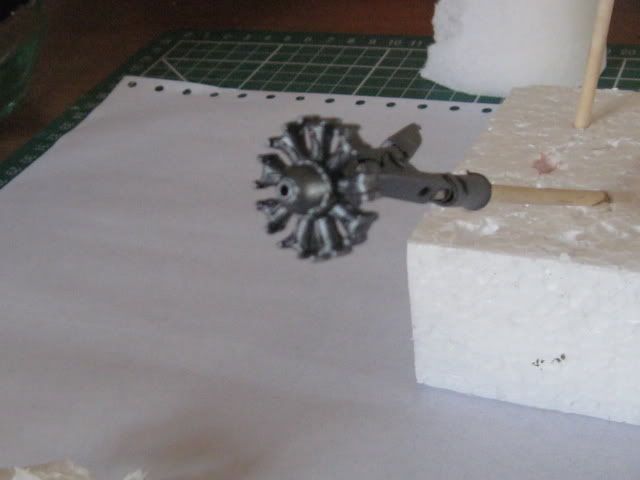 The primer showed only a few minor blemishes which were quickly filled. I have added the wheel struts and tailplane both areas requiring some filling (again!). 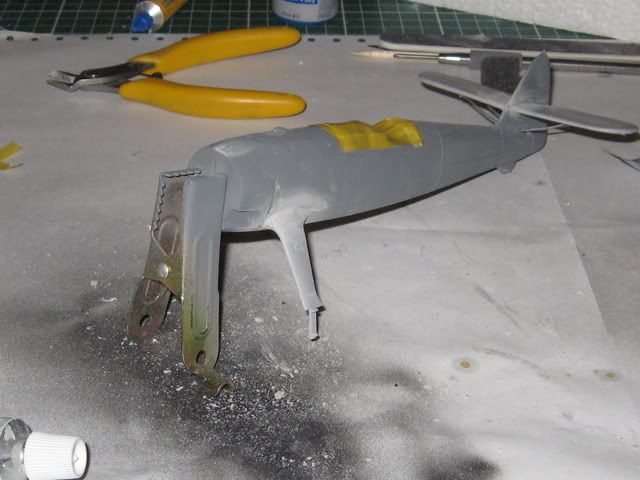 The level of filling on the struts is shown here 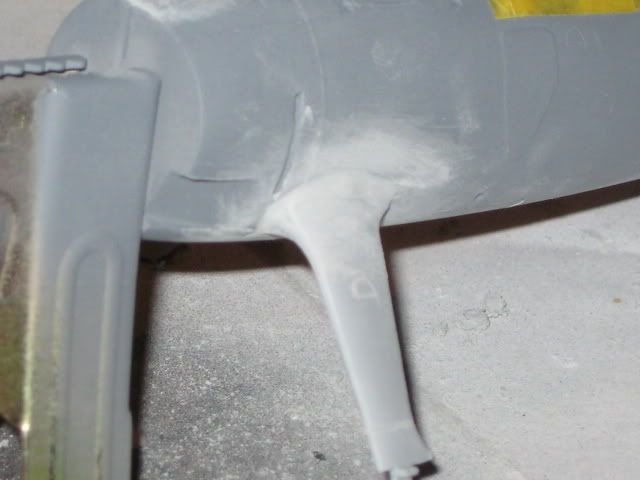 The fuselage is now ready for its final coat of primer before applying a pre shade and then top coats, also the engine is ready to be assembled and the wheels have been painted. Paul |
|
|
|
Post by Paul Senter on Mar 15, 2008 16:15:58 GMT
First coats of paint now applied.. I used Vallejo Black/Grey for the pre shading 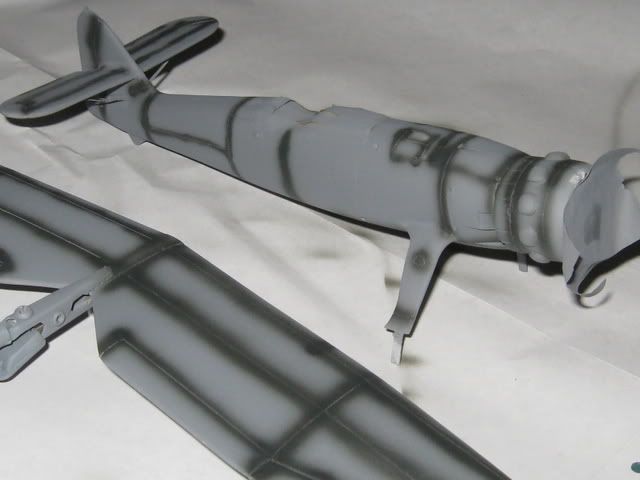 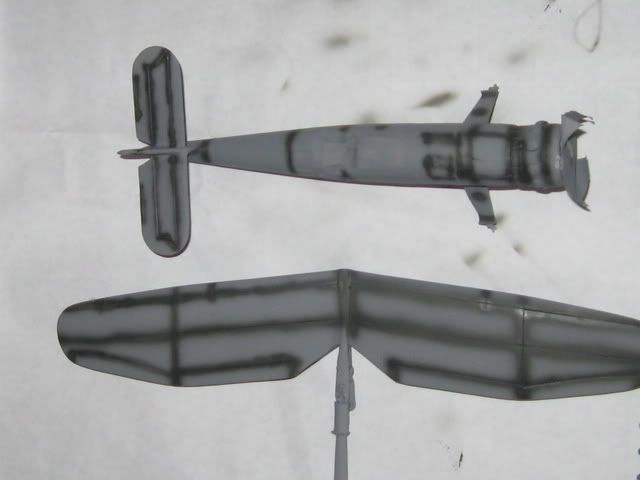 My original plan was to do an Eastern front ac, however with the recent acquisition of 'Recon for Rommel, decided to do a Afrika Corps ac from 2/(H) 14. 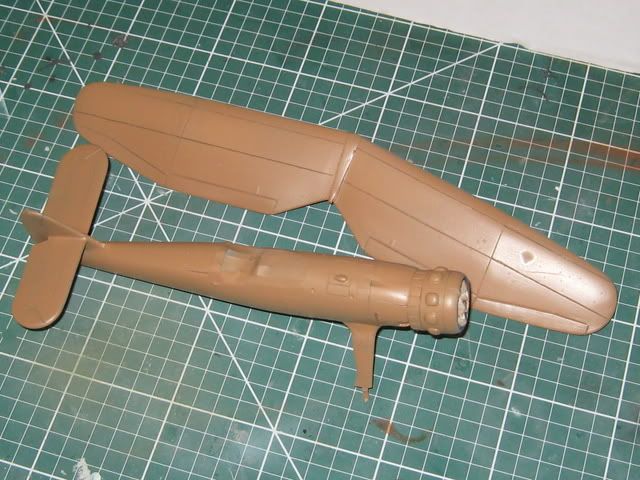 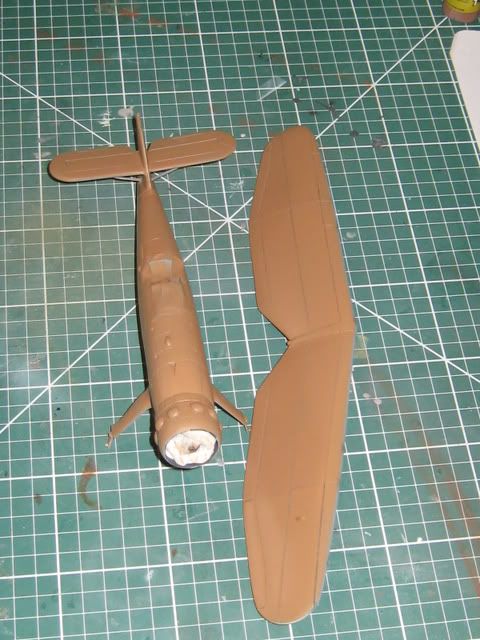 Need to source the underbelly colour but so far so good. Preshading as eft a very subtle colour difference along the panel lines which were enhanced somewhat. Good base for washes to follow. Paul |
|
|
|
Post by Paul Senter on Mar 15, 2008 22:56:37 GMT
Completed the undersides in pale grey blue which on reflection is a little too light, so have subsequently gone over it with a light blue - still not completely right but looks better. 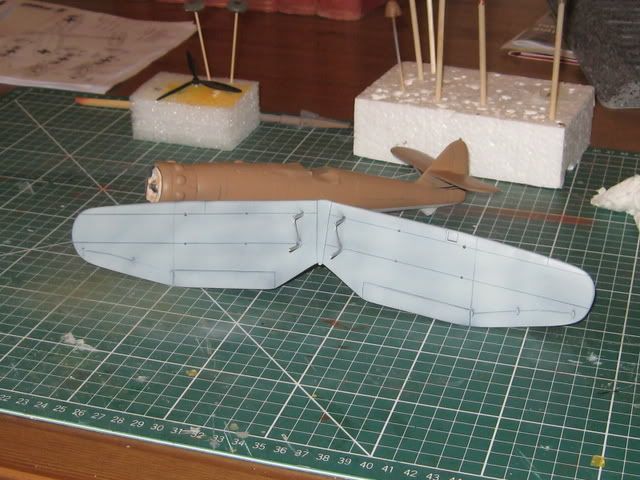 The green markings are a result of where the original colours were oversprayed with the sandy brown and a few bits were missed. I replicated this effect by spraying a tight squiggle pattern in a dark green and then because the base colour was a little too dark i mixed the sandy brown with a few drops of white and gently misted that on. End result was some of the lighter green parts disappeared and some of the darker ones remained. Also a view of my 'inspiration', bearing in mind that the photo in the book would be a little washed out because of sunlight - my excuse anyway. 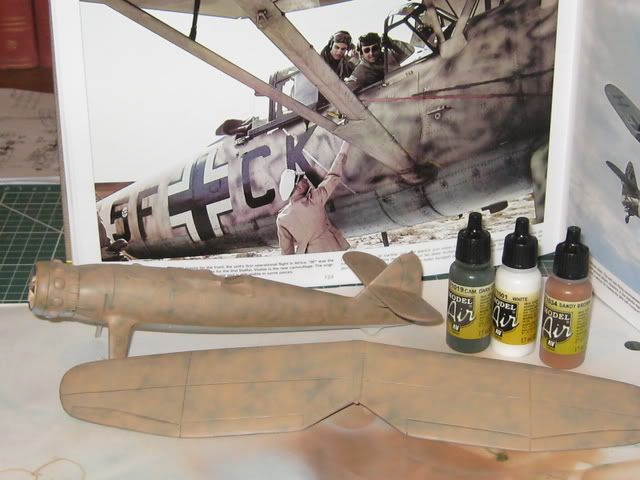 Clearer view of the effect and the colours used. 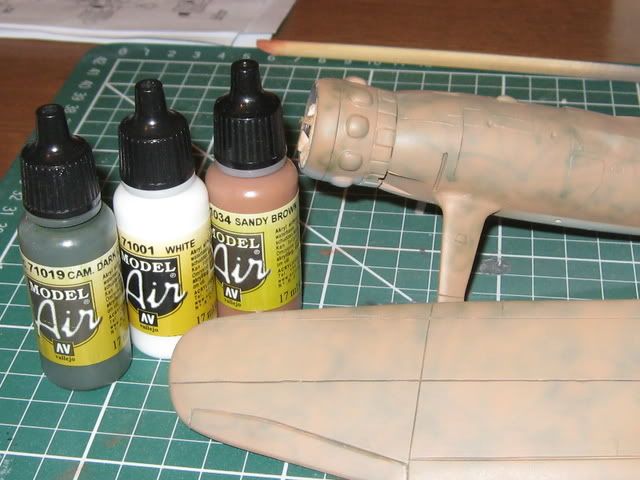 Final job tonight is a coat of klear. Intention is to decal before I attach the wing - not looking forward to that part at all. 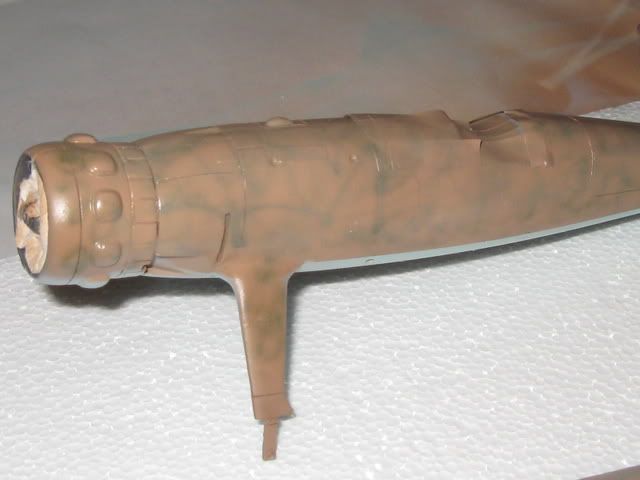 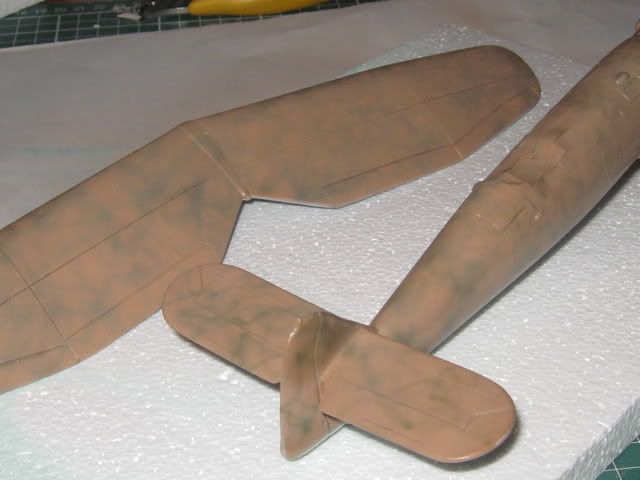 Paul |
|
|
|
Post by Paul Senter on Mar 23, 2008 13:18:21 GMT
At last - job done. This has been emotional. Every seam needed filling, every item needed some sort of adjustment to fit and I am still not totally happy with it. It will never win any competitions but to be honest I am glad its over. Selection of photos showing the finished article - look out for the misaligned tailplane - a result of the fin being moulded at an angle!. 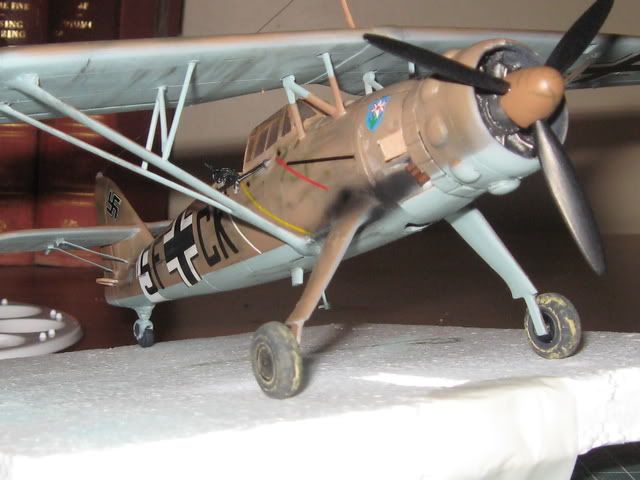 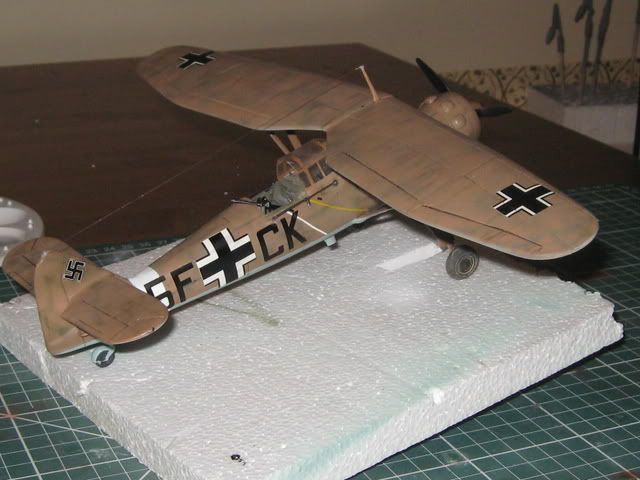 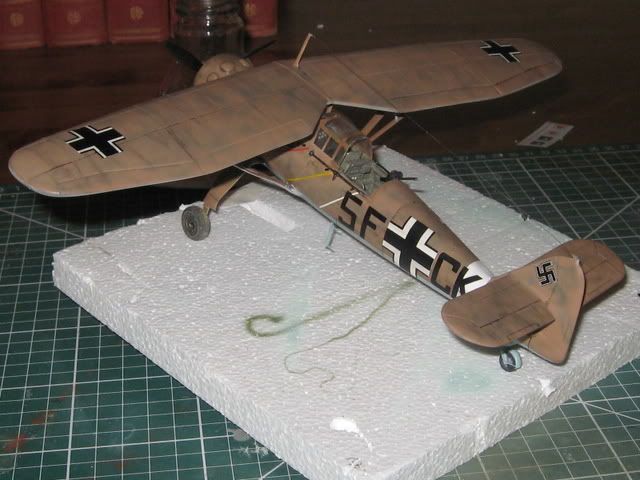 Note twisted tailplane - didn't notice until later and then was too hacked off with the thing to try and correct it, which would have needed major surgery. Also anyone have any idea what the semi circular gap is? no reference to it in the plane and I dont have any photos of the underside of a real one - very confusing. 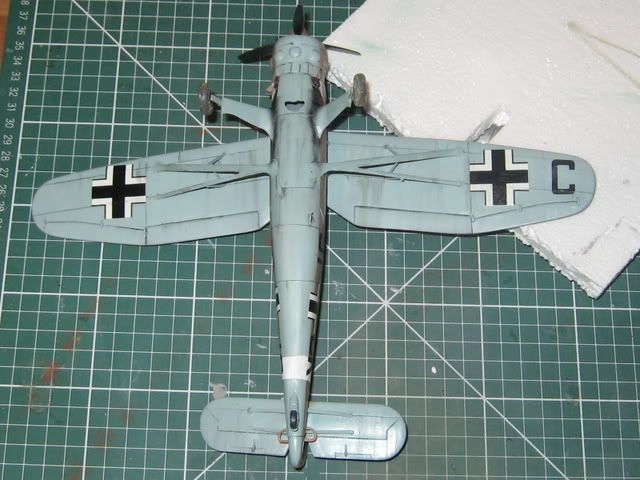 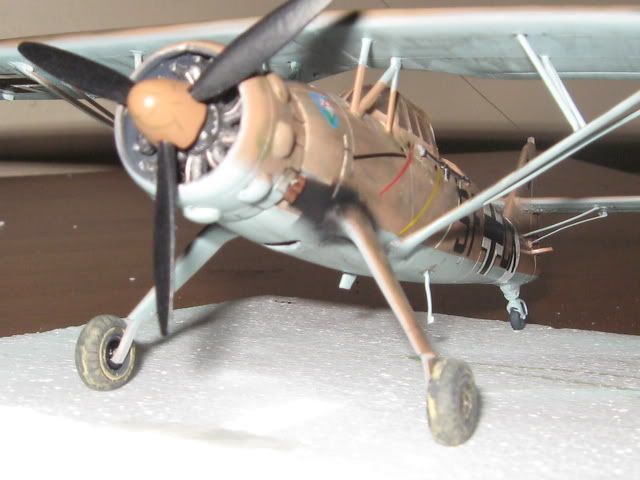 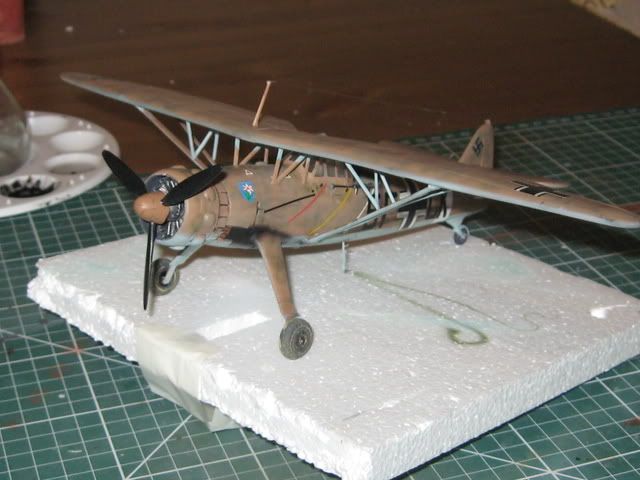 Grateful for any comments/suggestions. One suggestion for all - stay away from FM kits unless you want a serious challenge. Paul |
|
|
|
Post by tango98 on Mar 24, 2008 18:27:18 GMT
Good job on one dog of a kit Paul.
Cheers
Dave
|
|