|
|
Post by okdoky on Mar 23, 2011 22:44:53 GMT
|
|
|
|
Post by okdoky on Mar 24, 2011 0:17:39 GMT
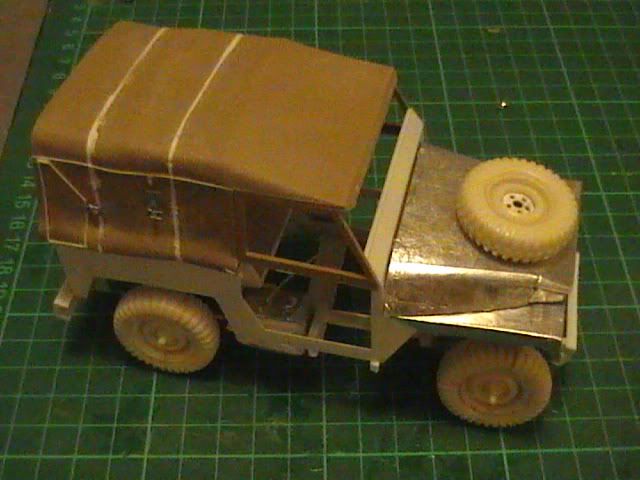
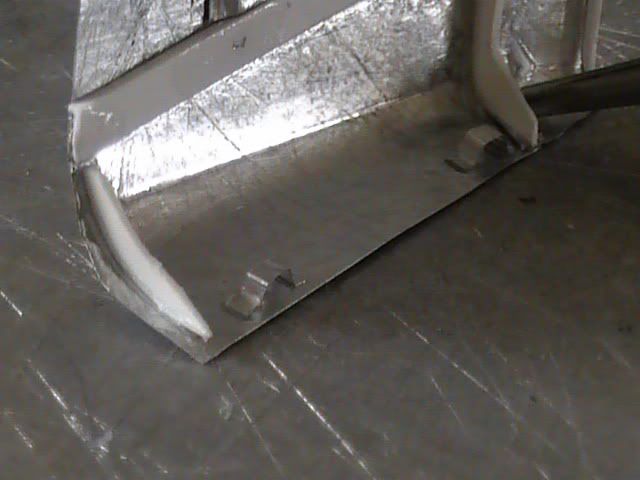
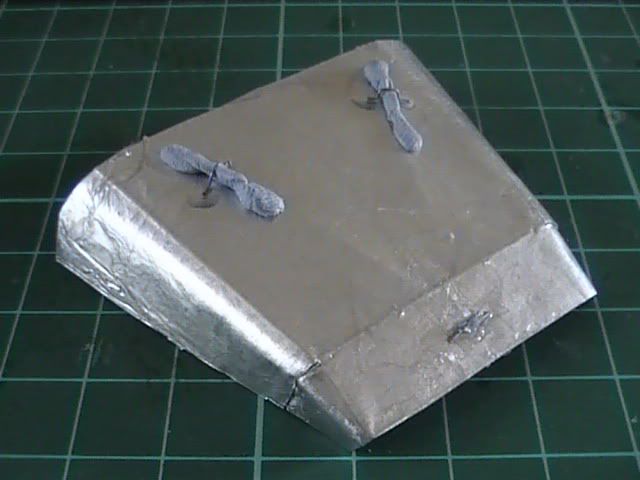
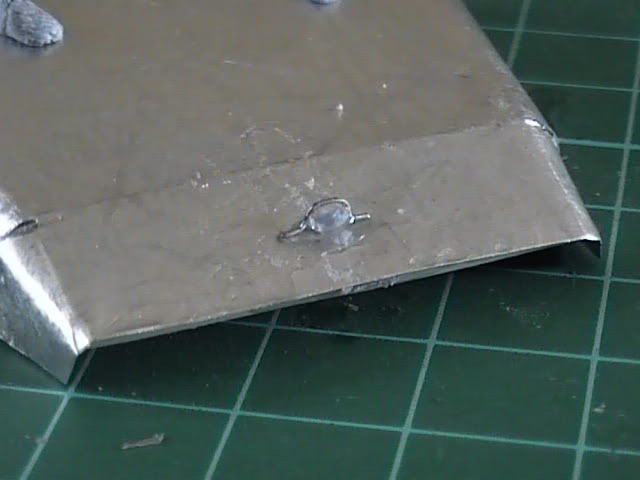
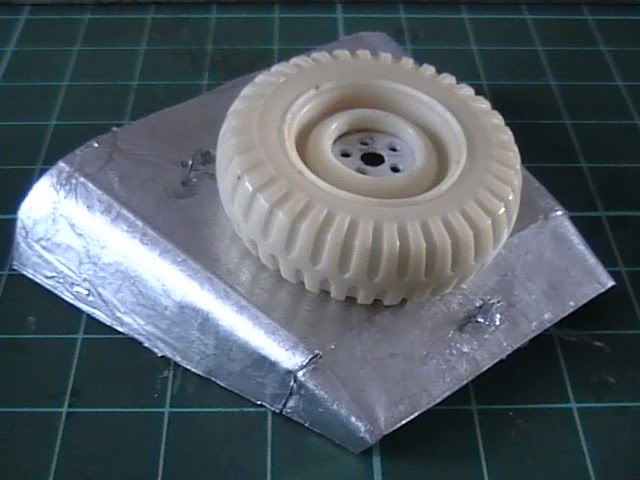
Had time to add in some rear tub support channels to sit fix down to the chassis. Made these by pressing tin foil over thin U channel to the approx size.  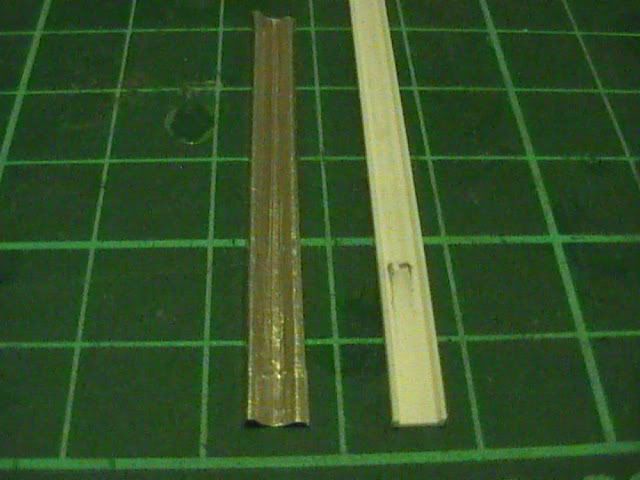 These will be seen quite easily from the side due to the wide open wheelarches 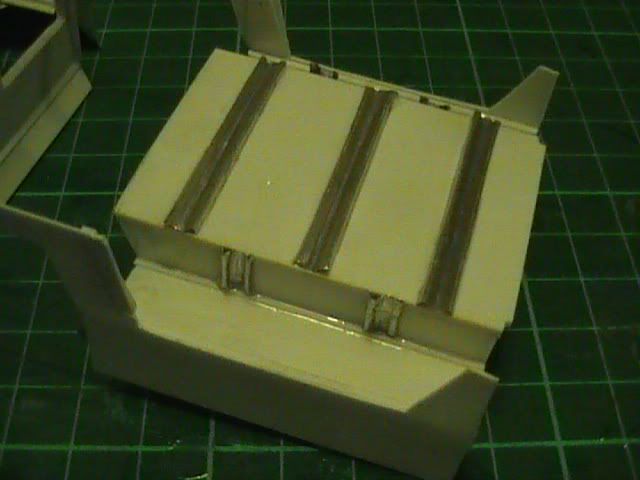 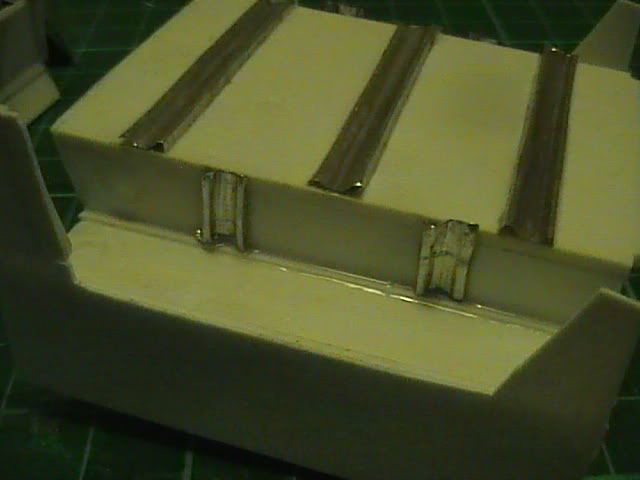 Lightweight/trailer combo for reference as to where I am so far. 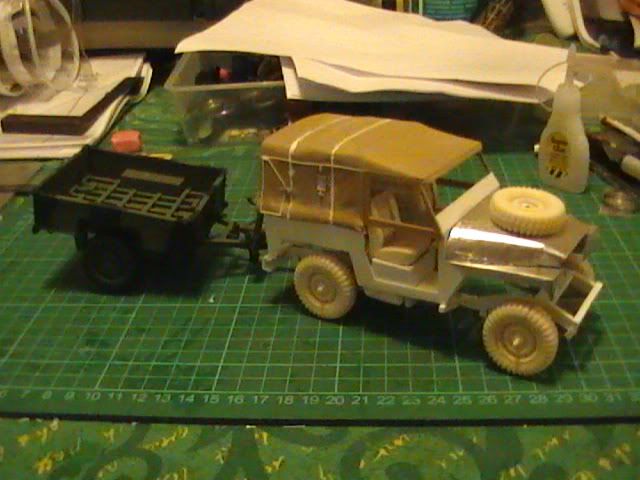 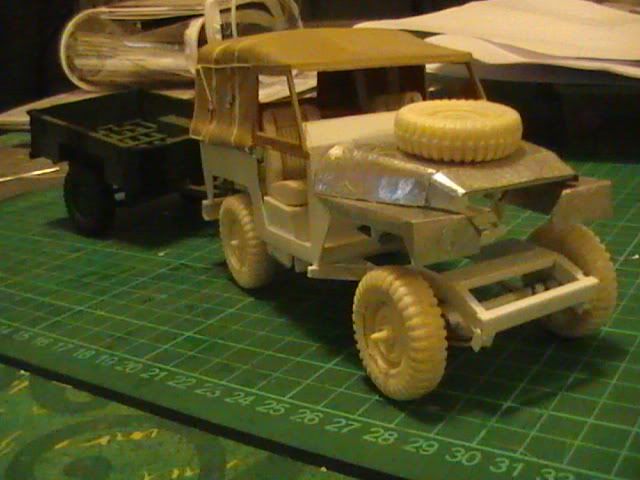 Nige |
|
|
|
Post by iansadler on Mar 24, 2011 19:14:57 GMT
hi nige an other show stopper , looking forward to seeing it at perth cheers ian
|
|
|
|
Post by okdoky on Mar 25, 2011 15:56:17 GMT
|
|
|
|
Post by okdoky on Mar 26, 2011 21:56:23 GMT
Time for the front grill. Plastic sheet for rigidity this time as I will be working from the placement of this for almost everything else.  The mesh is from plastic fly screen which is a good match for the mesh size. 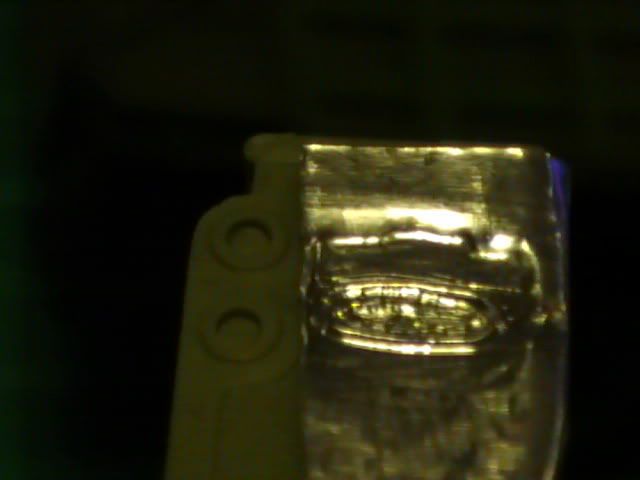 Some embossing of tin foil on the Landrover 109 from ESCI to gain a couple of Landrover badges, one front and one back. 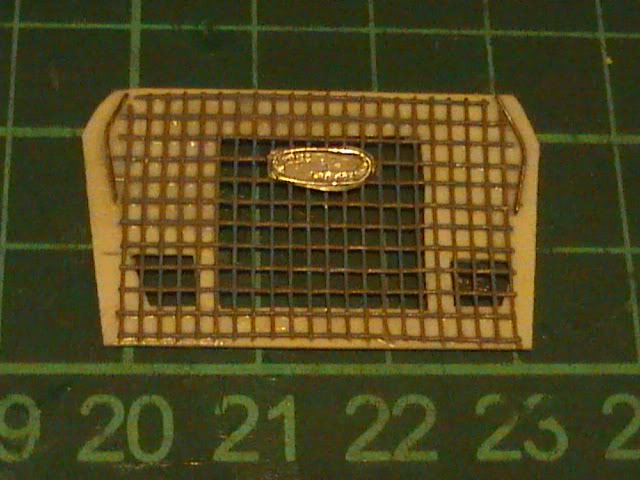 I will need to adjust the light clusterson the front wings to match up with the grill as they are a little oversized at the moment. Nige |
|
|
|
Post by okdoky on Mar 26, 2011 22:49:57 GMT
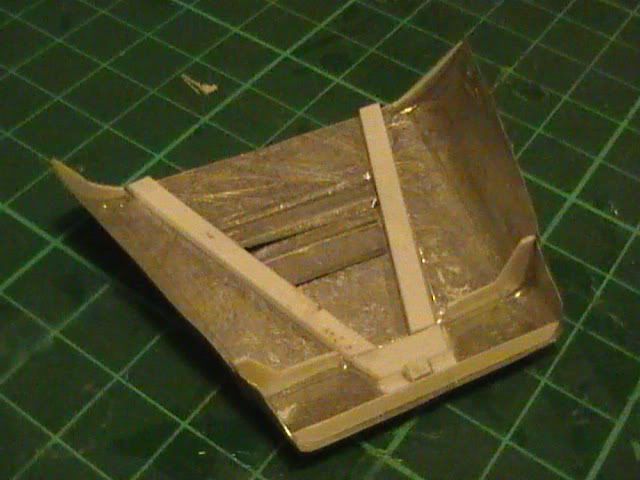
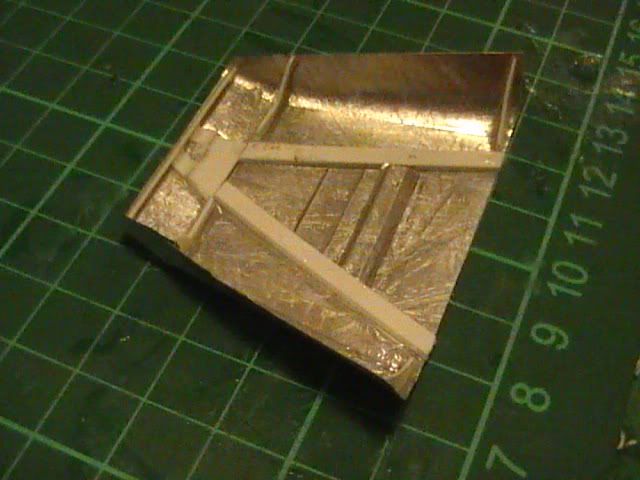
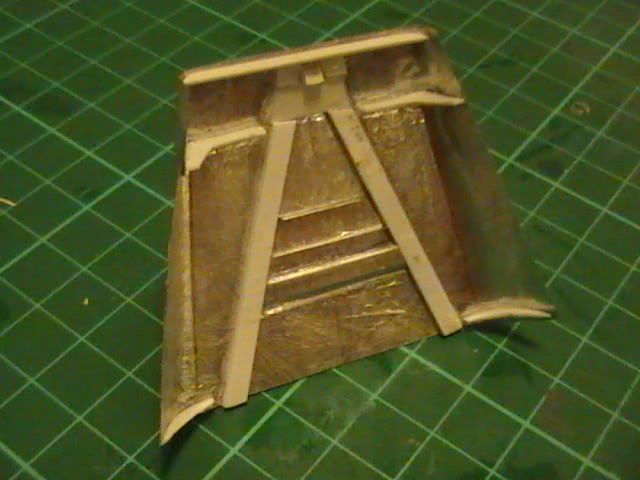
Started on the rear tail gate 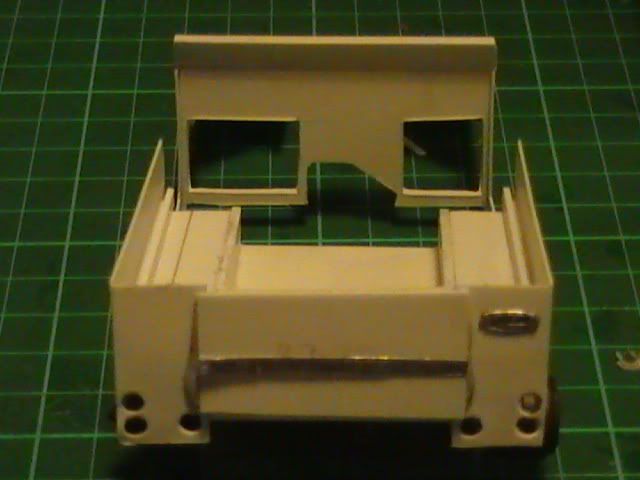 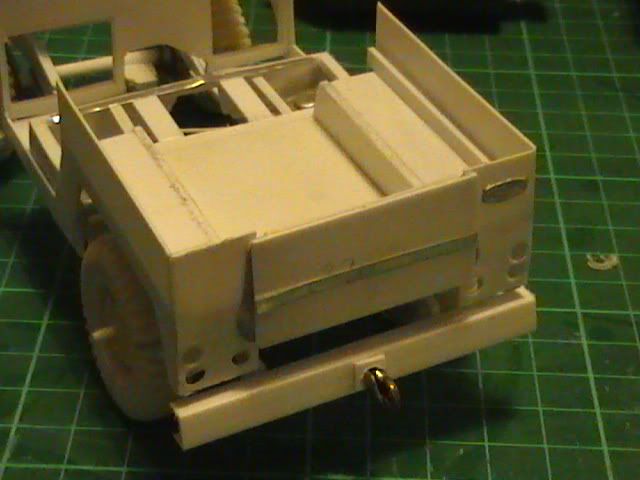 Sleepy head so time for bed. Night folks |
|
|
|
Post by darkside on Mar 27, 2011 8:54:02 GMT
cracking build Nige really enjoying this  |
|
|
|
Post by okdoky on Mar 27, 2011 22:35:04 GMT
Thanks Darkside Start on the footwells Plastic for the sides and tin foil for the fronts 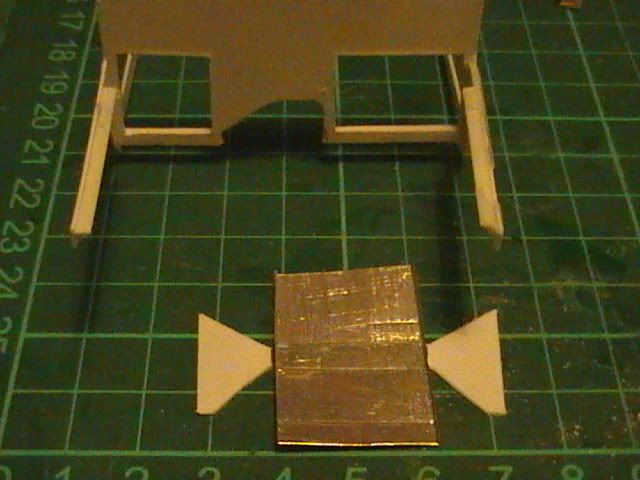 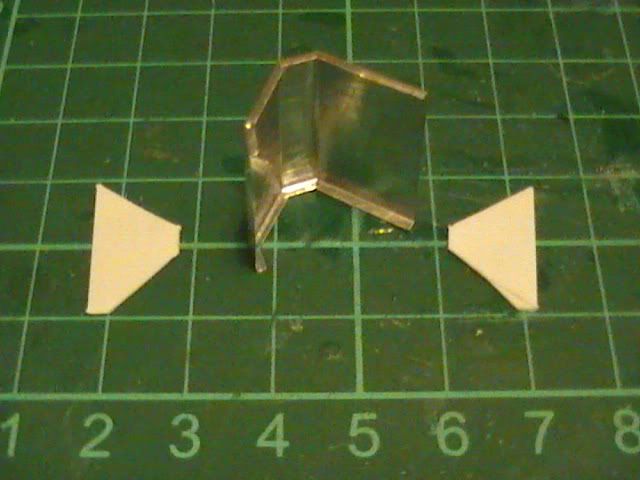 A bit of pressure to keep the folds from undoing 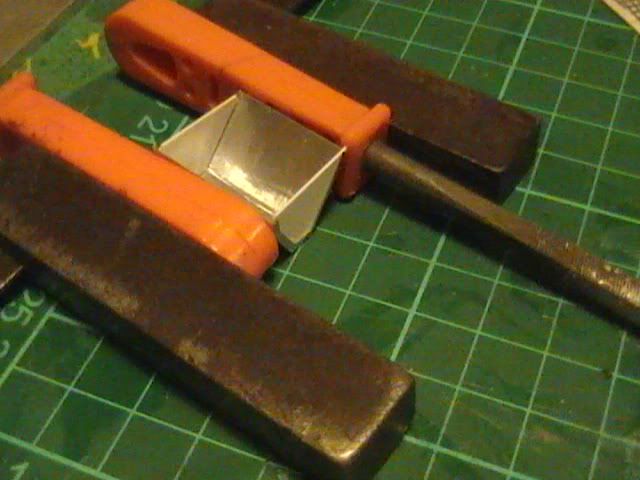 Passenger footwell in place 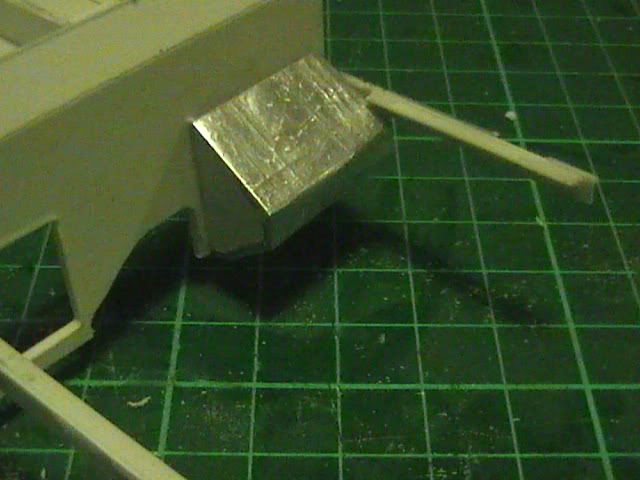  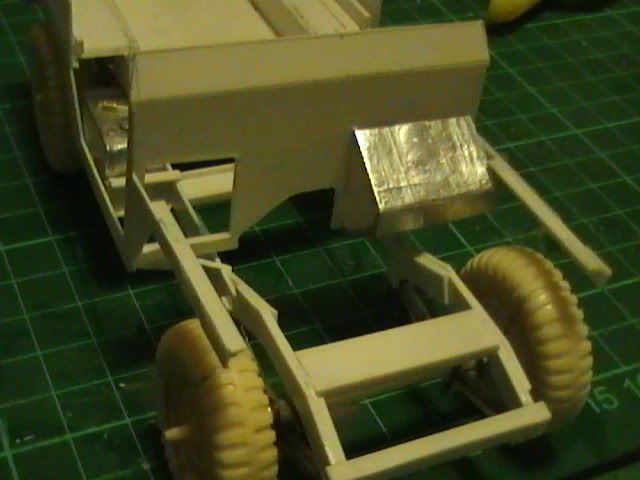 Working on the drivers side 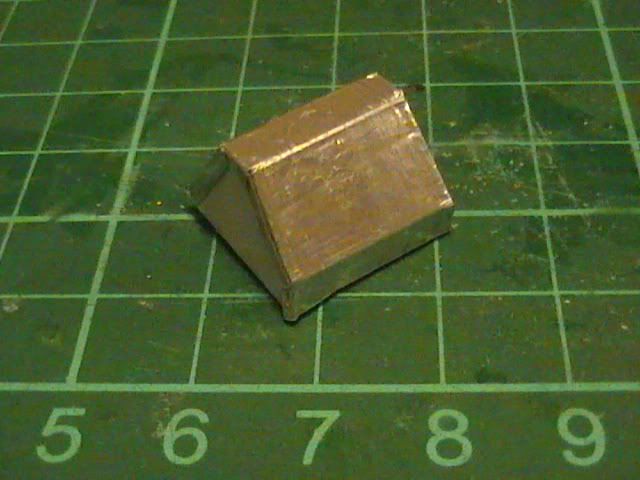 Nige |
|
Deleted
Deleted Member
Posts: 0
|
Post by Deleted on Mar 28, 2011 8:31:27 GMT
Nige, you never fail to amaze with with the dedication you put into your builds, it's looking good matey, really looking forward to seeing this at Perth.
|
|
|
|
Post by okdoky on Mar 29, 2011 12:53:28 GMT
Thanks Nick for the encouragement as ever. Always appreciated !!!
Doing my damndets to have it built by then I hope too !!!
Nige
|
|
paddy
Kit Basher
 Learn something new every day.
Posts: 79
|
Post by paddy on Mar 29, 2011 14:28:25 GMT
There are two types of modellers that take the hobby to an art form. First are figure painters and the others are scratchbuilders. I think this build supports that very well.
I take my hat off to your sir, very nice indeed and an inspiration to all kit builders to have a go.
|
|
|
|
Post by foxy on Mar 29, 2011 22:19:24 GMT
Great going Nige, you have us hooked lol. What ever the size its nice to see scratch building. Look forward to the next installment.  |
|
|
|
Post by okdoky on Apr 5, 2011 23:31:58 GMT
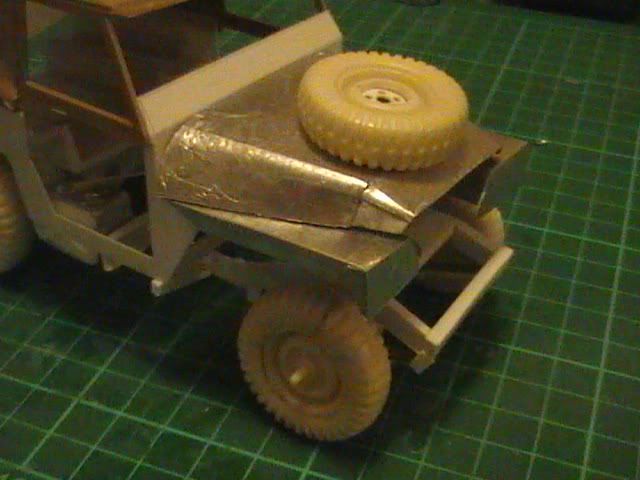
Thanks Paddy and Foxy ,,,,,,,,,,,,,,,,,,,,,,,,, Appreciated Oil cooler shroud that also directs air through the radiator 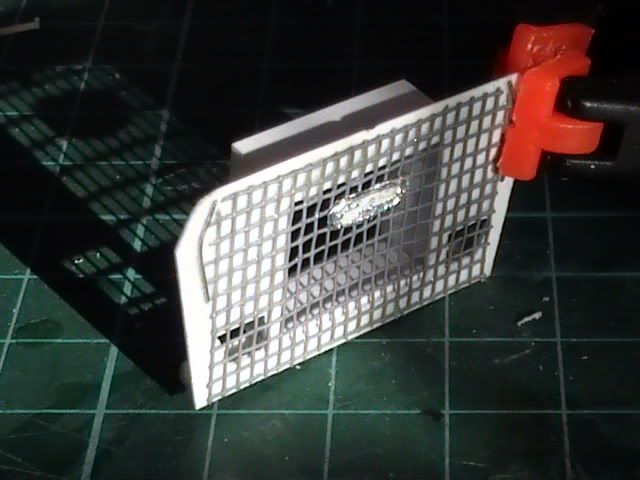 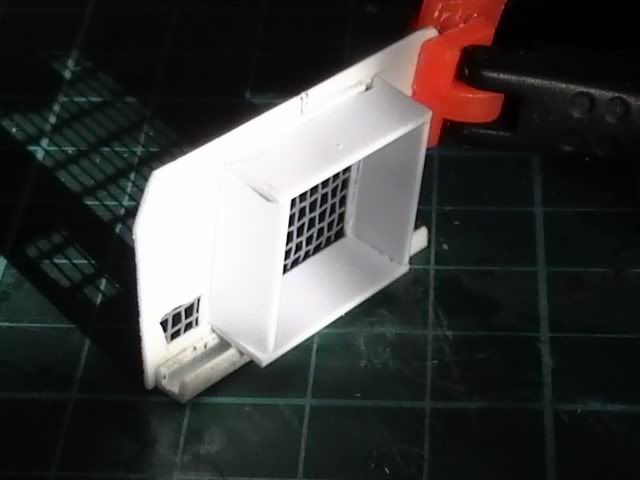 also had to adjust the footwells as I realised I had made them too deep and they extended too far beyond the wheelarches. They now match the wheel arch 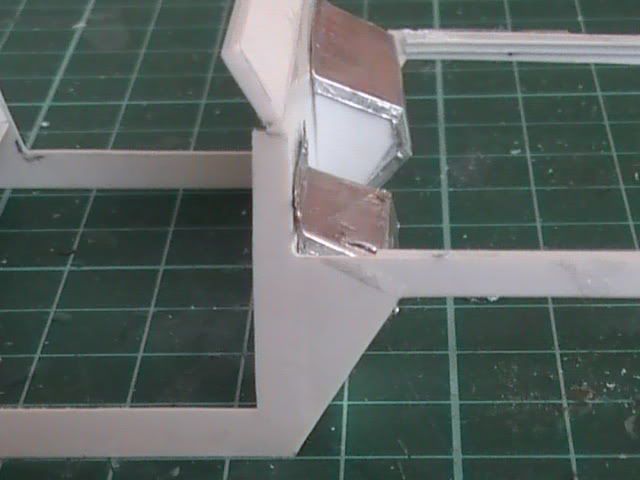 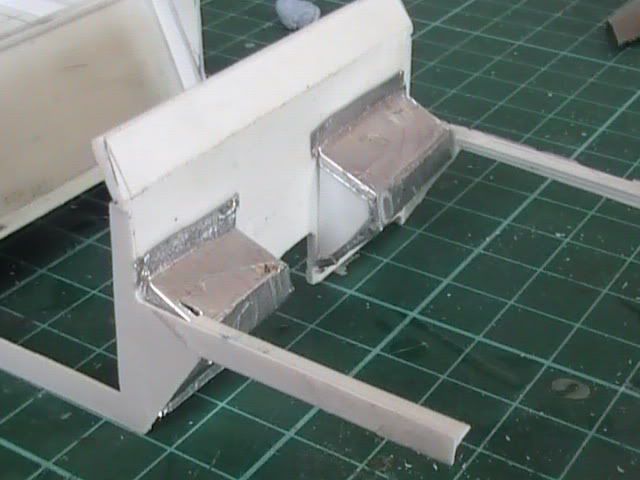 added the backing sheet to the front seats  also topped off the sides and rear cargo area with thin U channel 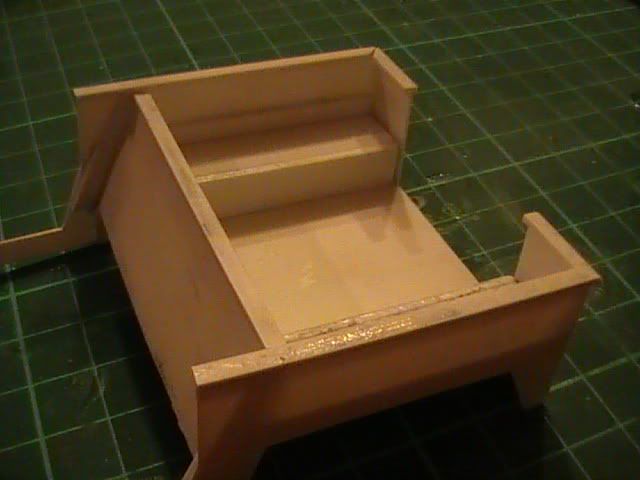 added the stiffeners to the backing sheet also 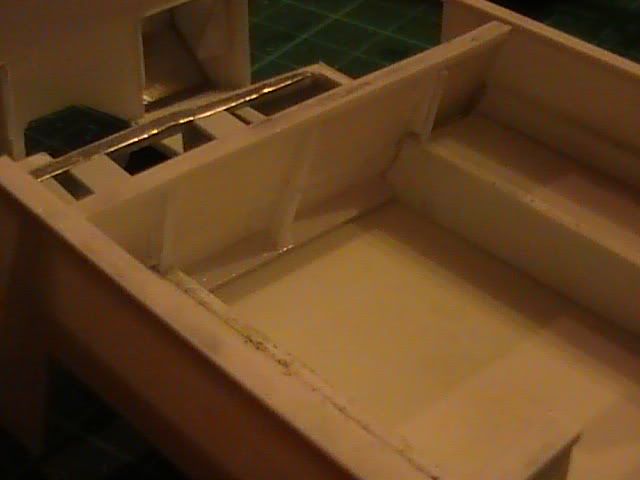 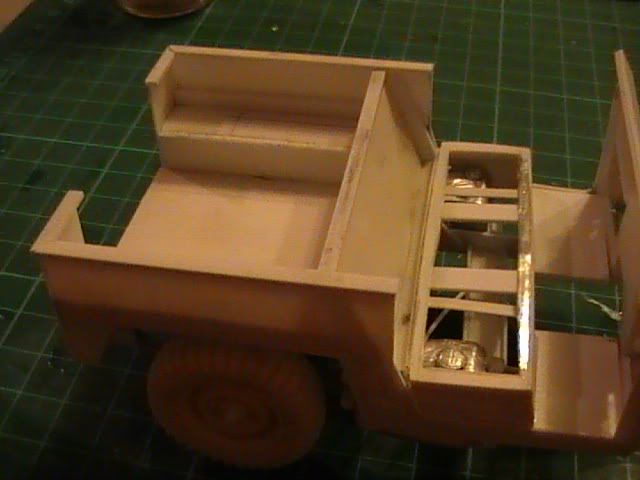 added some shims under the cargo area to try to get the correct ride height 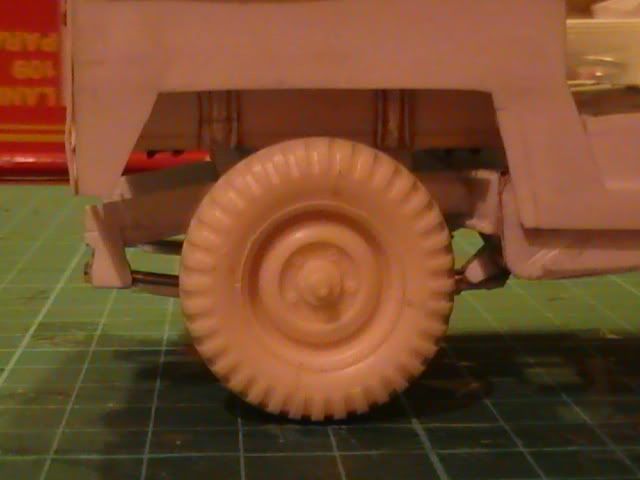 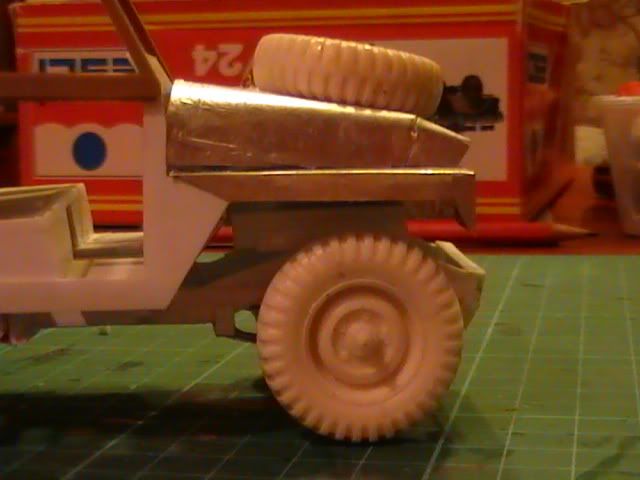 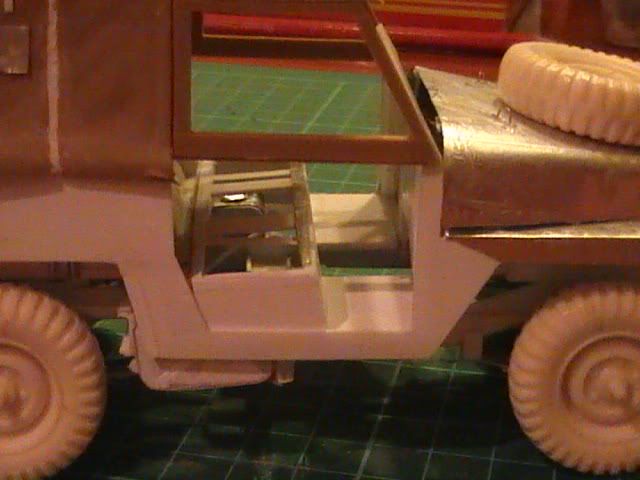 made a start on lining the engine bay to accept the wheel arches, radiator and maybe a scratch engine, still to decide, unless someone has a spair sitting idle somewhere. 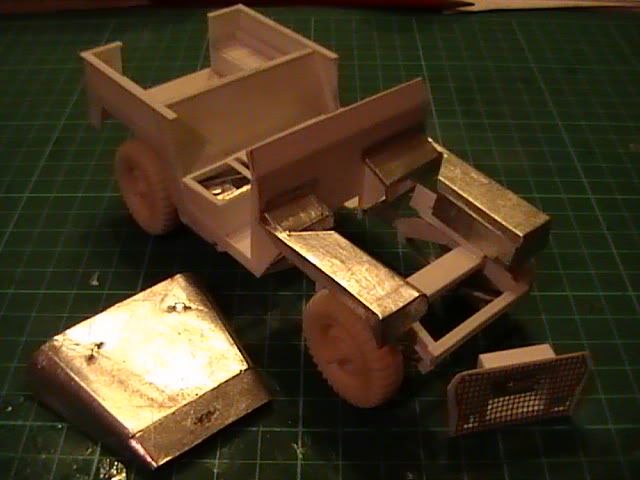 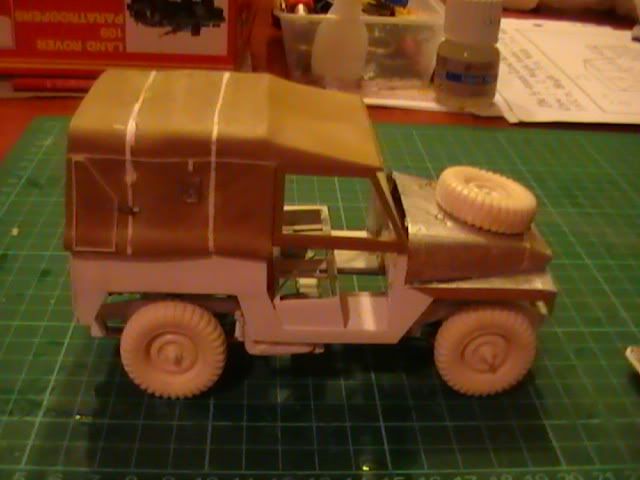 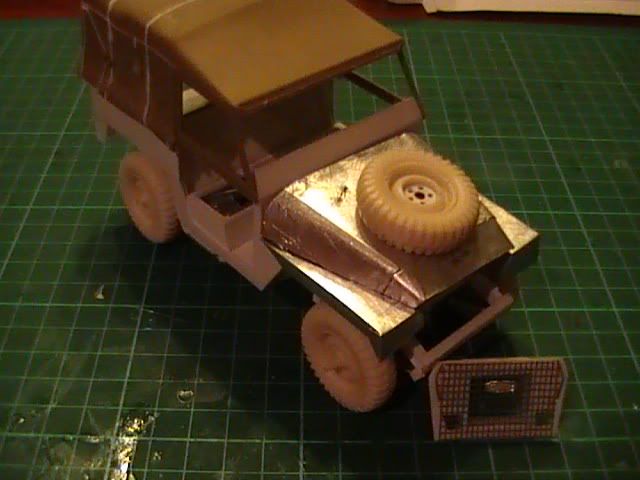 Enjoying my hols at the caravan in Lossiemouth with the kids and the inlaws. Determined to get a lot more time on the Landy. Nige |
|
|
|
Post by okdoky on Apr 6, 2011 22:23:35 GMT
Managed to figure out what is going on with the front grill and bonnet. Needed a little snip off the top of the grill to allow the bonnet to sit right down and the tin foil arches needed a slot cut in each to allow the front light wells to sit in front of the grill. Also added the boxing for the dashboard dials. 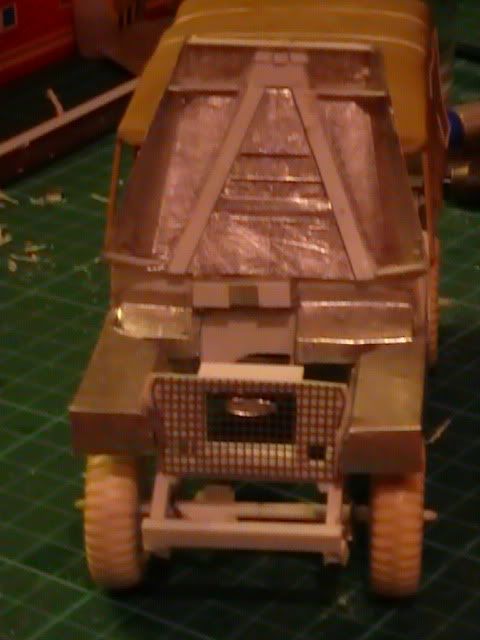 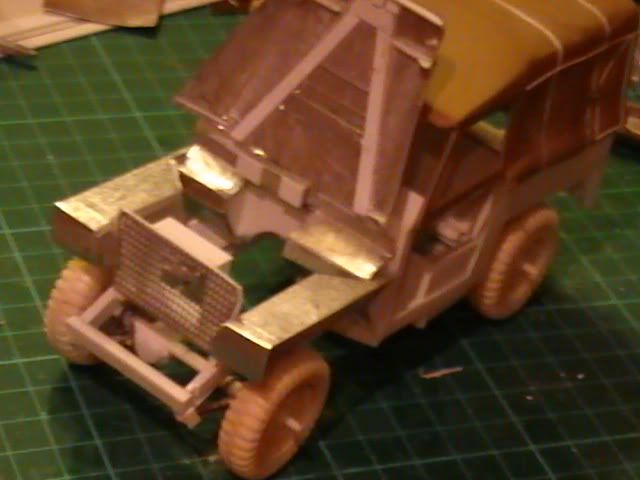 still needs a bit of trimming to get the bonnet to sit true left to right now 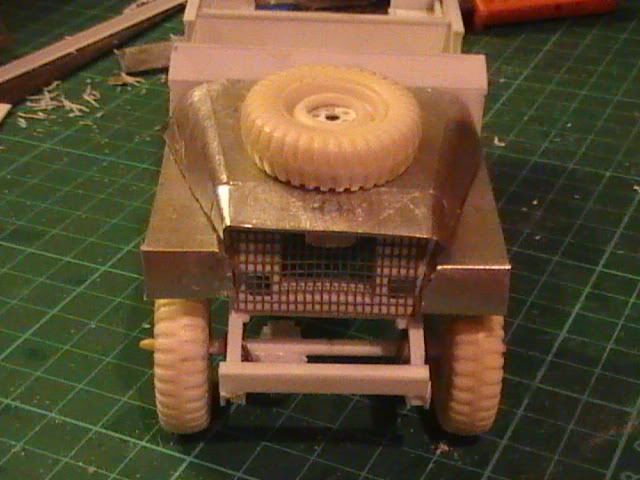 Nige |
|
|
|
Post by foxy on Apr 7, 2011 10:24:01 GMT
Coming along nicely Nige matey. Great to see different materiels being used. The bonnet shape and such looks good.  |
|
 Members' Forum")