|
|
Post by okdoky on Dec 12, 2011 22:12:39 GMT
Added the corner reinforcement pieces to the junction of the front and rear members with the chassis rails 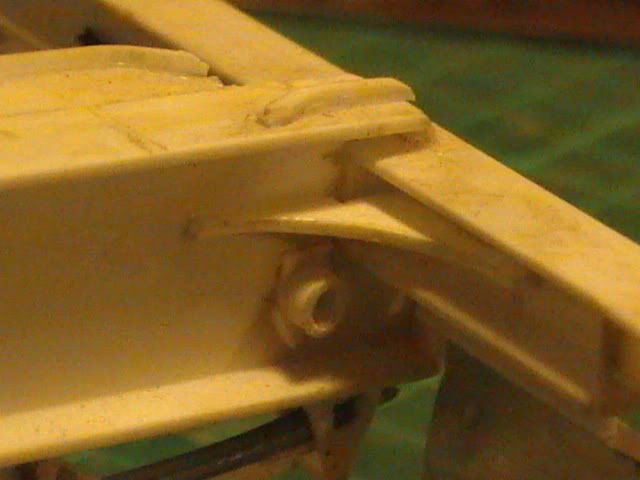 Also added the trailer's rear marker board panels that will need "Long Vehicle" decals to make it legal. 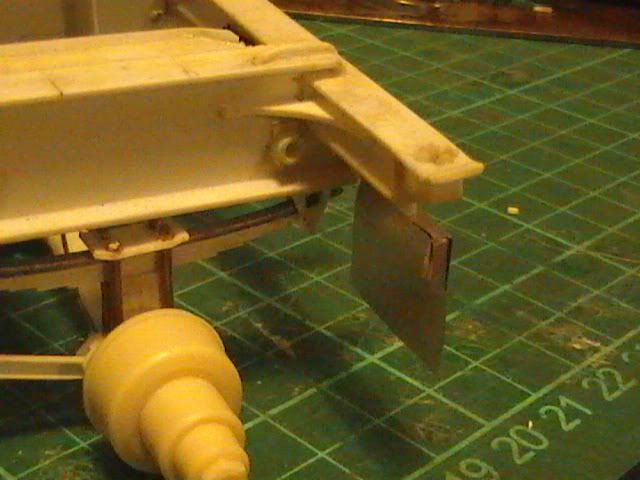 Used the aluminum foil method again with suitable folds for reinforcement. 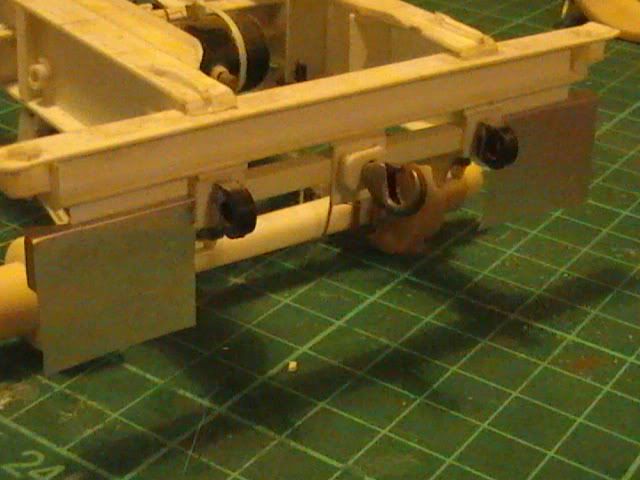 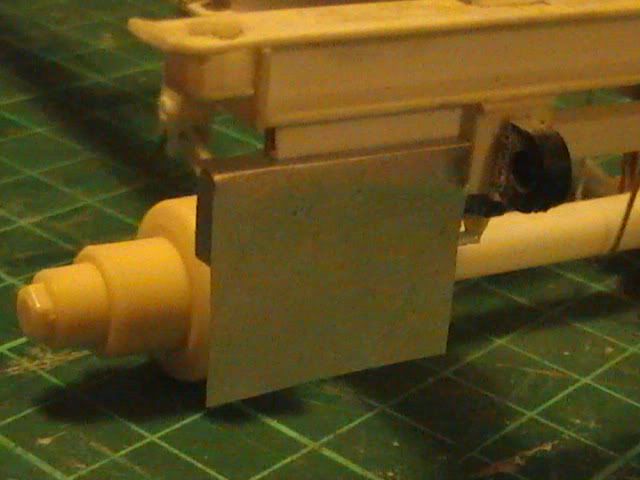 Nige |
|
|
|
Post by okdoky on Dec 14, 2011 22:26:30 GMT
Well I finally got round to putting some paint on this project !!!! Even if it is only the flat-rack !!!!!! The side rails are strong enough to take the weight which bodes well for the rest of it staying together. 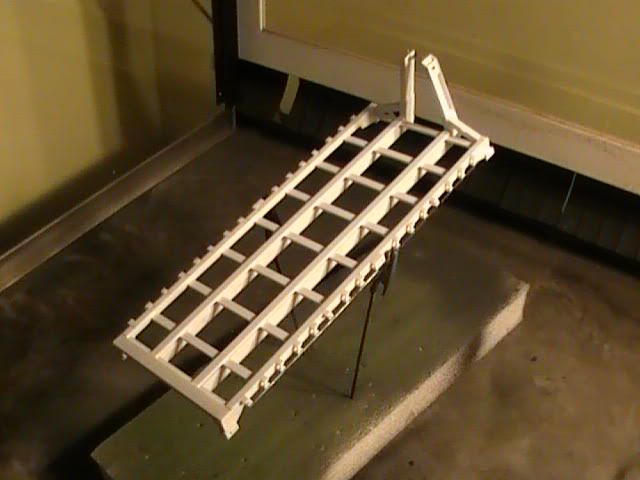 I nice coat of black primer to start with 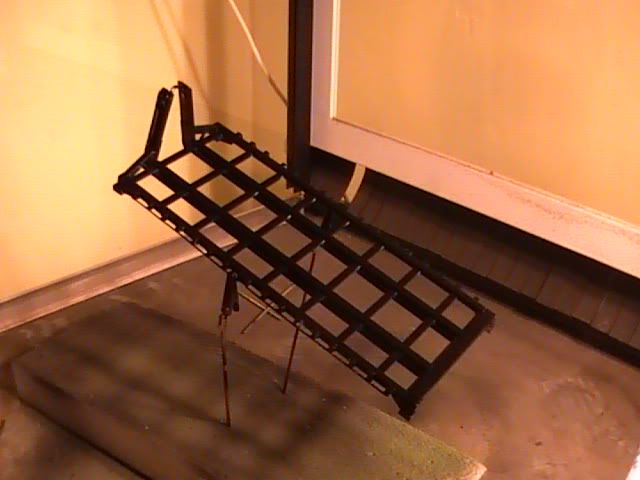 A quick flick over and it gets a quick belly rub ,,,,,,, sorry primer coat too !!!!!!!!!!! 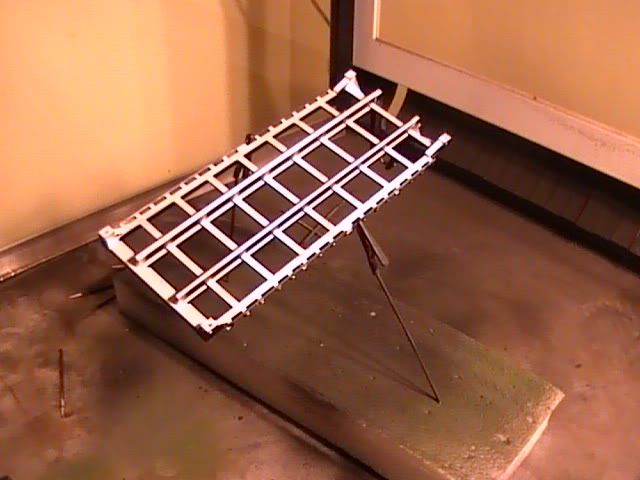 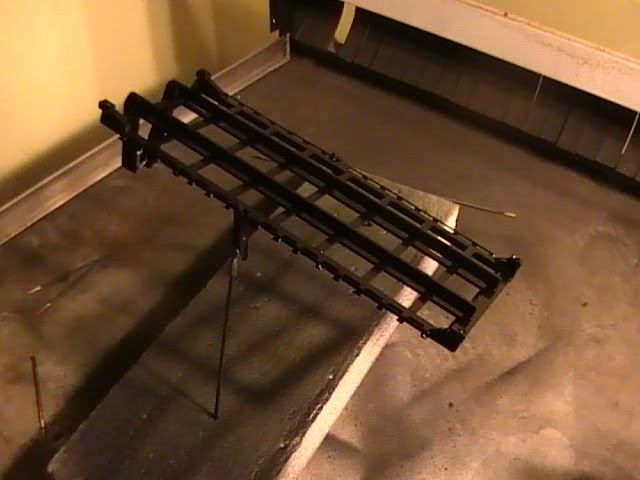 I am gonna use the hairspray method of weathering ,,,,,,,,,,,,,,,,,, so I hope it will STAND UP to close scrutiny !!!!!!!!!!! SORRY FOLKS !!!!!!! Jokes can only get worse from here on !!!!!!!! All Nick's fault if I screw it up ! Ain't it Nick  ?? Nige |
|
Deleted
Deleted Member
Posts: 0
|
Post by Deleted on Dec 14, 2011 22:36:33 GMT
Just get on with it ... blether, blether, blether!  |
|
|
|
Post by okdoky on Dec 14, 2011 23:41:25 GMT
Ha ha ha ha Got a hanger queen to practice some weathering on at the weekend 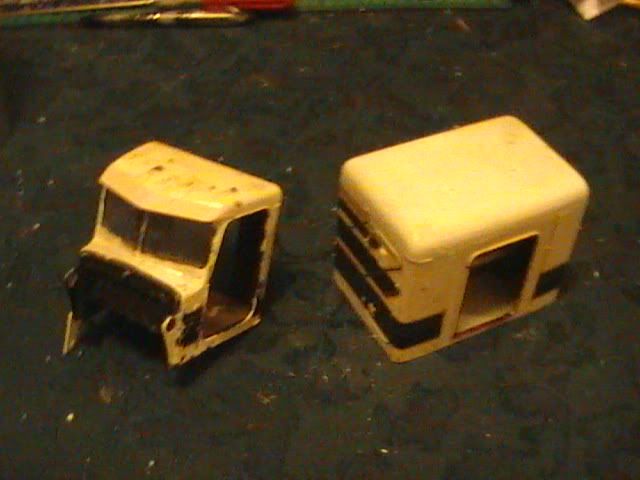 It has been given the same black primer and will go through the greens that I will use for the flat-rack and will be my trial piece for the hairspray. Got to try hunt down my rusty red spray can to try a few dots of base rust colour too here and there. Flat-rack got a burst of humbrol dark green 30 overall as the base colour 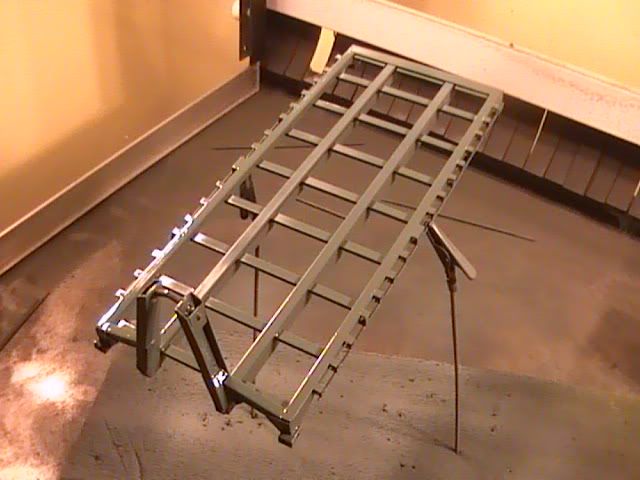 I am not too bothered about remembering which greens I am going to use on the truck, the trailer and the flat-racks, as I am hoping for some subtle, and maybe not so subtle differences. 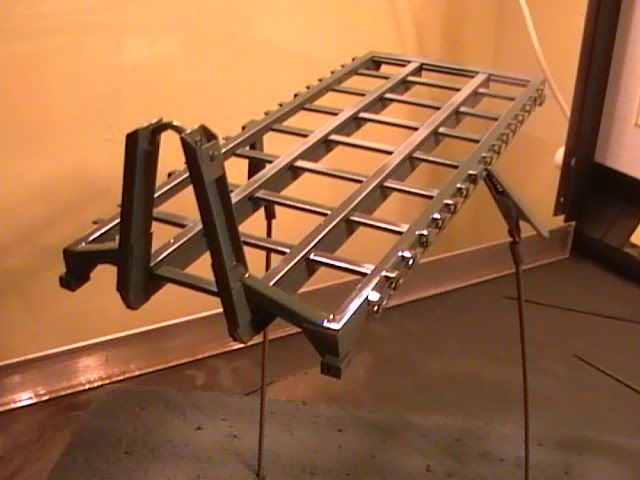 Nige |
|
|
|
Post by okdoky on Dec 15, 2011 1:02:10 GMT
|
|
|
|
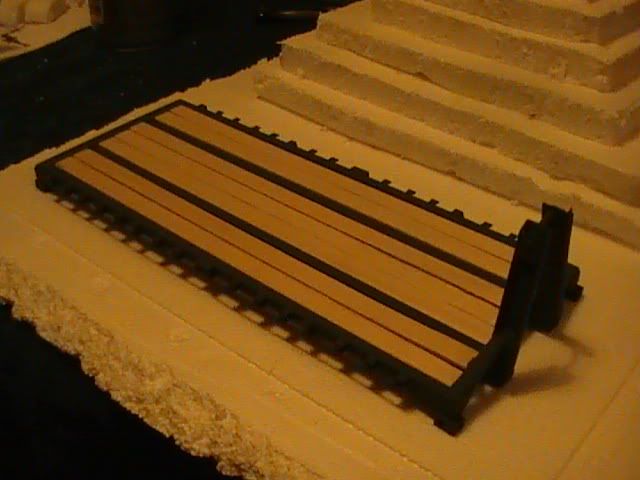
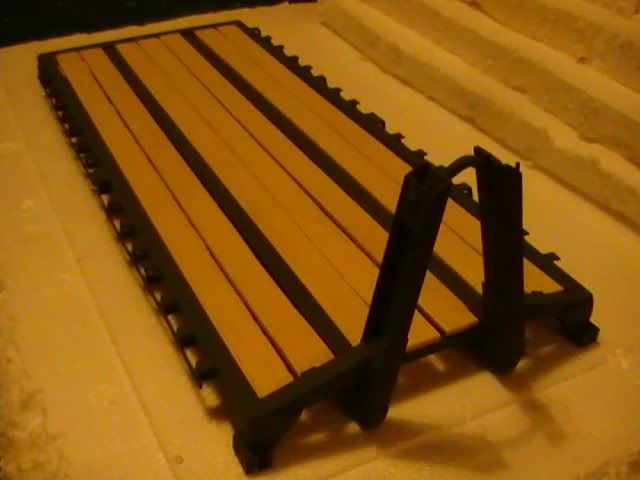
Post by okdoky on Dec 18, 2011 4:41:00 GMT
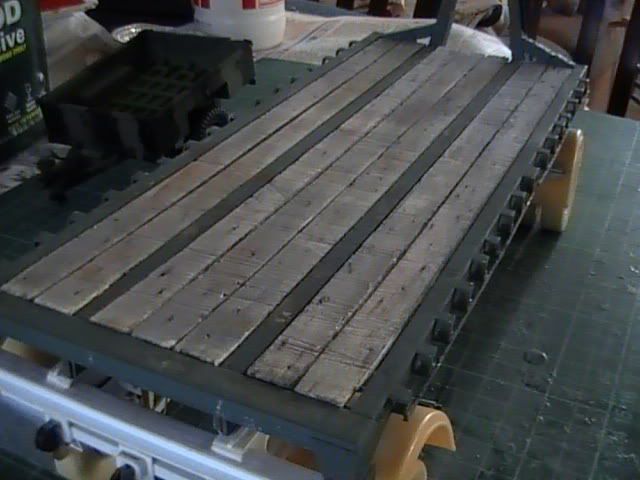
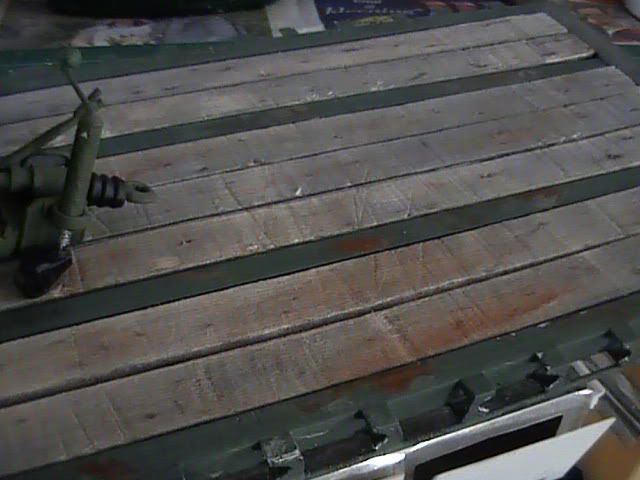
My first attempt at weathered painting and I am really quite chuffed with the effect. Thanks to Nick and all the others who have weathered before me for showing the way. Had a go at adding some knots in the wooden planks. I know that wood strength is gauged on many things including the frequency and spacing of knots in it. For those in the know, I don't want to know if there are far too many. Added with a black marker. 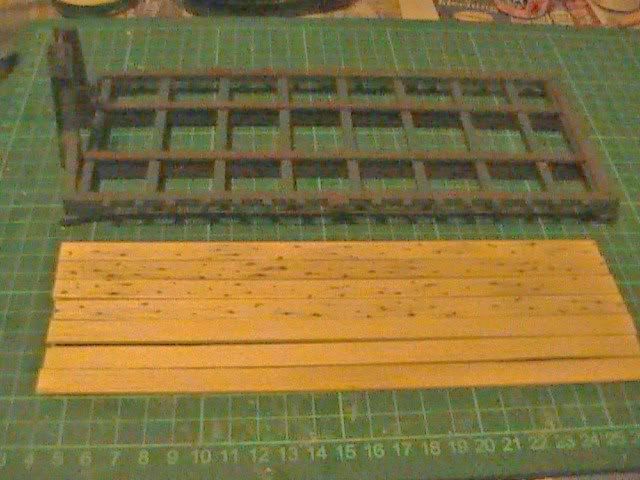 A wet finger slightly to smudge the dots and catch the grain of the balsa 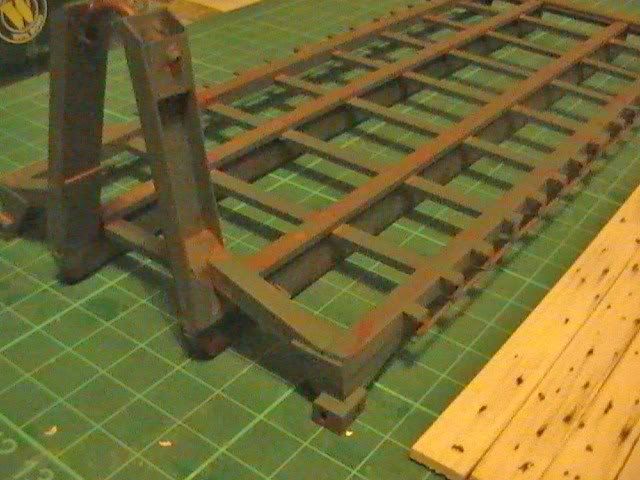 Next a mix of grey shades made of the Works acrylic tube black and white paint. I made sure the tones varied slightly over the length and width slightly.   Also added some slight brownish tinges to replicate rust stains since these flat-racks carry a range of wooden and metal pallet loads.  And to ensure it is not too dark, I blended with my finger and also used paper towel to wick the excess off, again looking for variance across the rack.  Next was the rust and shading on the metal. Having hunted high and low, I did not find hairspray. Plan B meant raiding the larder instead for salt. To get the rust shades I used Humbrol NATO brown as the base colour, and then again used the Works tube paint, burnt umber and white to mix more and more pinker shades on top. 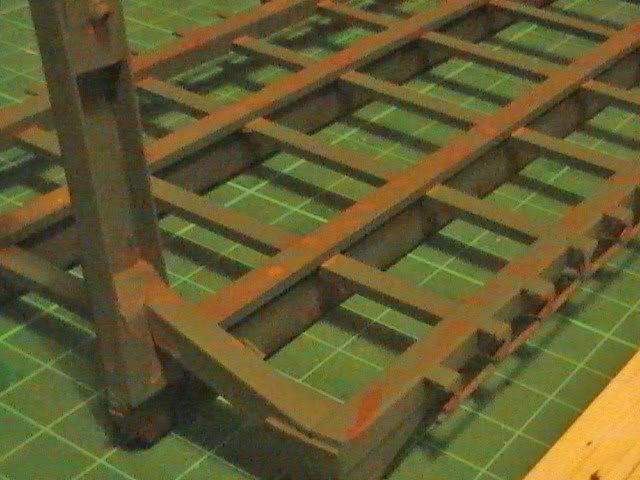 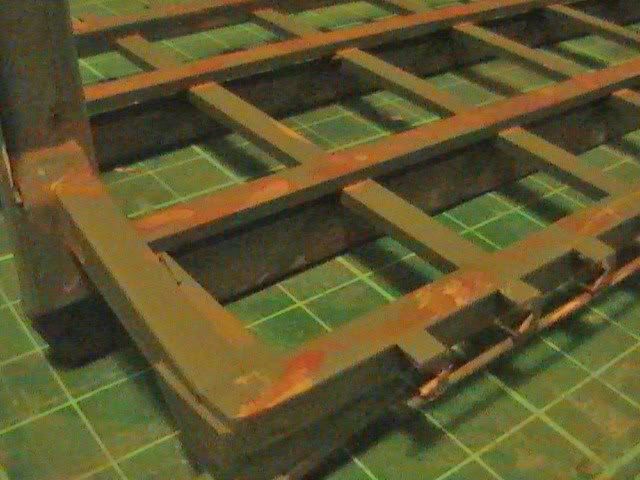 As you can see I did quite a lot on the side and middle rails, as these are going to take the worst of the weathering. Appears overdone at this stage as I kind of thought the next green shade would cover some over anyhow.  After chatting with Nick, I applied the salt quite liberally over the worst areas of weathering using my photos for reference. As Nick had confirmed, the salt stuck to wetted areas and formed blobs in places of interest like nooks and crannies where water might gather. 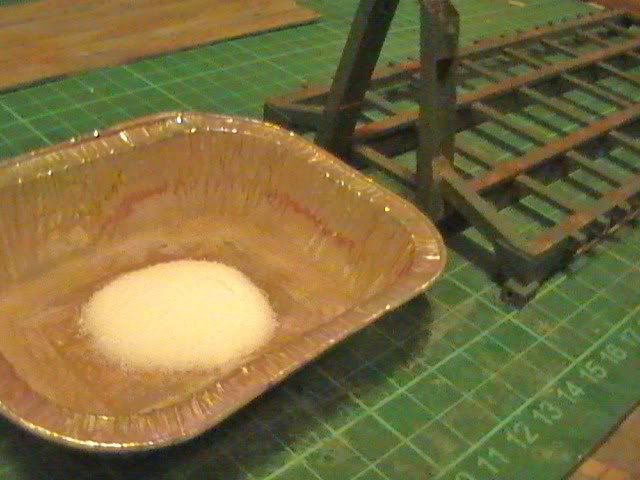 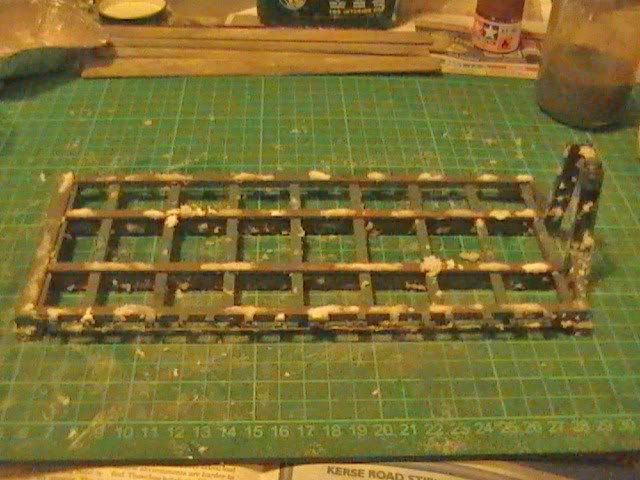 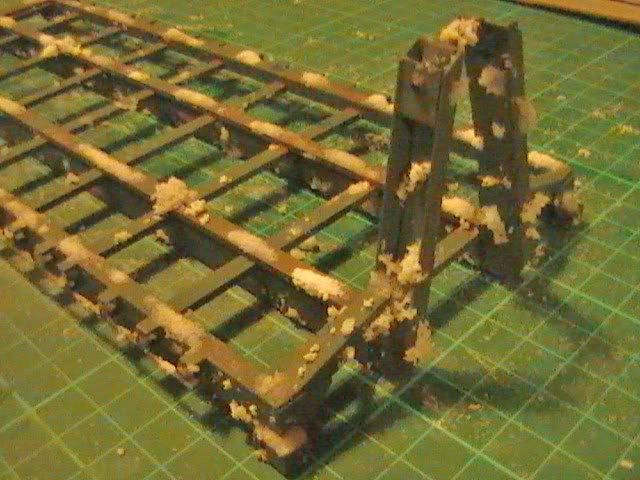 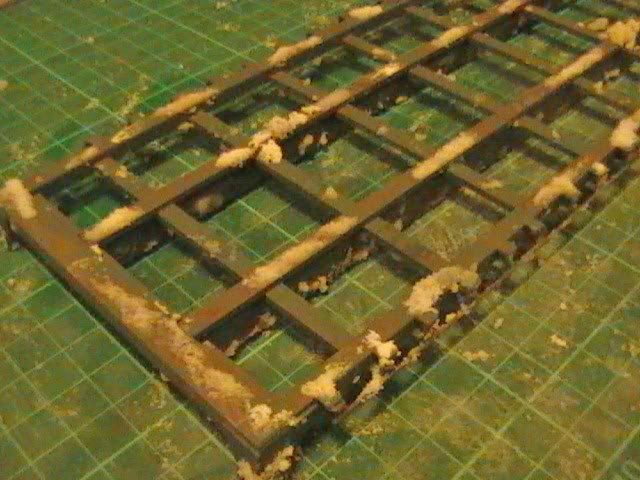 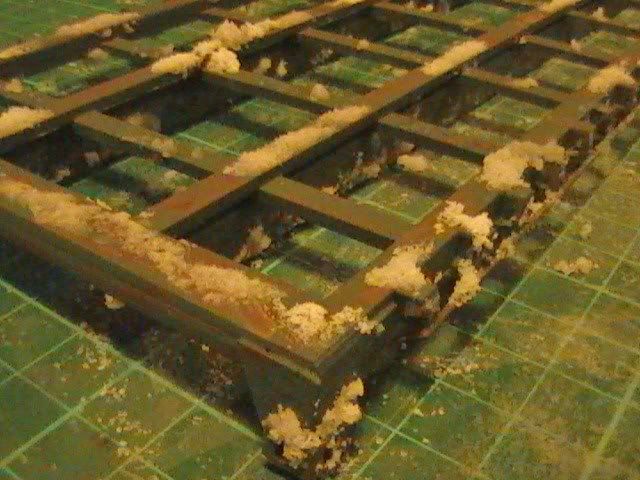 With the wood back on the flat-rack, I set about adding some wear and tear on the planks and was fortunate to have picked up a nail sandpaper file that had something sharp accidentily superglued on it that scored the timber on the first pass. It was the look I was trying to achieve with a mix of faded, sanded and lightly scored timber.  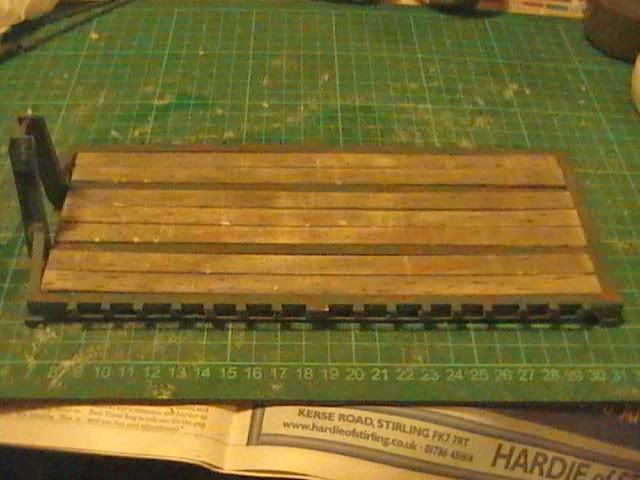 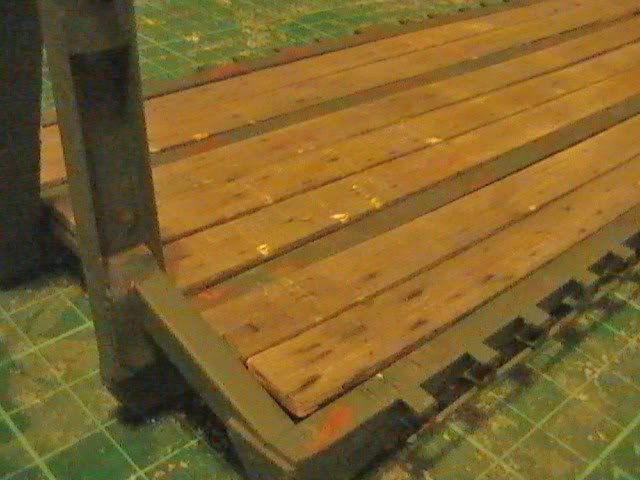 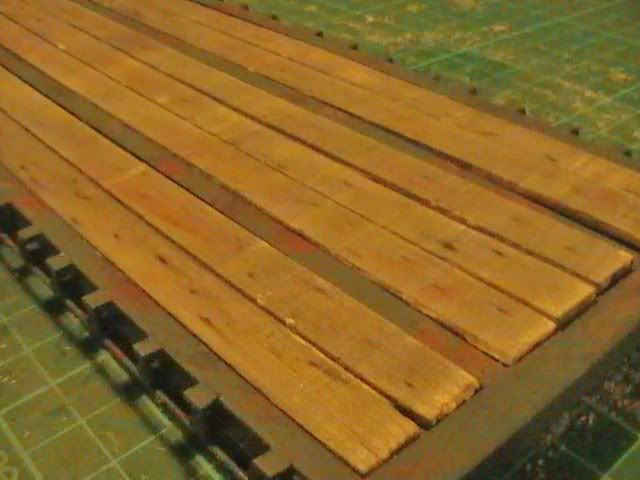 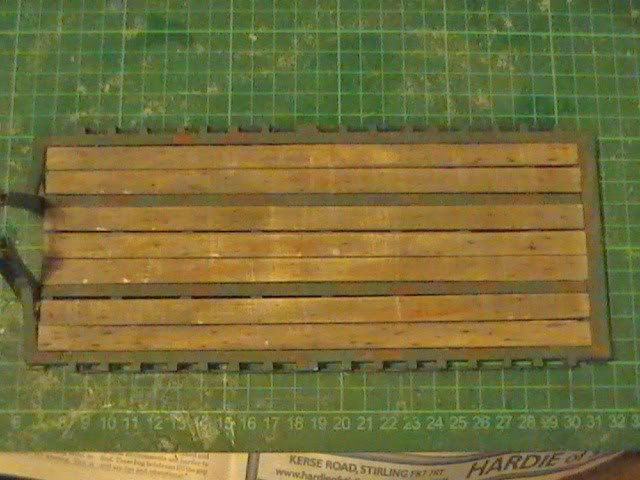 Its first load, the Sanky trailer 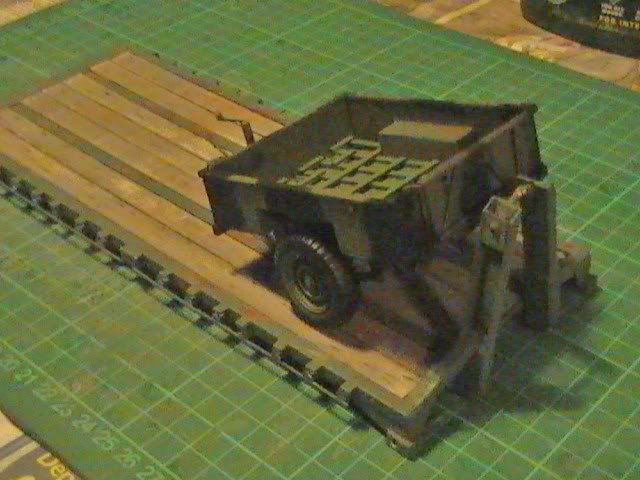 The aluminum tube to catch the LHS hook has a degree of green paint, rust and fresh scratches from the hook. 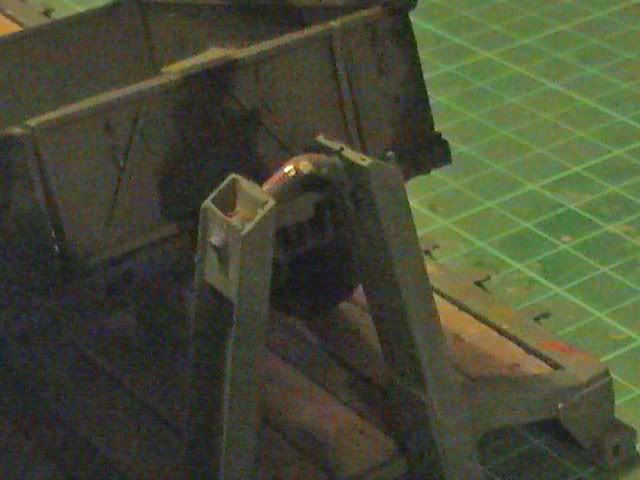 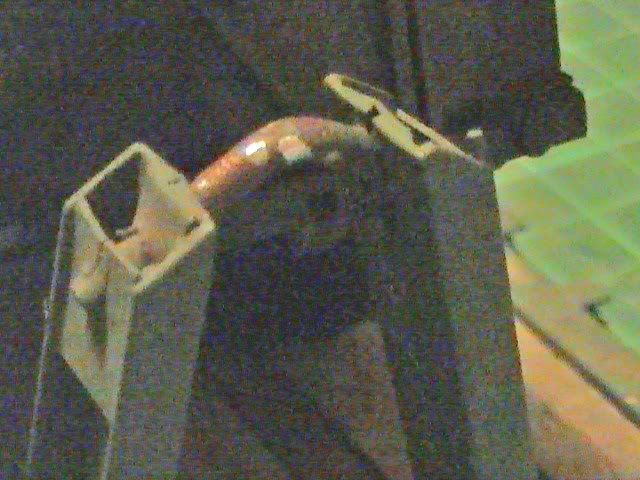 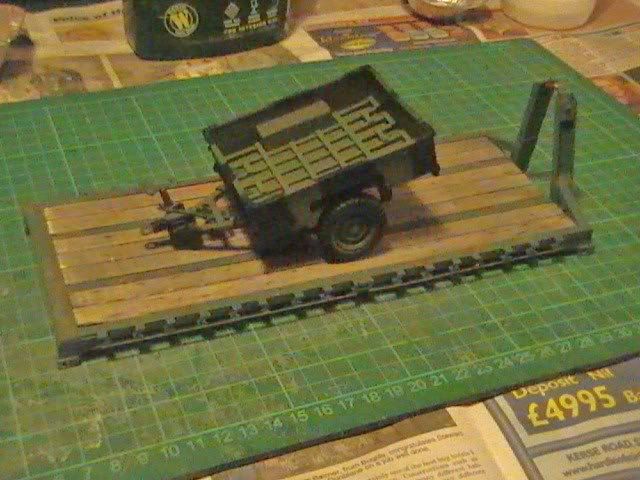 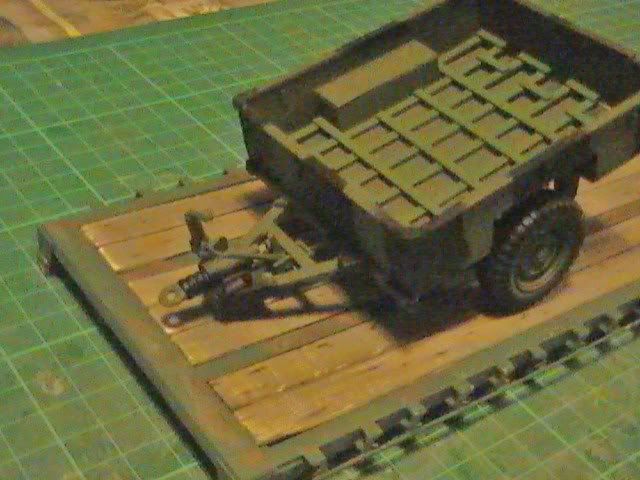 I am quite chuffed with the effects and will be using these techniques through my next painting of DROPS and Landies. Thanks Nick for guiding me through. Nige |
|
|
|
Post by okdoky on Dec 19, 2011 19:40:38 GMT
|
|
|
|
Post by popeye on Dec 20, 2011 16:15:28 GMT
. Nige - this is tops ! I'm not into wheeled things - but this kind of realistic weathering is worth a special acclamation  Rolf |
|
|
|
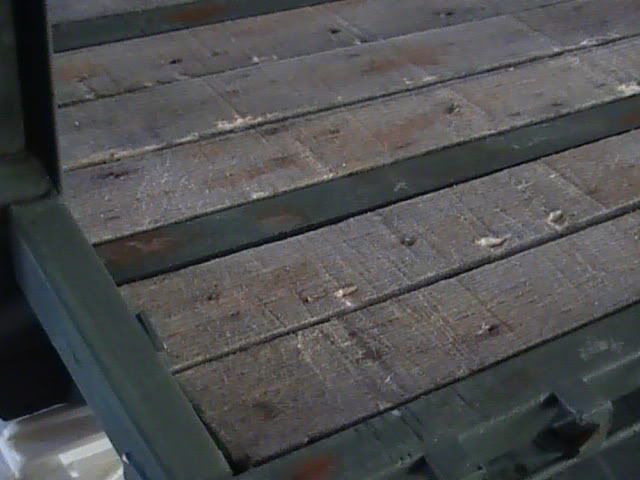
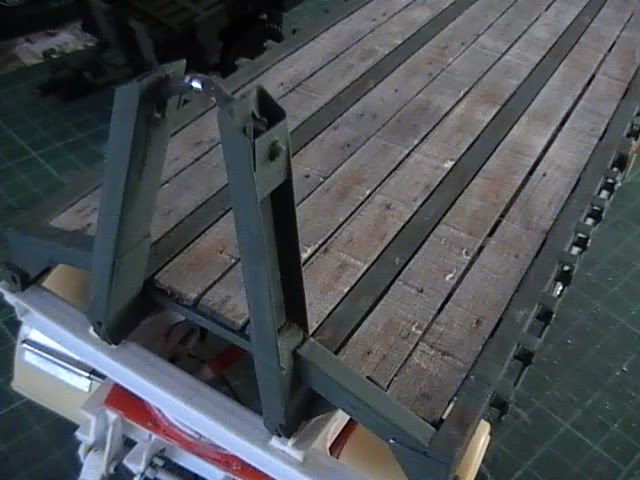
Post by okdoky on Dec 20, 2011 16:36:58 GMT
. Nige - this is tops ! I'm not into wheeled things - but this kind of realistic weathering is worth a special acclamation Rolf Thanks Rolf Thought I would add a bit of rough metallic sheen to some of the rust patches and a few lighter perpendicular pallet scuff marks on the top surfaces and edges of the metal rails by rubbing a soft pencil lightly over. I think it works quite well. 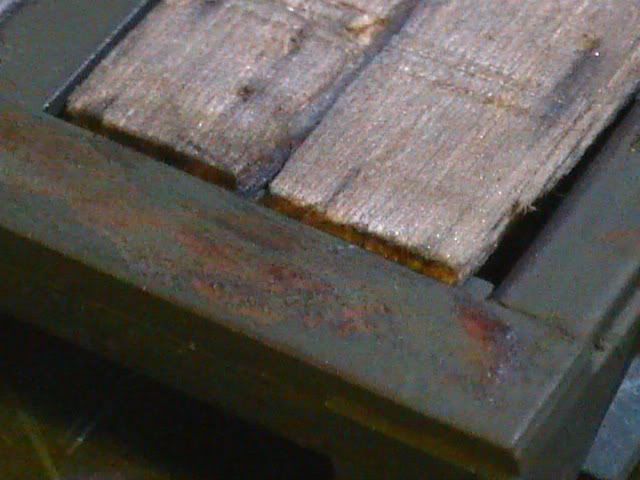 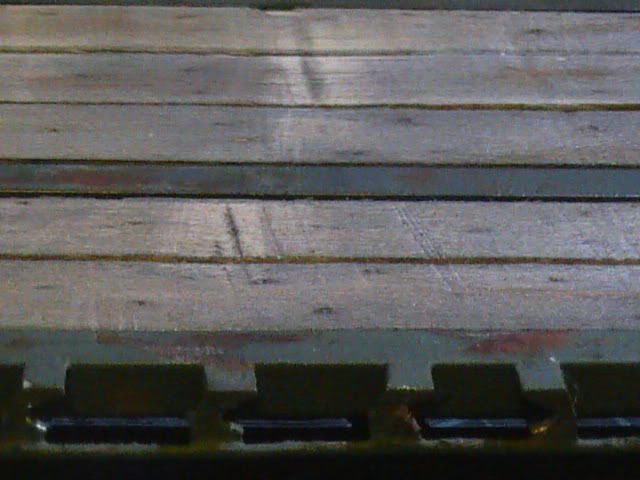 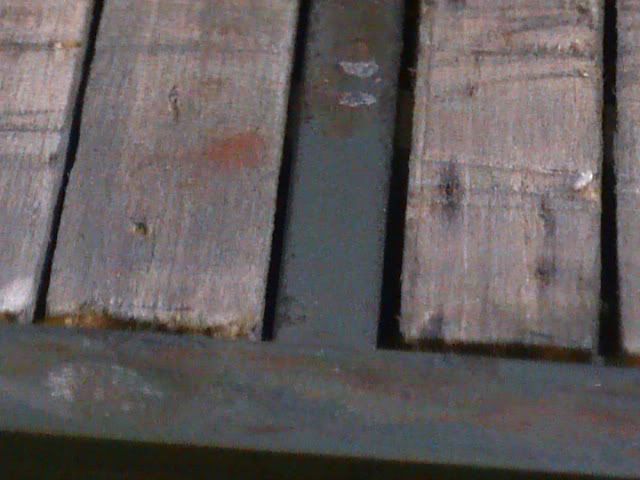 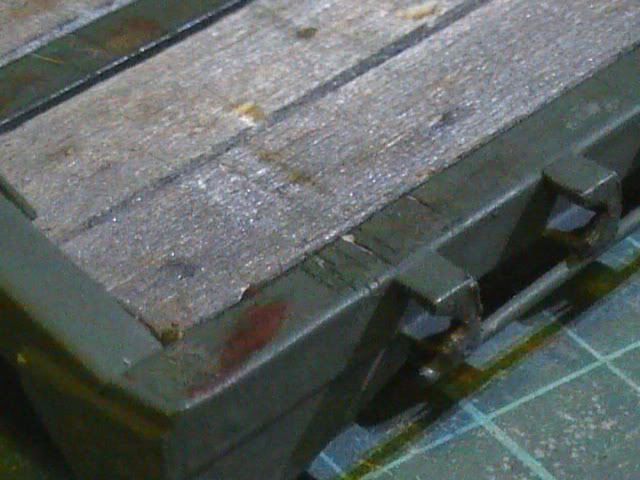 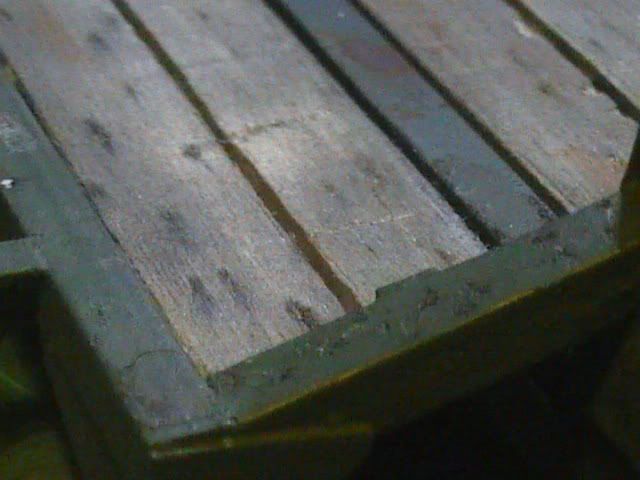 |
|
Deleted
Deleted Member
Posts: 0
|
Post by Deleted on Dec 20, 2011 19:07:04 GMT
You've done well with this Nige!
|
|
|
|
Post by grousebeater on Dec 20, 2011 21:14:31 GMT
Nige,
this is coming on great guns mate, really impressed with it and top class weathering.
If you are going to use your land rover(s) and trailers as your load, let me know and i'll get you the correct lashing diagrams from the JSP. wouldn't want some pedant to mark you down for it lol
iain
|
|
|
|
Post by okdoky on Dec 21, 2011 12:37:49 GMT
Hi Iain and Nick
Nice to see you guys looking in as usual.
I noted on one of the photos that one of my welds had split on the bed head frame. These crazy ARABS cannae drive !!!!! Get the STABS to do a proper job !!!!! Ha ha ha ha ha ha !!!!!!!!
So, out with the glue and a good strong clamp and it has pulled together. That is one area not needing repair now.
I remember the bed head frames had a luminous bulb fitted to allow easier locating of the flat-rack when driving in blackout conditions. Only problem was the bulb was prone to getting a direct strike off the LHS hook from drivers wrongly aiming at the bulb.
Instant radioactive leak incident requiring the flat-rack to be taken out of use and major clean up incident.
Not surprisingly, the flat-racks no longer have them.
It was great watching the DROPS transfer at Carmyle and I was so tempted to ask you for a shot to see how much I remembered from my training. As you can see, with your help I am making big in-roads into the build now and the info is making life a damned sight easier than it would have been without your help. Greatly appreciated.
I do have the JSP for the restraints as that is within my notes from way back when. Ha ha ha !!!! So flippin' long ago. I will need to source enough ratchet straps (KFS probably) for both flat-racks.
If you do manage to get hold of the Bedford TM chassis, body and parts drawings, let me know so I can crib enough info off them to make a start on the scratch build of that one.
Thanks again
Nige
|
|
|
|
Post by okdoky on Dec 21, 2011 22:44:35 GMT
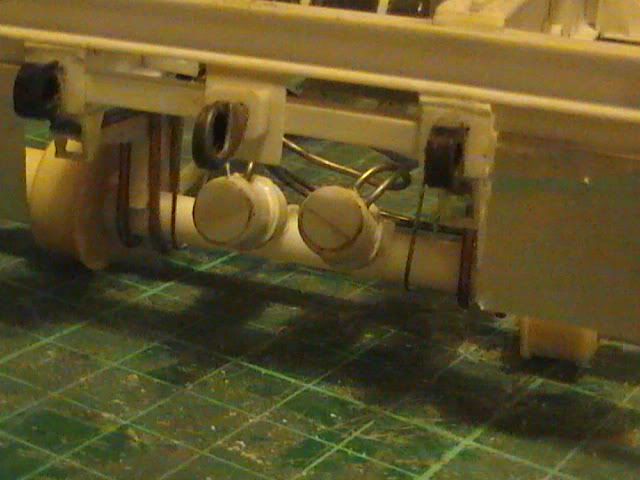
Tube inside tube, 1x1mm strip, 'U' channel and circles cut with a hole punch and I have some brake actuators.  I had a set from a spare axle to estimate sizes from (the pair in black)  Solder wire for plumbing   Nige |
|
|
|
Post by okdoky on Dec 21, 2011 23:33:47 GMT
|
|
|
|
Post by okdoky on Dec 27, 2011 18:58:40 GMT
Was trying to fit the brake actuators and connecting pipework but ended up breaking more than I was fixing.  Ended up having to backtrack slightly on the air reservoir and its hangers to make it fit.   Also made the trailer brake shunting controls and valves on the turntable  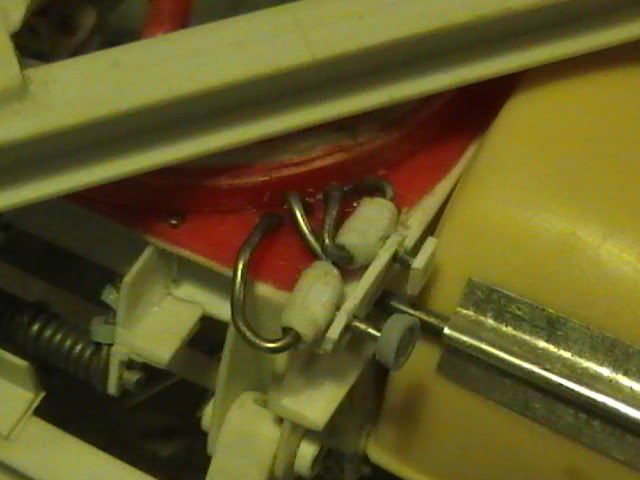 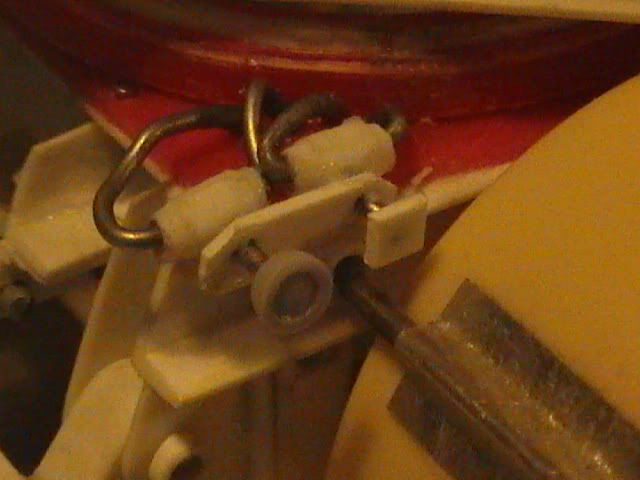 Turntable brake actuators added and awaiting connection of pipework to valve sets. 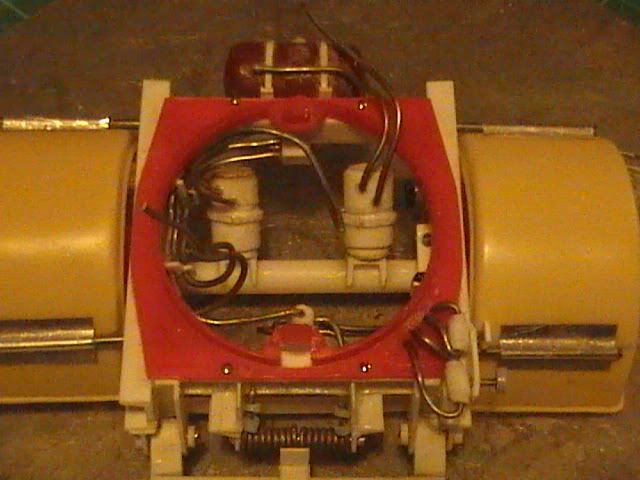 Connection to flexi hoses of main trailer frame will need to wait till after painting. Nige |
|
 Members' Forum")