|
|
Post by okdoky on Dec 27, 2011 21:46:27 GMT
|
|
|
|
Post by okdoky on Dec 28, 2011 5:59:31 GMT
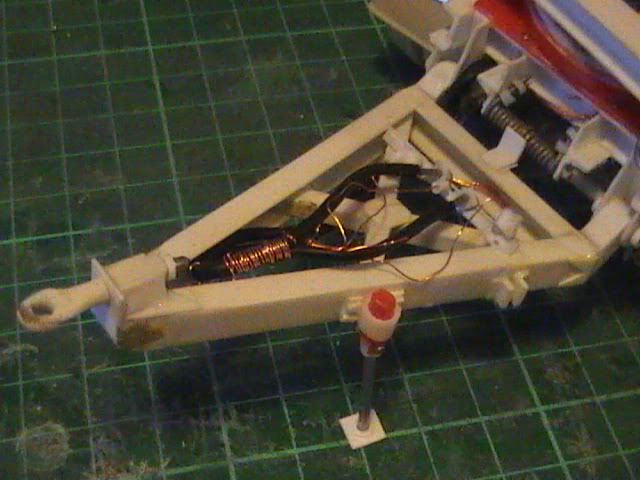
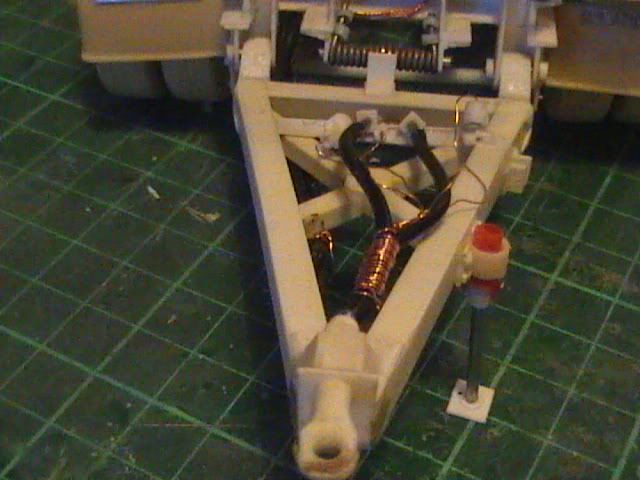
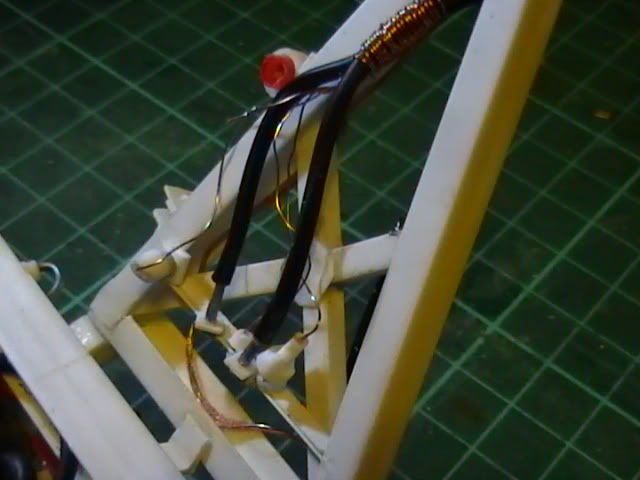
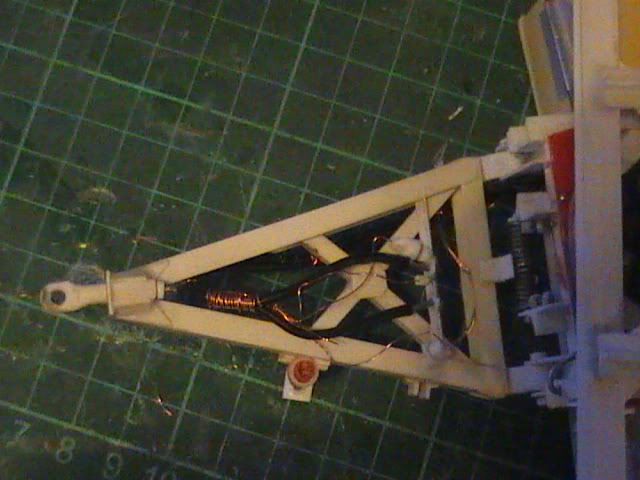
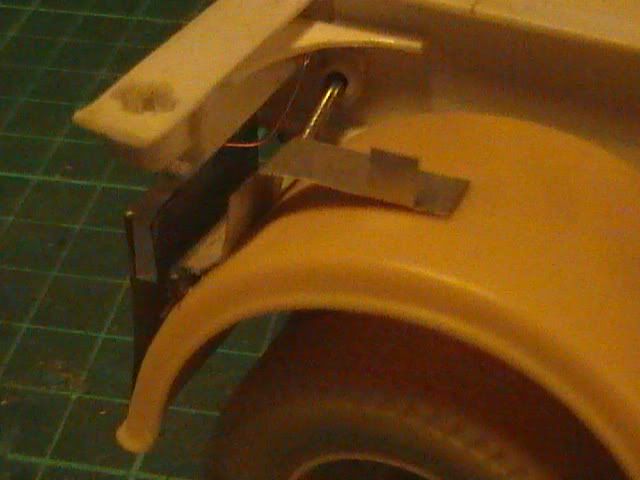
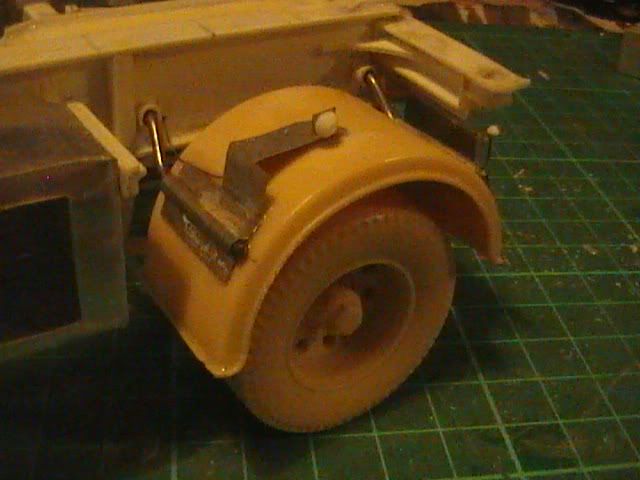
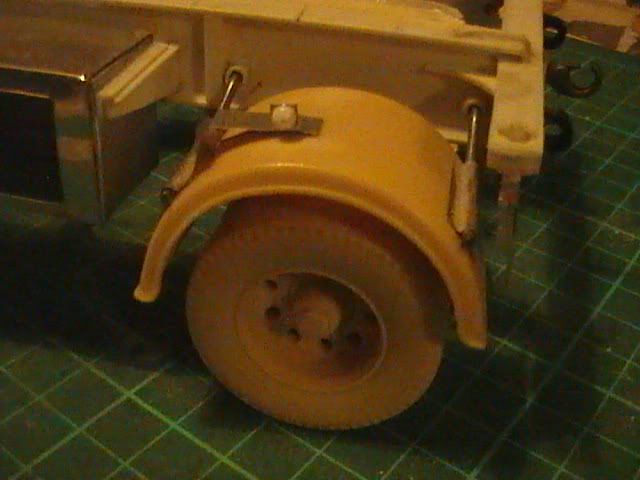
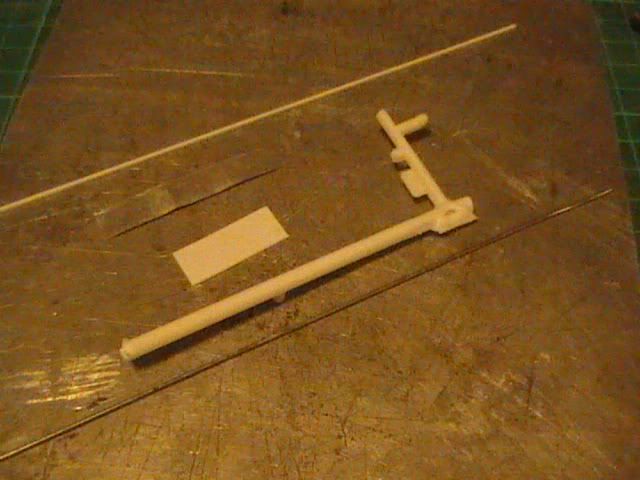
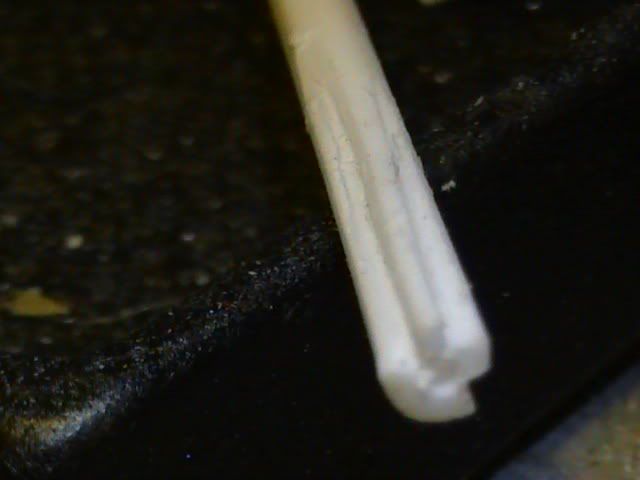
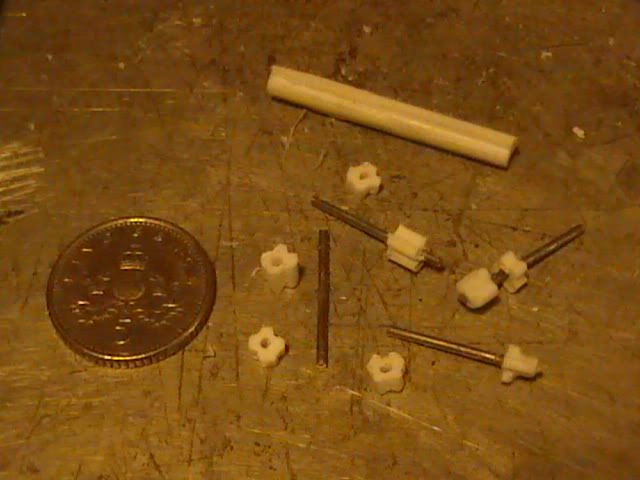
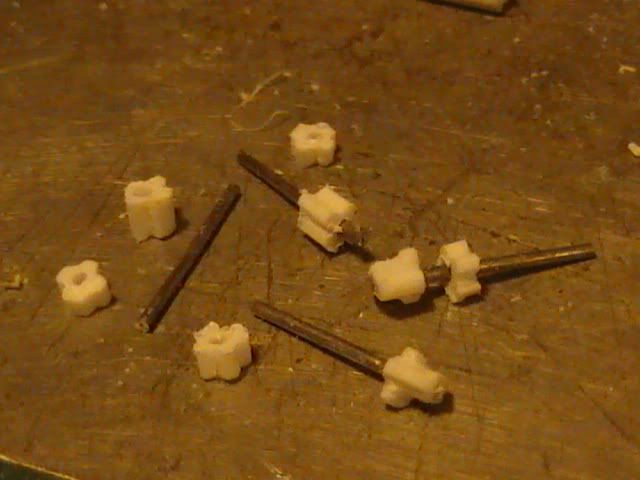
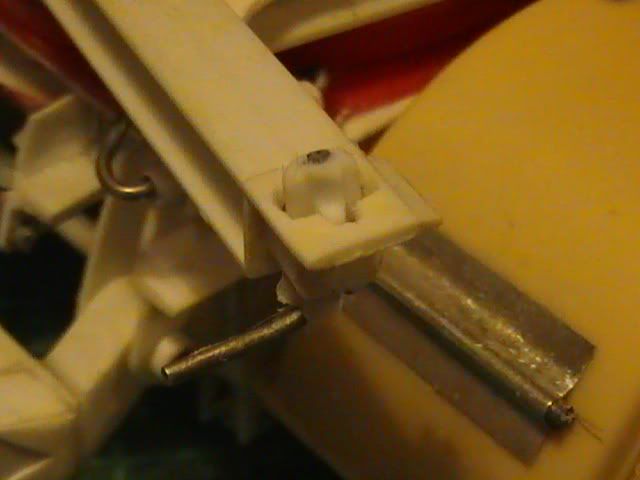
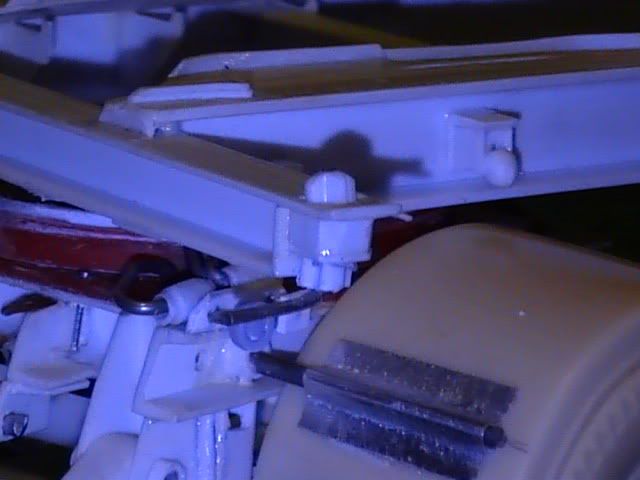
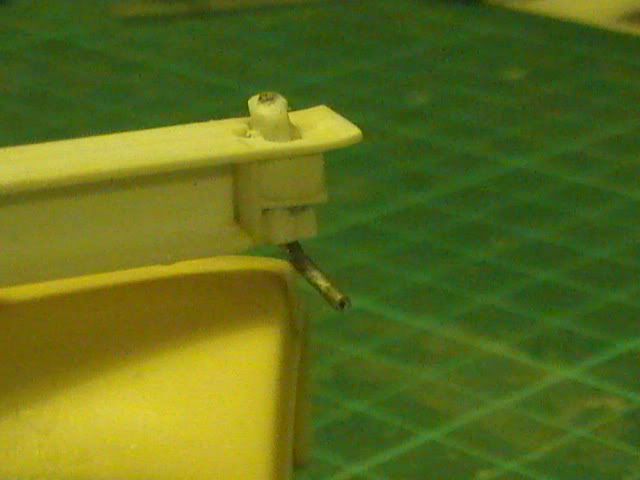
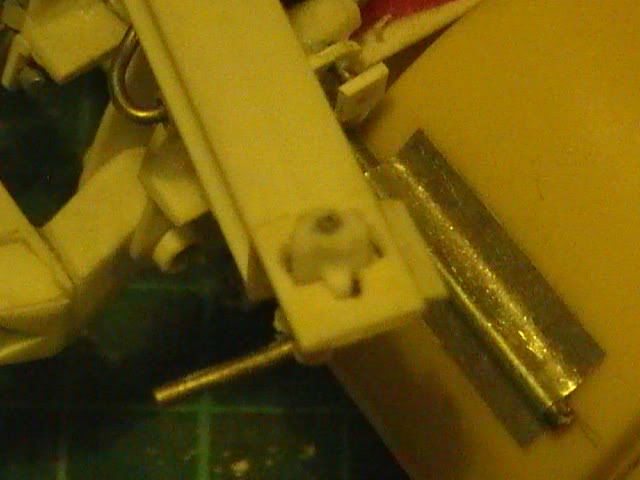
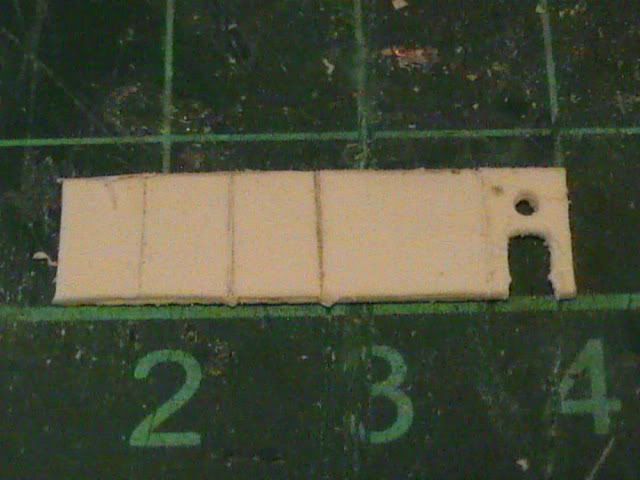
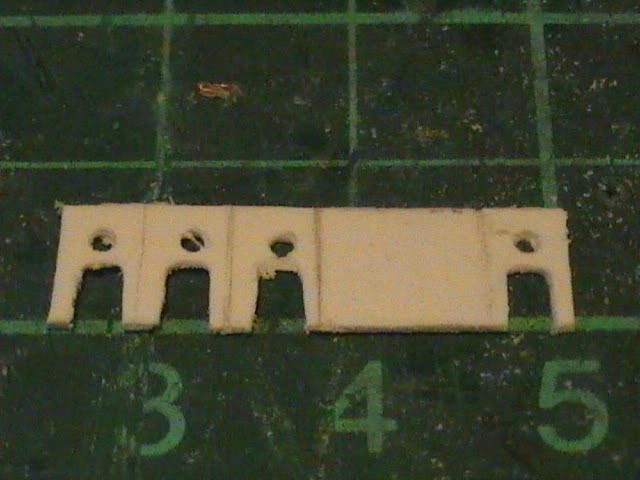
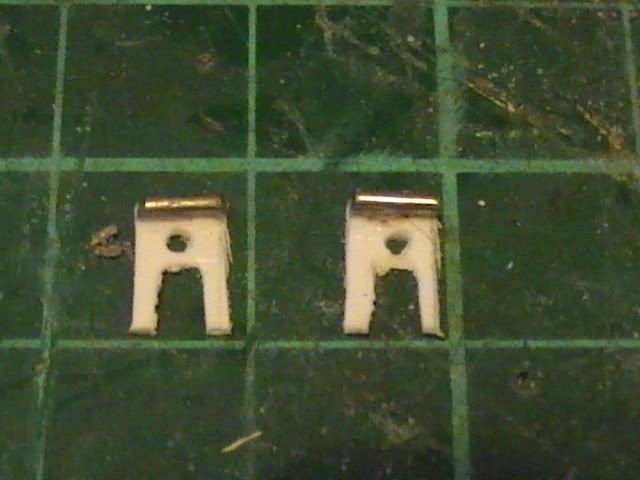
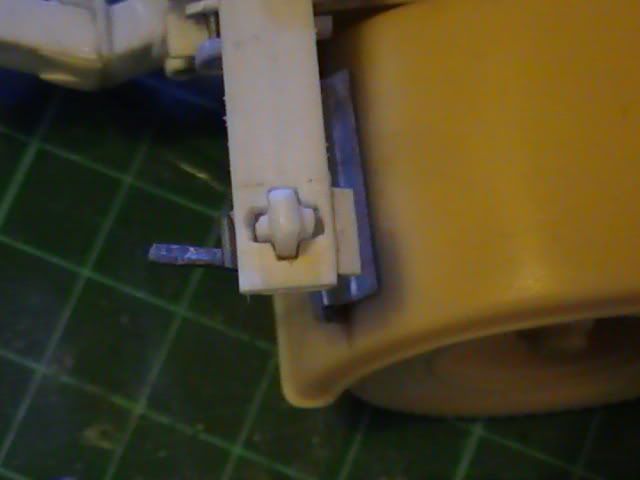
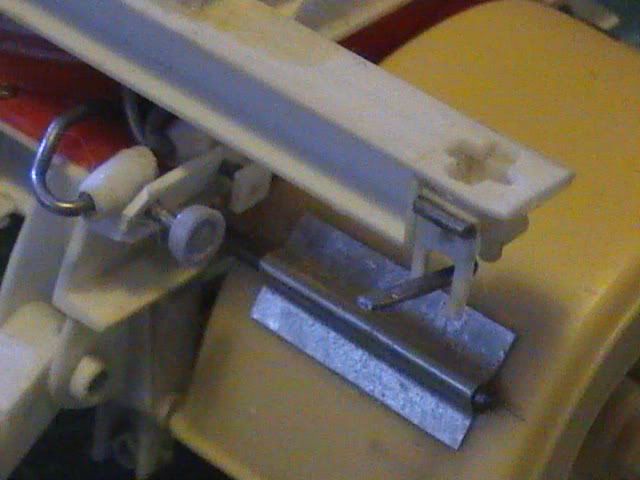
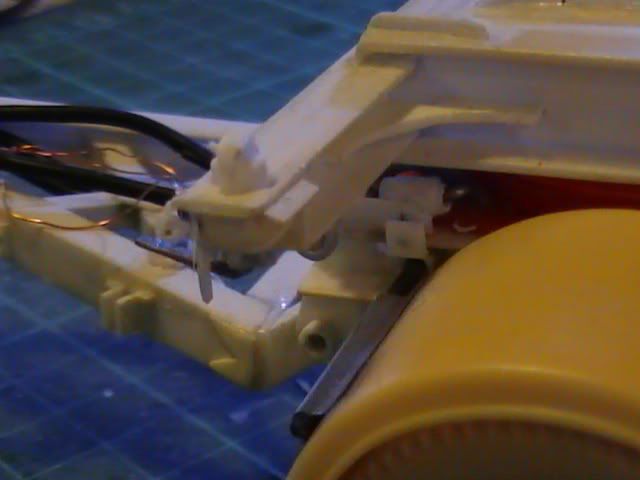
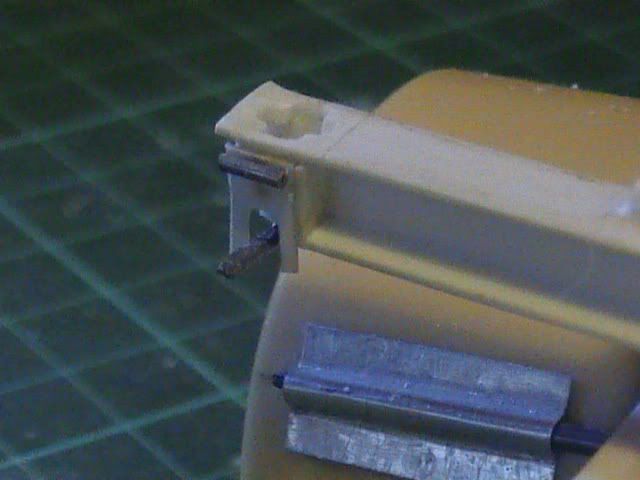
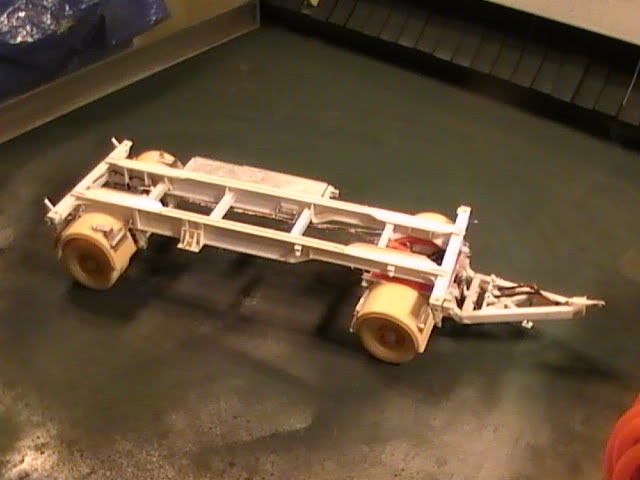
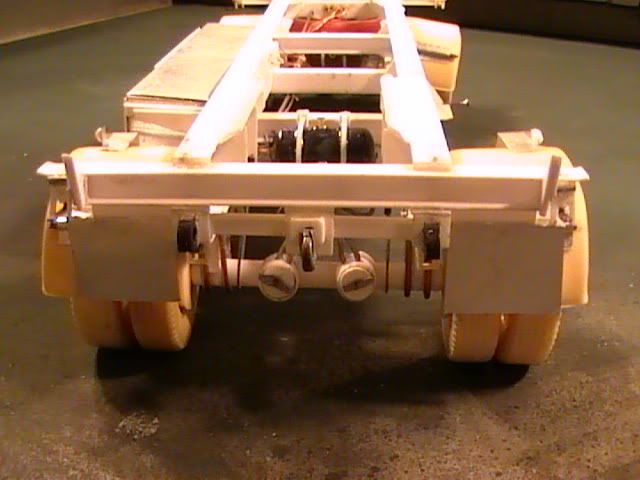
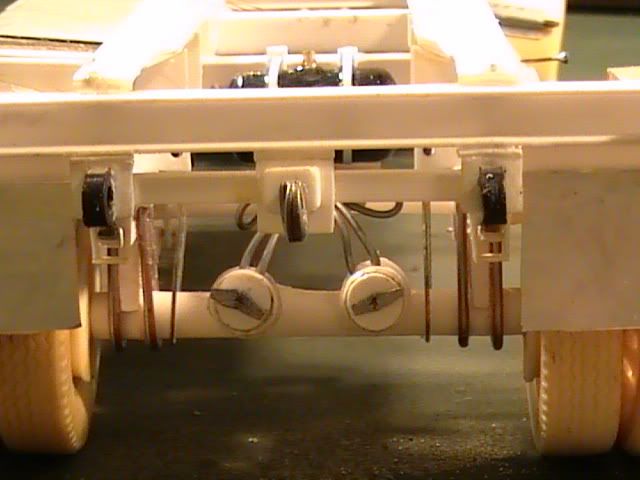
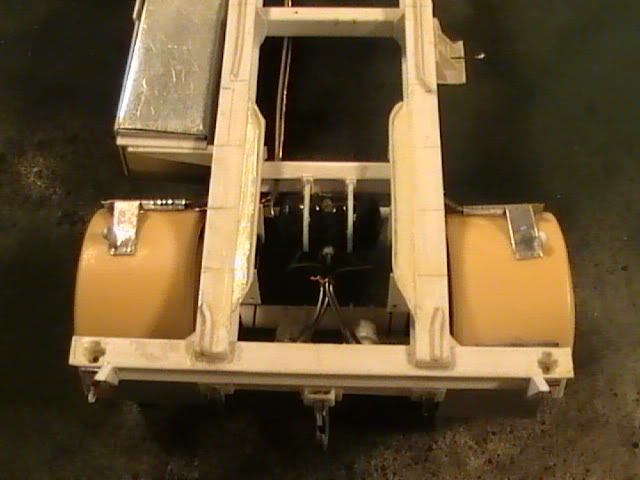
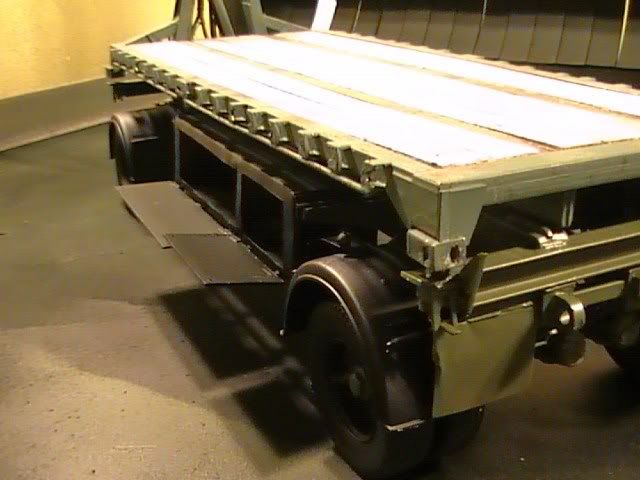
Sat up late tonight watching the North Korean funeral procession and making the side marker lights for the trailer. What a combination !!!!!!!!!!!!!!!!!!!!!! Angle sections to mount onto the chassis frames, then thin channel downstand sections to mount the lenses onto. The lenses are sprue cuttings sanded and shaped. 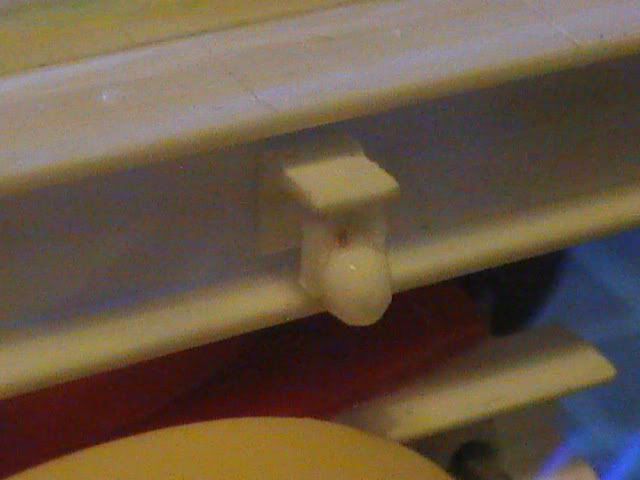 Copper wire is to be run to each of the marker lights.  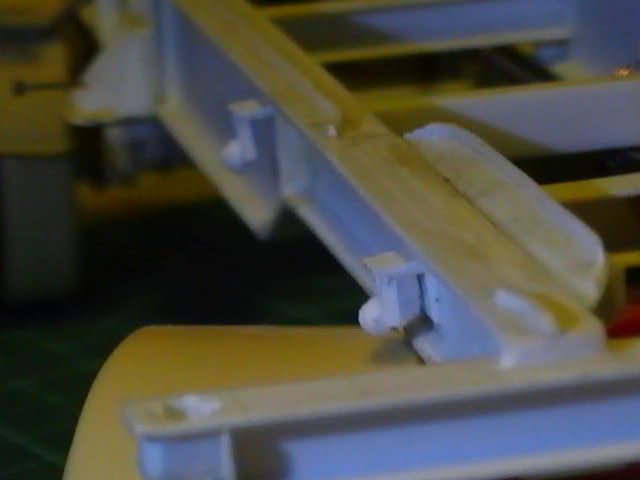 One large wiring box and main wiring loom 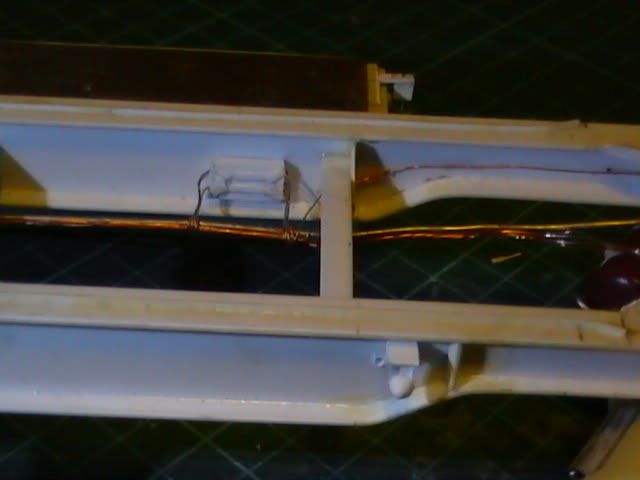 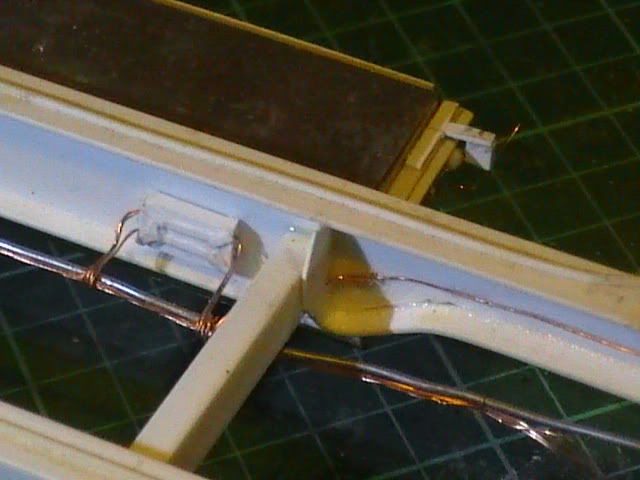 Small and fiddly but will be so visible Nige |
|
|
|
Post by okdoky on Dec 30, 2011 2:48:58 GMT
|
|
|
|
Post by okdoky on Dec 30, 2011 16:10:11 GMT
|
|
|
|
Post by okdoky on Dec 31, 2011 15:52:54 GMT
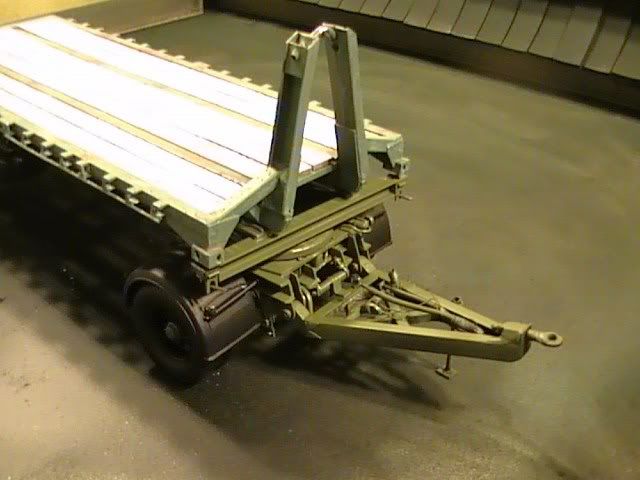
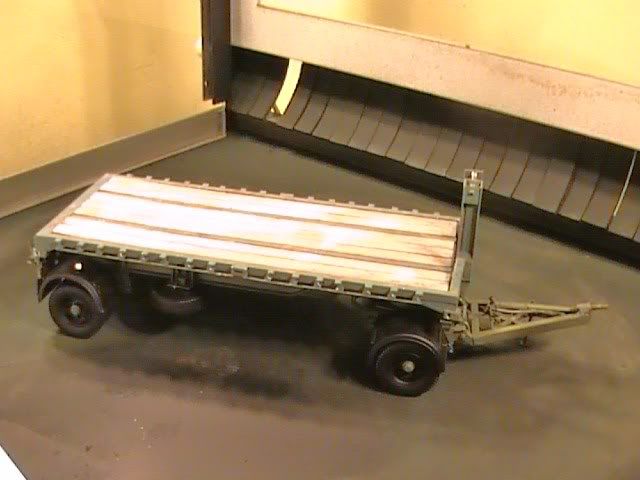
The king trailer is now drying after a coat of black and nothing has fallen off so far !!!!!!!!!!!
Maybe a first coat of green tomorrow !!!!!!!!!!
Nige
|
|
|
|
Post by okdoky on Jan 1, 2012 22:49:42 GMT
|
|
|
|
Post by okdoky on Jan 4, 2012 0:33:09 GMT
Made a start on altering a donor engine to a Rolls Royce Perkins 500 Eagle Engine. Not got a clue where this lump came from as it has been in my stash for years in the spares pile. Cut off the main parts that were out of position to allow me to reconfigure as best I can from the source pics I have. It may not end up totally accurate, but it will be under the big resin cab that is not likely to be in the tilted position too often, if at all. 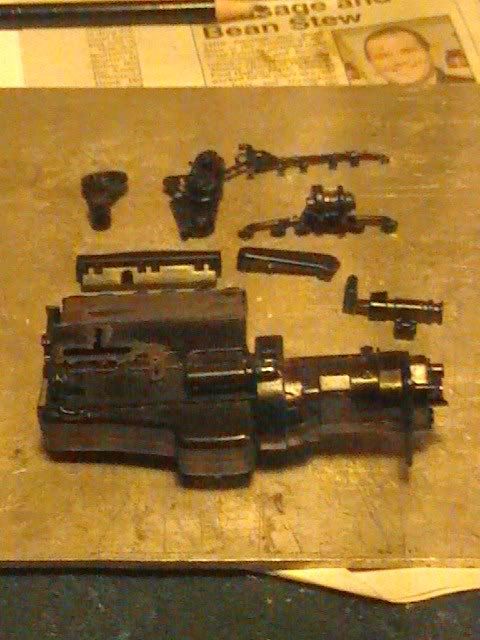 The charge cooler and pipe between the rocker covers 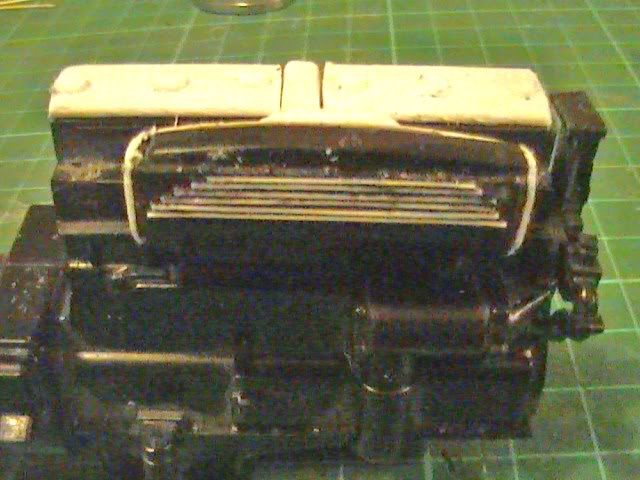 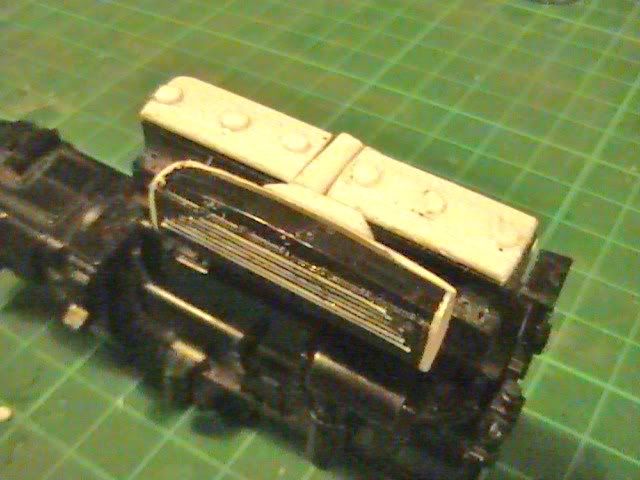 On the opposite side, the start of the glow plug locations 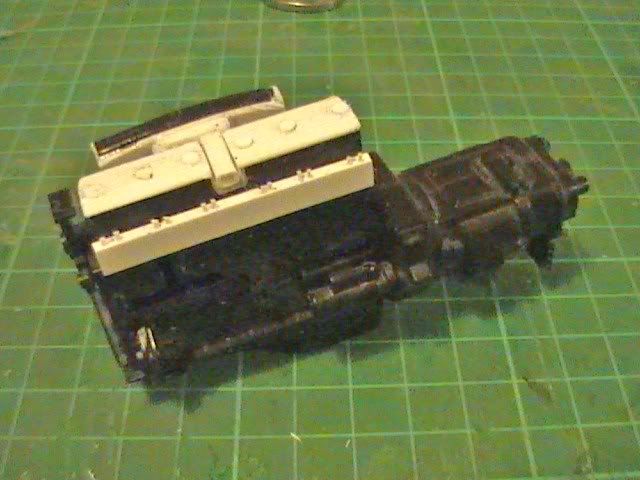 Nige |
|
|
|
Post by okdoky on Jan 4, 2012 21:06:24 GMT
Well
4 x Tamiya 100ml Dark Green (RAF) spray paint winging their way to Bonnie Scotland from Model Hobbies to get me back on track with the paintwork !!
I suppose I am contributing to the gradual demise of the so called Local Model Shop, but with only a couple of models and a few paint tins to choose from, I cannot say the shop left in Stirling can compete with the internet.
My only other choice is a 36 mile trip to either Edinburgh or Glasgow. If I take the family with me, my 4 tins of paint costs me an extra £50 in keeping the wife and kids fed and watered, transport, and that would not include the added extras Karen might want to purchase if she dragged me around the other shops.
£3.55 and my four cans are delivered to my door.
Having been a great supporter of the best model shop in Stirling when it was in Baker Street, (sadly gone years and years ago, I have a feeling I am doomed to be an internet shopper for my model supplies from now on.
SORRY MODEL SHOPS !!!!!!
Nige
|
|
|
|
Post by okdoky on Jan 6, 2012 0:32:43 GMT
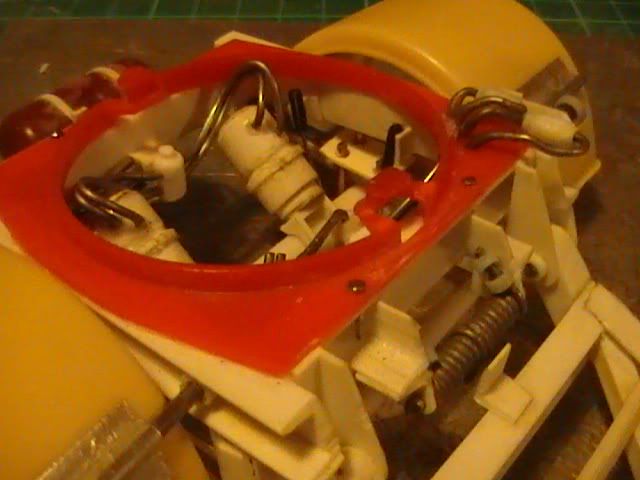
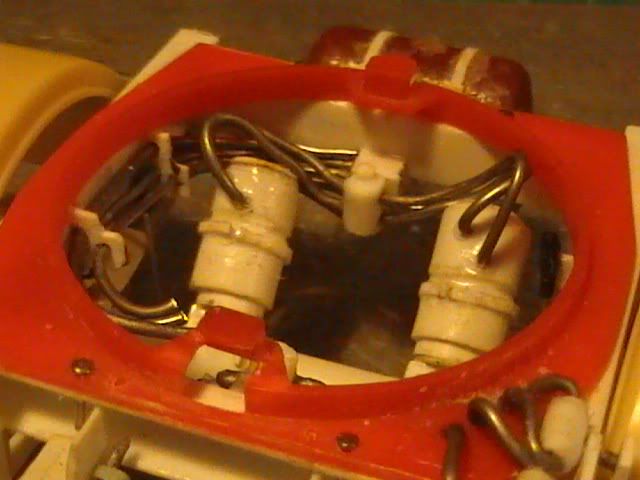
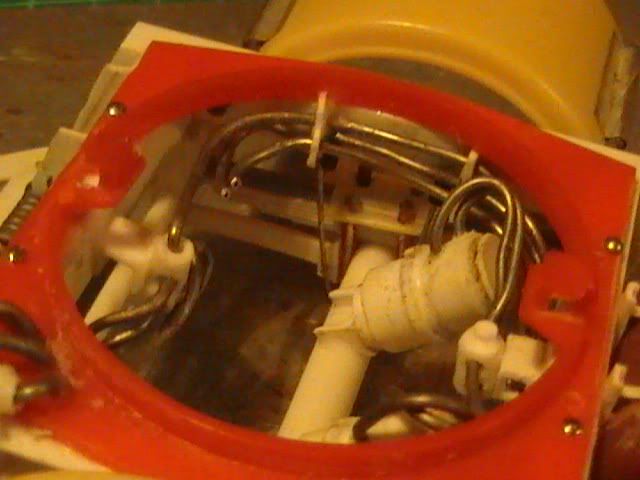
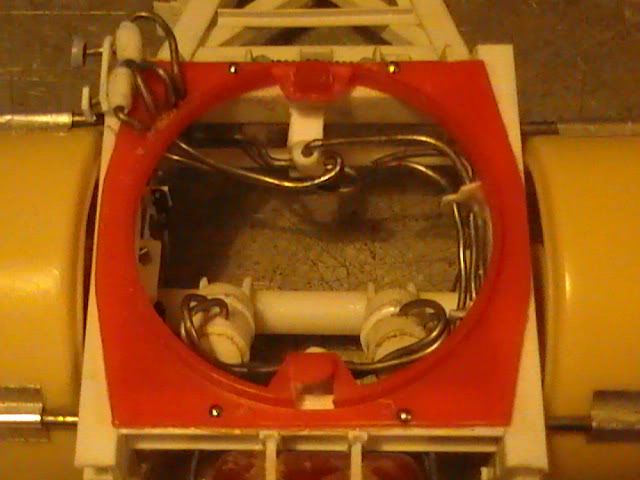
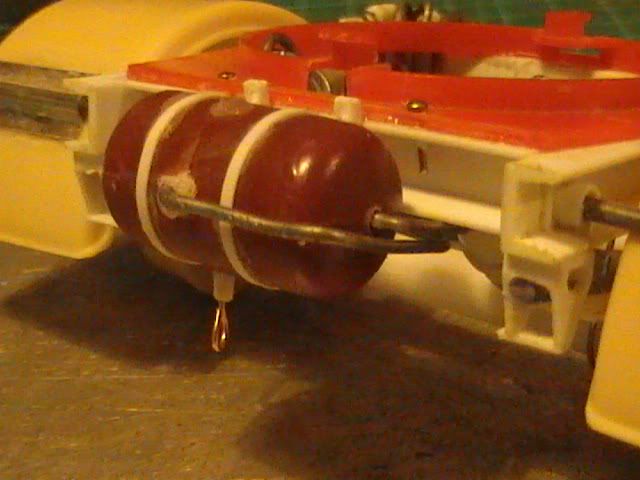
Have made a rough representation of the ZF Gearbox which will look better when there is a lot more pipes and cables around it. 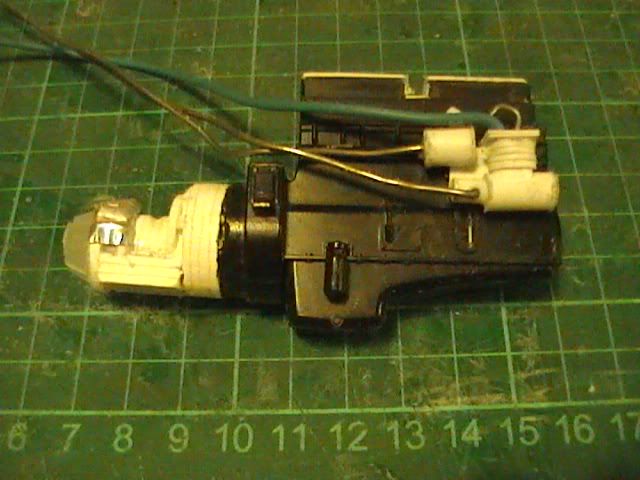 There is also the engine driven steering pump, compressor, ping tank and start of hoses that I need to try to place with some degree of accuracy to the chassis. 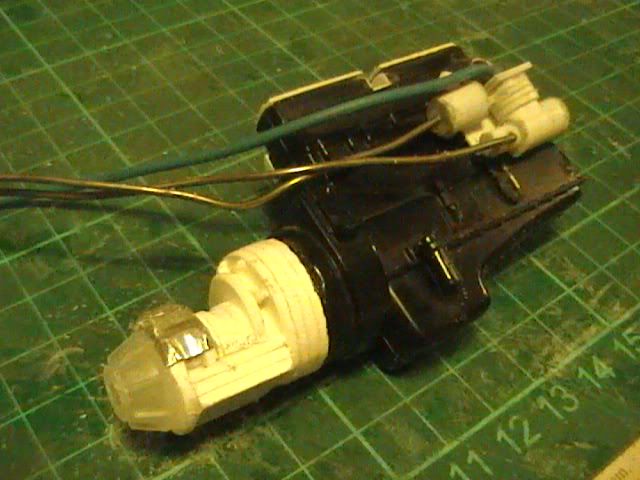 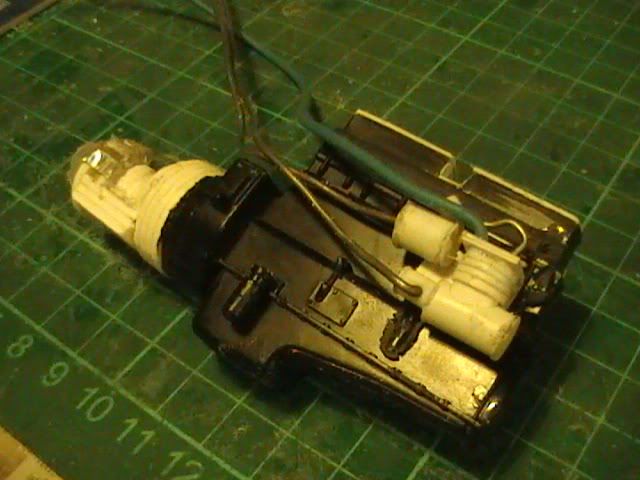 Without having any measurements to work from I managed to get the gearbox length just right to the rear mounting point which I did have 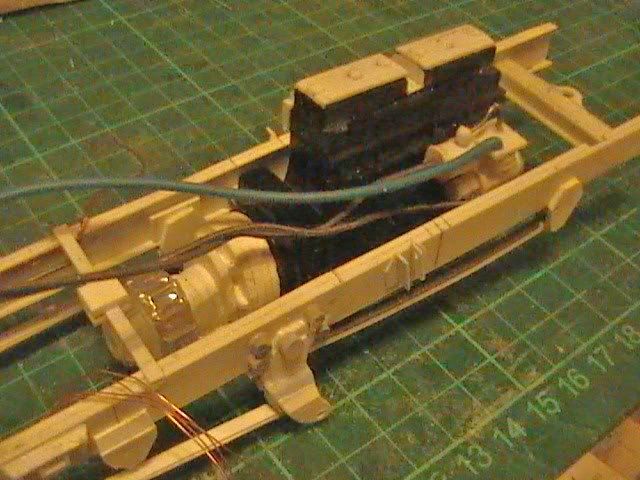 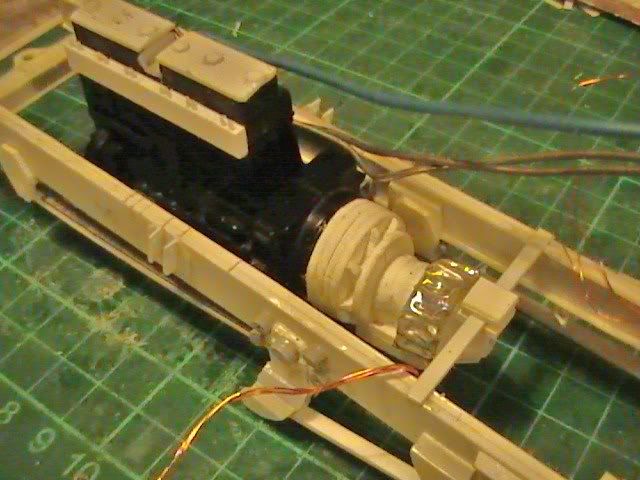 I can now start to place some of the other features like the gearbox heat exchanger, oil filters and gearbox driven steering pump etc in place Nige |
|
|
|
Post by okdoky on Jan 7, 2012 17:26:48 GMT
Added some hydraulic flexi hoses from the distributor manifold to the LHS Main Frame ram locations 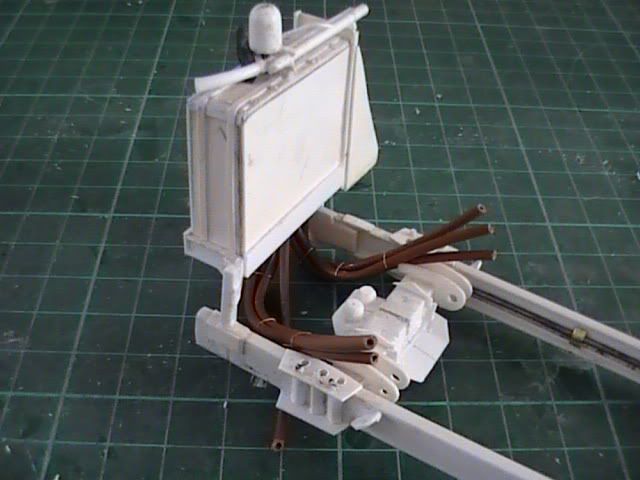 Made a decision to open up the cab vent grill for the radiator which was a little worrying as the detail on the KFS cab is so neat and I did not want to spoil the finish which will be so obvious if I cocked it up. First the inner block front cut out and part radiator removed making sure the cab mount locations not damaged. 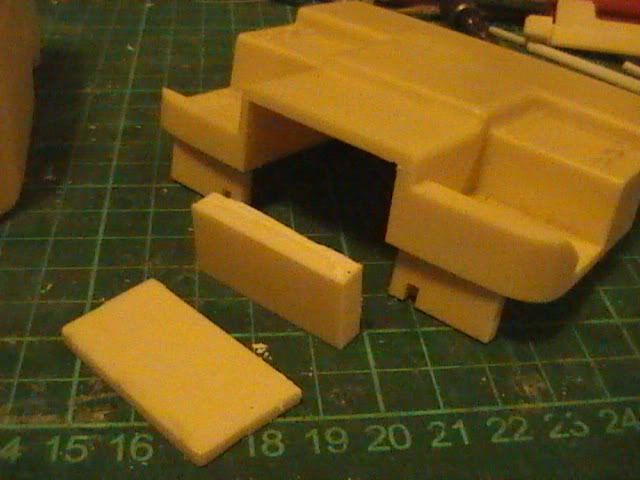 Then the grill itself 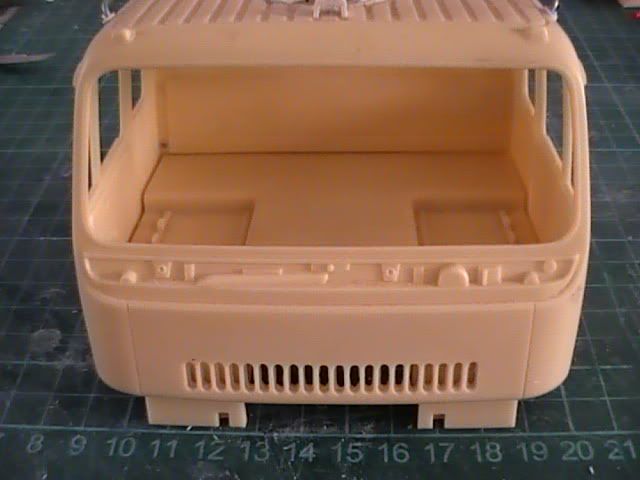 Revised the crank shaft pulley , water pump, alternator and pulley belts 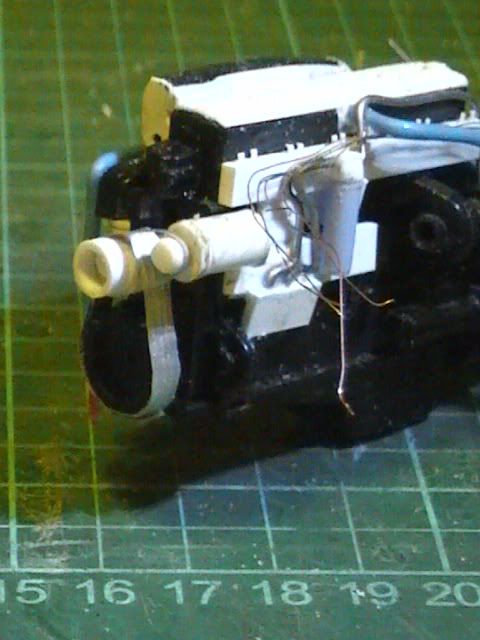 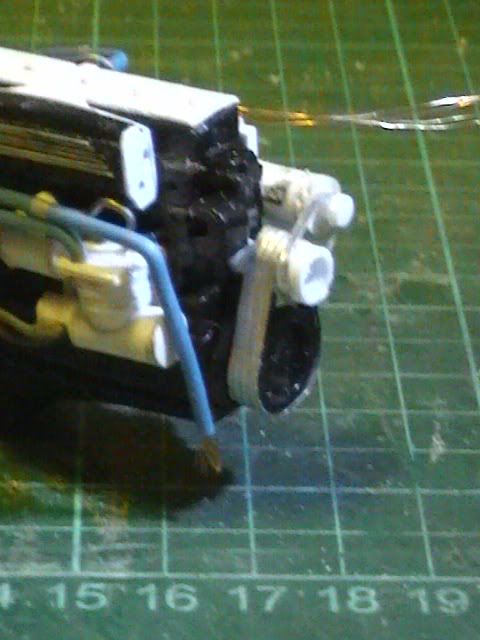 Fuel filter 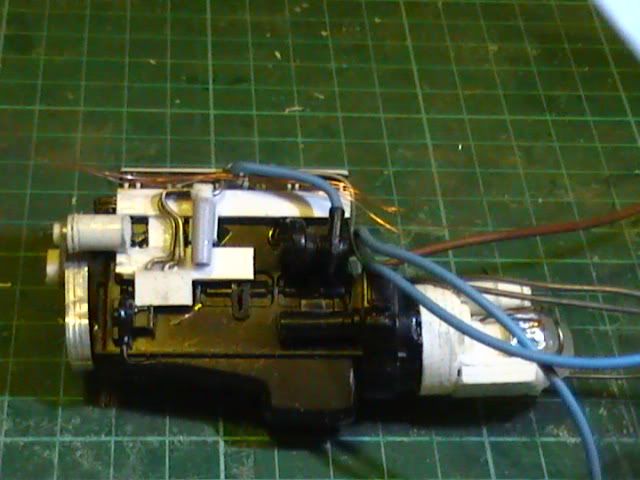 Gearbox mounted PTO for the LHS 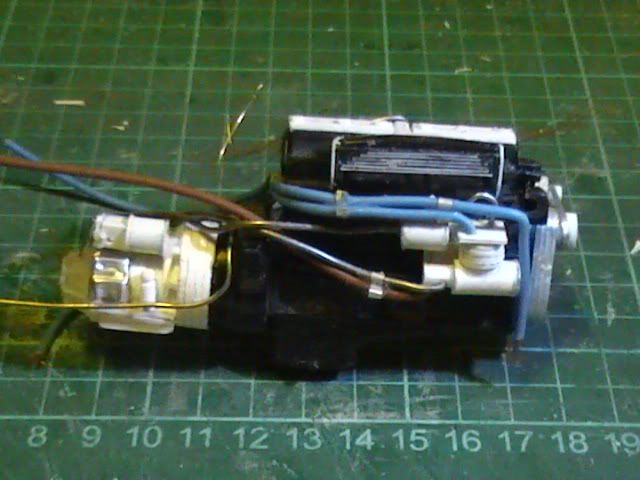 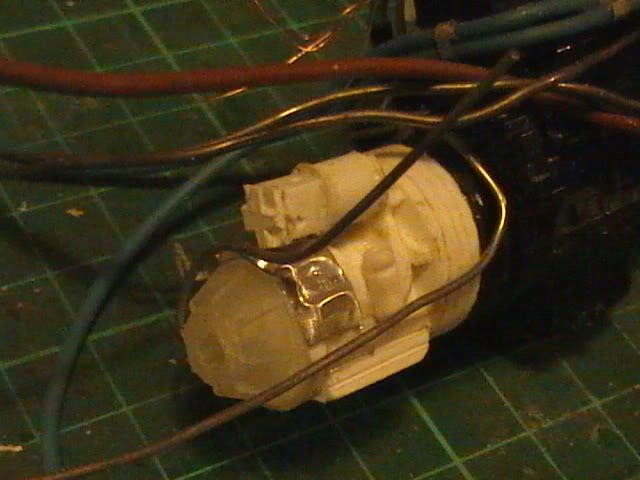 Nige |
|
|
|
Post by okdoky on Jan 7, 2012 22:50:31 GMT
While trying to find out where the oil filling pipe travels to from the front of the cab grill ,,,,,,,,,,,, I found out quite a fundamental difference with my donor engine block !!!!!!!!!
The ferkin sump is to the front of the engine block,,,,,,,,,,,,,,, not the rear !!!!!!!!!!!!!!!!!!
Out with the knives and saws !!!!!!!!!!!!!!!!!!!!!!
Helps when you find a full engine diagram for both sides.
Nige
|
|
|
|
Post by okdoky on Jan 8, 2012 0:08:51 GMT
Got out the Dremil and cut off the sump. After a quick sanding, and 180' turn Before After 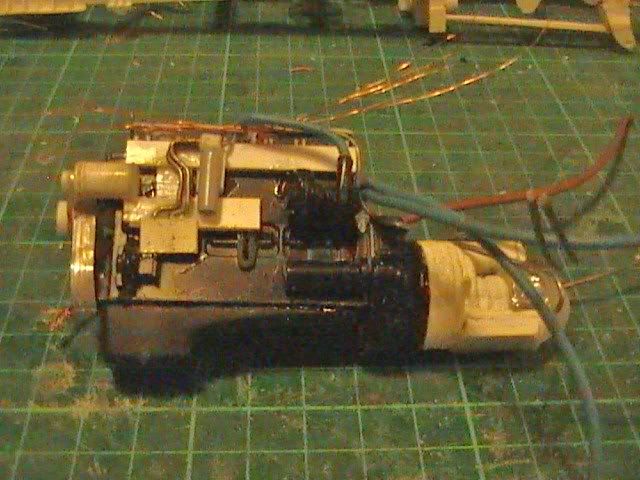 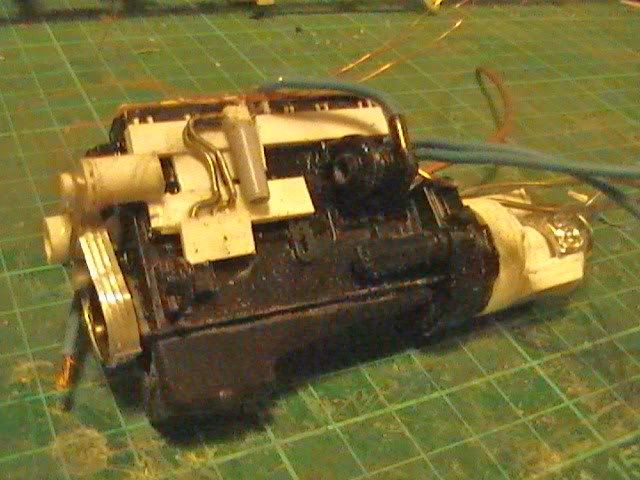 I can now position the filler pipe to suit the new sump location as the pipe arrives just below the sump join line Thankfully, never fixed the engine in place within chassis Nige |
|
|
|
Post by okdoky on Jan 8, 2012 21:21:00 GMT
Added the top hose, thermo-fan sender cable and overflow pipe to the radiator 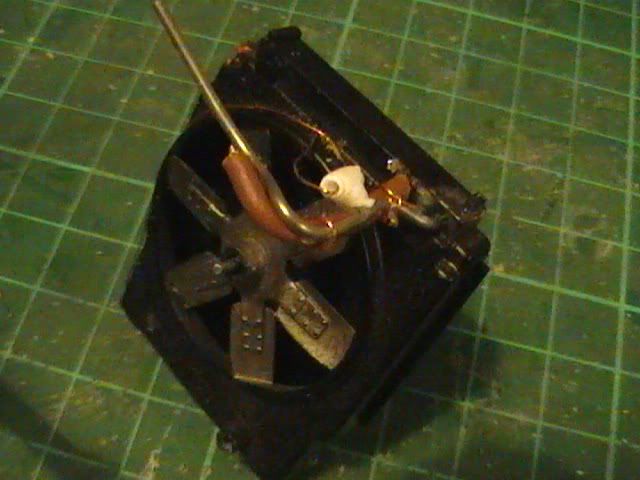 Oil filler pipe to the sump (now in the right place)  Oil to coolant heat exchanger and oil filters made from sprue off cuts 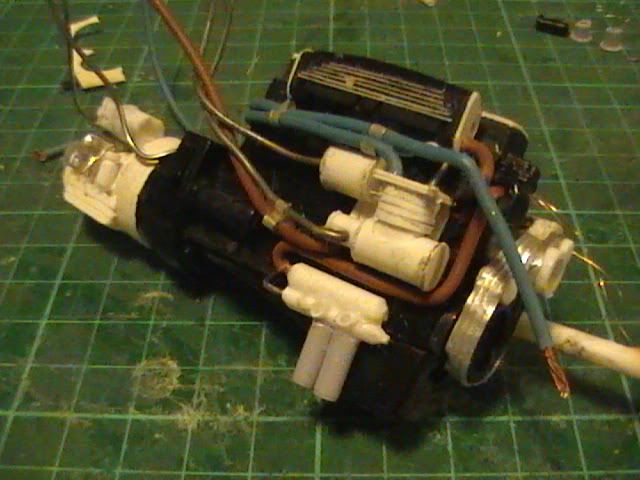  More hoses and pipes in place now 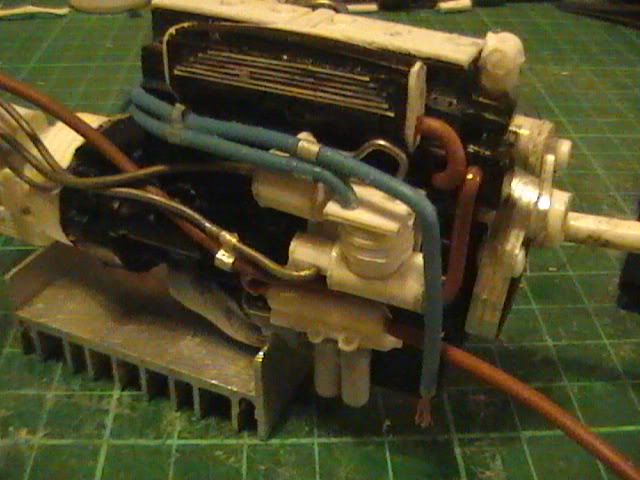 Nige |
|
|
|
Post by okdoky on Jan 9, 2012 17:22:48 GMT
Made a start on the coolant header tank and the steering hydraulic fluid reservoir using laminated plasticard glued and sanded to shape and then skinned with aluminum foil.  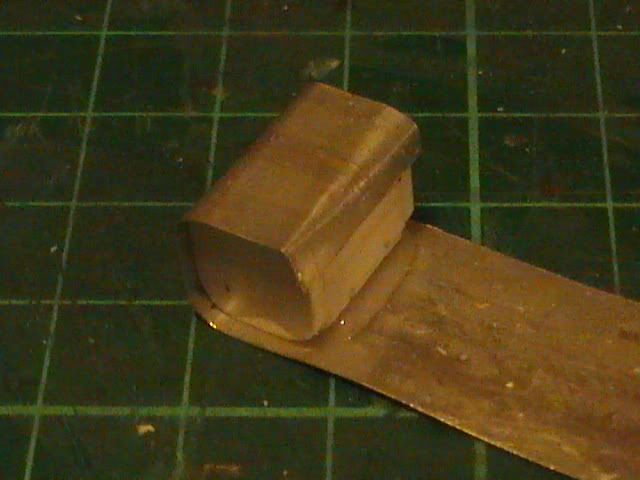 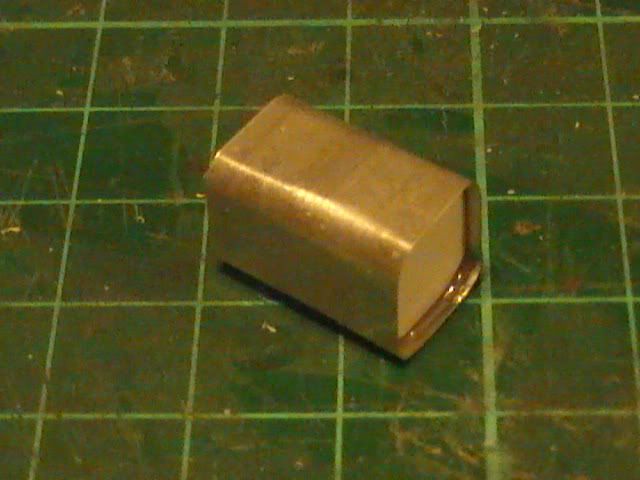 Filling points from spare sprue sanded to shape 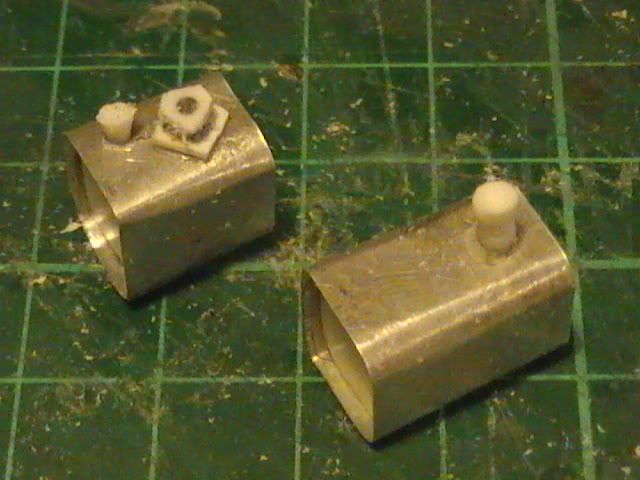 Added some detail to the rear cab support frame Before 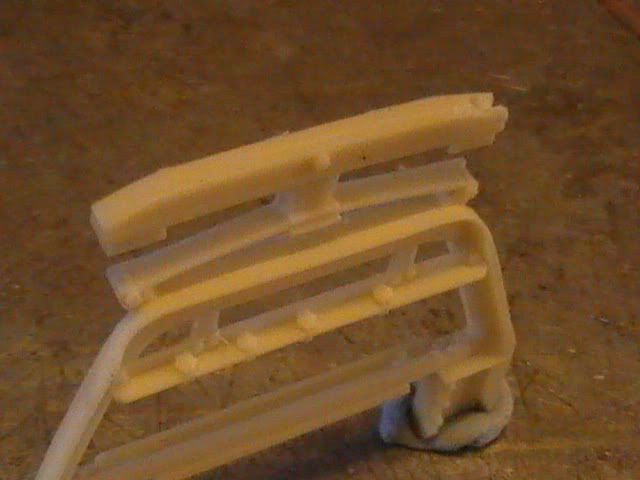 Drilled out the cab locating holes and central lock down hole 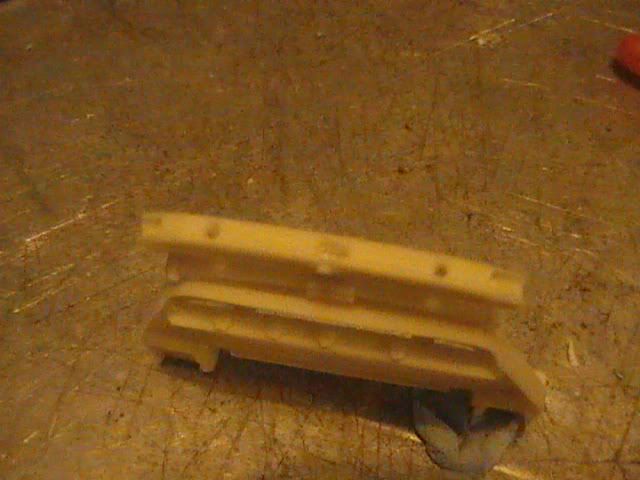 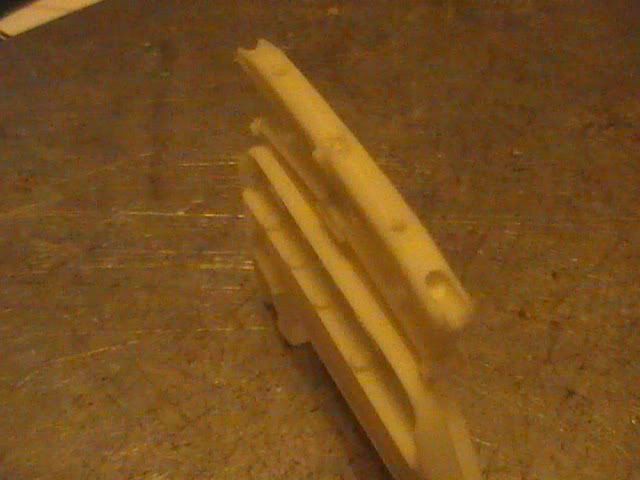 The KFS resin is very easy to drill and work and is chunky enough to take a little working. Nige |
|
|
|
Post by okdoky on Jan 9, 2012 22:44:35 GMT
A little more work on the rear cab support to form the U channel that forms the bottom part of the A frame (KFS have probably expected most cabs to be static and only formed the visible face) 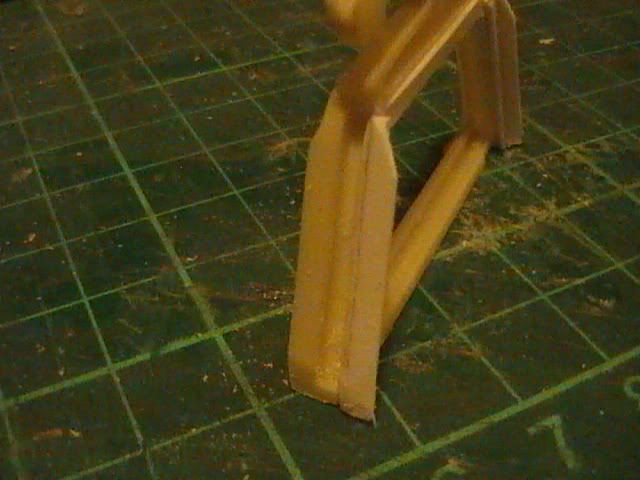 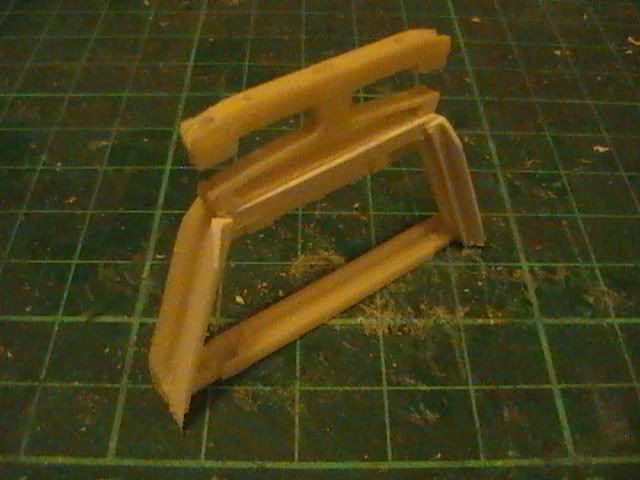 Glued to the chassis now so my calcs on the cab location had better be correct. 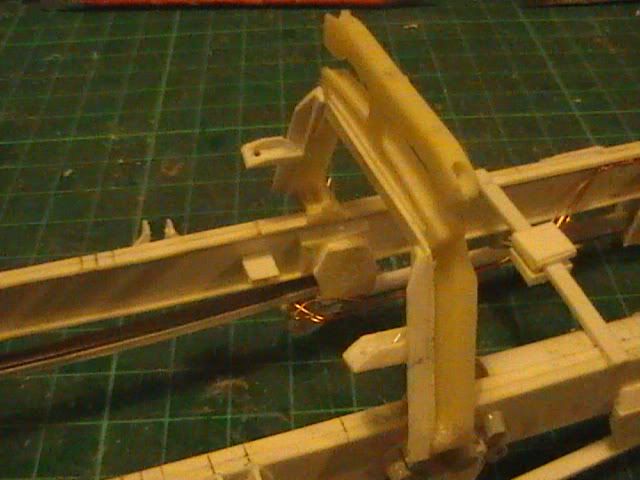 Also added a couple of brackets for the cab spring shock absorbers and removed the lower cross member that would foul the gear box.  Can now add the mounting brackets for the coolant header and steering hydraulic fluid resorvoir. Nige |
|
 Members' Forum")