|
|
Post by okdoky on Jan 10, 2012 20:48:28 GMT
I overloaded my photobucket with my recent pics past month there and my account is suspended till the 13th when I can start uploading more. DAF DROPS Photobucket updatesHopefully this link works to my photobucket board where you can browse all the pics uploaded to it. Is my fault for taking so many pics instead of building ,,,,,,,,, TEE HEE !!!!!!!!!! Nige |
|
|
|
Post by okdoky on Jan 13, 2012 20:52:31 GMT
Normal Service Has Been Resumed Ordered some rear square coloured and clear lenses plus 20 ratchet straps in photo etch from KFS. Although, tomorrow I have a bigger bill to pay and another job taking up my time to sort my exhaust as PC plod pulled us over tonight and asked us politely to get it sorted on pain of death (OK a £30 fine if not sorted in 21 days). We should have told PC plod it was really our sterio playing up !!!!!!! Super car exhaust !!BUGGER !!!!!!!!!!!!!!! More expence just after Xmas !!!!! |
|
|
|
Post by okdoky on Jan 16, 2012 3:17:38 GMT
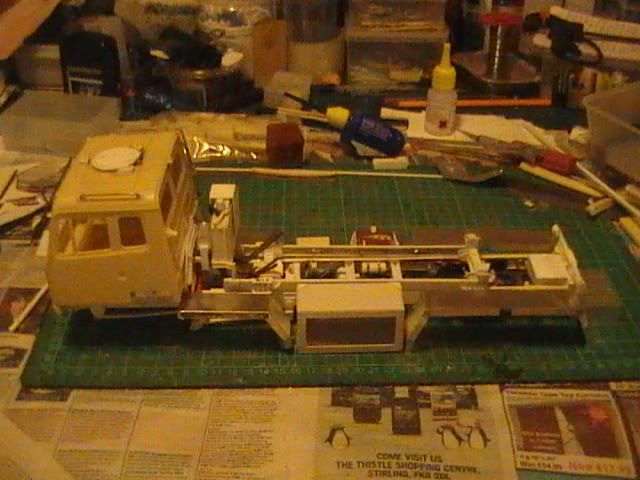
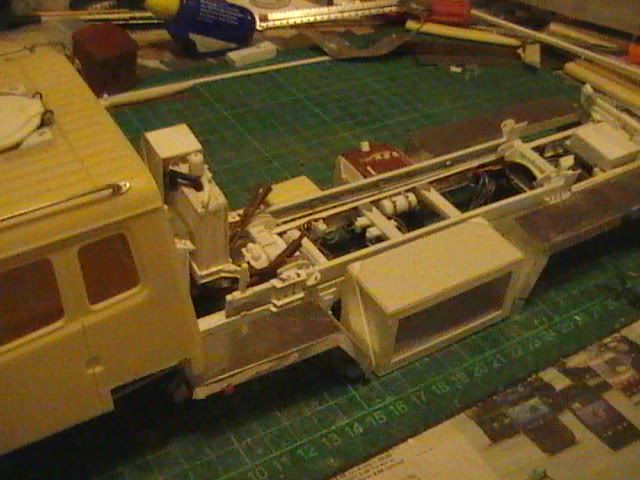
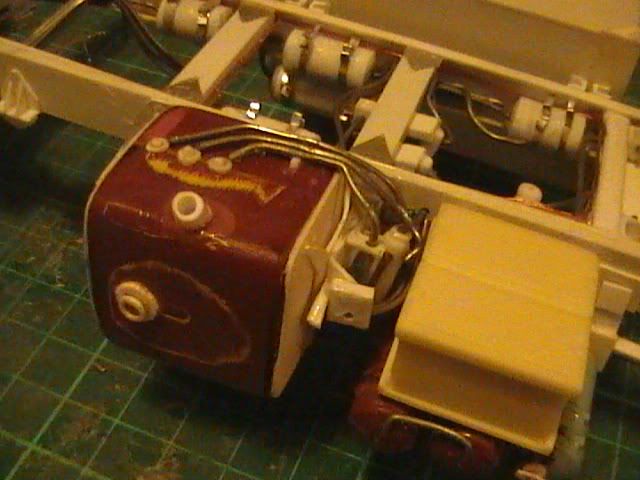
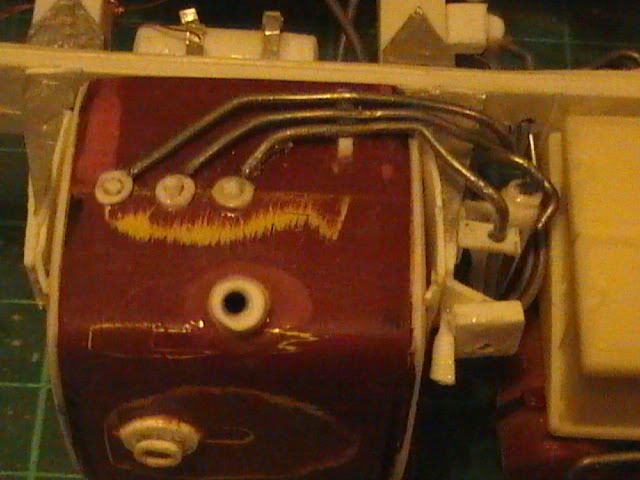
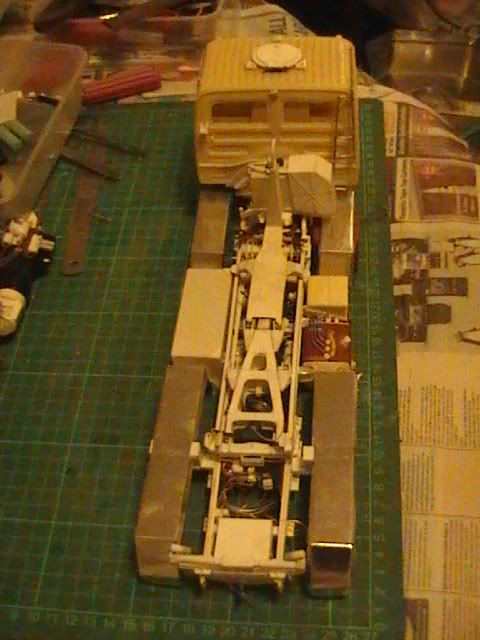
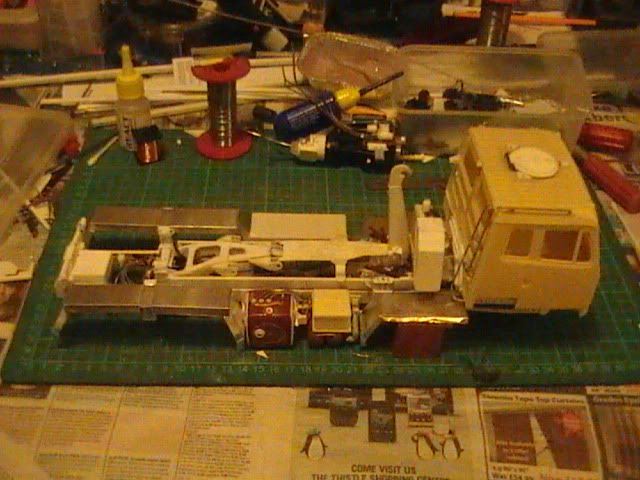
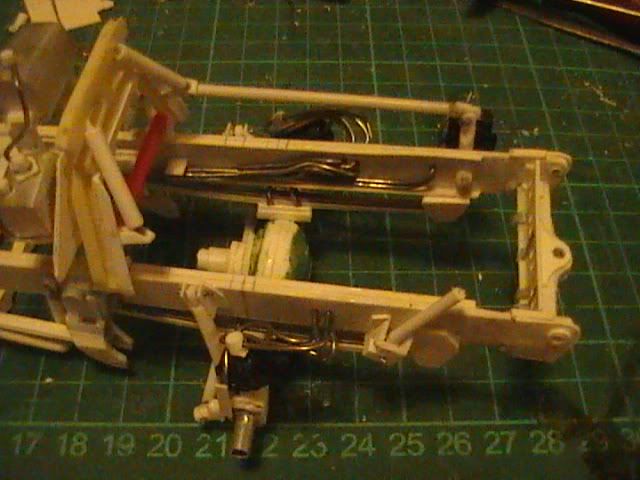
Howards service with KFS is great having received my lights and ratchet straps in two days. Had a bugger of a time trying to get the shrouds for the rear cab mounting frame built to attach one to the cab and the other to the A frame support itself. The steering hydraulic fluid reservoir and coolant header tank are supported off the rear mount A frame. It was a bugger to gauge the sizes from the mix of photos. First the rear mount and the tanks 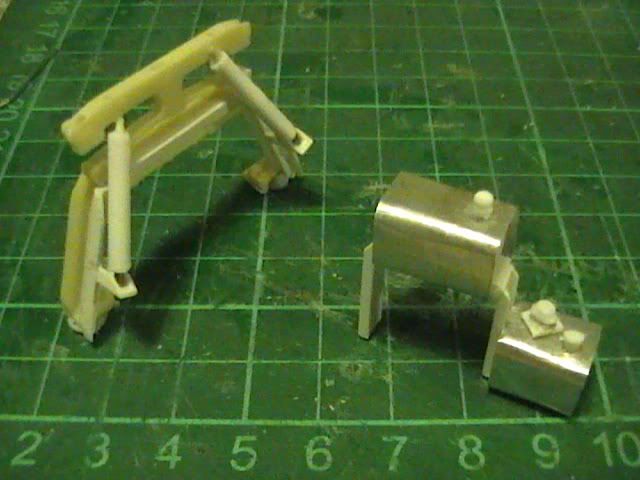 I had got the location of the rear mount wrong and had to cut it off the chassis and re glue it giving enough space to place the tanks on their support frame 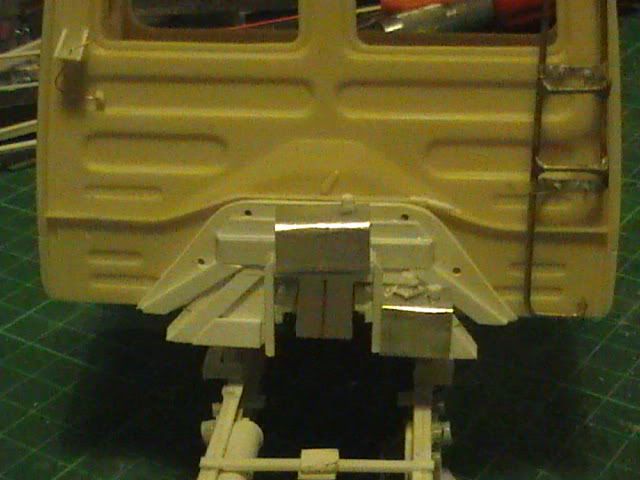 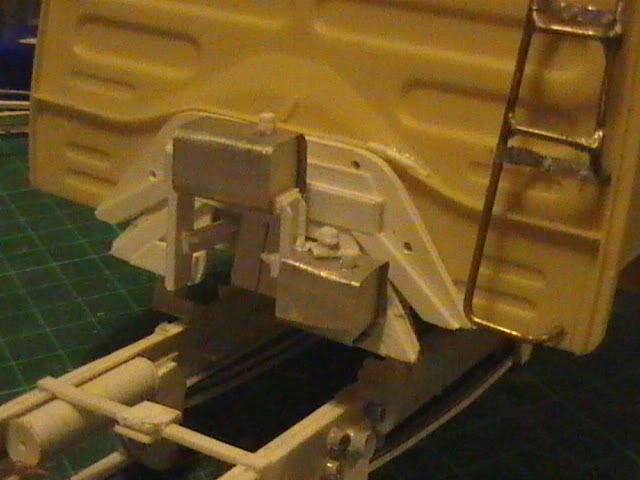 The space appears more correct this time around 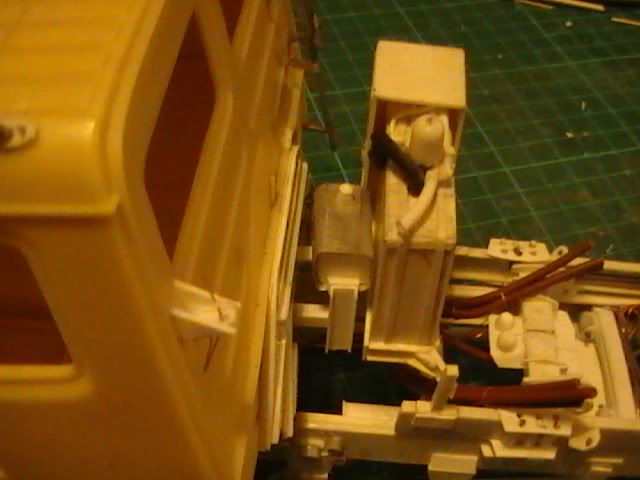  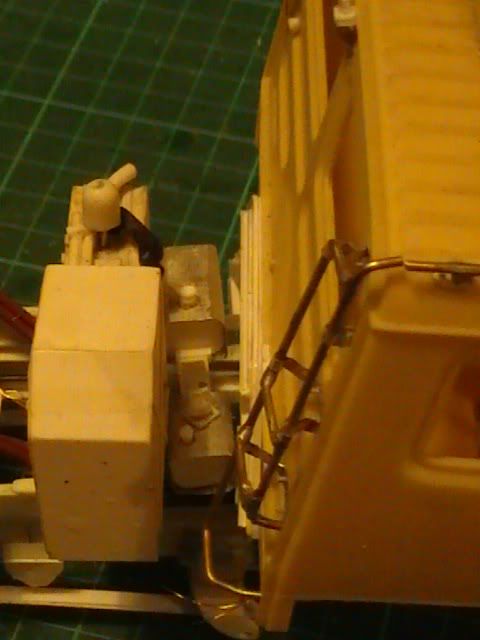 Still got to add more plumbing to this area 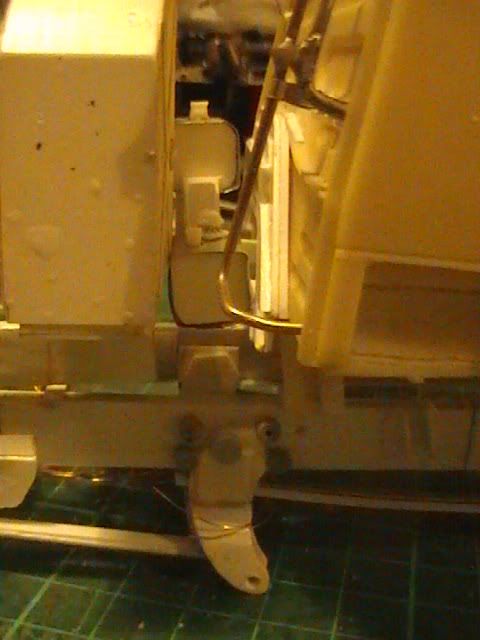 Hope you like |
|
|
|
Post by okdoky on Jan 21, 2012 6:29:02 GMT
Got a few jobs done on the DROPS tonight. A few points were correcting niggling errors that were too obvious. Added the bracket to mount the cab tilt hydraulic ram. 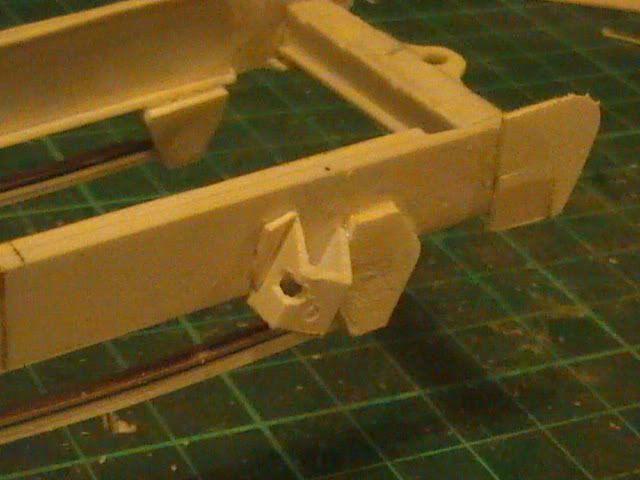 Also added a new strengthener to the rear cab support A frame. 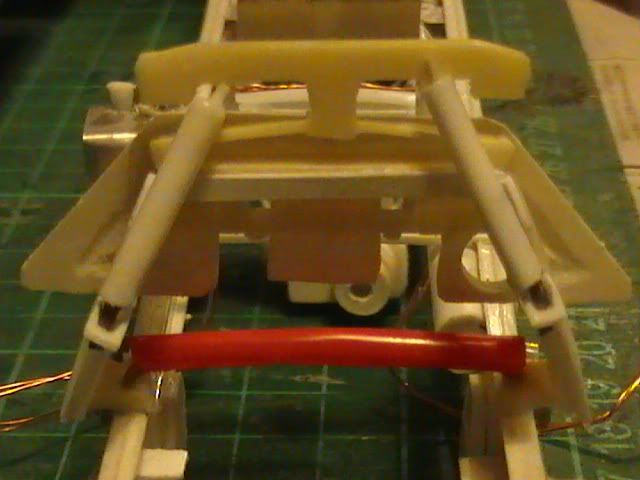 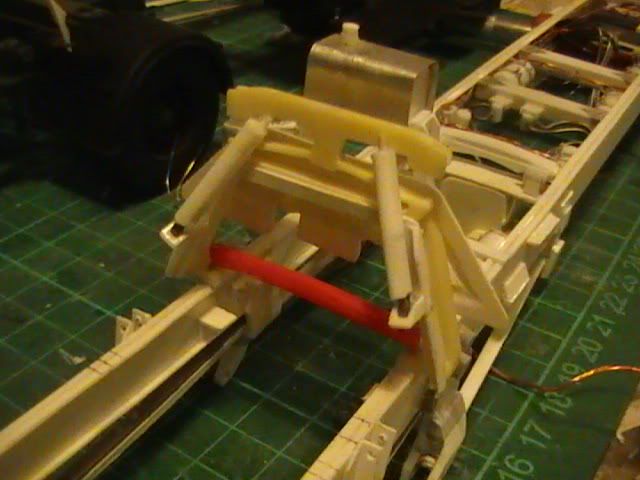 First of the fixes was to add the two guide horns to the front of the trailer 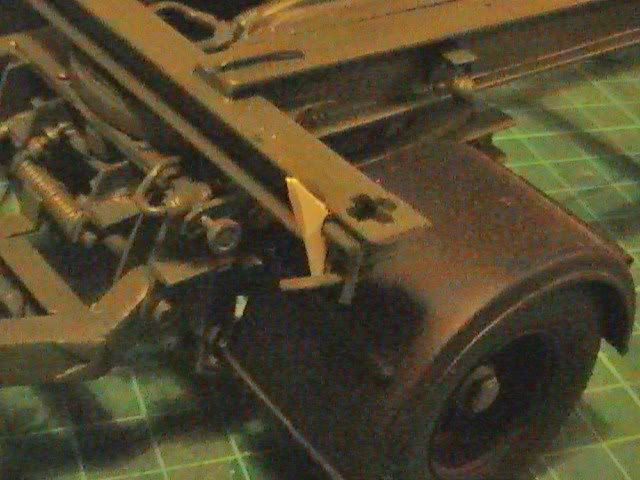 Wasn't happy with the first cross member including the towing hitch as was too thick. Cut back off and added some additional detail to the tow hitch 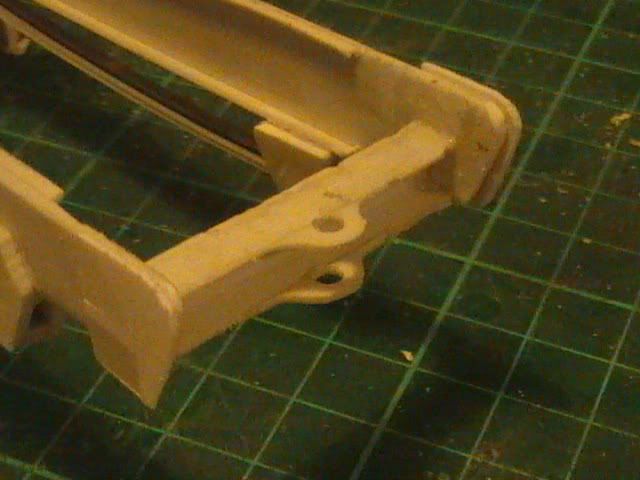 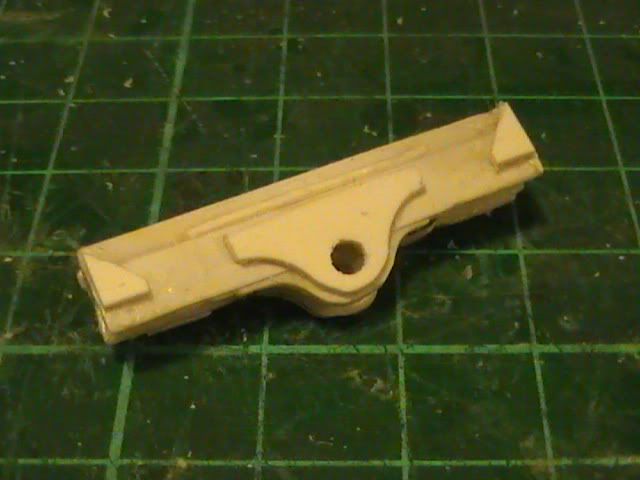 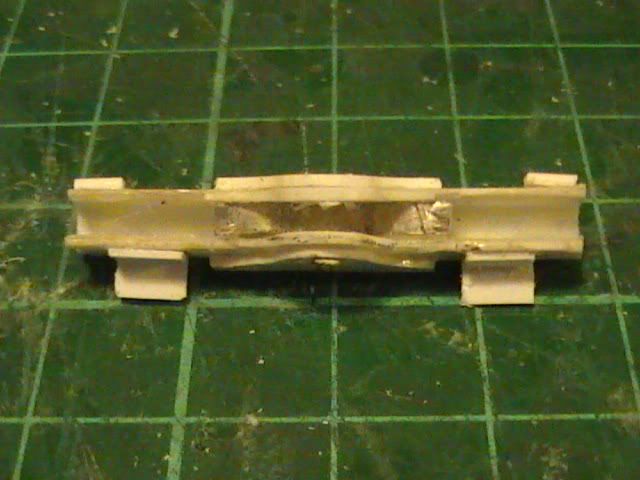  Also added the small grill that has the air line, red and yellow connectors to fit to (still to figure out how to make them) 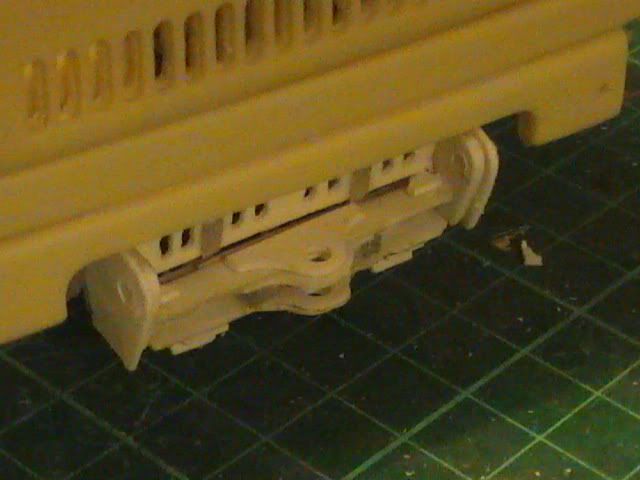 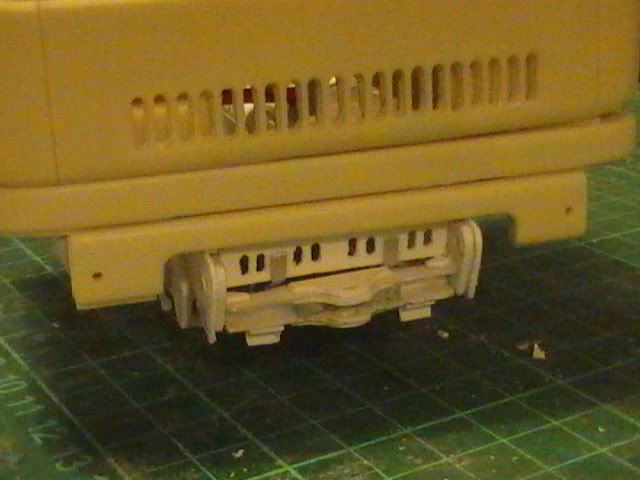 Wasn't happy with the rear cab A frame support shroud on the back of the cab. The angles did not look right so cut it off and re did the shroud. Before After 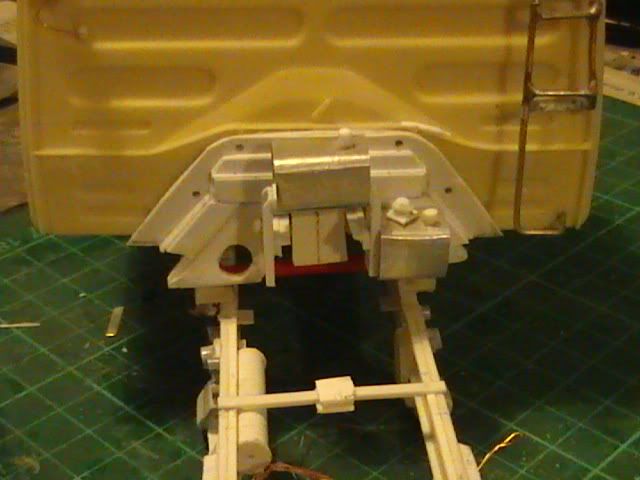 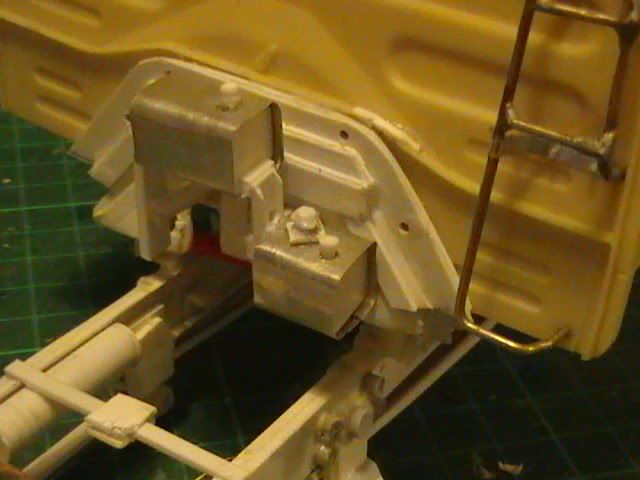 The section of shroud that is fixed to the A frame now has the hole for the air cleaner duct to engine 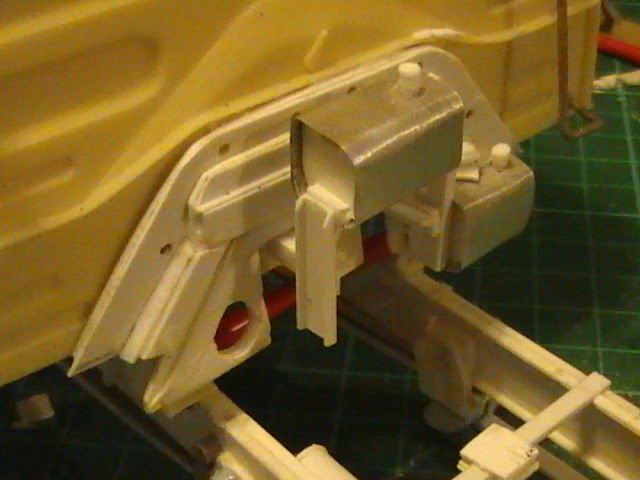 Beginning to see light at the end of the tunnel Nige |
|
|
|
Post by okdoky on Jan 23, 2012 4:04:19 GMT
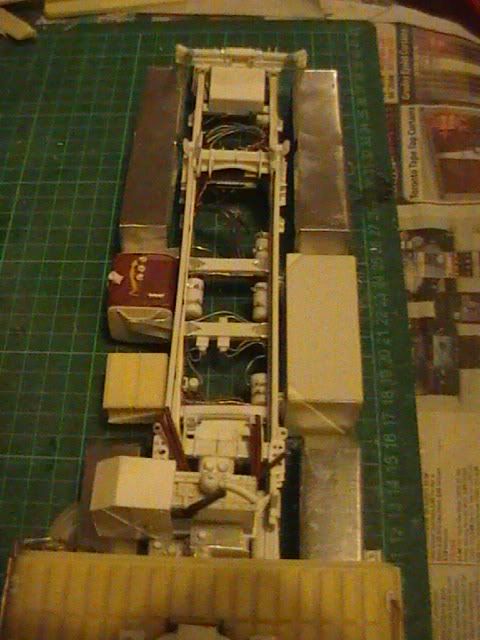
Time for some update of work Found a donor fuel tank for cannibalizing to make what I need. Was obviously one of a pair from a model but I cannot think where it came from. First job was to sand smooth all the old, molded detail of support straps and sighting glass, etc. Then to split the tank in its two original halves to then remove 1.5mm off each half. 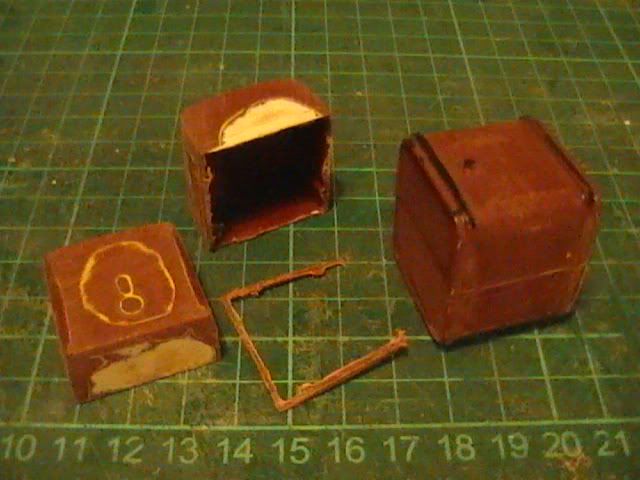 Next was to add thicker plasticard ends to allow me to sand them to the required shape 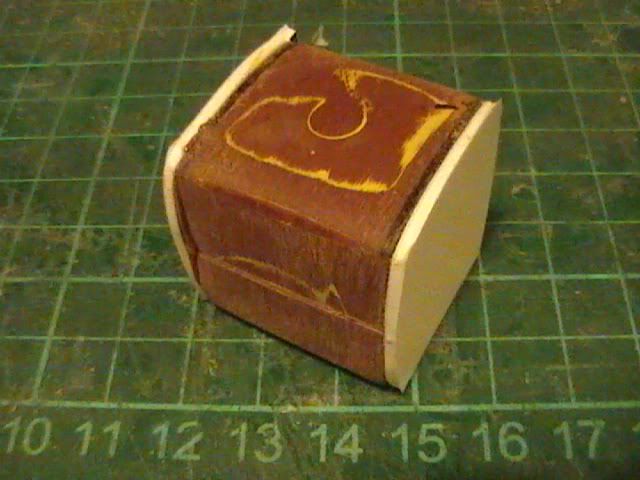 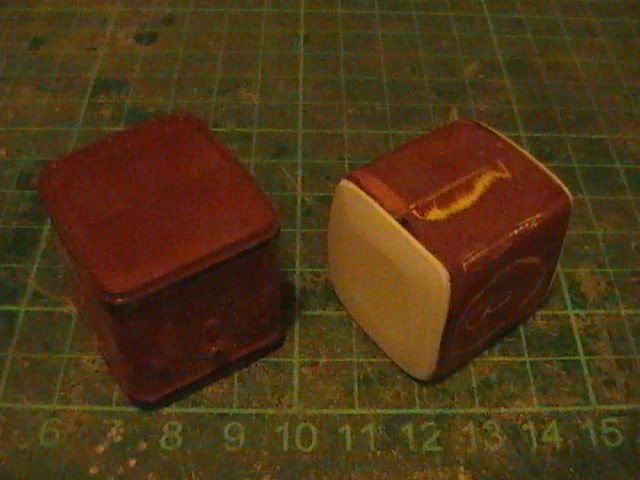 Added a new sighting glass including fine metal mesh for the protection 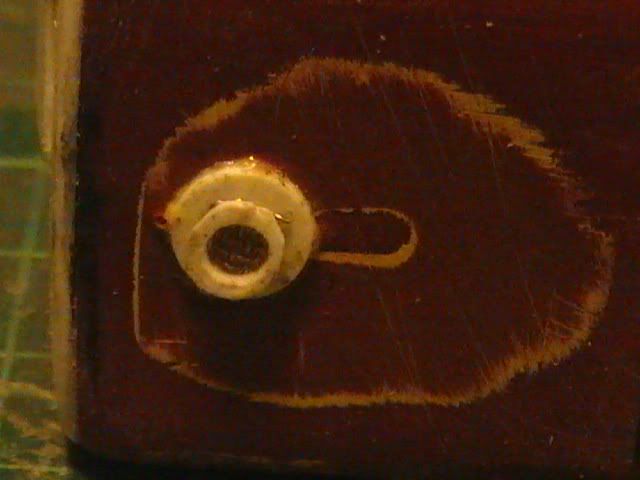 Along with the three supply, return and breather fuel pipe entry points, the pipe support bracket and filler pipe, I made new end brackets that will mate to the chassis supports. 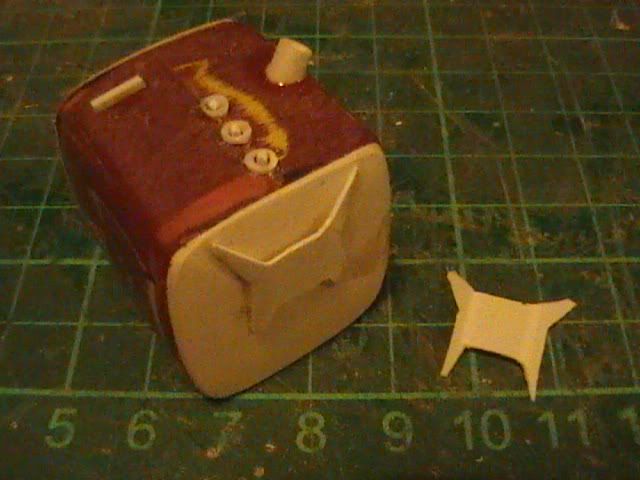 Fuel tank ready for attaching and then plumbing 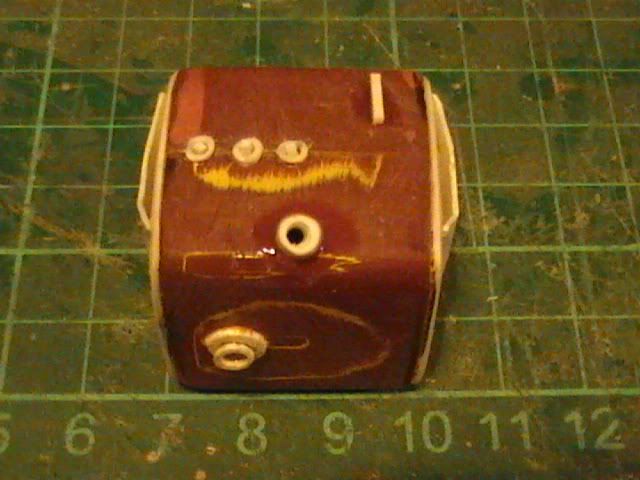 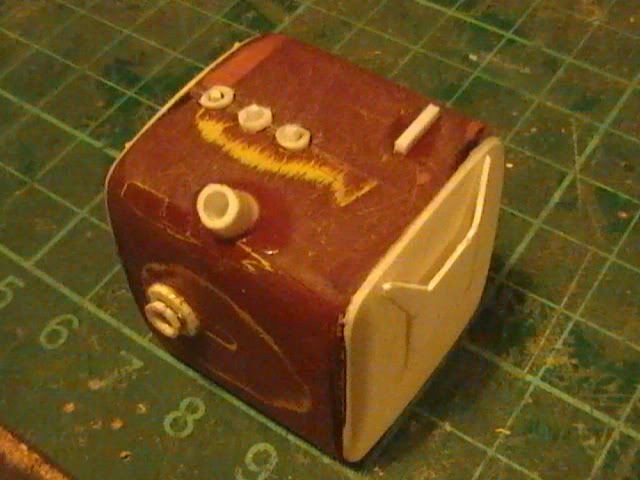 Am quite satisfied with the end product Nige |
|
|
|
Post by okdoky on Jan 24, 2012 23:56:45 GMT
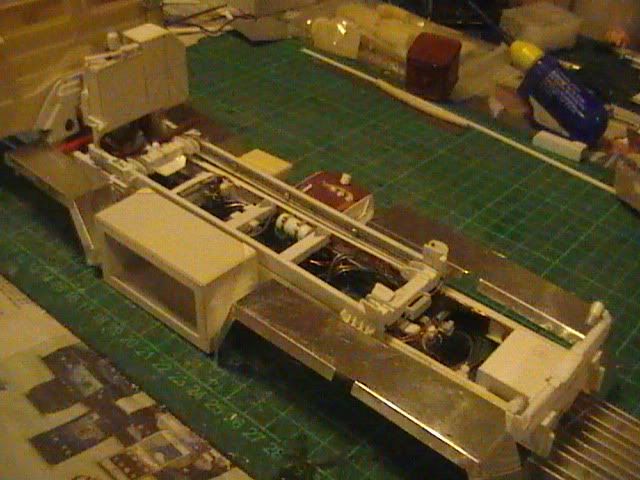
A quick fuel tank fix with I channel dressed with some tin foil and on the chassis 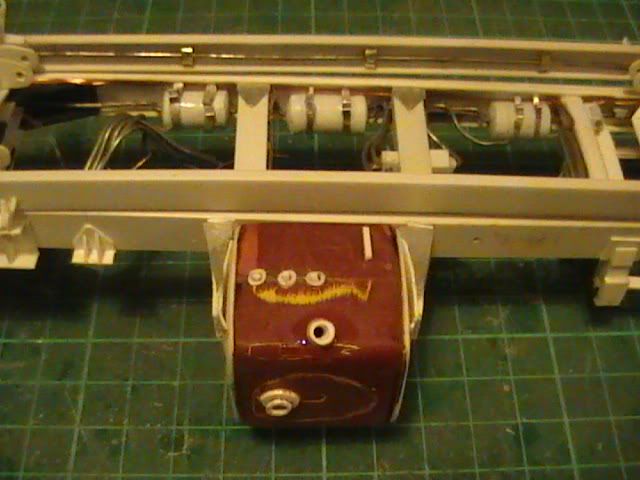 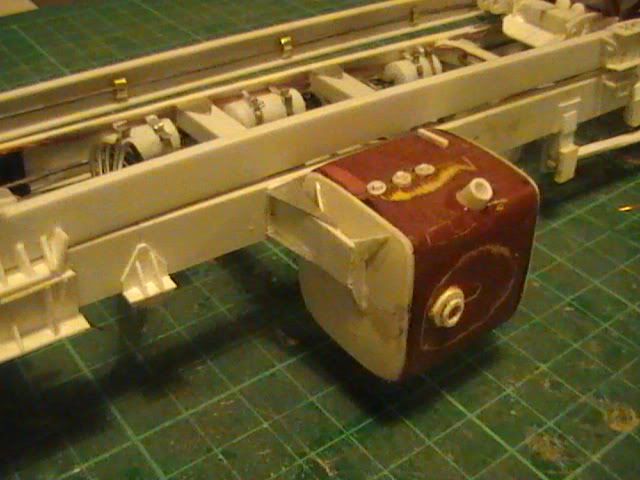 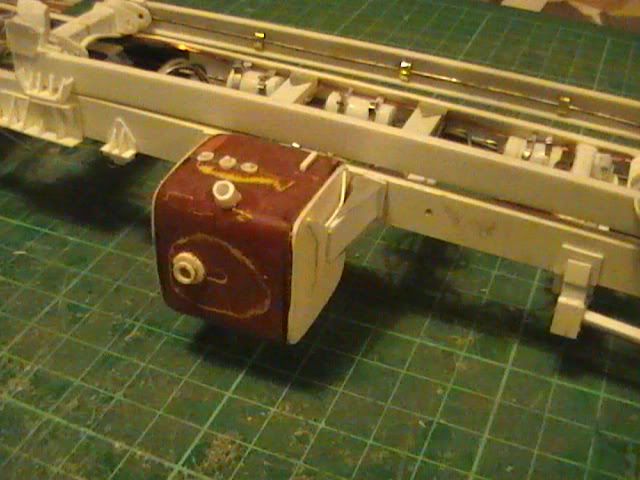 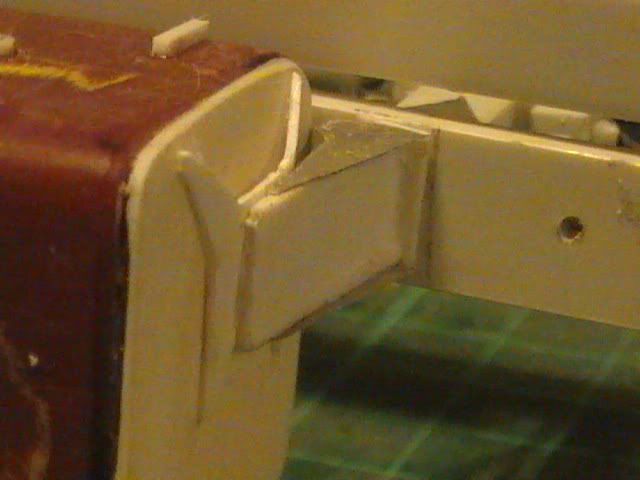 It starts giving the main chassis some bulk now Nige |
|
|
|
Post by okdoky on Jan 25, 2012 2:33:03 GMT
|
|
|
|
Post by okdoky on Jan 26, 2012 0:43:58 GMT
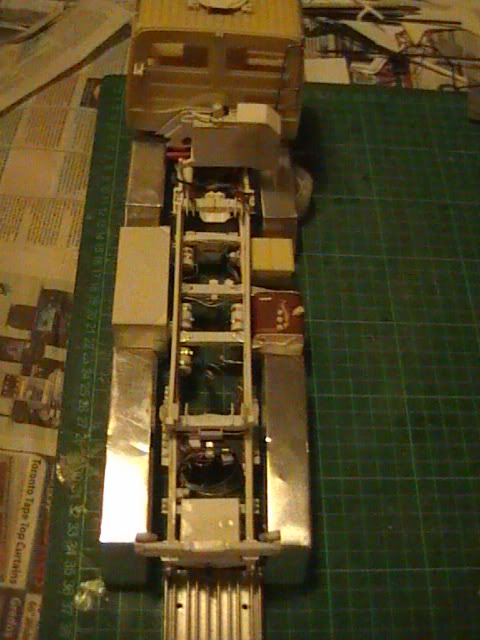
Rear mudguard support and Jerrycan holders formed and glued in place with mudguards to check stance 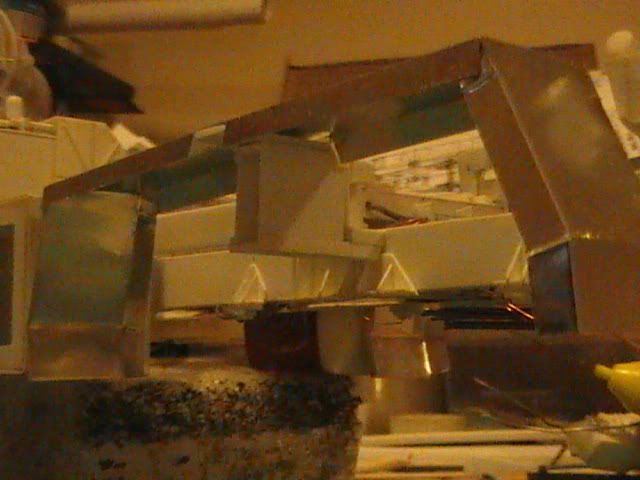  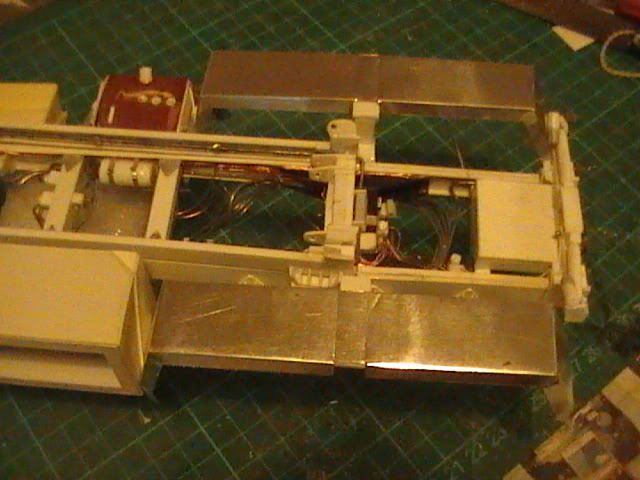 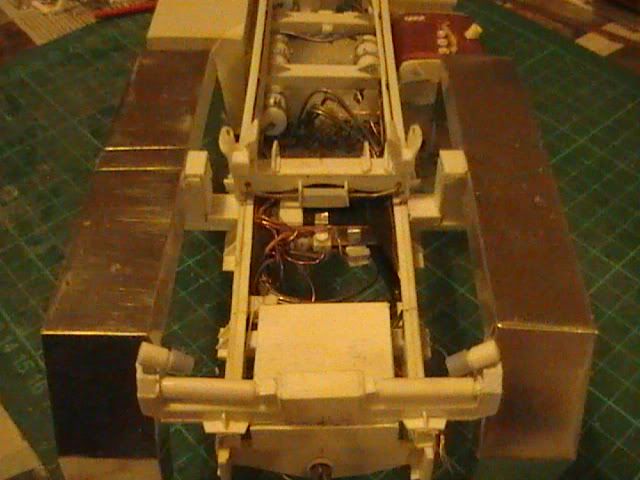 I can't remember what I have done with the left-overs for the stiff wire to make the mudguard supports so will need to wait till weekend to rake through shed. Needle ,,,,,,,,,, haystack !!!!!!!!!!!!!! Bugger |
|
|
|
Post by okdoky on Jan 28, 2012 22:07:29 GMT
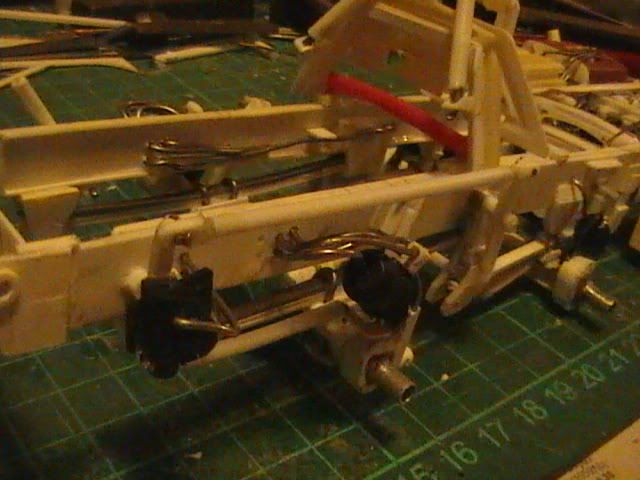
How hard can it be to make KFS's fantastic etched metal ratchet straps while blethering at the model club? After all there are only four bits and some ribbon to each !!!!!! Only managed to do one, and cause I was blethering, screwed up one part by cutting off the wrong bit !!!!!!!!! ha ha ha ha !!!!!! Not the instructions fault, just the person reading them !!!!!! Instead I have some pics of the air reservoirs hung under the battery rack and some plumbing. 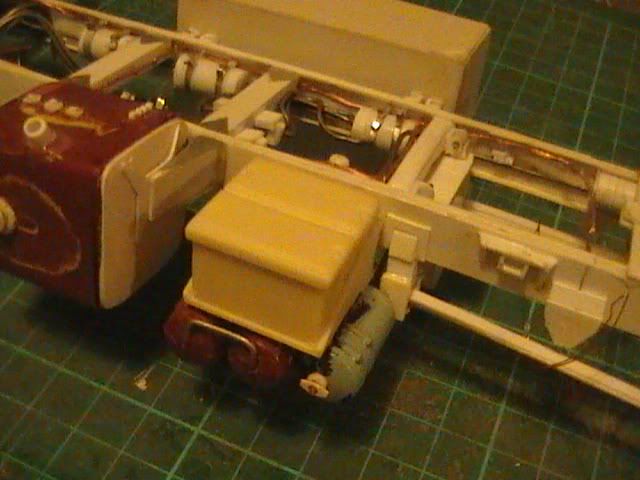 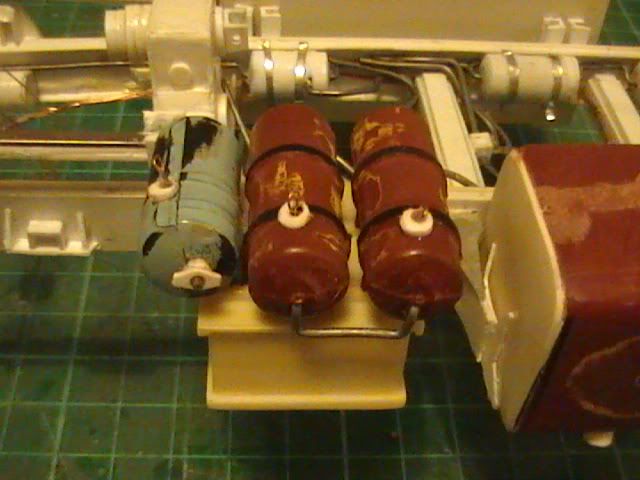 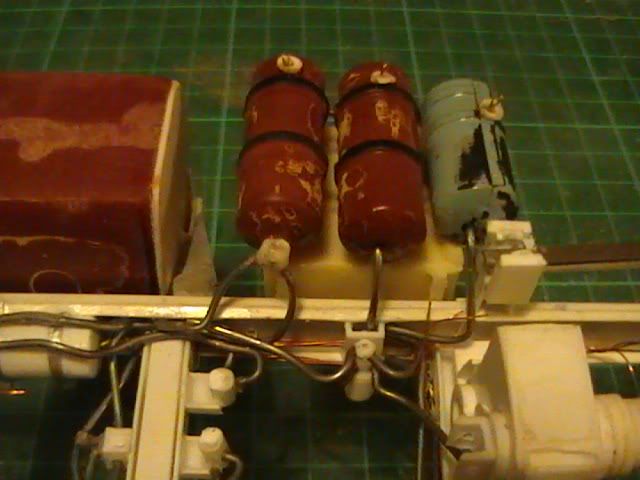 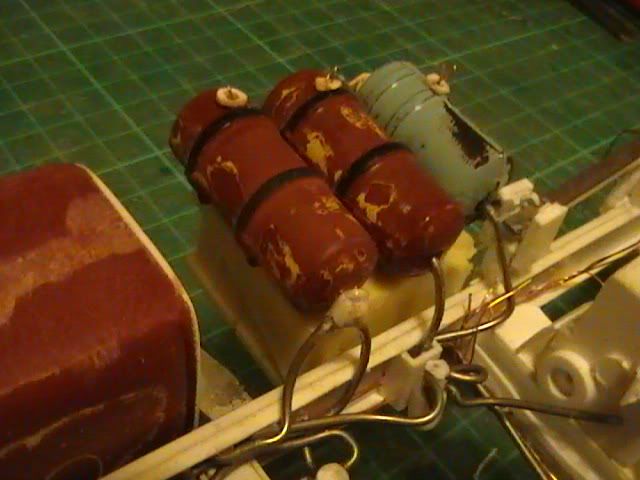 Will maybe tackle the ratchet straps again when I am not blethering. Still got nineteen left to make after all. Nige |
|
|
|
Post by okdoky on Feb 2, 2012 22:58:52 GMT
|
|
|
|
Post by okdoky on Feb 4, 2012 12:10:11 GMT
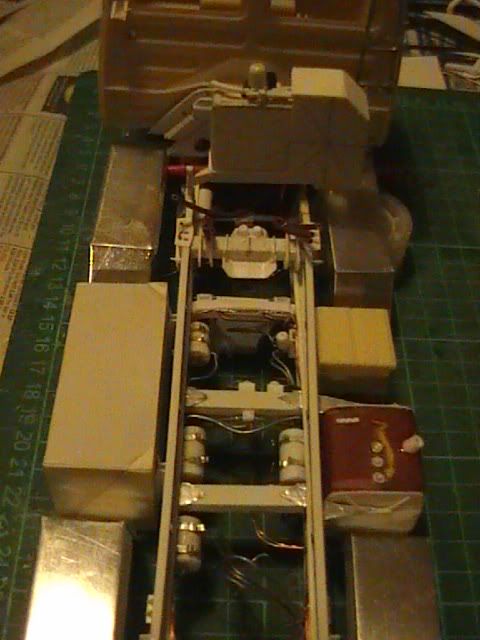
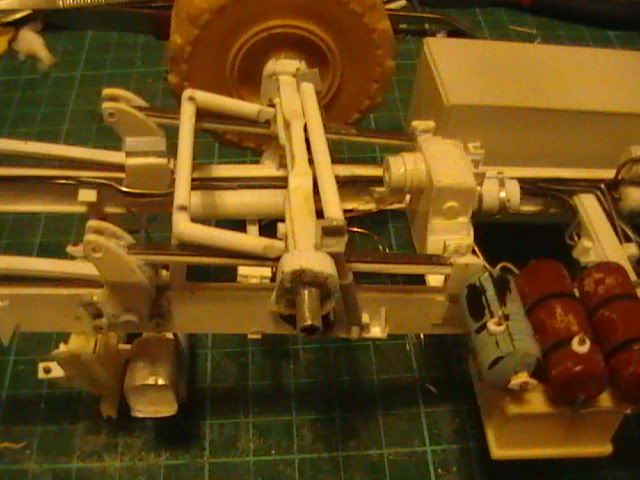
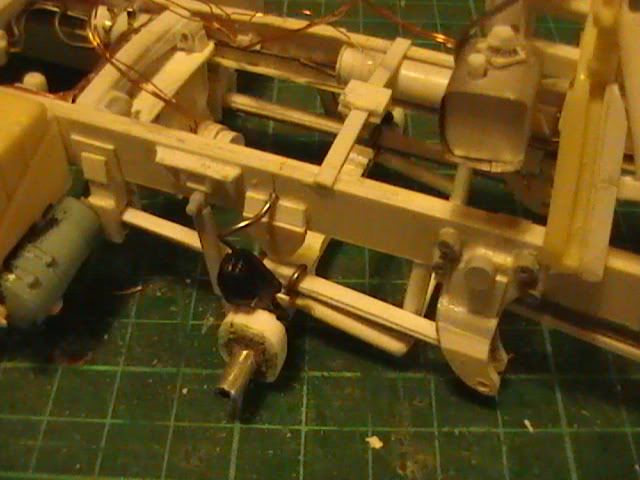
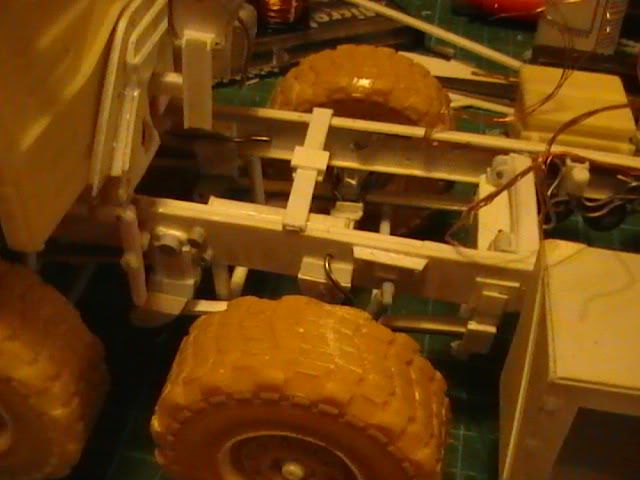
Second steer axle in place. As you can see I whimped out of trying to mimic a full steering set of wheels as the model will be heavy and I have a couple of trucks with normal plastic kit parts that have failed early at the steering axles. With the weight of the KFS cab I will be happy to have the kit last longer rather than having pose able wheels. 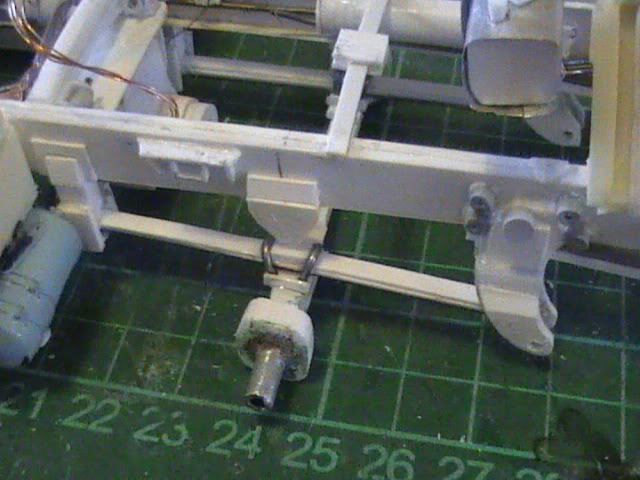 Steering linkages made from scrap sprue, paper clip inside a cotton bud tube 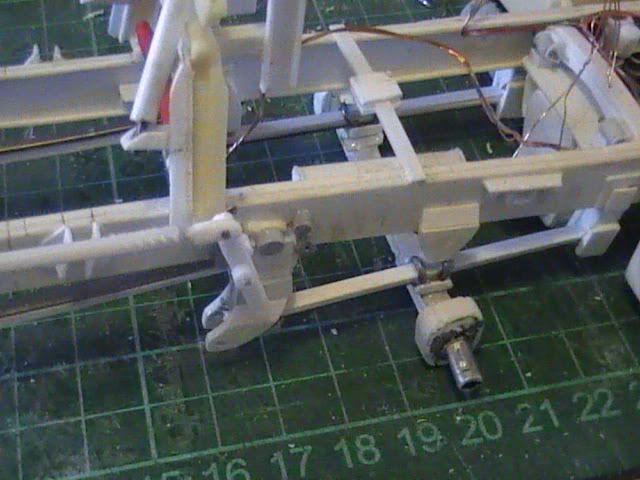 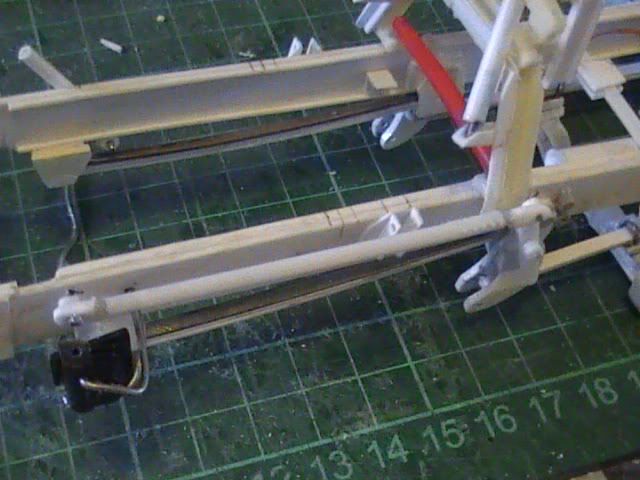 Nige |
|
|
|
Post by okdoky on Feb 5, 2012 23:46:40 GMT
|
|
|
|
Post by okdoky on Feb 6, 2012 4:19:10 GMT
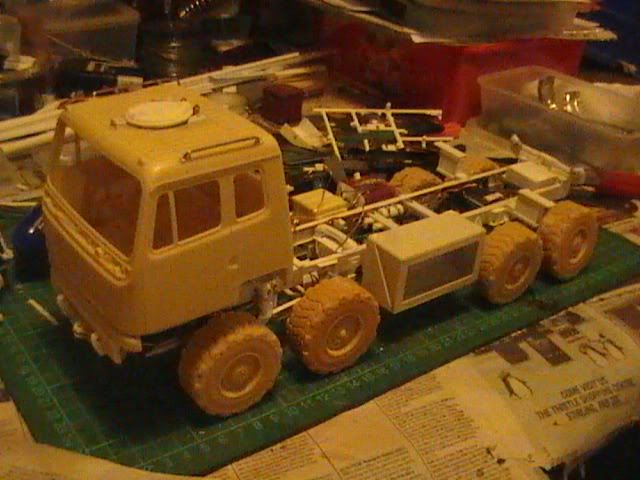
I was thinking I would have to have a simple lift off cab, but everything has fitted in so well and KFS had a couple of secure points in the cab inner piece that allowed me to fit plugs of hollow square box section directly into. I drilled out pivot point holes in the box section and rounded of the ends to match the holes  Using two sizes of U channel, one wide but shallow and the other slightly narrower but deeper channel, I formed the mounting points for the chassis. I matched up the drilled holes and rounded off the ends in the same manner. Also had to sand out the back of the channels to allow the cab pivots to tilt. 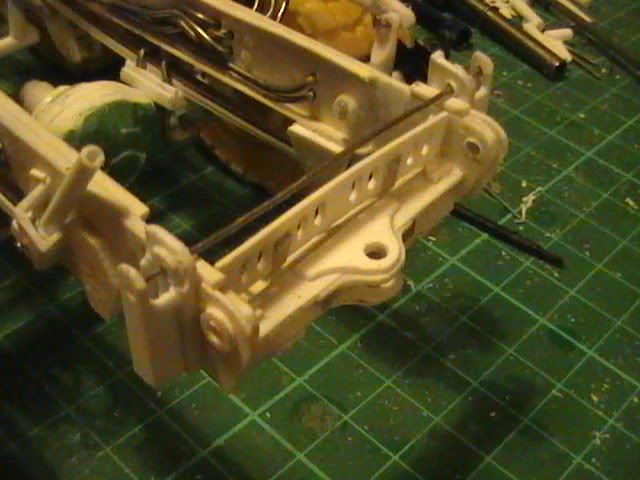 Got to figure out a way to stop the cab tilting all the way over and keep it just at the right angle by making some form of restraint slide like the original. 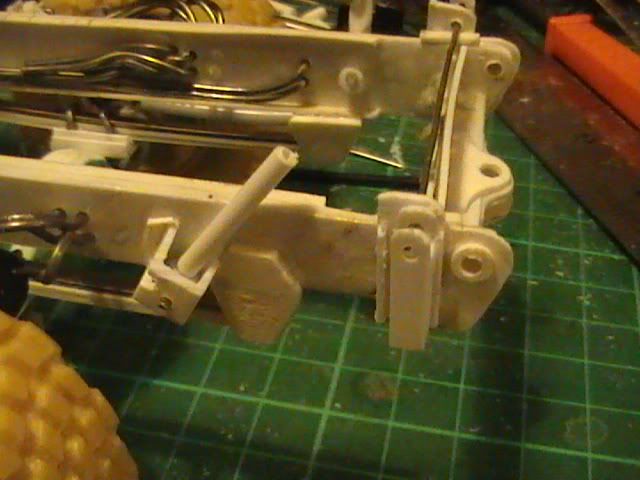 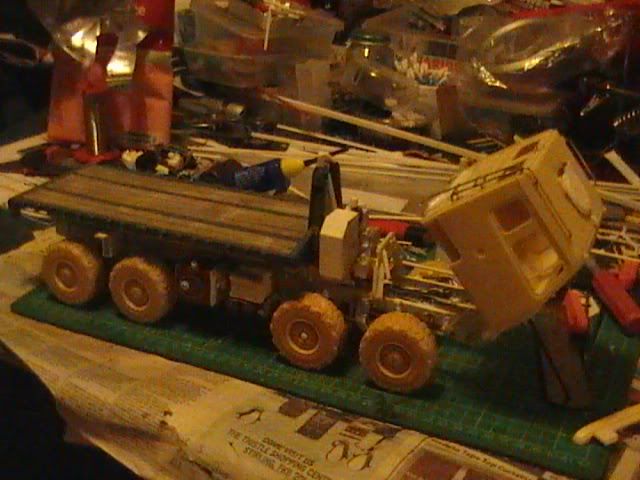 Quite chuffed that the cab will tilt. 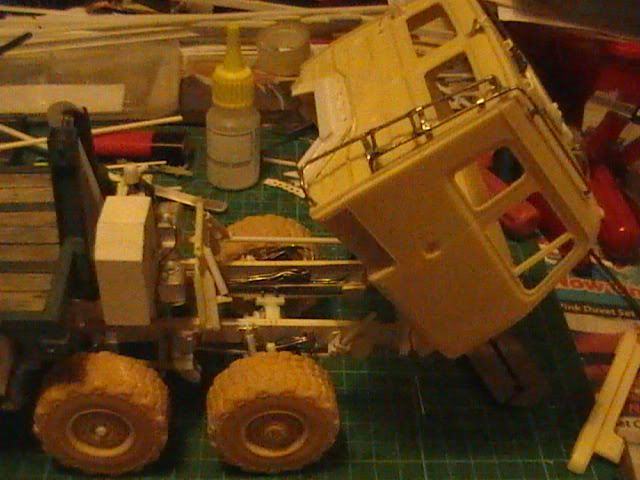 Nige |
|
|
|
Post by okdoky on Feb 6, 2012 12:09:31 GMT
Ha ha ha ha ha ,,,,,,,,,,,,,,,,,,,,,,,, my fertile mind made a boo boo !!!!!!!!!!!!!!!!! The reason the cab was not tilting properly is because I have got the pivot point too low. The cab appears to tilt at the line ABOVE the indicators !!!!!!!!!!!!!!! Shows you how many times I had to tilt the cab in my nine years driving them !!!!!!!!!!!! 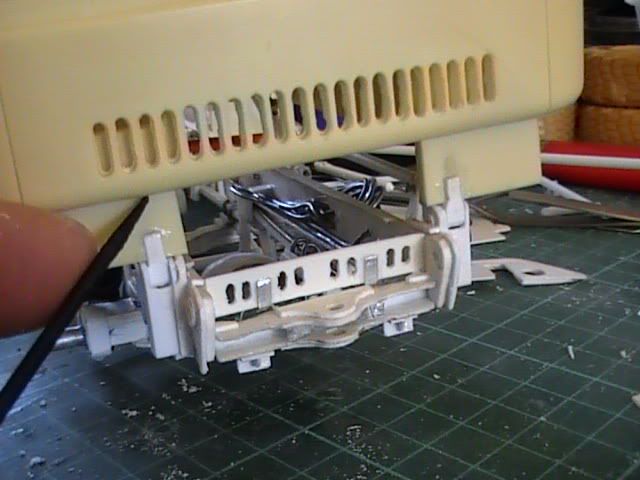 Yet another cut of the KFS cab 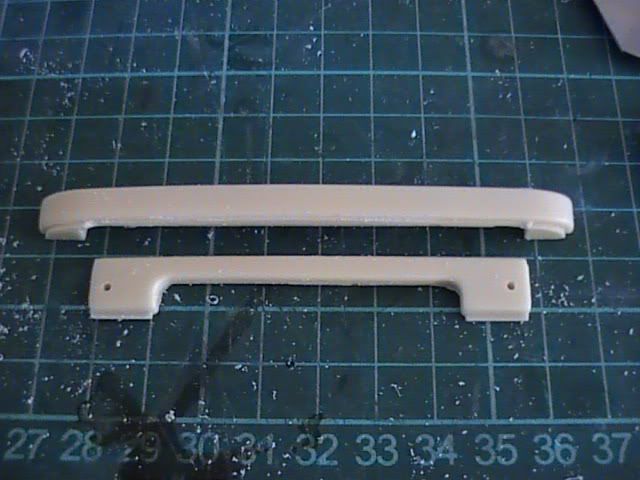 This is the extent of the cab that tilts 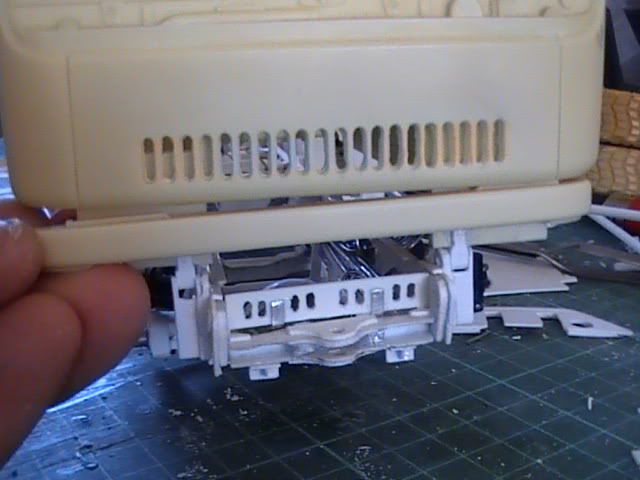 The bit I was not going to do, but new would be correct was to cut out the front cab access panel for first parade and water top ups on the windscreen washer, etc. 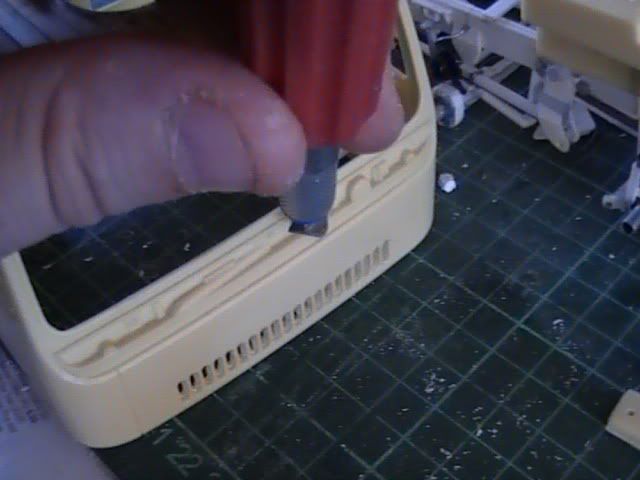 If I screw this bit up, I will have done damage to £65 ,,,,,,,,,,,,,,,,,,,,,,, bugger !!!!!!!!!!!!!!! Too Late Now !!!!!!!!!!! Started, so wish me luck !!!!! Nige |
|
|
|
Post by okdoky on Feb 6, 2012 13:52:19 GMT
Managed to cut out the front panel without any cuts, tears or cursing. Mainly down to taking my time and the fact that the lines of the KFS cab are very distinct and easy to follow without slippage. May consider trying to make a thinner panel to match the cut out, either that or sanding down the cut off till I get a more appropriate thickness. Also got to consider how to hang the panel to allow it to be opened before cab tilting. 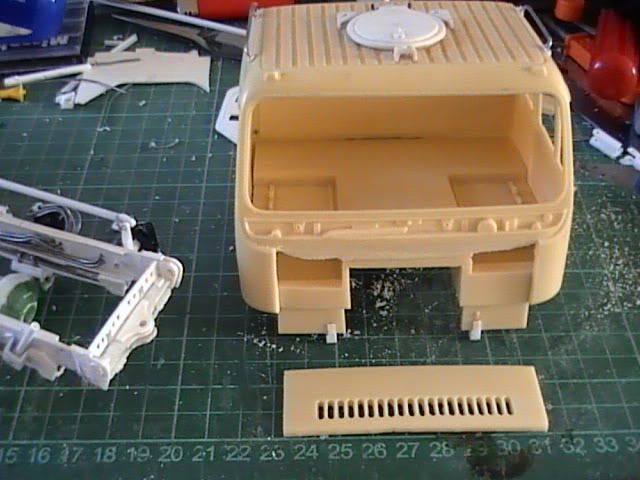 Also cut off the hinge brackets to start the process of re-sizing them. It should be a simple case of making them taller, and since they came off easily, I have them to judge the height much more easily. Nige |
|
 Members' Forum")