|
|
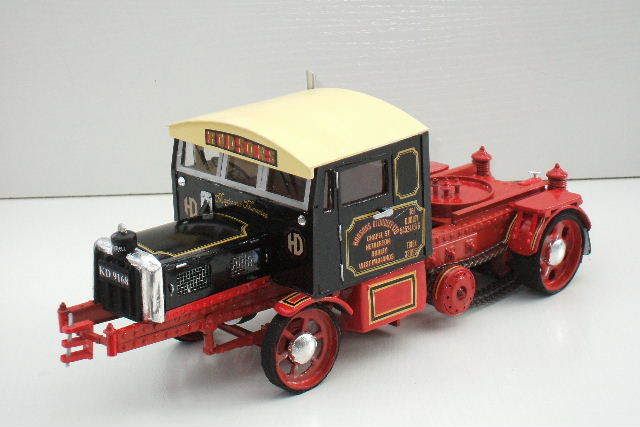
Post by okdoky on Jul 7, 2012 0:40:34 GMT
Added some side wall banding to the tires !!!!!! 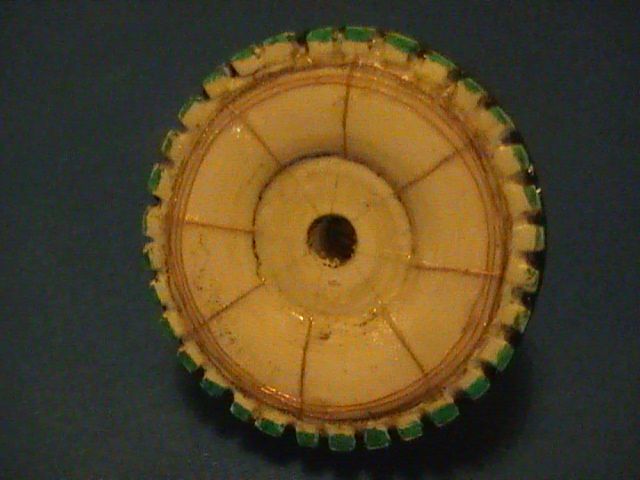 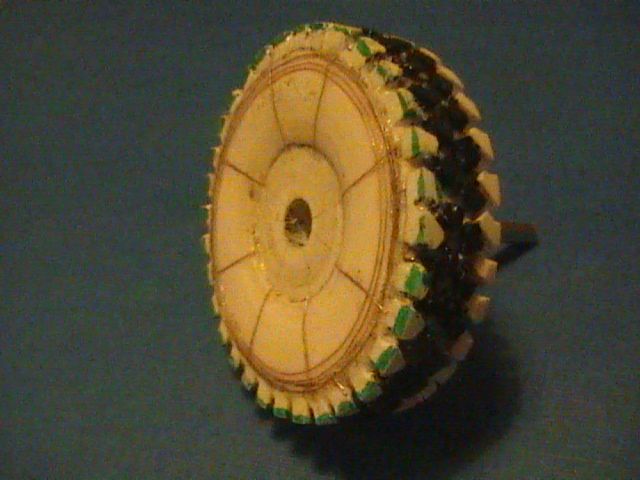  Still got the inner side wall banding to do !!!!!!! Hunt for sprue off cuts as well tomorrow for letter and numbers !!!!!!!!!!!!!!!! Nige |
|
|
|
Post by iansadler on Jul 7, 2012 18:08:17 GMT
Hi Nige Slaters do sets of letters and numbers in loads of scale . They are used for the Railway boards signs cheers ian
|
|
|
|
Post by okdoky on Jul 8, 2012 21:54:42 GMT
A bit of faffing about trying to get the side wall banding and lettering. Had a couple of total disasters that had me sanding back a couple of times. Main problem was oversizing of the lettering. Here is where it is at now. Hand cut letters  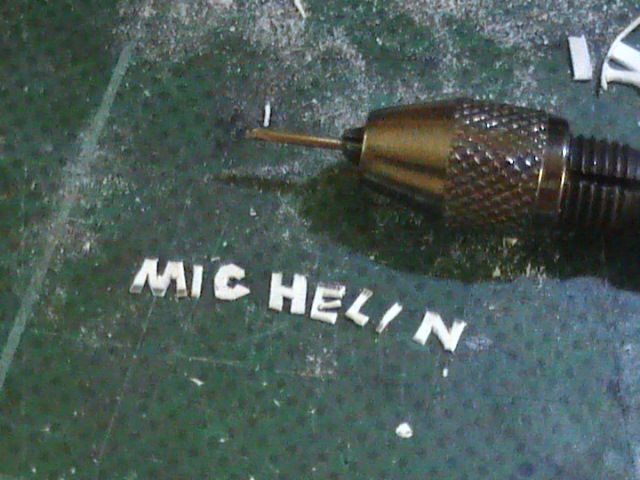 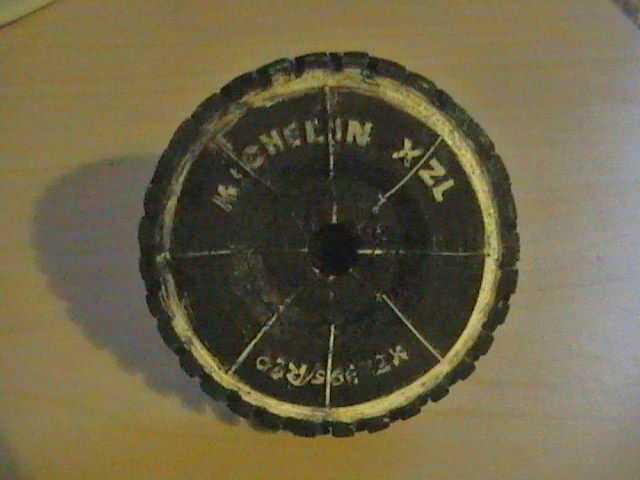 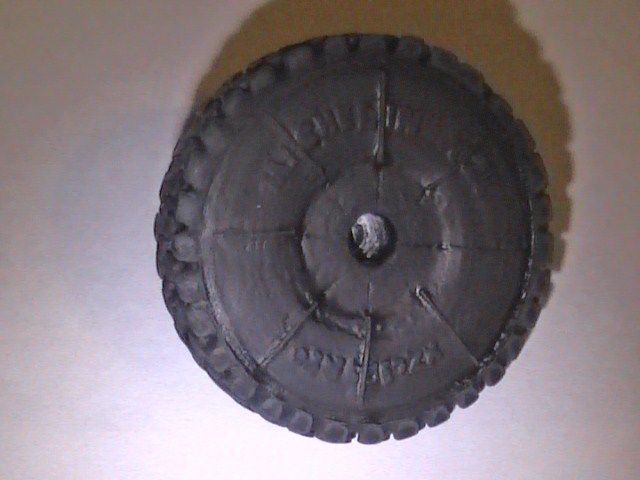 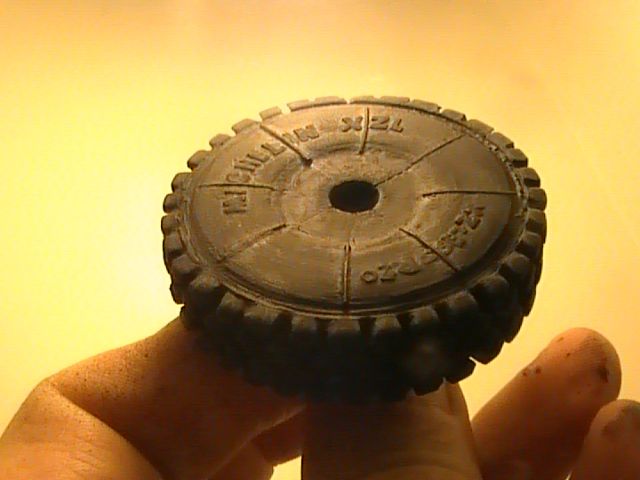 Dunno if I am happy yet though !!!!!!!! Not sure how much detail will be kept when the master is cast !!!!!!! Nige |
|
|
|
Post by okdoky on Dec 7, 2012 2:01:36 GMT
After a long break away from the TM and having struggled to get the tyres to look the part, I am now far better off with info, photos and dimensions for the 4x4 that it is time to make a dent in this build. Transferred main dimensions and scaled equivalent to my drawings 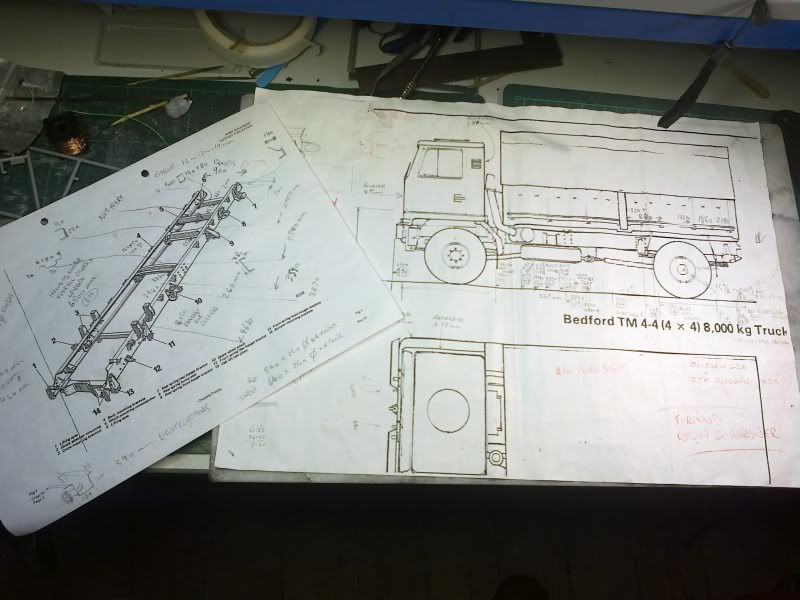 Chassis rails cut and formed, rear axle hangers, shocks and leaf springs 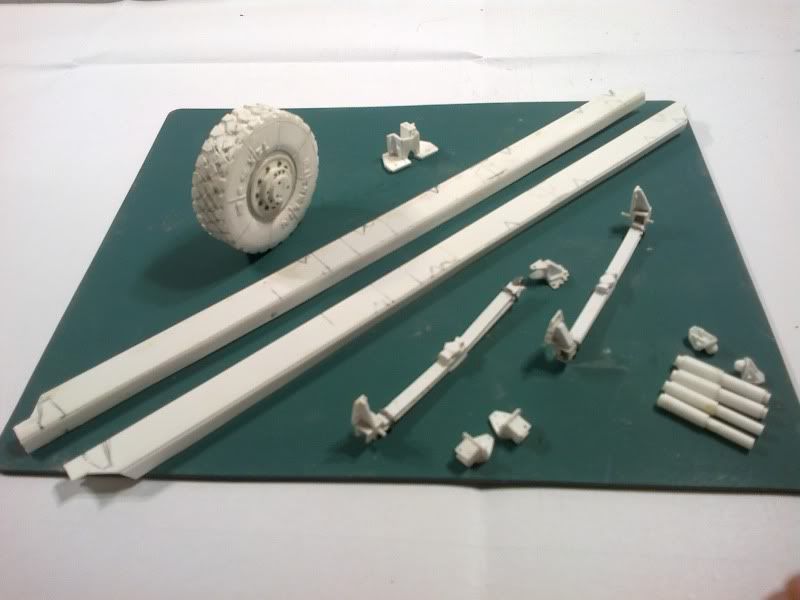 This is the fifth and probably final version of the tyre with a try at the spare wheel hanger 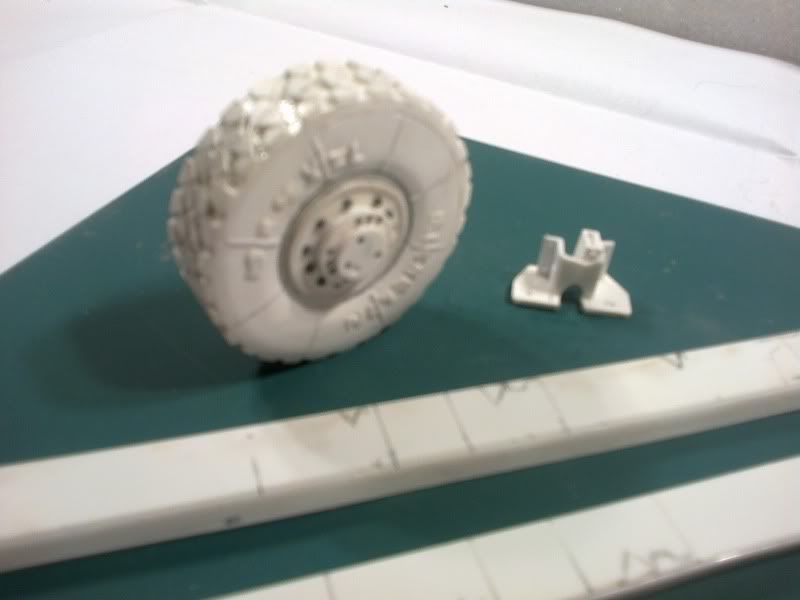 Chassis rails going together at last with the first of the cross members 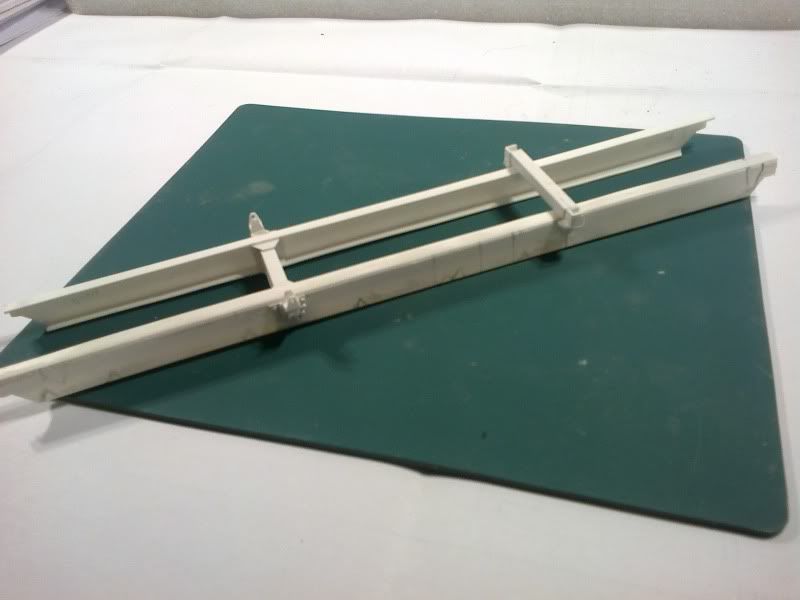 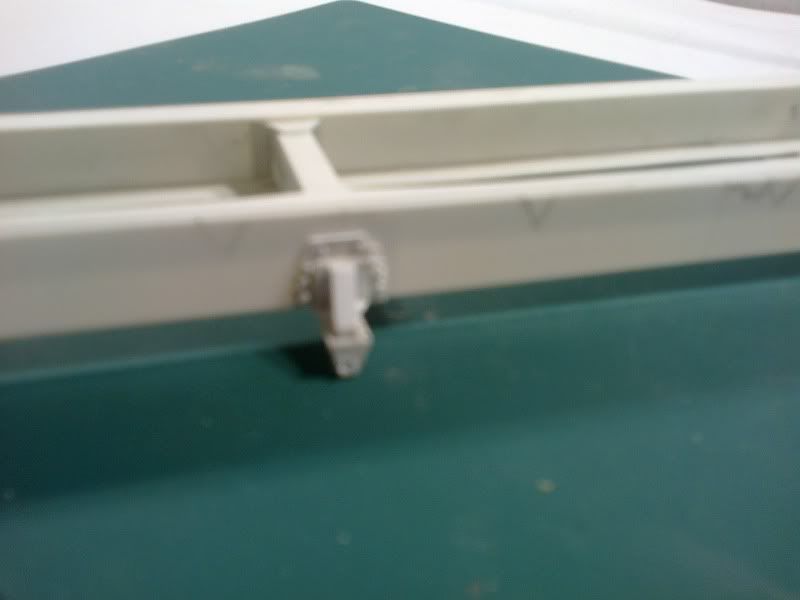 Cheers Nige |
|
|
|
Post by stuckontrucks on Dec 7, 2012 9:18:50 GMT
It was always going to be a slow job Nige, but you are certainly getting there.
More WIP photos please.
|
|
|
|
Post by badger42 on Dec 7, 2012 19:30:01 GMT
Nige, good to see this up and running again m8.
Barrie.
|
|
|
|
Post by bowman on Dec 7, 2012 19:38:33 GMT
Nige, looking good - looking forward to following this one...
Steve
|
|
|
|
Post by okdoky on Dec 7, 2012 23:37:06 GMT
Thanks guys for the push !!!! Works so far Better close ups of the tyre 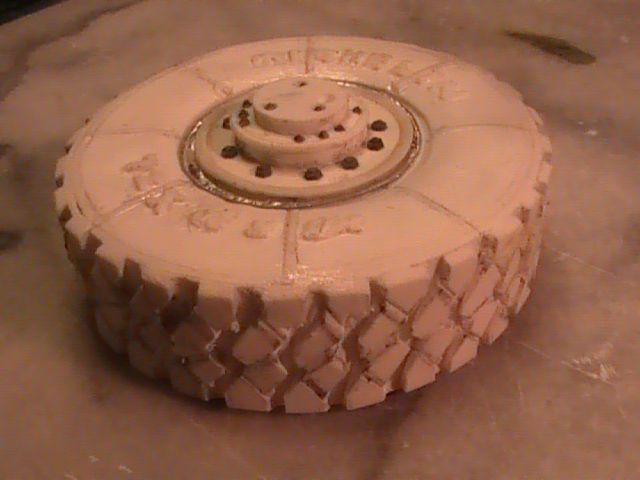 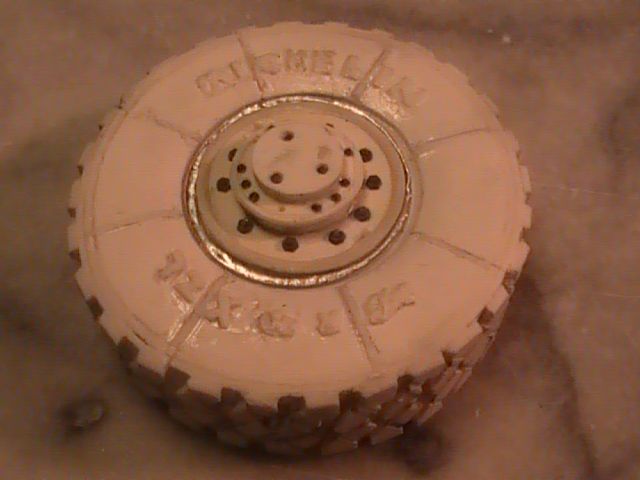 Need to purchase and attempt molding and casting of minimum 12. Chassis rails going together 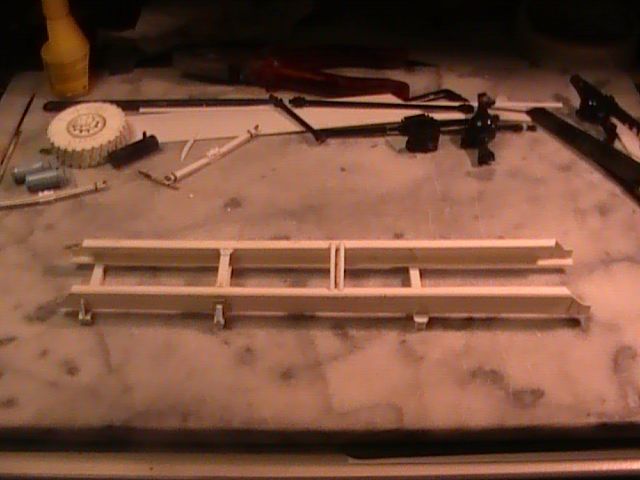 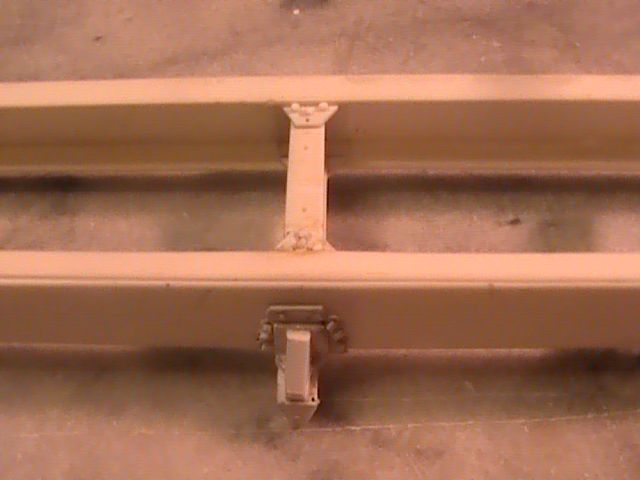  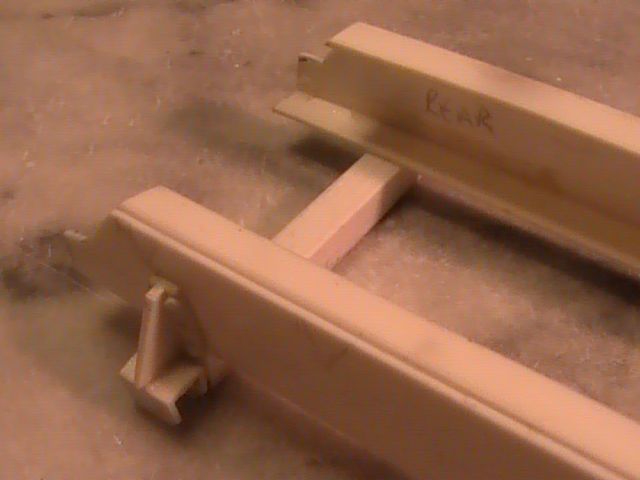 Convinced the Mrs to allow me to work through the night and get some me time on this !!!!! No kids to distract as in bed !!!!! Great !!!!! Nige |
|
|
|
Post by okdoky on Dec 8, 2012 4:14:48 GMT
Found a new way by accident to add the bolt heads which helps me a little. I had been tinting the glass of the tiny 1/144 Revell chinook with the green tamiya acrylic clear green using a tooth pick. Out of lazy ness to find a fresh one, I used the same one to dip in the liquid cement from a puddle. The green transferred nicely with the glue to locate where I wanted the bolt head placed and I could still use the clean end of the tooth pick, with a light dab on my tongue to pick up a slice of rod over to the green spot. Also, with one end of tooth pick bright green, I knew not to stuff that end with glue on my tongue. I did not have to add any fesh green during the process.  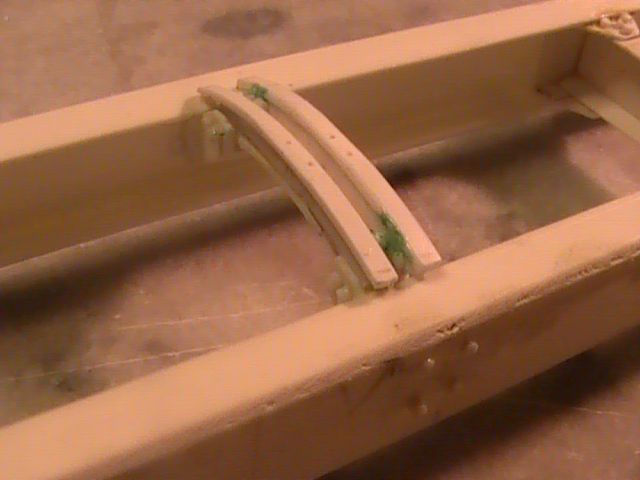 Also lets me see where I am missing bolt heads as there is no green around where it should be. Maybe not for those who want to show pristine white plastic through their build, but I battle glue and finger prints all the time and it is getting painted anyhow. I have noticed I waste less time and glue trying to find where I placed the glue on small points. Maybe it will help reduce the amount of glue finger prints too. Rear chassis pivot point for tipper or other accessories to be affixed to 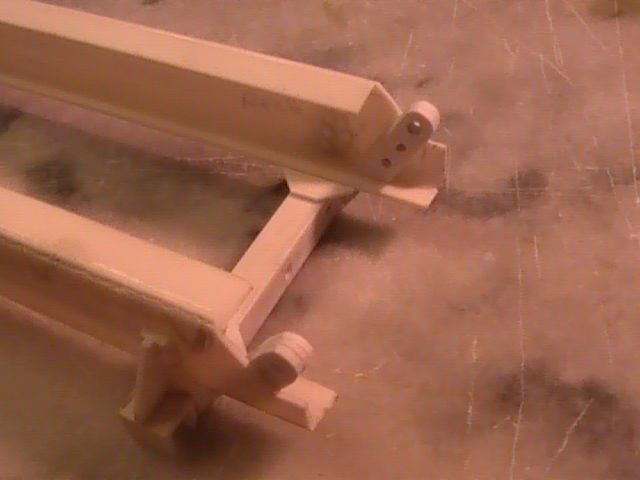 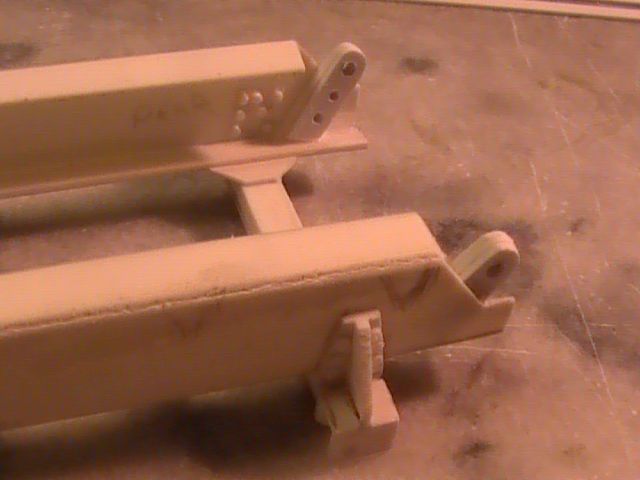 Nige |
|
Deleted
Deleted Member
Posts: 0
|
Post by Deleted on Dec 8, 2012 11:36:55 GMT
Good to see this moving again Nige!
|
|
|
|
Post by badger42 on Dec 8, 2012 12:07:37 GMT
Cracking work Nige, the "mancave" being indoors has obviously helped.
|
|
|
|
Post by okdoky on Dec 10, 2012 7:39:20 GMT
Here is where I am at this morning !!!!!!!!!! Rear hanger for the front leaf spring, the rear cab mount, and the cab tilt ram and restraining strap added to chassis 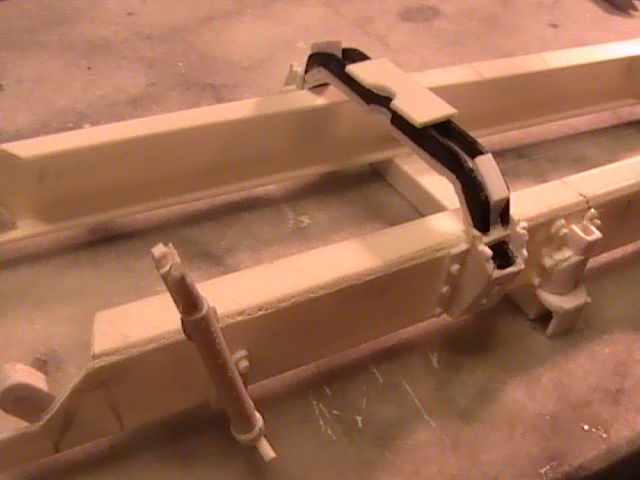 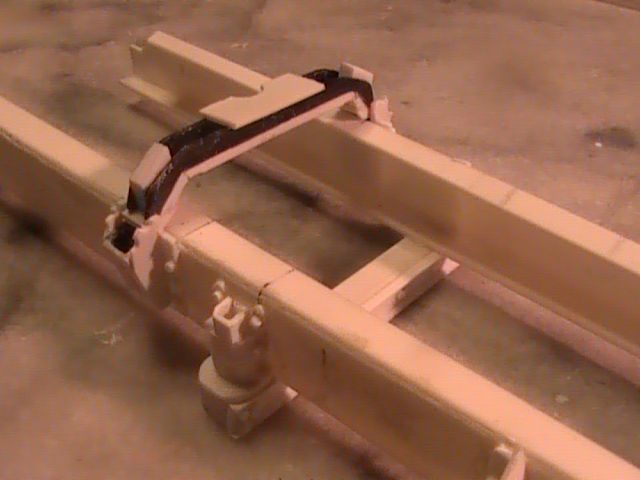 The front lifting point and the cab tilt 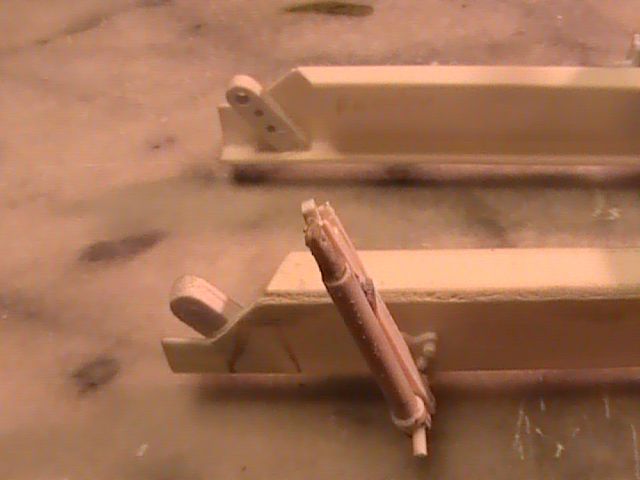 The spare wheel hanger 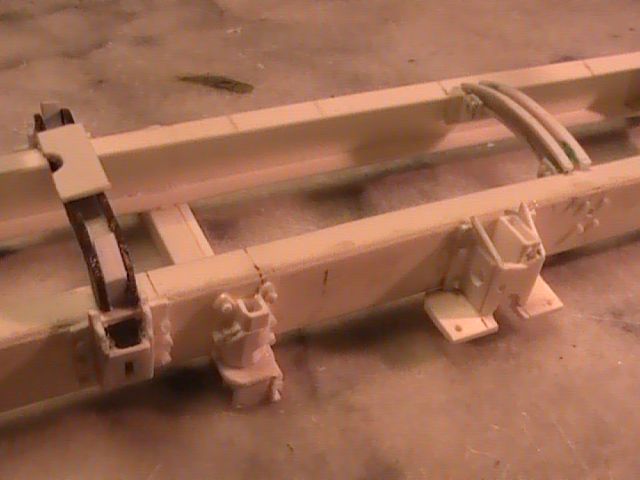 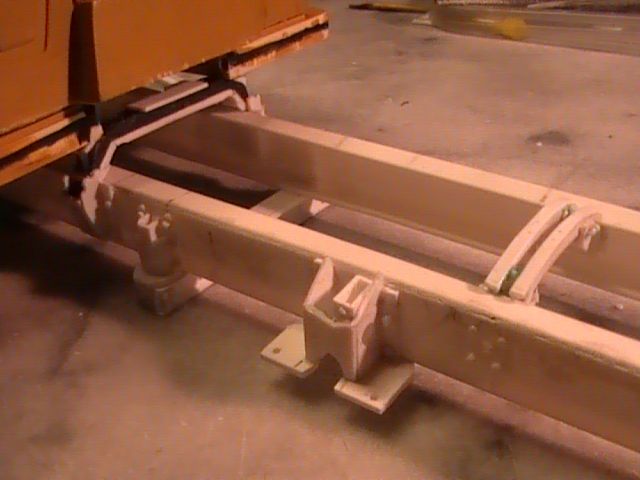 When I build my copies of the cab using Howard's KFS cab as a guide, I will correct a few points and add my own detailing gleaned from the many photots.For example, the step valance is built by Howard wrapping around the back of the cab, meeting with the shroud over the rear cab mount. On the real cab the valance stops earlier 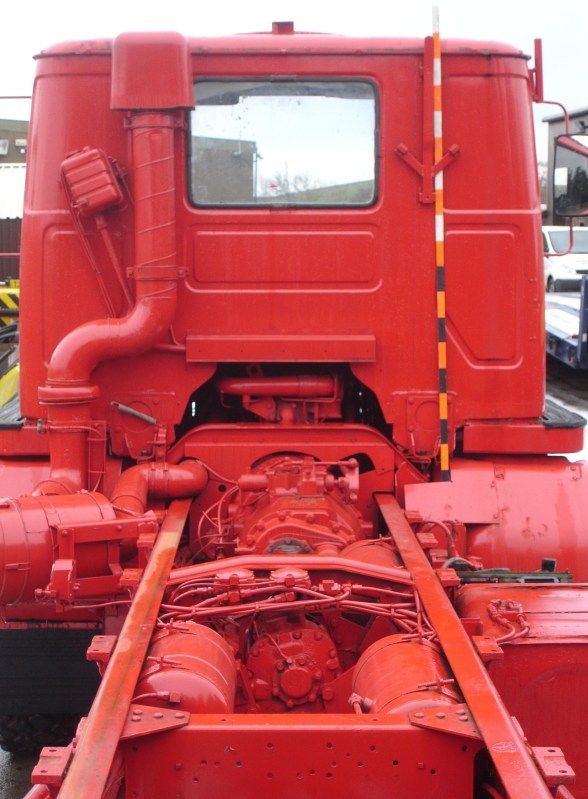 The cab lock downs require to be located in the spaces that are taken up by the simplified and longer valances. This is how the KFS cab looks on the chassis at this time. I will be making my own full cab from scratch with as many correctionsand improvements as I can reasonably achieve. 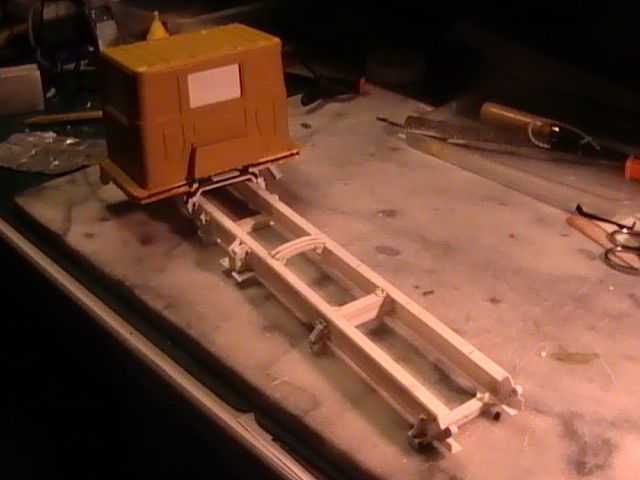 Nige |
|
|
|
Post by bowman on Dec 10, 2012 9:41:22 GMT
This is looking really good. I like your tip about the bolt heads - might try that myself, but I bet I still end up with a green tongue!
Steve
|
|
|
|
Post by okdoky on Dec 10, 2012 10:14:44 GMT
For some reason the pic of the real truck showing the back of the cab for comparison is not showing up. Hoping it is just a little glitch and it shows here. 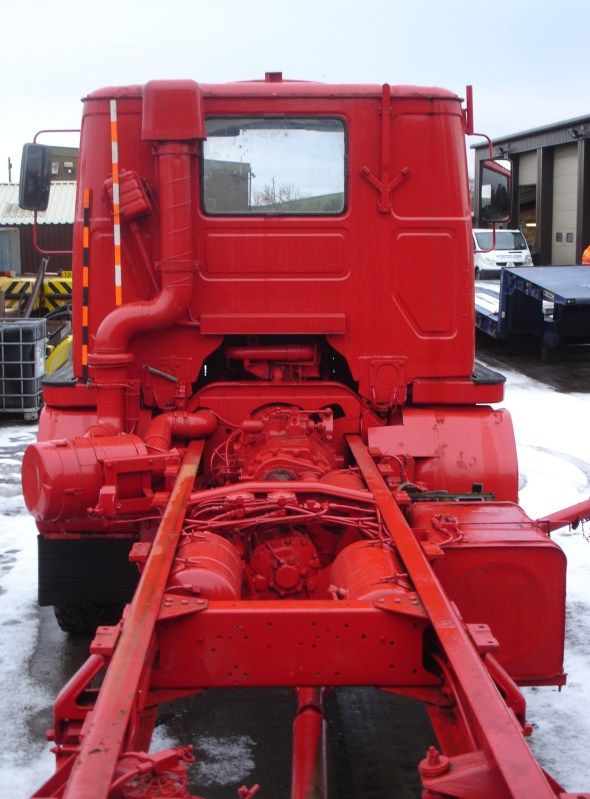 |
|
Deleted
Deleted Member
Posts: 0
|
Post by Deleted on Dec 10, 2012 19:49:11 GMT
For some reason the pic of the real truck showing the back of the cab for comparison is not showing up. Hoping it is just a little glitch and it shows here. Sorry Nige, nothing! |
|
 Members' Forum")