|
|
Post by okdoky on Jan 5, 2013 0:48:16 GMT
|
|
|
|
Post by okdoky on Jan 6, 2013 0:34:08 GMT
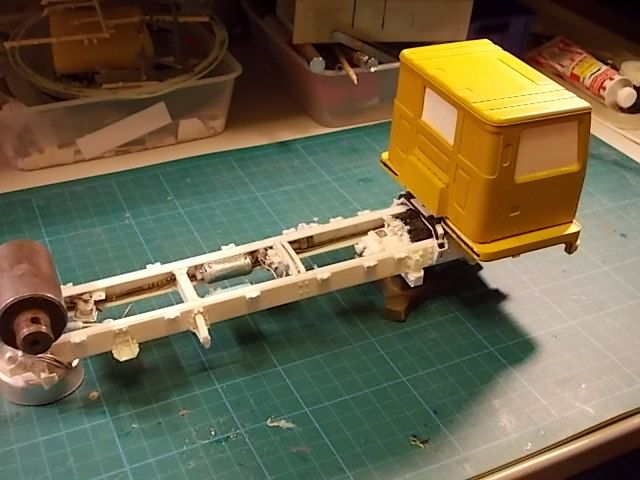
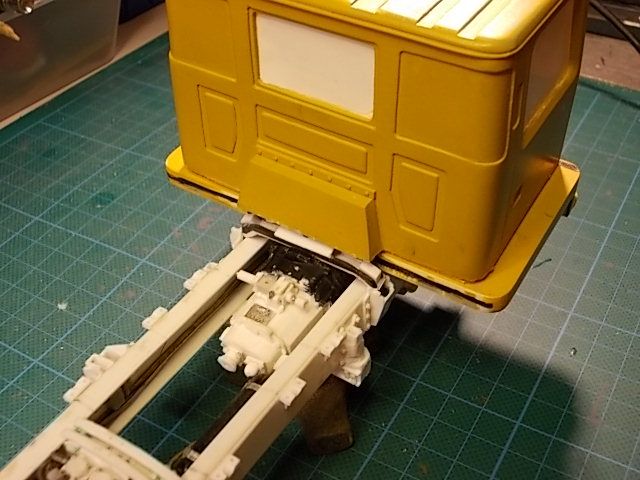
I will get the drip tray under her ASAP !!!!!!!!!!!!! Adding a few more leaky pipes to busy up the lump 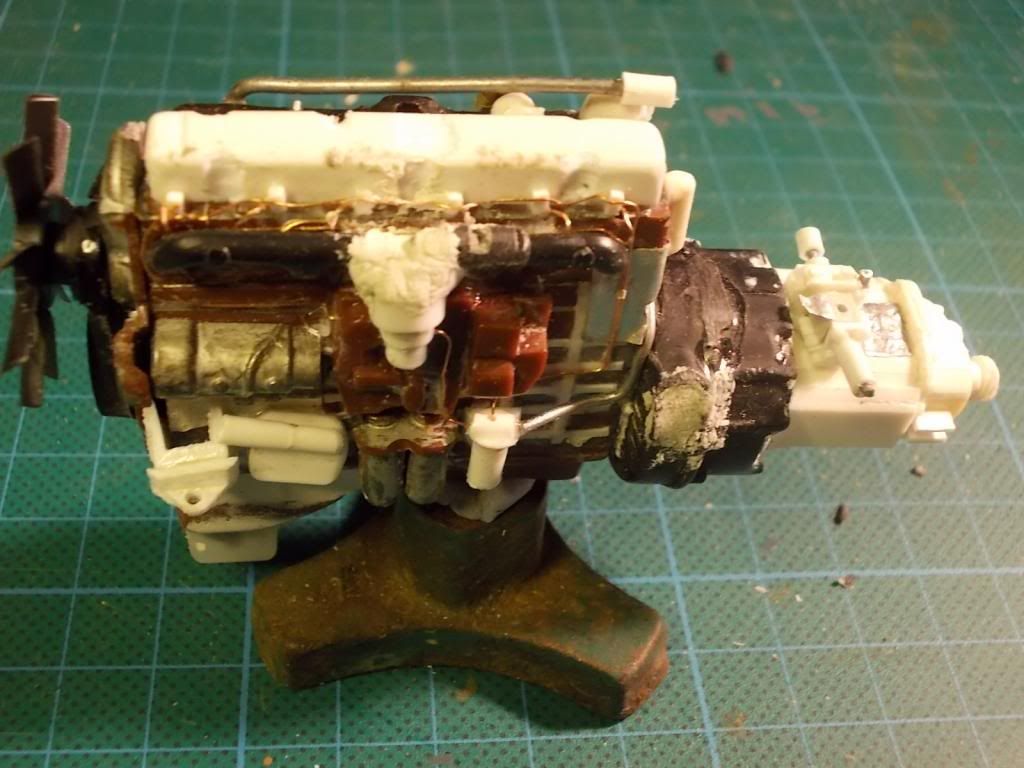 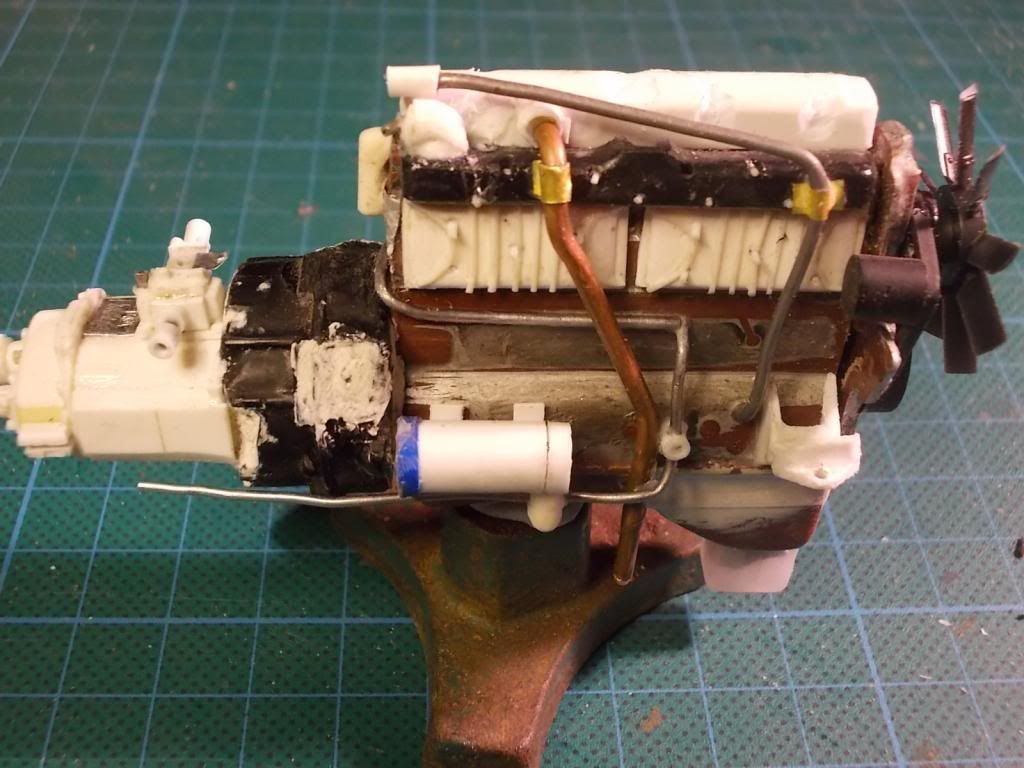 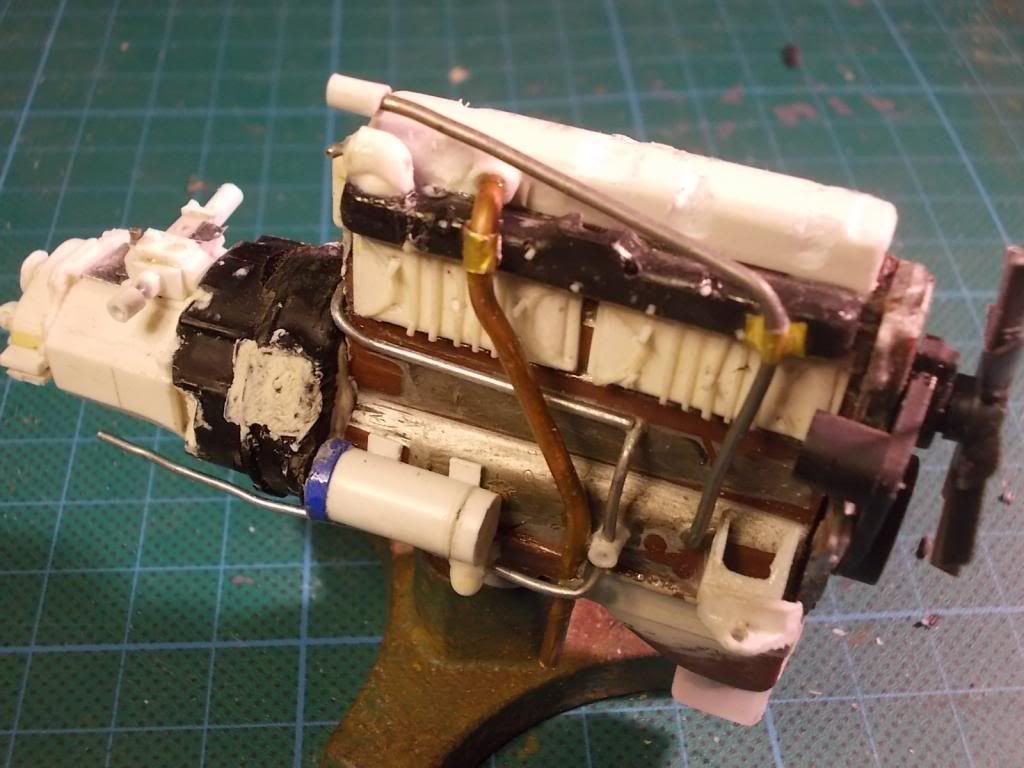 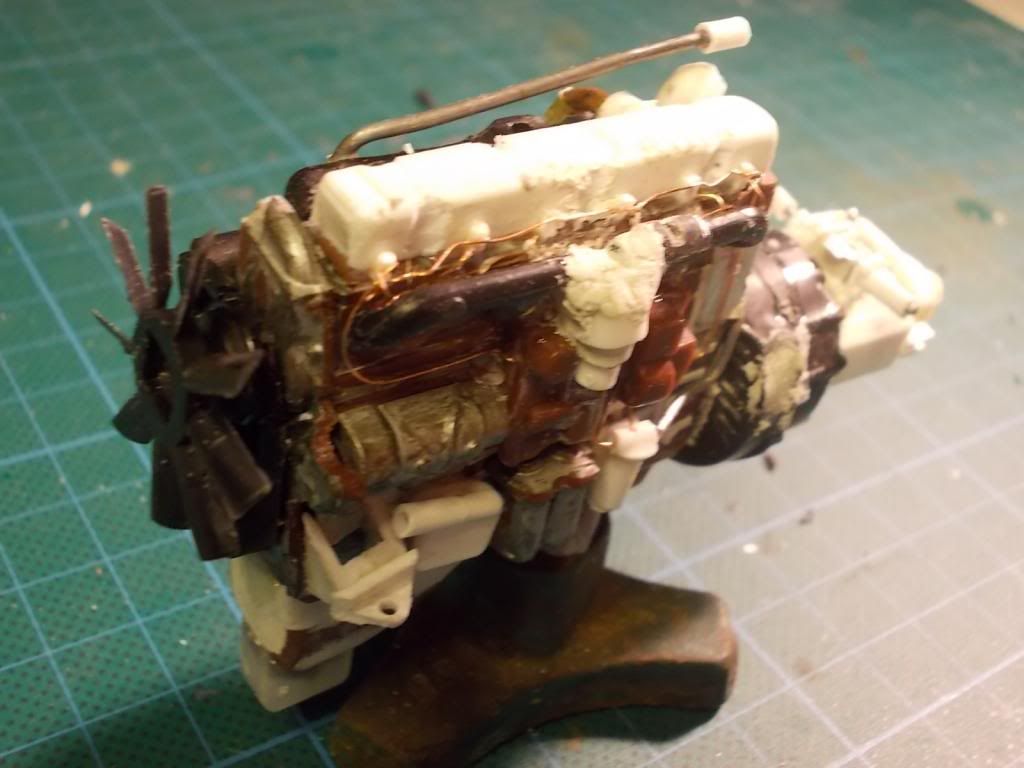 Lump will fit but I have to leave off the fan to get the radiator to sit in front and allow the cab skin to go over it 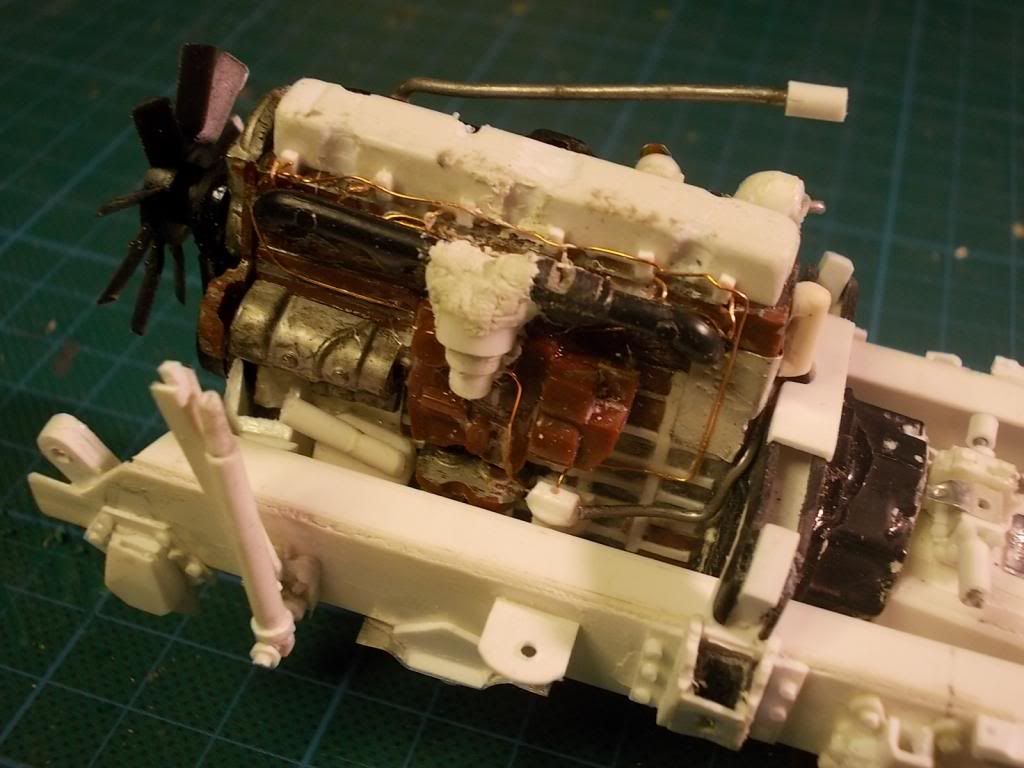 Suppose that might be because an 8 cylinder engine is longer than a 6 and I don't have the actual engine length to work from  There has to be some sacrifices to accuracy if I am to get this done Nige |
|
|
|
Post by bowman on Jan 6, 2013 18:28:33 GMT
Nige,
Fantastic! Your attention to detail with the "plumbing" makes all the difference. Bravo!
Steve
|
|
|
|
Post by okdoky on Jan 6, 2013 20:16:30 GMT
Hi Steve
It will look a lot less like a HOTCH POTCH when the primer is on it and it is unified !!!!!!!!!!!
I have put the feelers out on the other project and will see how far we can go with it !!!!!
Nige
|
|
|
|
Post by okdoky on Jan 6, 2013 23:02:54 GMT
|
|
|
|
Post by Harriet on Jan 6, 2013 23:16:29 GMT
I do love watching your builds Nige - you must have the patience of a saint  One day I'll finally get to see them in the plastic! ;D |
|
|
|
Post by okdoky on Jan 6, 2013 23:59:26 GMT
Thanks Harriet
I do struggle with patience and it is something I wish I could develop for the finer bits and bobs instead of cobbling them together and depending on the paint to merge it all together !!!!!!!!!!
Nige
|
|
|
|
Post by okdoky on Jan 27, 2013 18:41:47 GMT
Have spent the past few weeks faffing about and not really succeeding in doing anything real constructive on the model until today !!!!!!!!!!!!! Had a stab at folding the distinctive cargo bed sides in tin foil, as I cannot figure how to get the same effect in styrene with the straight and sharp folds !!!!!!!!!!  I can get the folds, but making them as accurately each time is very hard to do ,,,,,,,,,,, but I will persevere !!!!!!!!!!! 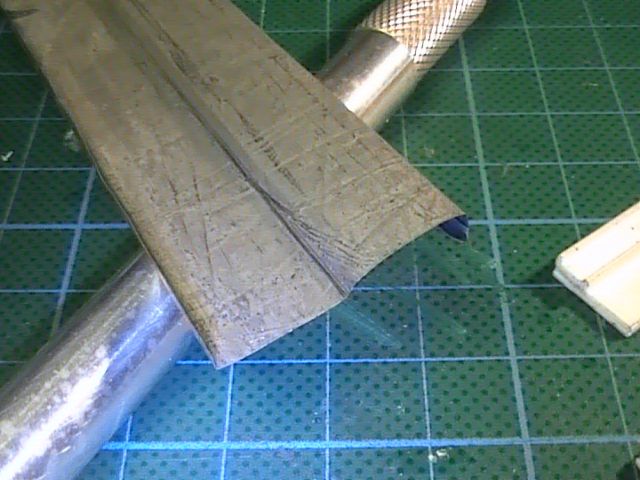 I also need to remember not to mark the folds with my exacto knife as I should have remembered from the DROPS that it starts of a severe metal fatigue fracture point !!!!!! ALWAYS USE A BLUNT BUT FINE BALL POINT EMBOSSING TOOL !!!!!!! The sharp fold on the bottom of this one was splitting early so already scrap !!!!!!! 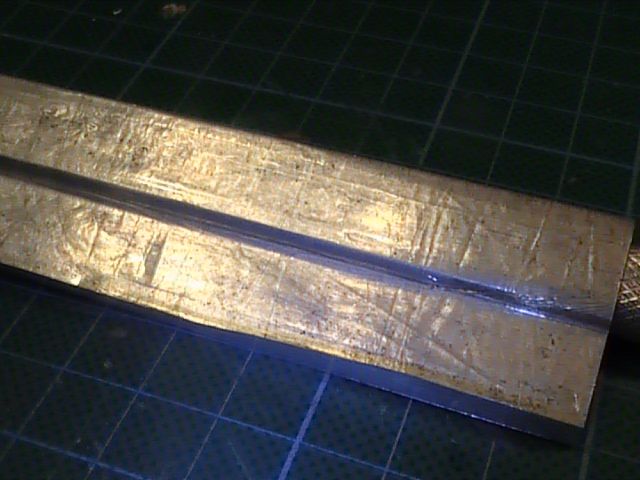 I also have to figure out how I am going to bond the panels to the side pieces that have the locating holes that match up with the corner posts of the cargo bed !!!! 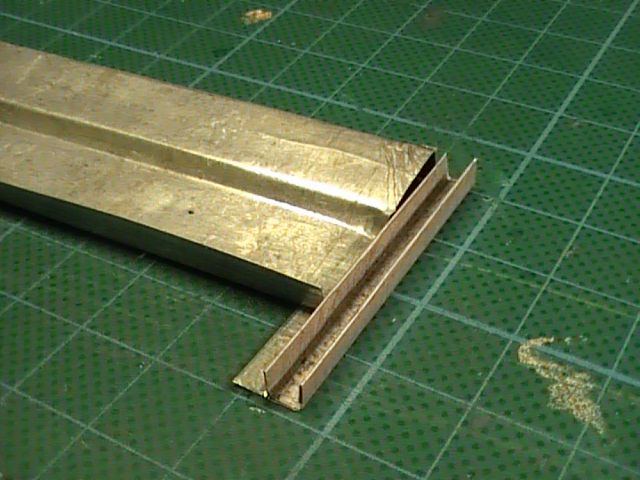  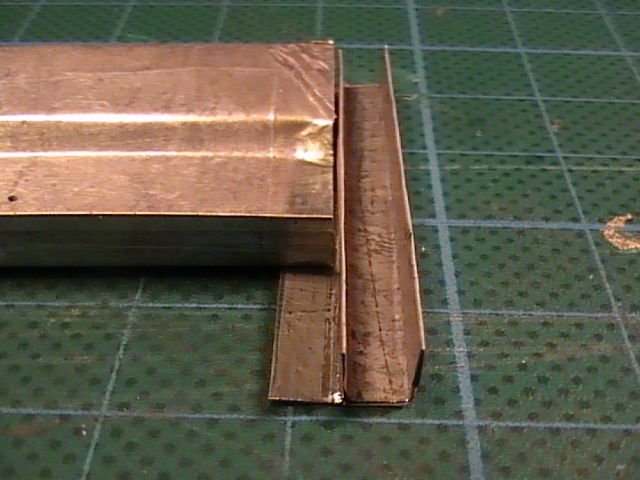 Also have to glue a reinforcing rod along the bottom edge and make the four holes that allow the side panels to locate on the cargo bed and pivot when sides are to be lowered !!!! This is what I am trying to achieve !!!!!!!!!! 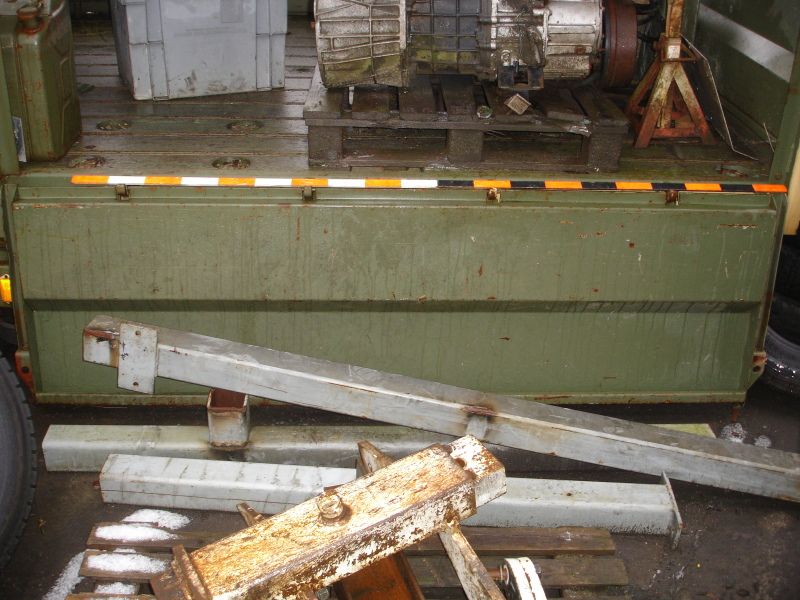 More to follow tonight |
|
|
|
Post by okdoky on Jan 27, 2013 19:28:05 GMT
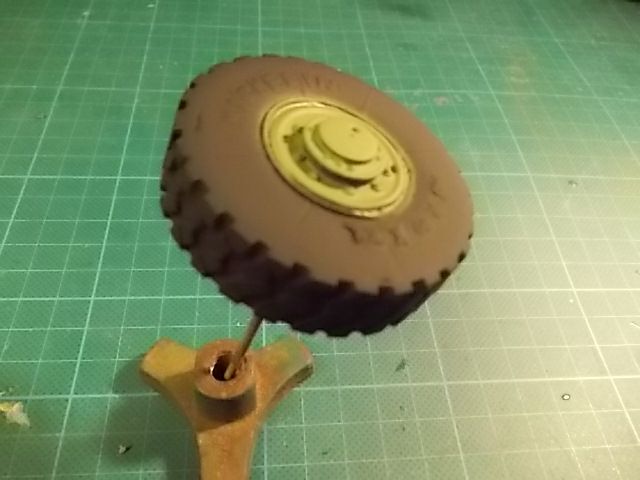
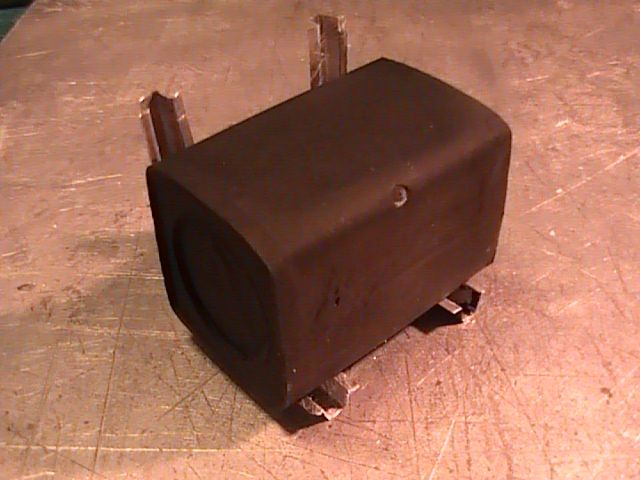
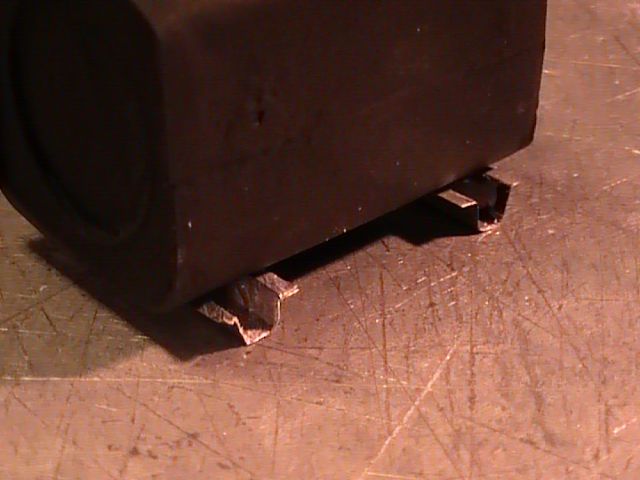
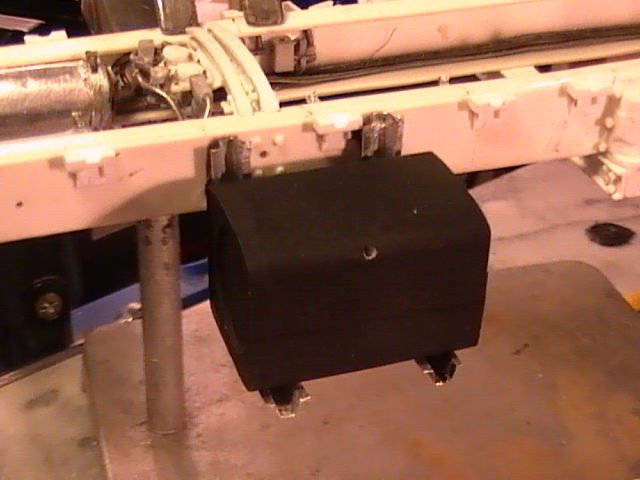
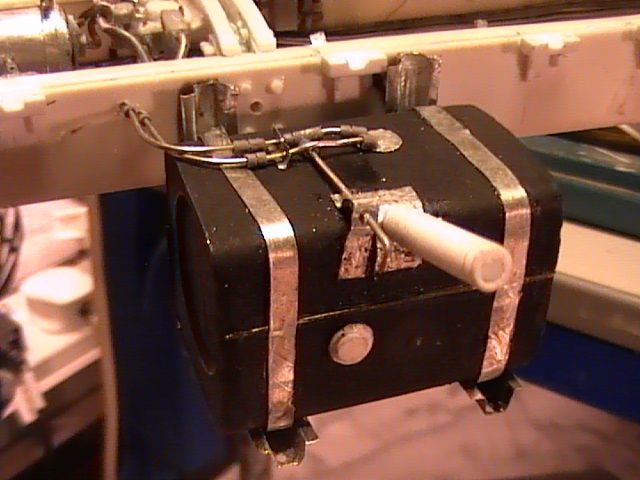
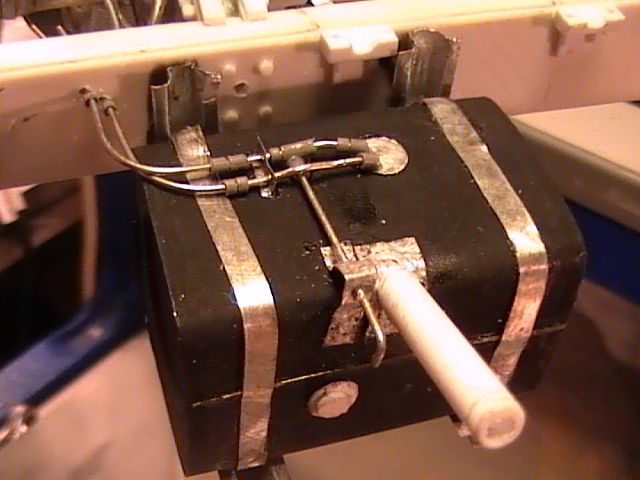
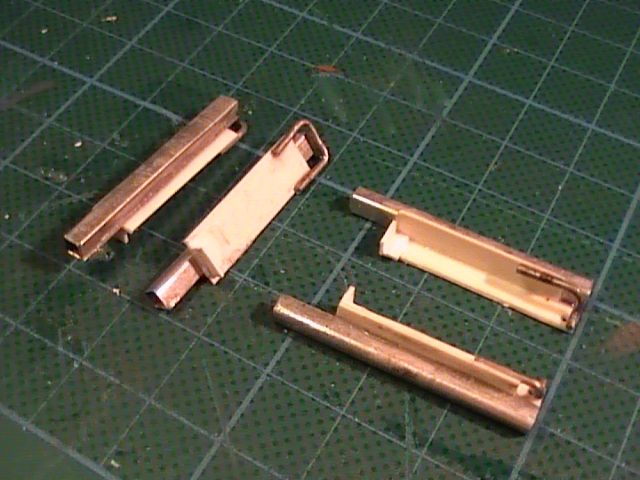
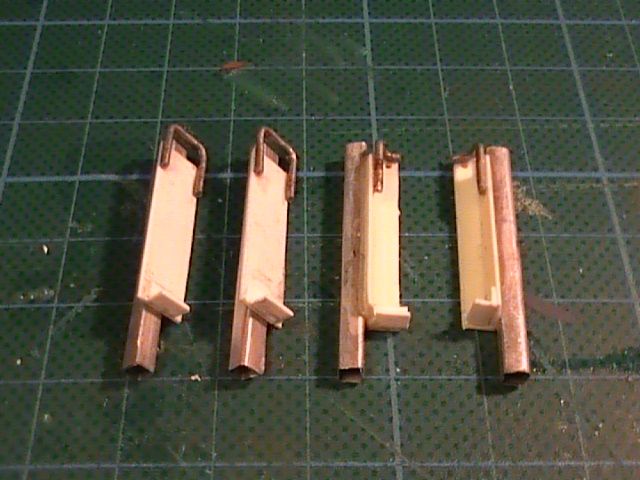
Tonight I changed tack and had a go making a fuel tank, as my head was splitting from all the complicated hold and folds of the cargo bed sides !!! 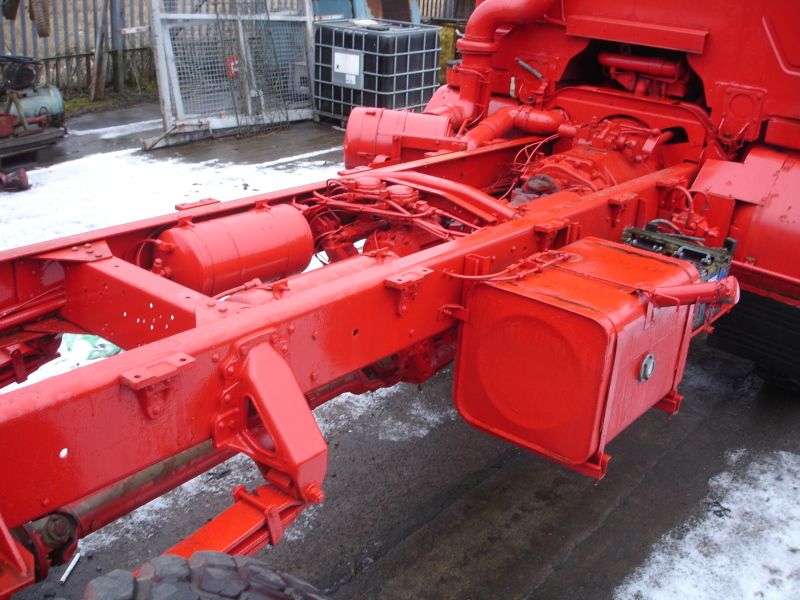 First off, I made up 20mm X 20mm plastic shims in pairs. The original though was to make the tank hollow with the end pairs and middle pairs joined by a wide diameter hollow tube to save on plastic sheet !!!!! I REALLY NEED TO STOCK UP SOON !!!!!! 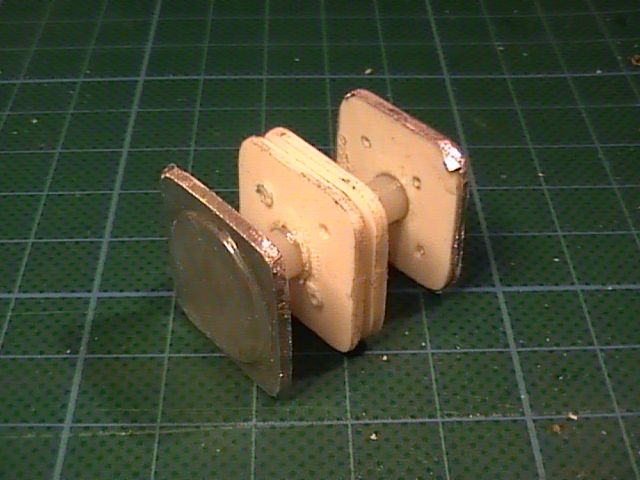  A circle of thinner plastic is glued on the outers and then the tin foil burnished over the ends. I ended up having to use far more shims making it almost a solid lump. The tin foil was carefully wrapped and glued tightly around the former with a slight overlapping end lip on each end !!!!!! 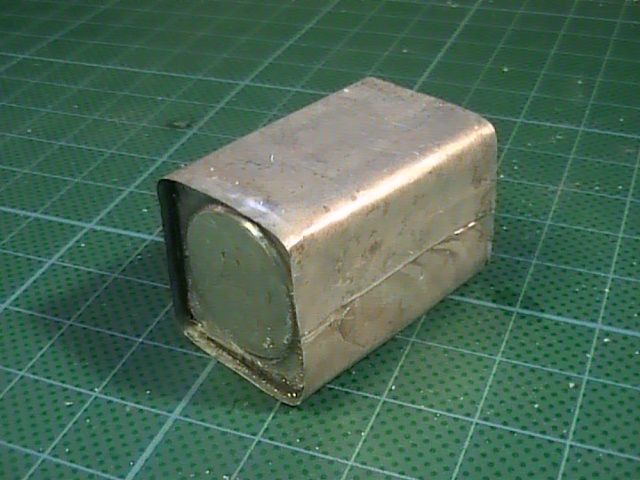  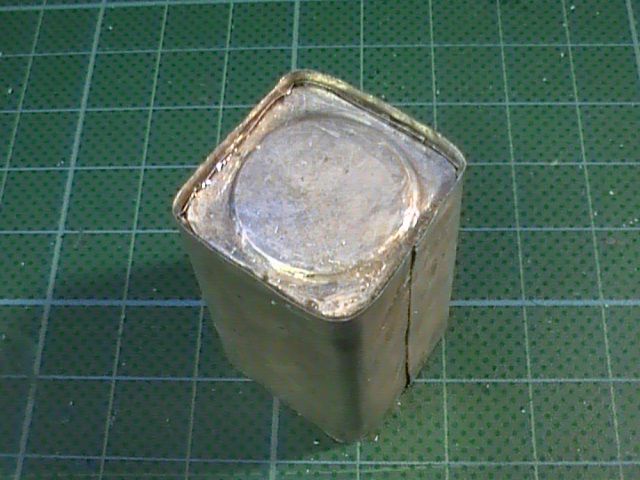 Next problem is the fuel tank hangers !!!!!!!!!! This is what I needed !!!!!!!  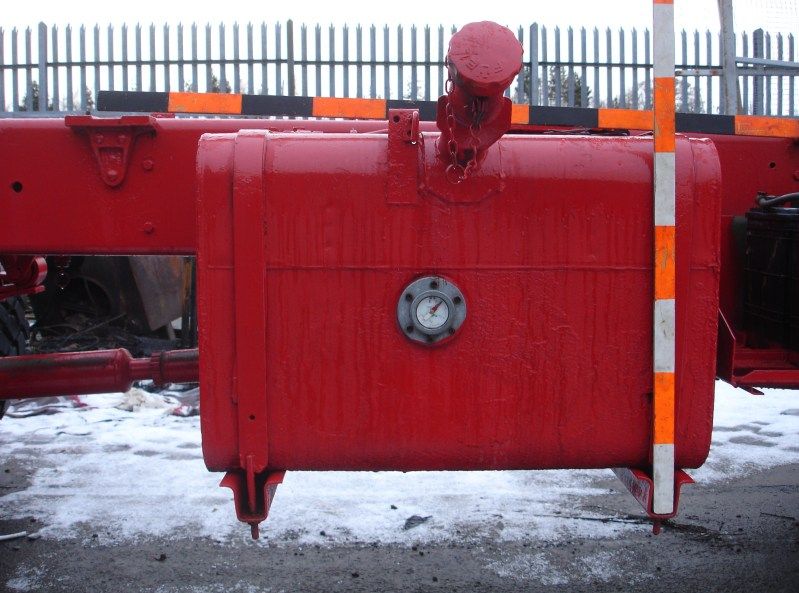 The hangers are not like the Italeri kit ones as the trough is on the outside curve, not the inside like the Italeri parts !!!!!! 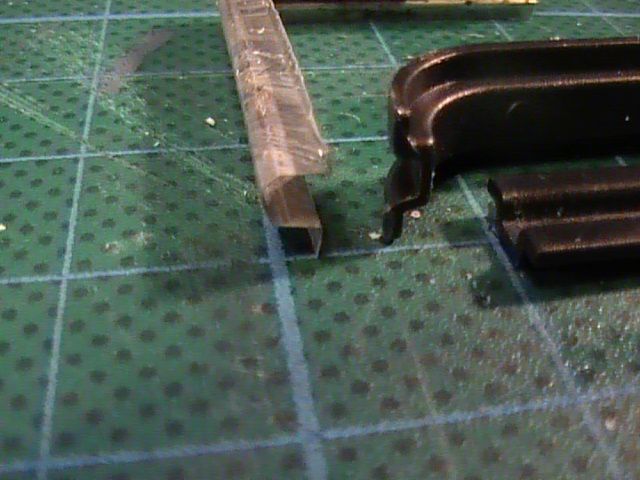 Made my own by pressing strips inside a 'C' section brass using a solid square brass strip that fitted neatly with the tin foil !!!!!!! 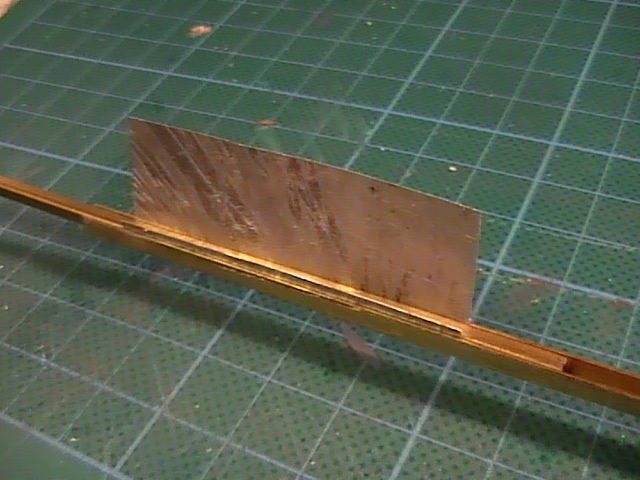 Sides folded flat !!!!!! 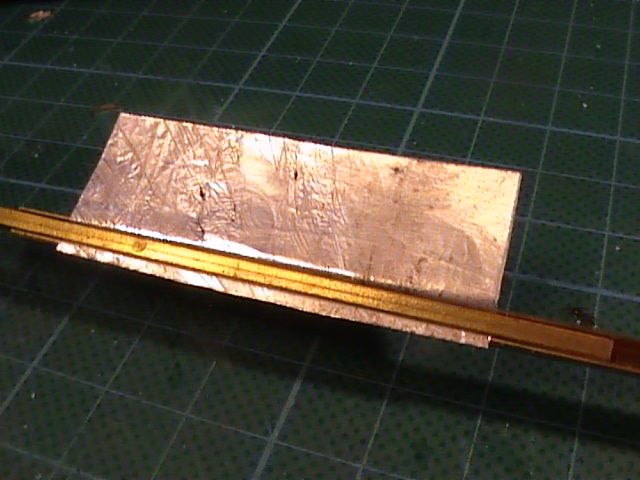 Trimmed  Tight fit needs careful prizing out !!!!!!!!!  Because I need a bend, I drilled and cut the trough with sharp scissors leaving the side lips intact !!!!!  Because the strength is then lost, I had to replace the missing trough with something else !!!!!!!  Using the lighter, I melted the sprue just enough to put a full 90 degree bend !!!!! 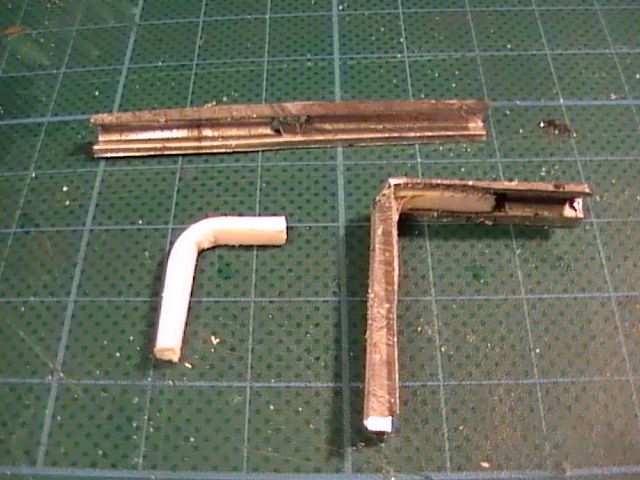 Sanded and glued in the trough at the corner using two part epoxy !!!!!!! I am going on the basis that the retainer straps will fill the top trough so the sprue inside will not be seen !!!!!!!! The outside face of the corner can be smoothed off later with car filler which itself will add some strength !!!!!!!! 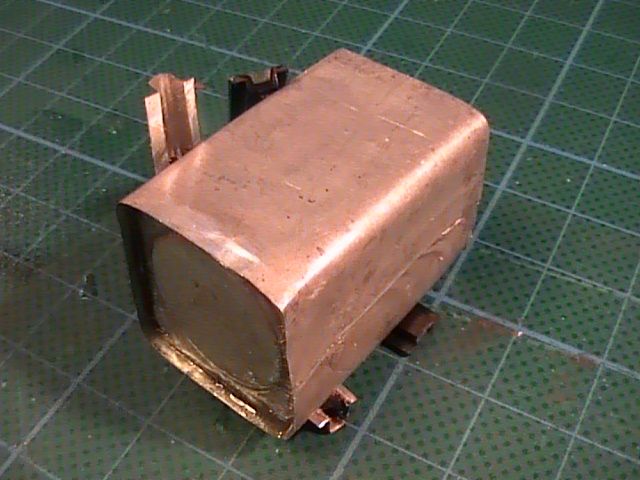 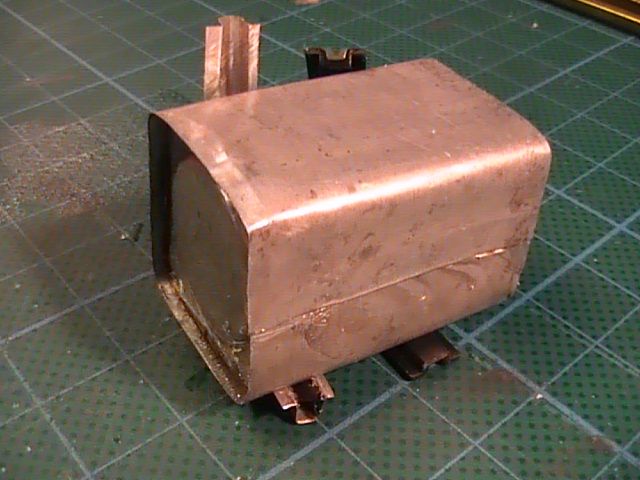 Hope you like Nige |
|
|
|
Post by Harriet on Jan 27, 2013 21:37:56 GMT
Looking good Nige! 
|
|
|
|
Post by okdoky on Jan 27, 2013 22:56:53 GMT
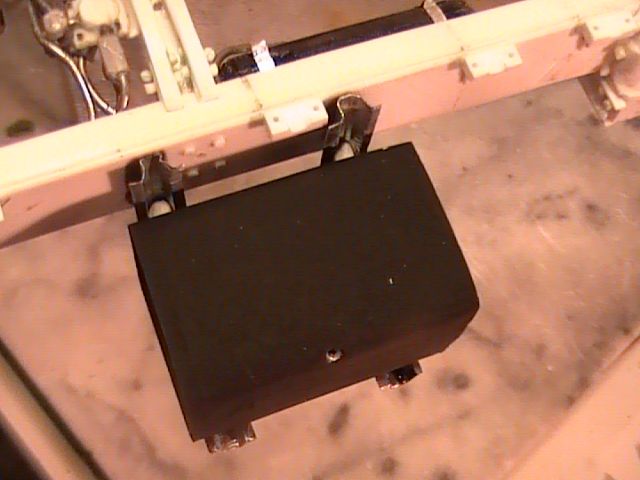
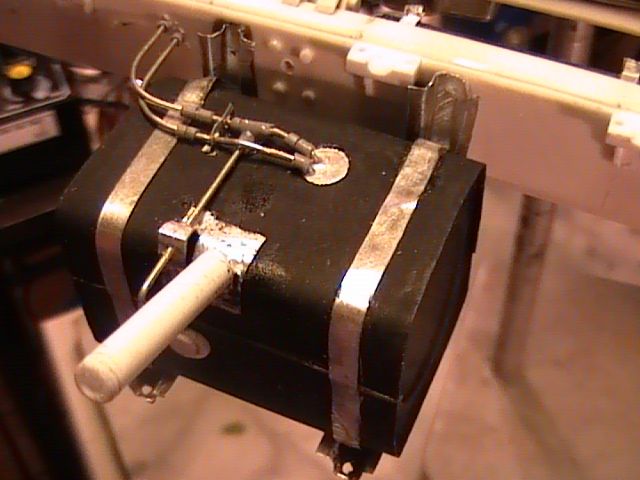
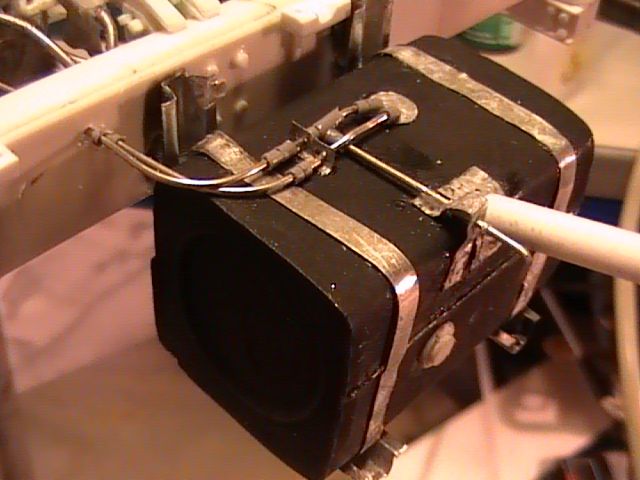
Thanks Harriet Someone on another forum quite rightly noted that my fuel tank ends needed a sex change !!! A quick fix with a shim added 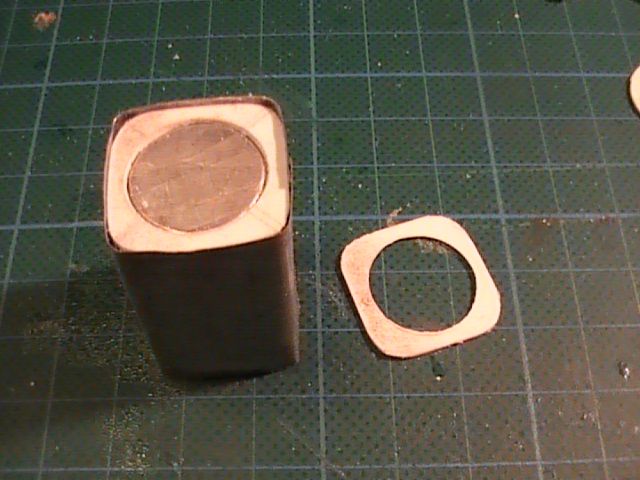  My outy is now an inny !!!!!!!!! Nige |
|
|
|
Post by okdoky on Jan 27, 2013 23:59:28 GMT
|
|
|
|
Post by okdoky on Jan 28, 2013 3:24:20 GMT
|
|
|
|
Post by okdoky on Feb 7, 2013 23:46:28 GMT
|
|
|
|
Post by okdoky on Mar 9, 2013 21:25:02 GMT
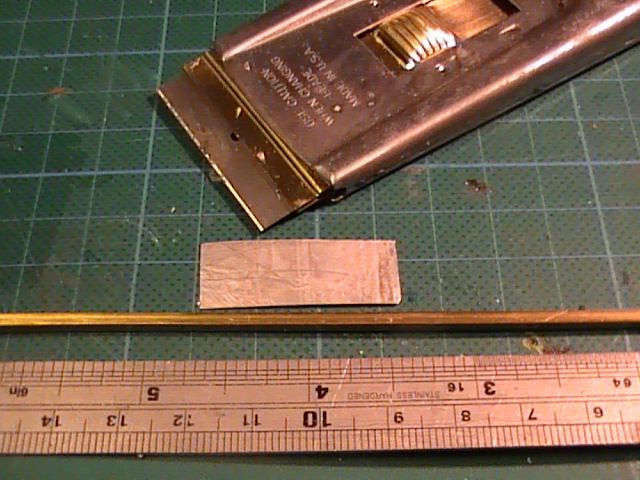
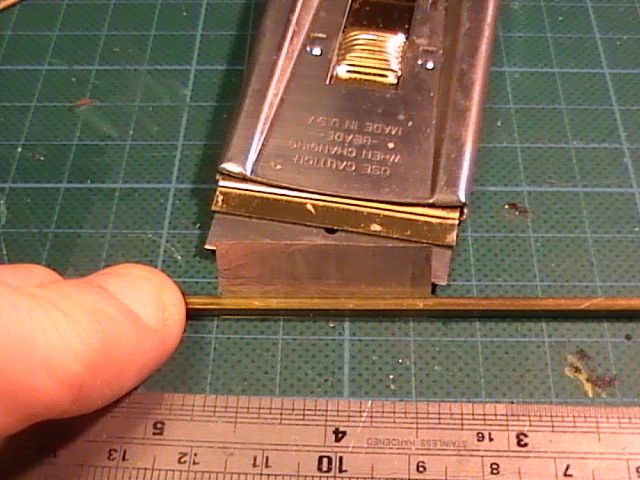
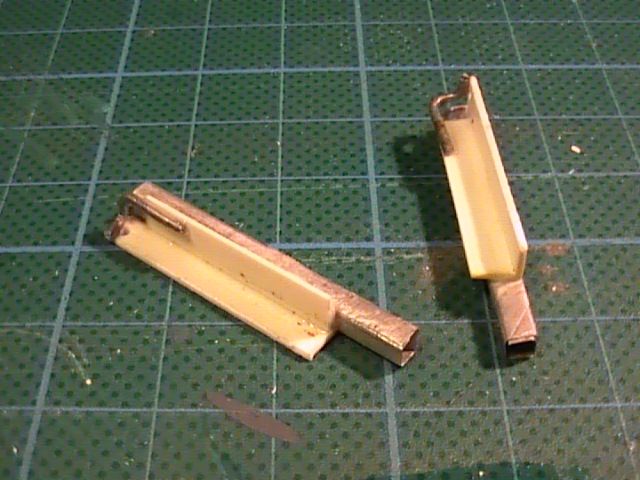
Been spending a wee bit of time off and on trying out ways to make my own U channels to build up the cargo bed and was struggling withthe tin foil as I could not get a consistant dimension. Then I found brass u channel and square rod that I was able to press together with a slightly thicker guage roasting tray and form long lengths with!!!!!!!!!!!!! Not much to show but at least it is proof of concept !!!!!! Sub frame and bed head support posts joined    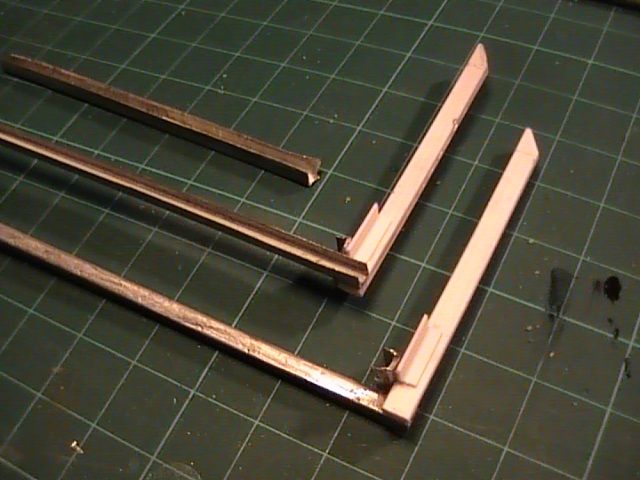 Inside the U channel is a strip of thin plastic card cut on the guilotine and superglued to give more strength over the length whilst keeping quite a nice scale thickness to the channel. 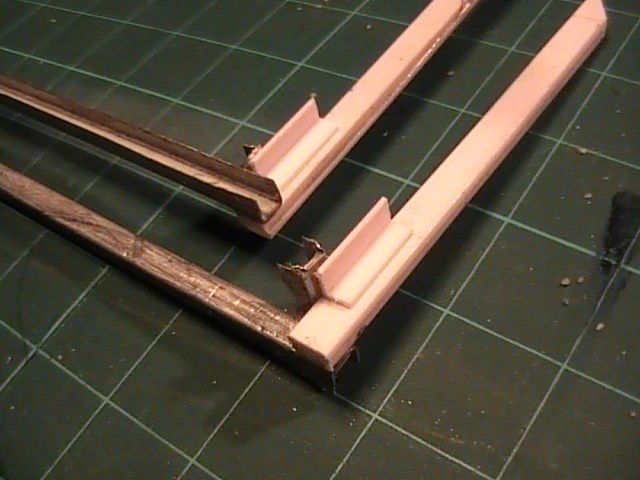 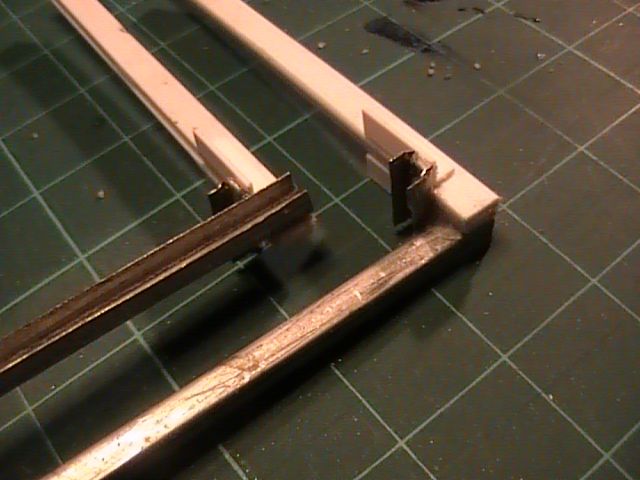 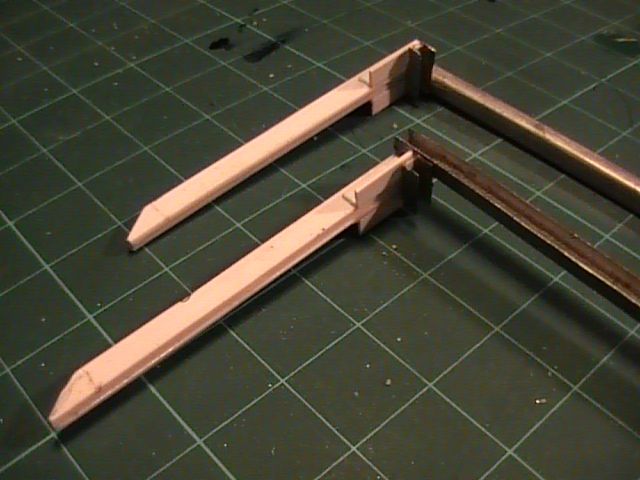 More faffing about to come Nige |
|
 Members' Forum")