|
|
Post by okdoky on Mar 10, 2010 22:33:37 GMT
Hi folks Been faffing about too much on the house alterations to get any real models churned out and am supposed to be thinking of a build for the Perth Model Show in April. Thought I would use the modelling a photo campaign idea (ok far too early to be considered part of the campaign I know) to get my mind in gear and get something done for a change. Came across a photo of troops training to deal with mines and booby traps and thought it might be suitable to get me going. 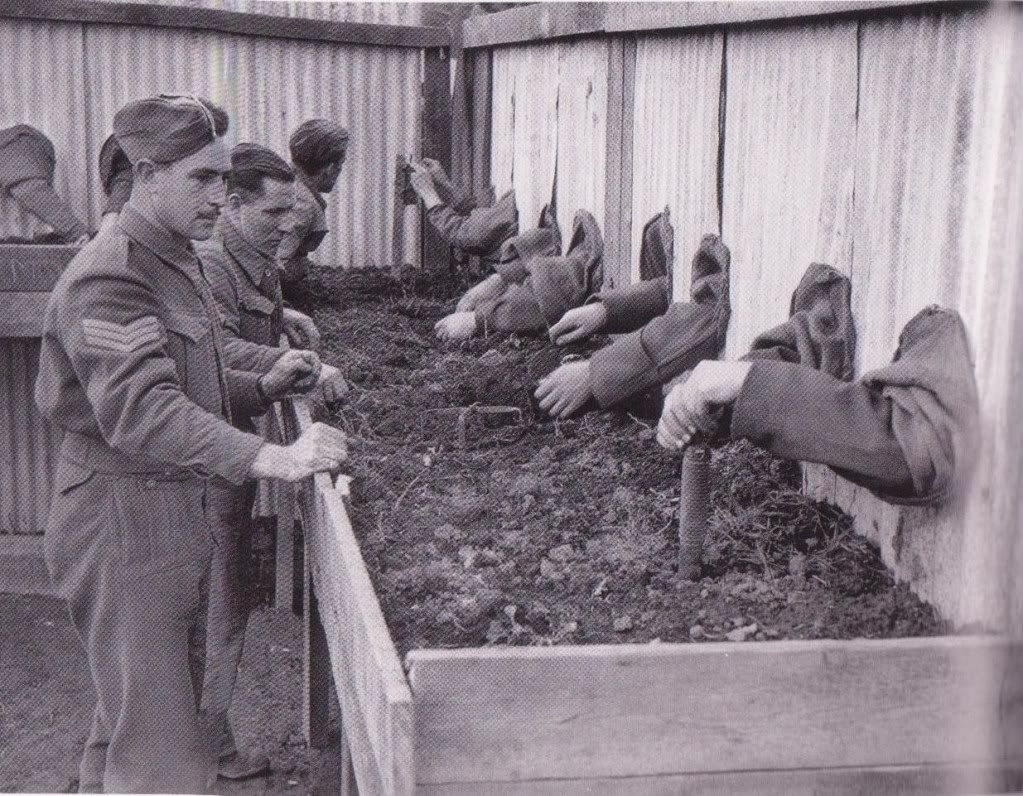 Materials of construction are quite basic for the moment with timber coffee stirrers for the frame and tin foil to make the corrugated tin. 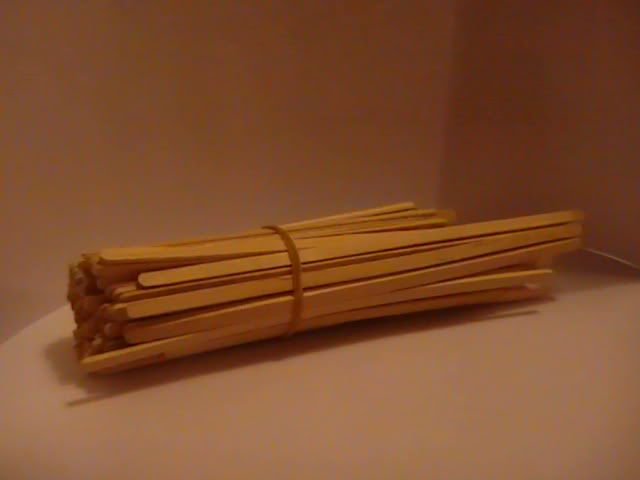  Frame constructed with superglue 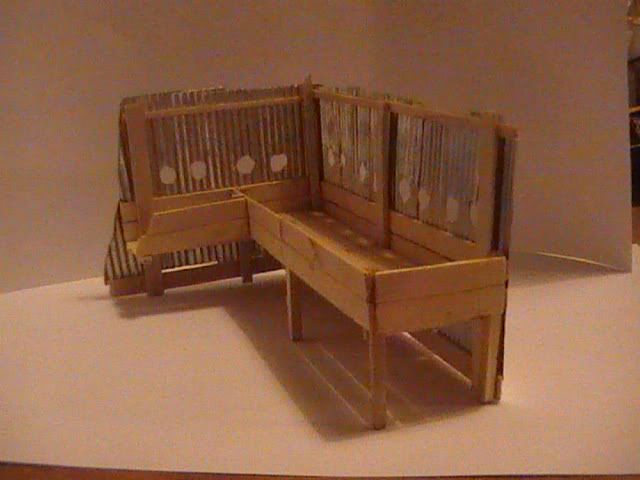 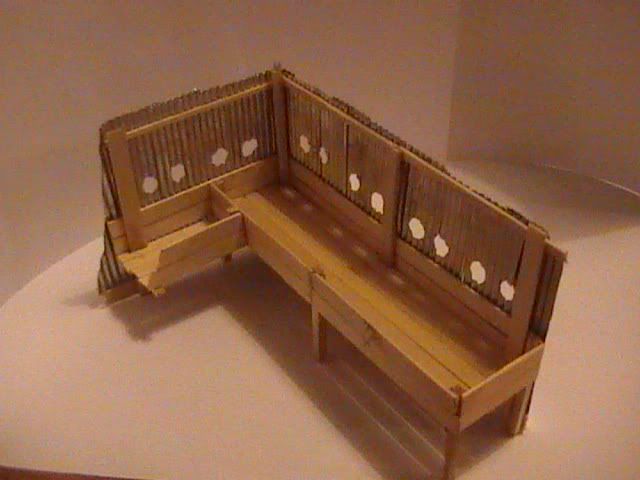 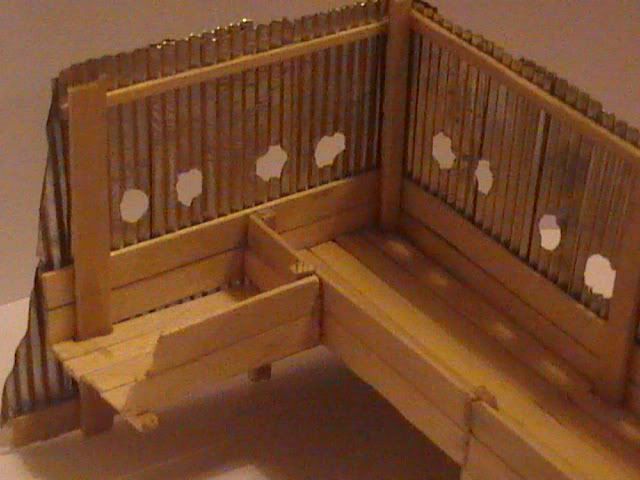 The tin foil from carry out food cartons put through a wringer gives a nice scale corrugated tin 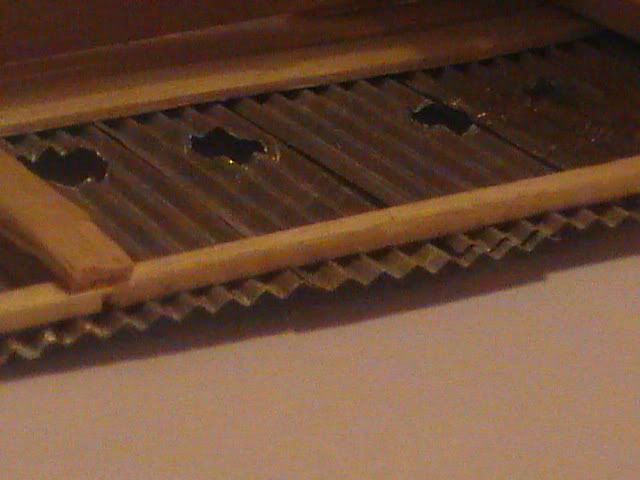 I got this art paint tube squeezer from The Works book and craft shop for £0.99 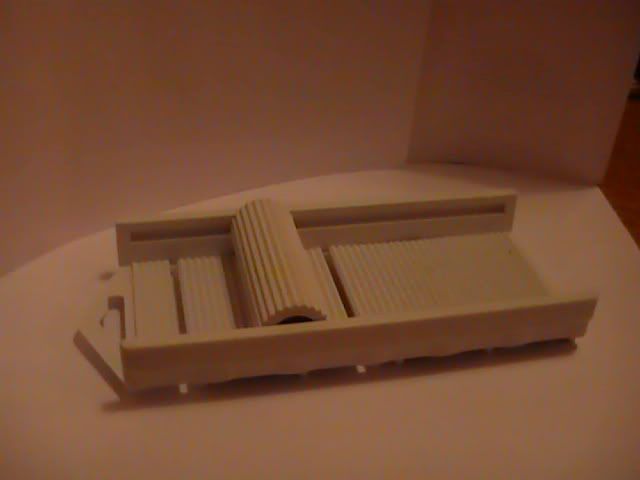 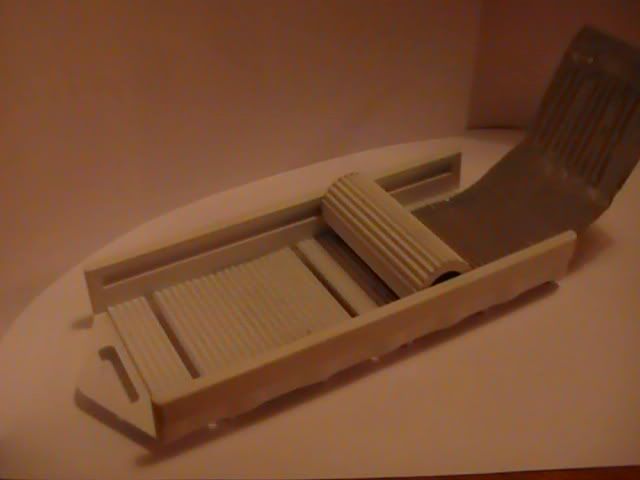 Thinking of buying two or three more to do a slight modification to them. More on that later. The individual sheets of tin foil were sized to give scale 2 foot by 6 foot corrugated sheets. Holes were marked using a large diameter hole punch to mark the diameter on the corrugated sheets then cut out with a knife. The sheets were flattened fully again then put through the wringer again so that the holes retained the corrugated edge. 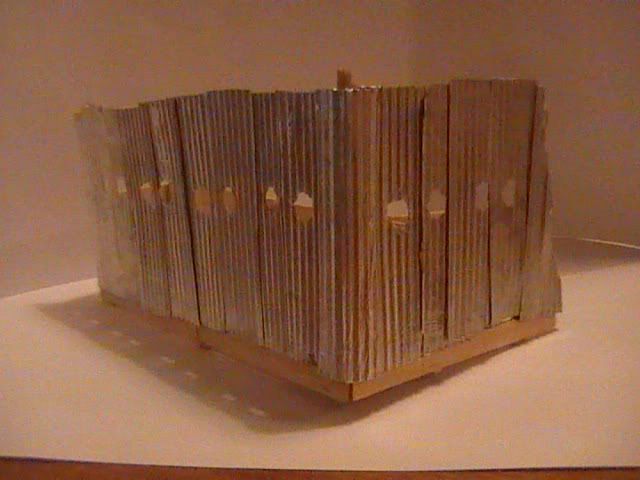 This is where I am at for now. 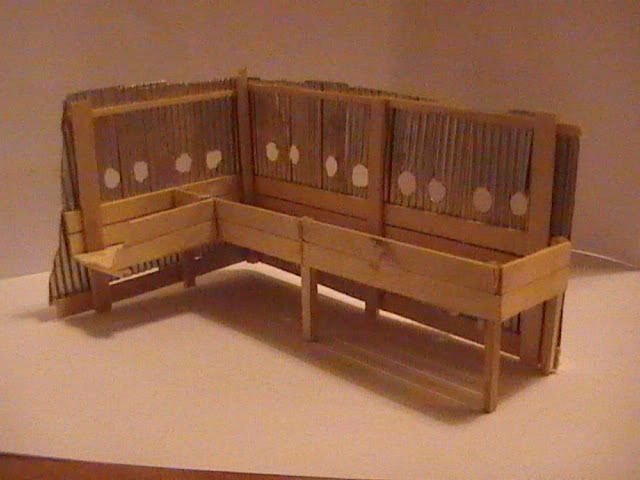 Have a figure on order from evilbay and others for doners. More to follow soon. Nige |
|
Deleted
Deleted Member
Posts: 0
|
Post by Deleted on Mar 10, 2010 22:49:34 GMT
Nige, something refreshingly different, well done. I like the home made crimping machine, I'll have to get one, it's an idea for the backdrop of the Garrett diorama.
|
|
|
|
Post by okdoky on Mar 11, 2010 0:01:38 GMT
Hi Nick
Am thinking of using acrylics for the figure bodies and oil paints for the hands and faces to see if that makes any difference. Need to look at the corrugated tin covered garage next to our house to get ideas for the colours of the wood and the metal sheets.
I would think they show some signes of rust even if recently built for training during the war time as they were outside but I don't want to overdo it.
Nige
|
|
|
|
Post by okdoky on Mar 11, 2010 0:25:22 GMT
Partly cause I am running out of time to produce something for Perth, and partly cause I have to rejuvinate any figure painting skills I had as a youngster using basic acrylic and oil paints at hand, I am going on the basis of less is more. I will only have arms poking through.
I have still to determine the basic shape and texture of the dio base but am thinking of a roughly triangular wedge shape edged with faced edges in line with the rear of the corrugated sheeting with viewing encouraged in line with the original photo.
I have one figure in battledress with side cap on order this month (Hornet white metal) rather expensive at £10 and I know of another in battledress without side cap same price.
Directions to any other (cheaper) figure sources matching the rough appearances would be appreciated.
Thanks
Nige
|
|
|
|
Post by okdoky on Mar 15, 2010 4:24:30 GMT
I had a chance to have a couple of cups of tea and used the tea bags to help dull down the brightness of the coffee stirrers though I may try some coffee aswell to darken the timber even more. 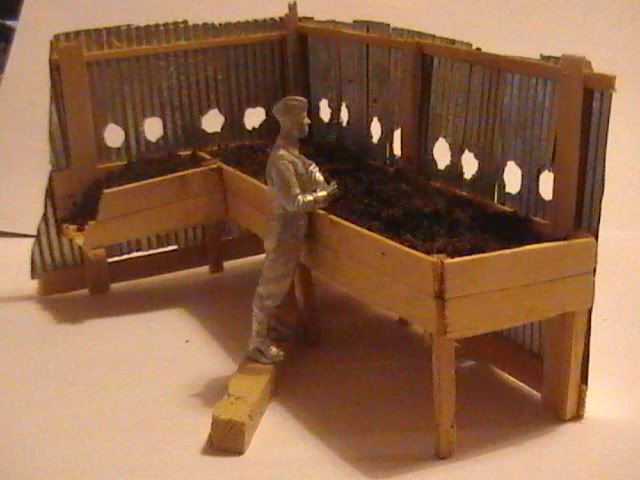 Also placed the Hornet figure to get an idea of the proportions against the timber frame. I will be sinking the timber frame into a plaster bed and noted that the plaster will have to be thicker than the timber I have stood the figure on. The figures waste band needs to be almost level with the hands on the boards. 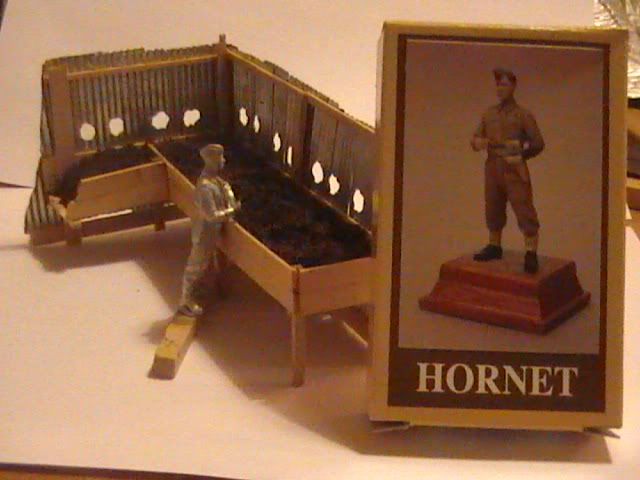 The left arm is shown on the box to be placed behind but looks equally fine as I have it posed. 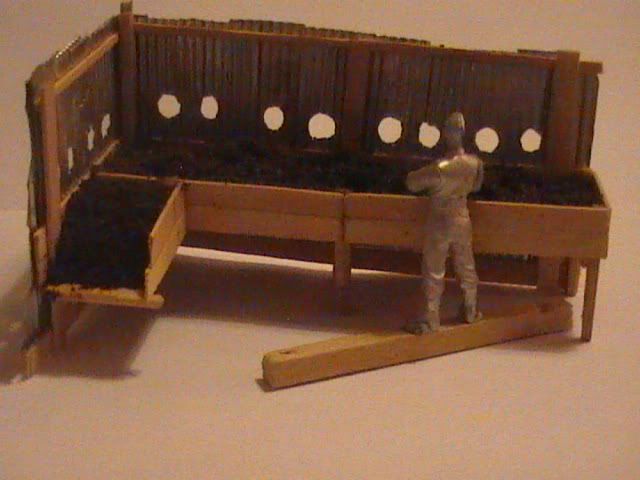 I have two other figures ordered on evil bay. Cheers Nige |
|
dingo
Moderator  Dog Day Afternoon
Posts: 559
|
Post by dingo on Mar 30, 2010 23:19:50 GMT
Great dio Nige, what's Ya wrinkle maker made of I'd love to have one in my tool box I tried to buy one here in Oz not long ago but couldn't they don't make 'em or sell 'em any more. Dingo  |
|
|
|
Post by okdoky on May 22, 2010 1:24:15 GMT
Hi Dingo This is what I made the wrinkly tin from I sold my three piece version at the Perth model show and have since made a four piece version to replace it. A wee update 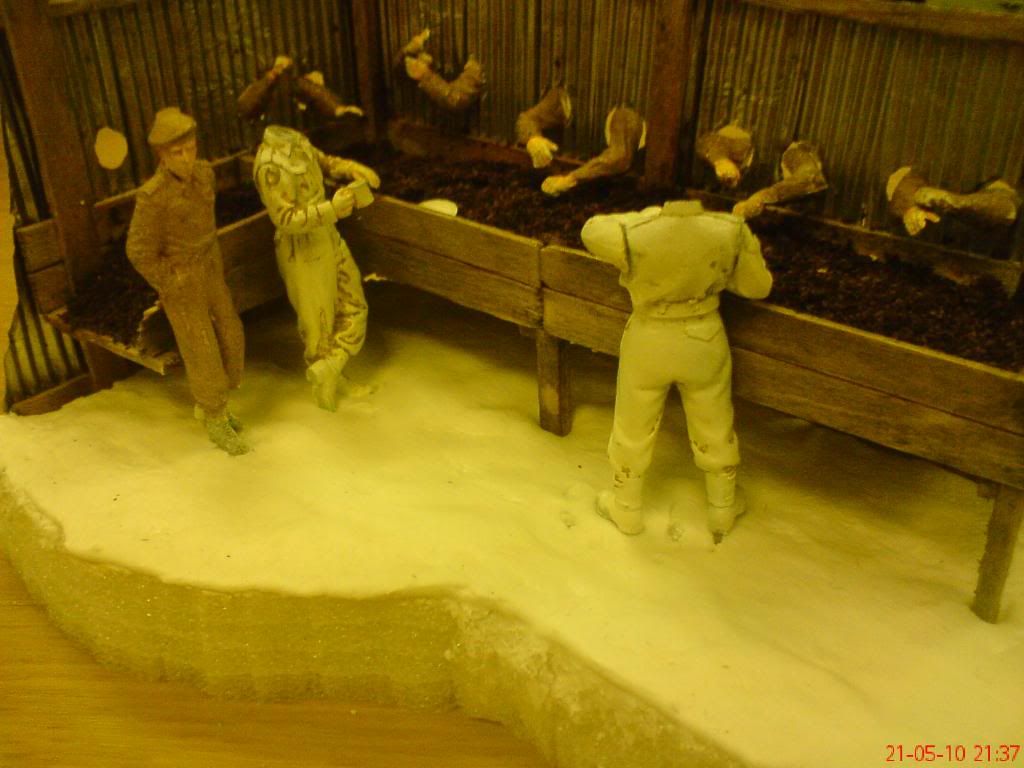 Made a a base using a slab of foam cut and coated with a topping of household filler stippeled with a paint brush for texture. 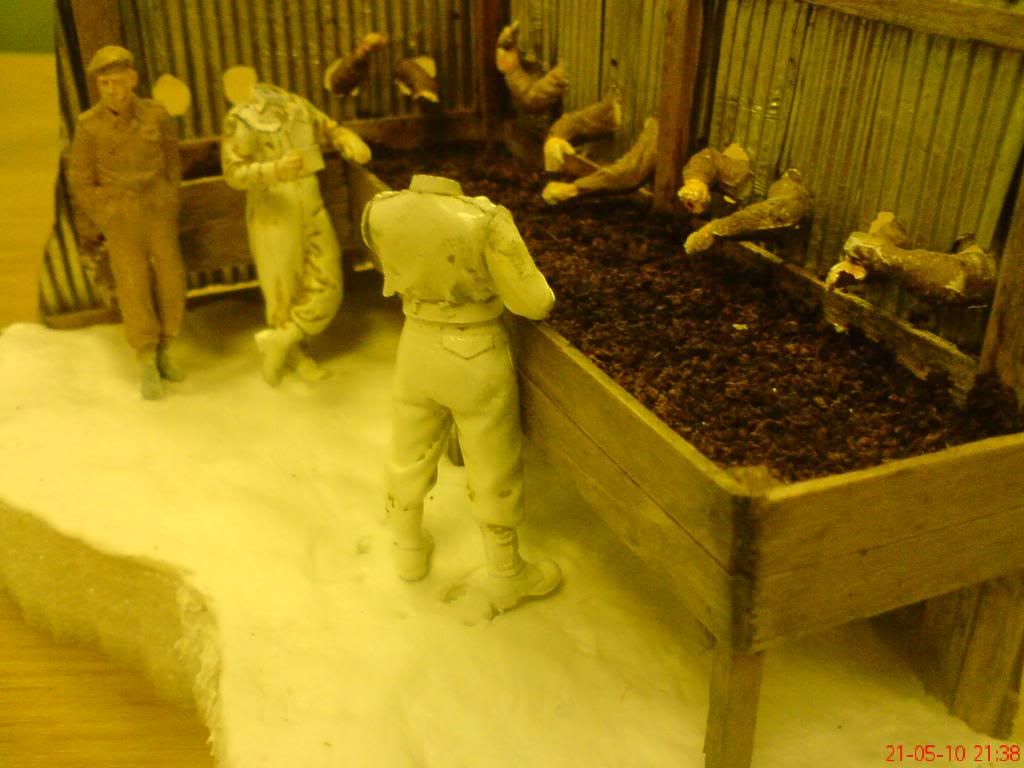 I have two Hornet white metal figures, one SKP and arms from a set of British tank crew. 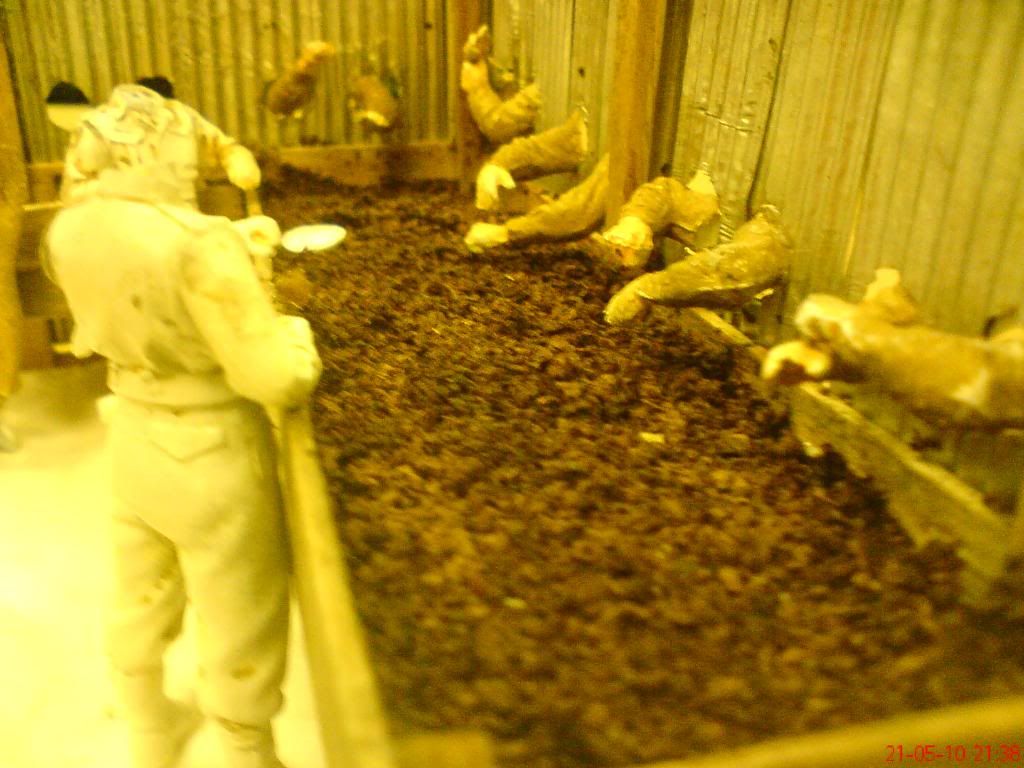 Pic in black and white  Still gots loads to do on this including trying to learn better figure painting. Nige |
|
|
|
Post by okdoky on May 25, 2010 12:08:31 GMT
Thanks for looking in.
I do try to use cheap and chearful throw away stuff where possible and would say the most expensive bit of this dio is the two white metal figures, but they are very nicely detailed and well posed figures that just suit my needs to a tee.
I just hope I can get the painting right to make it worth the investment.
This is just test fits to compare with the photo for now for placement of each arm. I have the arms to sleeve up and smooth off in their final positions behind the scenes. Going for a flush edge at the back so all the fixing in place will require to be from the front so the sleeves are necessary to cover the glue or filler that will help keep them located in their posed positions.
I also received a packet of replacement hands from a pall at the club which are much more detailed and I may take the opportunity to replace some to make the scene a little more animated on the mines. They are tiny so I hope I don't end up with carpet fodder.
The intension is to sleave up, animate and paint each before final fixing. Also hoping the club will have it demo on figure painting so that I can do the full figures to a reasonable standard.
Thanks for looking in.
Nige
|
|
Deleted
Deleted Member
Posts: 0
|
Post by Deleted on May 25, 2010 20:27:36 GMT
You've done well with this project Nige, I've really enjoyed the build.
|
|
|
|
Post by okdoky on Jun 6, 2010 18:46:45 GMT
Hi Nick Looking forward to seeing your corrugated tin tool. Also dying to see what you have planned for the Bedford. I might have an idea as to what you have planned as a load for it. Perhaps WW2 related and for assembly at home? A wee update on the base 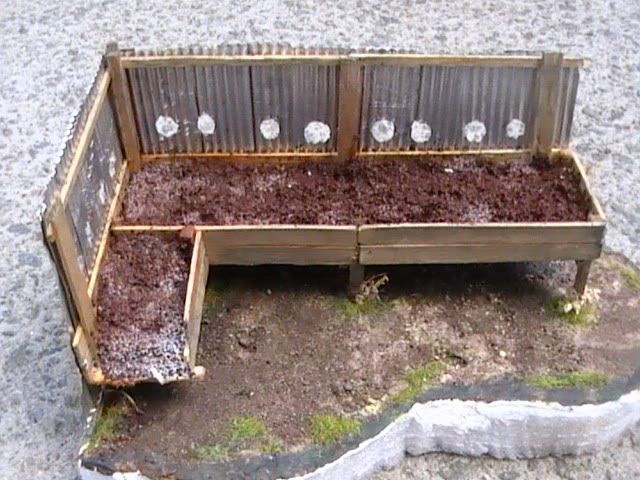 Added some acryiic burnt umber and a light grey wash 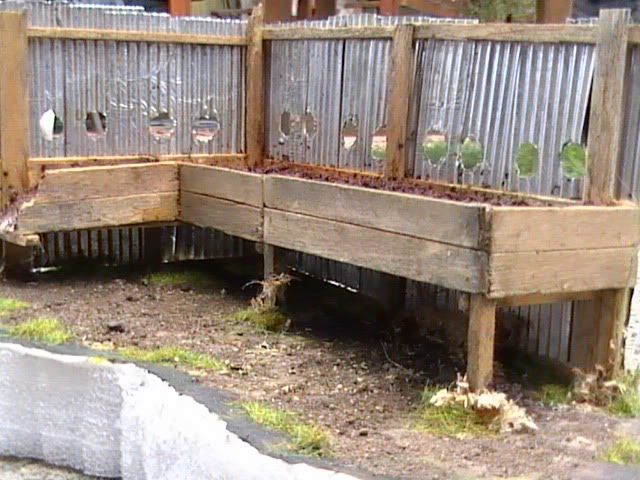 Some grey sand and dust  also some grass flock and saw dust for dryed weeds 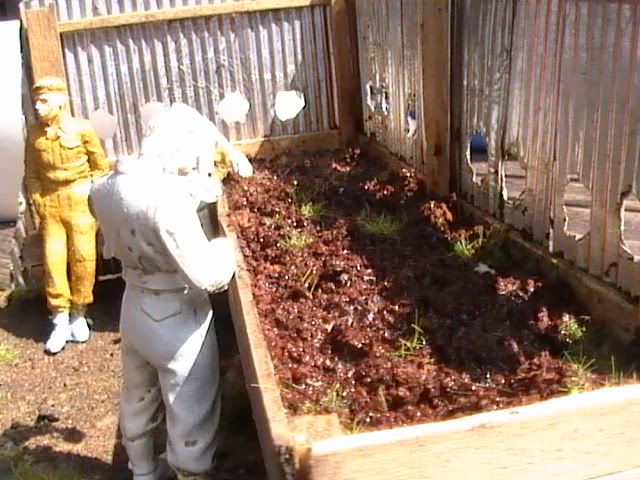 Added some tiny grass clumps in the soil trough where grass would have naturally seeded itself. Will follow up on work to the figures and arms soon I hope Nige |
|
|
|
Post by okdoky on Jun 24, 2010 23:07:21 GMT
Arms and bodies in the production line getting painted 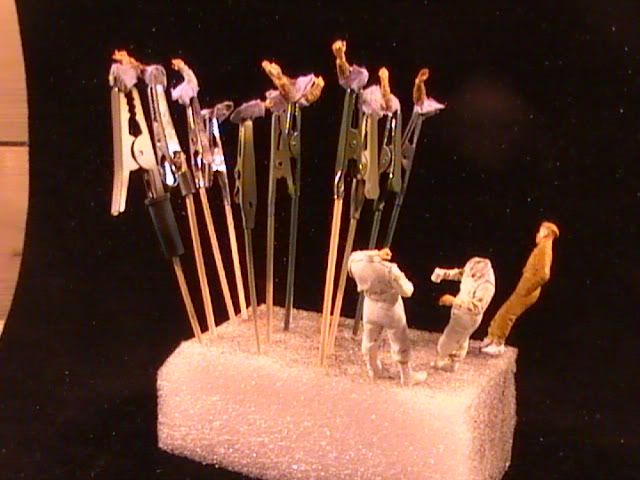 don't know if this will work but have sprayed the figures matt black as base colour. The white primer kept showing through 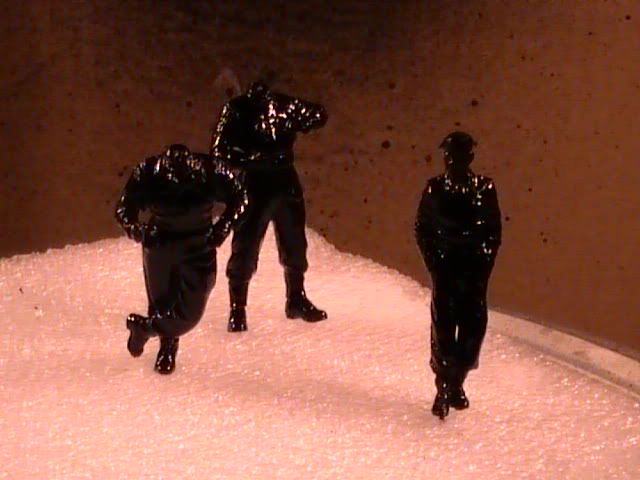 I transplanted resin hands onto most of the arms and a couple already have some form of grenade or tin in them 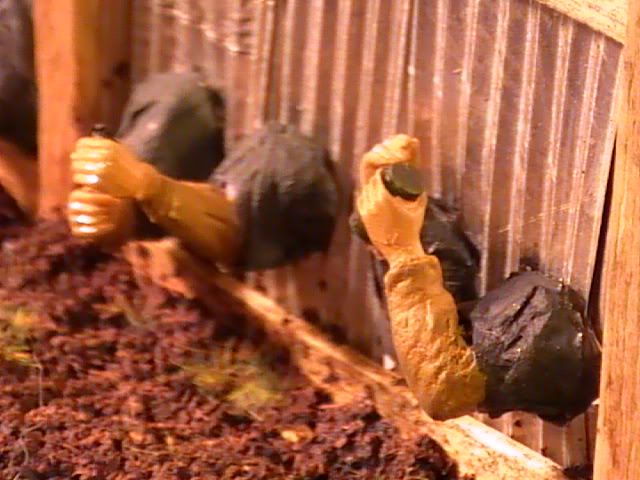 The arms have putty to then tissue dressed with watered PVA glue to shape 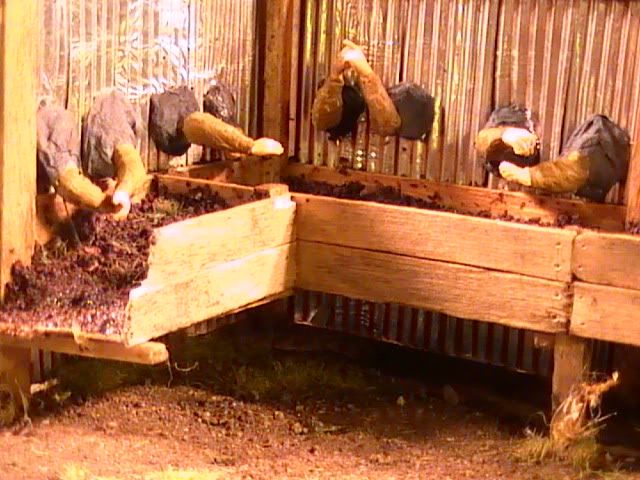 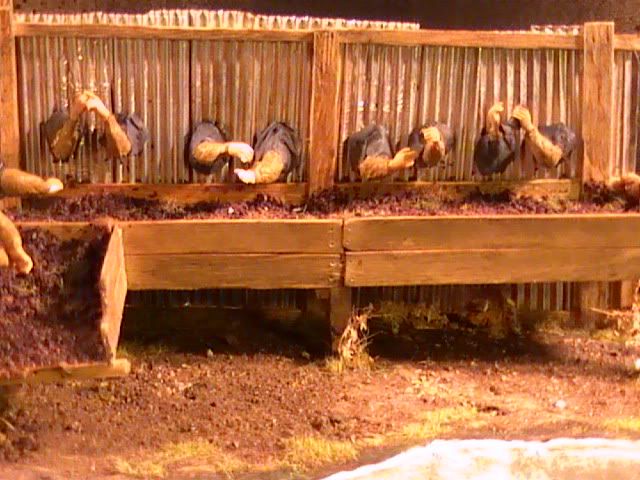 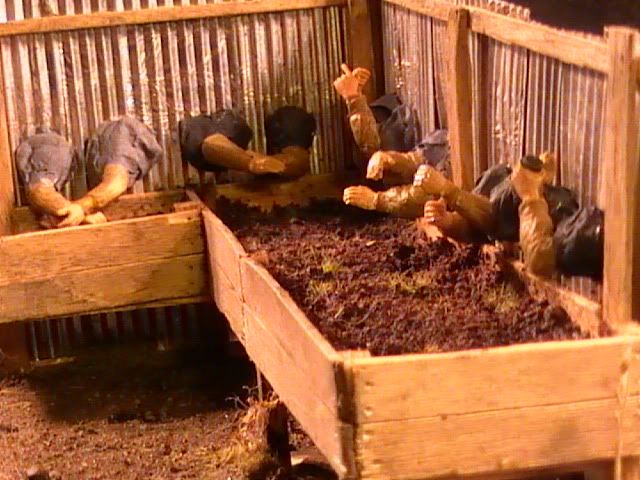 I will have a stab at painting the figures at the weekend 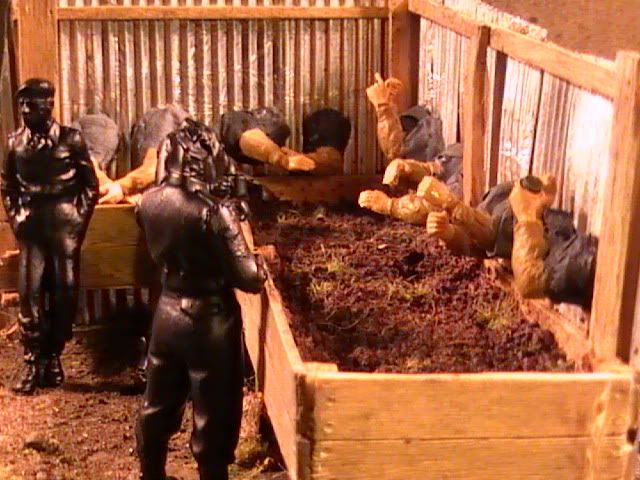 This will be my third attempt Nige |
|
|
|
Post by foxy on Jun 25, 2010 6:15:47 GMT
I find grey primer is a good one, I use the Halfords plastic primer.
keep at a distance and you get good results, never tried black for figures, only on vehicles.
Will be interesting to see the result.
Nice so far Nige.
|
|
|
|
Post by okdoky on Jun 25, 2010 12:26:13 GMT
I find grey primer is a good one, I use the Halfords plastic primer. keep at a distance and you get good results, never tried black for figures, only on vehicles. Will be interesting to see the result. Nice so far Nige. Hi Foxy I had grey primer stashed away somewhere but could not find it and took a short cut with the matt black. If all else fails a ritual drowning in the brake fluid or Mr Muscle foam will get me back to a base coat in a jiffy again. Will see how I get on with one figure and then try the rest. I was hoping that the guys at the club would do a step by step follow me through kind of demo before the summer break but time caught up and we don't go back till after the 6 August and even then I am likely to be on my own holidays around then. Hey ho !!!!! It's all fun learning even if it is painting by brail numbers. Nige |
|
 Members' Forum")


