|
|
Post by brianthemodeller on Mar 26, 2010 15:00:43 GMT
Nige,
I know you are basing your model on the pic above but it seems a crying shame to render it and loose that fantastic brick effect.
As for the lintel, can you not simply cut out the row of bricks above the window and insert a timber lintel made from coffee stirrers?
Brian
|
|
|
|
Post by iansadler on Mar 26, 2010 19:39:30 GMT
Hi Nige I like what I see so far keep up the good work cheers ian
|
|
|
|
Post by okdoky on Mar 29, 2010 23:40:46 GMT
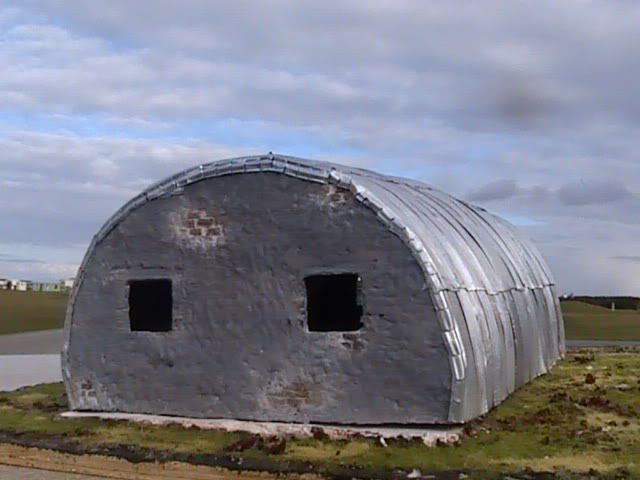
Hi folks Got round to fitting concrete lintels in the windows and doors, 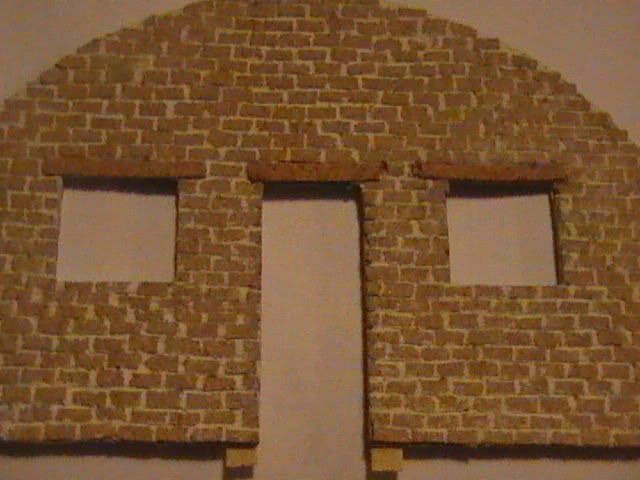 Rear wall section with no door 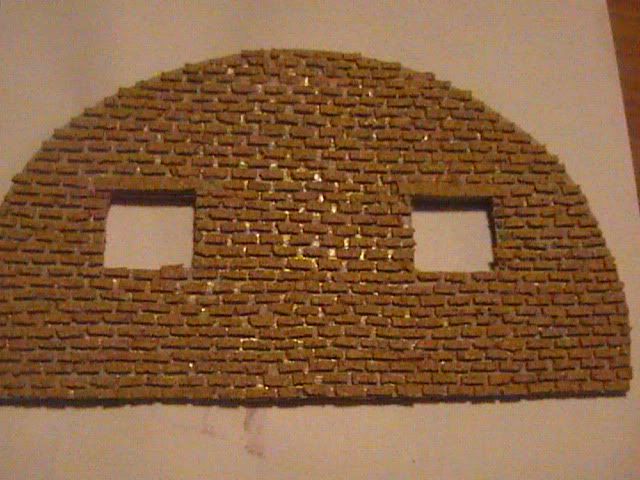 Also rendered over the brickwork on the outer faces. 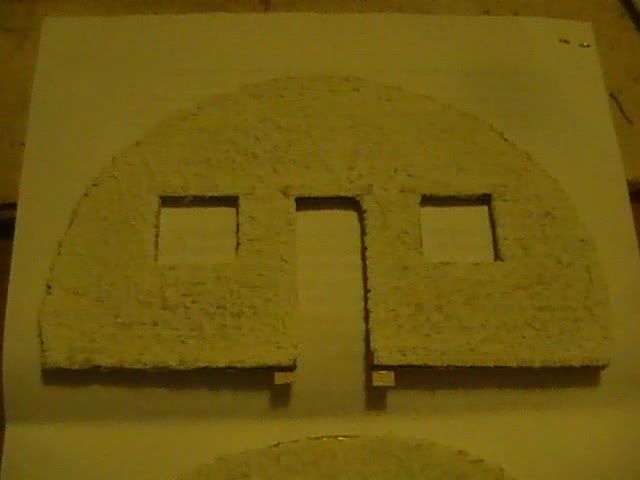 Also prepared the base for the dio using a plaster mix 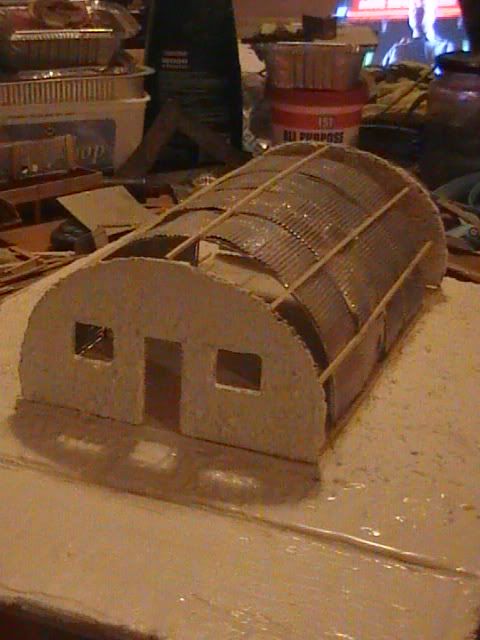 I have left a reasonable border around so I can develope the dio over time ,,,,,,,,,,,,,, long time no doubt !!!!!!  Space for vehicles or figures or both. Nige |
|
|
|
Post by okdoky on Mar 30, 2010 0:08:09 GMT
Outer skin tomorrow hopefully
|
|
|
|
Post by foxy on Mar 31, 2010 16:01:38 GMT
'Crumbs', Nige. All that work covered up  , but it still looks the part and made it stiffer i bet. Maybe should have made new fronts with polyfilla and kept the first one's for a later Nissen hut lol.  Coming on nicely though. ;D |
|
|
|
Post by okdoky on Mar 31, 2010 23:40:17 GMT
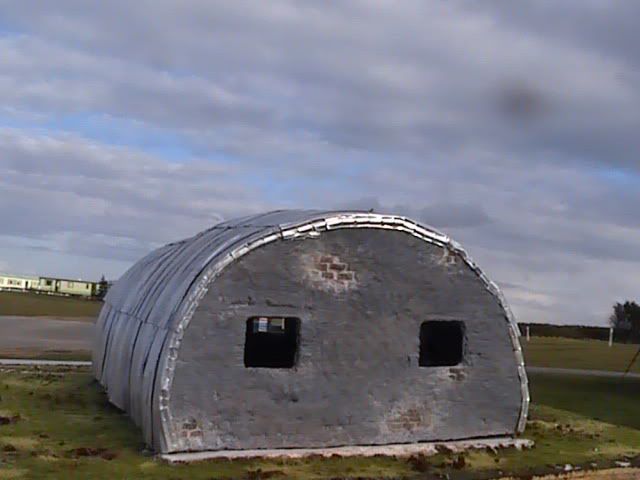
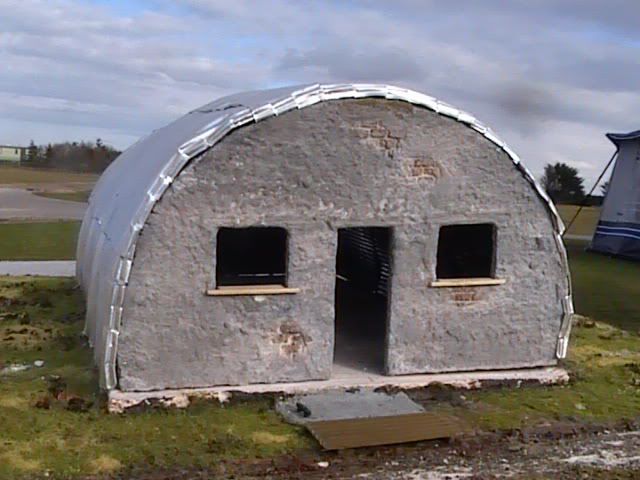
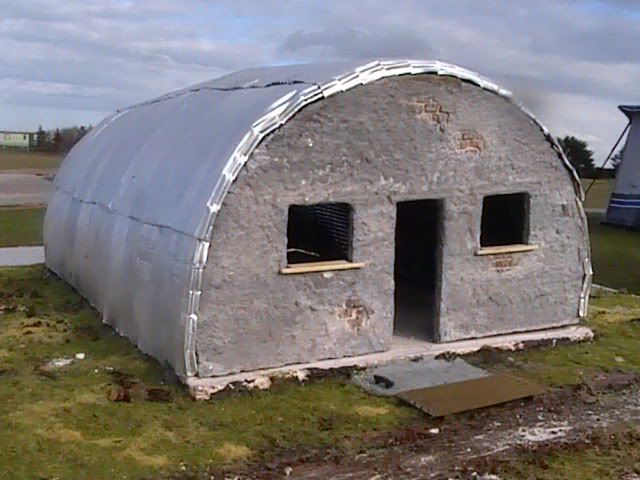
Hi Foxy The Nissen hut is supposed to be one on the POW camp 21 at Cultybraggen in Scotland at the beginning of the war. I got round to adding some acrylic paint to the base of plaster using a good mix of colours from burnt umber through raw siena to ochre. Then used a very watered down PVA wood glue brushed liberaly over the base in patches to place a mix of scorched grass, fresh grass, normal dried tea leaves, interspaced with a small amount of strawberry flavoured (and red coloured) tea leaves. 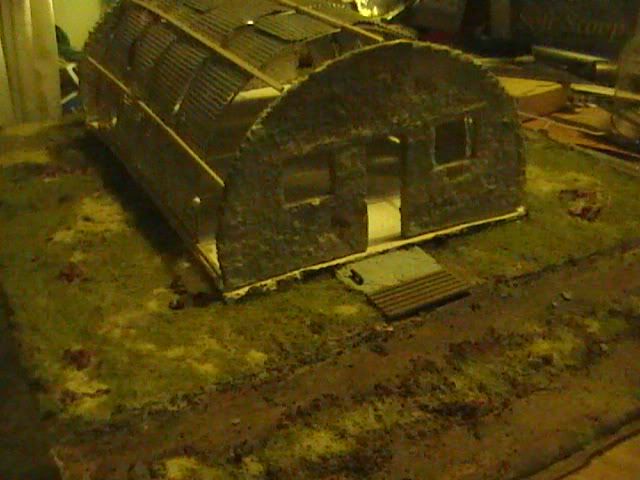 I have added a concrete platt outside the door with a metal boot scraper set in and some timber duck boards to get to the roadway 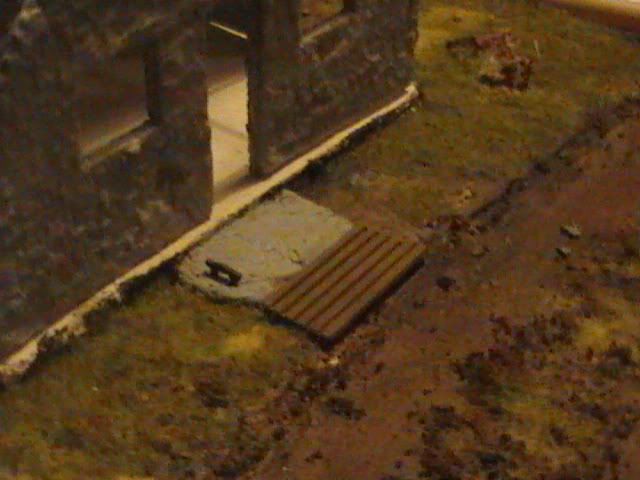 I gave the interior brickwork a light wash of dirty black acrylic to give the bricks a little more texture and picked out a few with black spots to mimic well fired bricks. 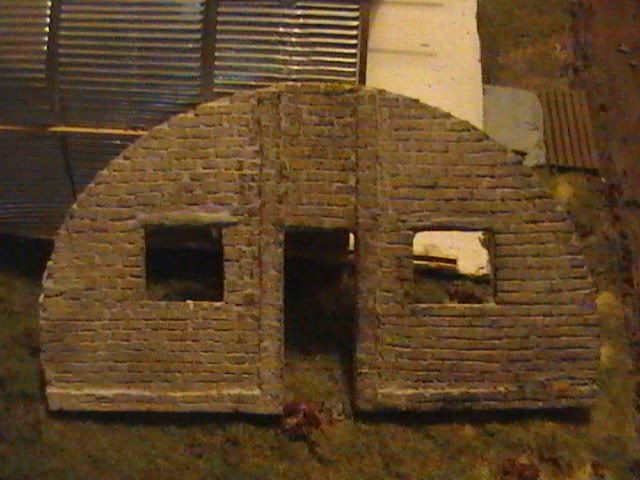 As a compromise to the art (tee hee) I have scraped of a couple of patches of the roughcast to expose the brickwork below. Then I gave the roughcast a wash of variou shades of light blues, greys and a final wash of dirty black. 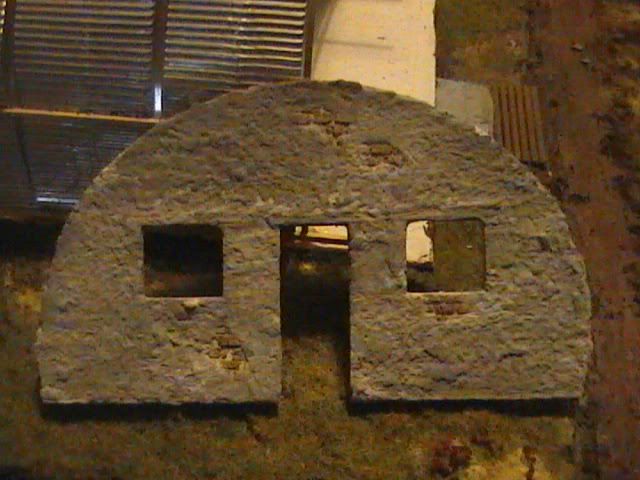 Hope you like 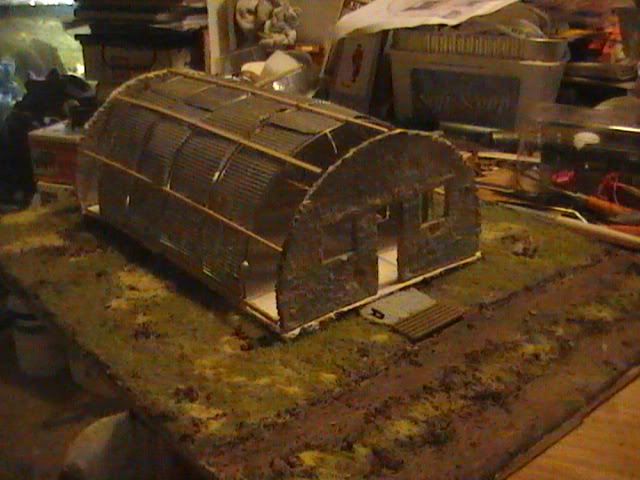 Nige |
|
|
|
Post by foxy on Apr 1, 2010 8:03:29 GMT
Yep looks very good with the brick showing through, 'nice one'. With the bad weather up your way, you seem to have more time on this project. Foxy. |
|
|
|
Post by okdoky on Apr 1, 2010 11:29:04 GMT
Yep looks very good with the brick showing through, 'nice one'. With the bad weather up your way, you seem to have more time on this project. Foxy. Hi Foxy Not so much of having more time!!! It is more that I am dipping into the time I should be spending on finishing my 1:1 construction project of house alterations. I would be embaraced to turn up at Perth show with nothing to put on the Stirling club B of B themed table. I have nothing much more done on the DAF DROPS, G Waggons and other bits and bobs I have started but stalled on because house alterations got in the way. And anyway, modern vehicles not in B 0f B !!! Will be sharing a table with Rab and his rally cars to put a couple of my scratchbuilds and kit bashed vehicles (work in progress) but they will be showing a distinct lack of progress on those. The nissen hut and mine training dios will be going up on hols with me to finish during my two weeks in the caravan. Nige |
|
|
|
Post by gibbdun on Apr 1, 2010 20:29:00 GMT
Hi Nige where about is Cultybraggen, ps do you stay near Stirling I'm in Denny
Keith
|
|
|
|
Post by okdoky on Apr 1, 2010 23:59:37 GMT
|
|
|
|
Post by gibbdun on Apr 2, 2010 20:28:30 GMT
Hi thanks for that Nige no I didn't know about the club I have a wedding next Friday (not mine) but I will try and attend in the near future Keith |
|
|
|
Post by okdoky on Apr 4, 2010 17:44:13 GMT
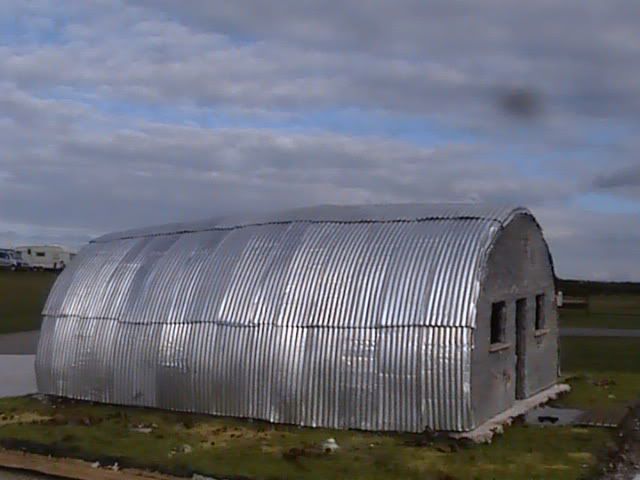
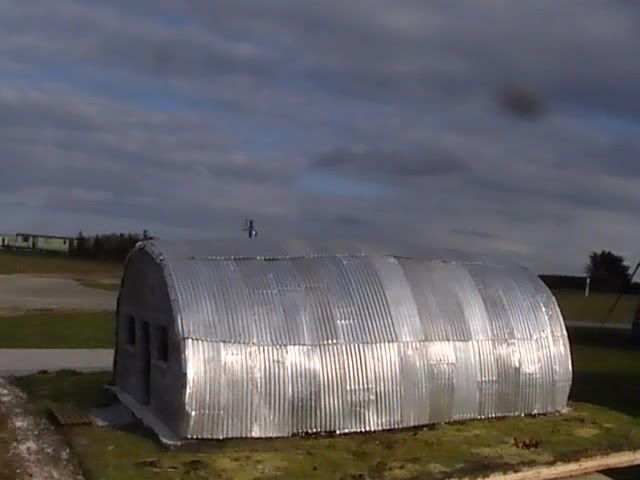
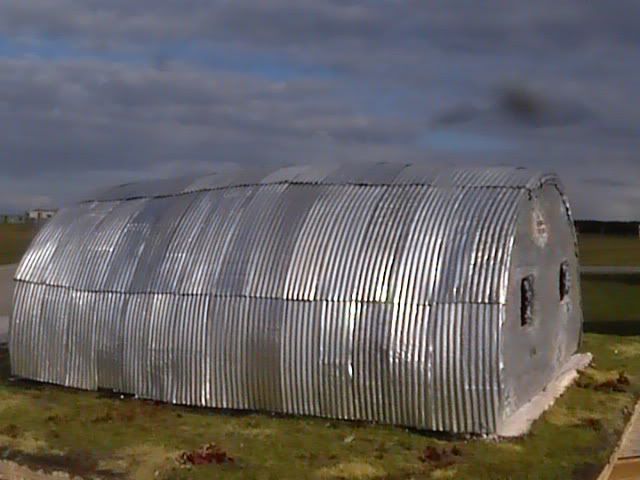
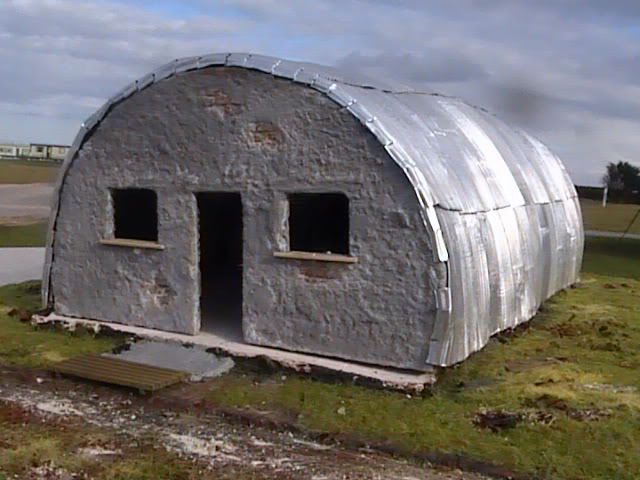
Hi folks Up at Lossiemouth and able to spend time doing what I want for a change !!!!! Made a start at skinning the hut 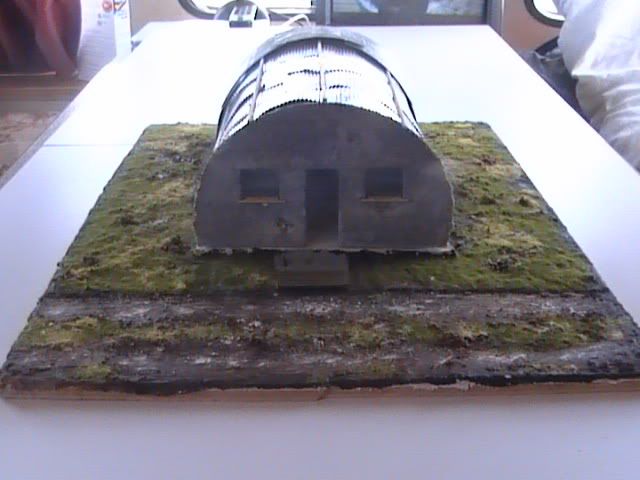 Started from the back elevation 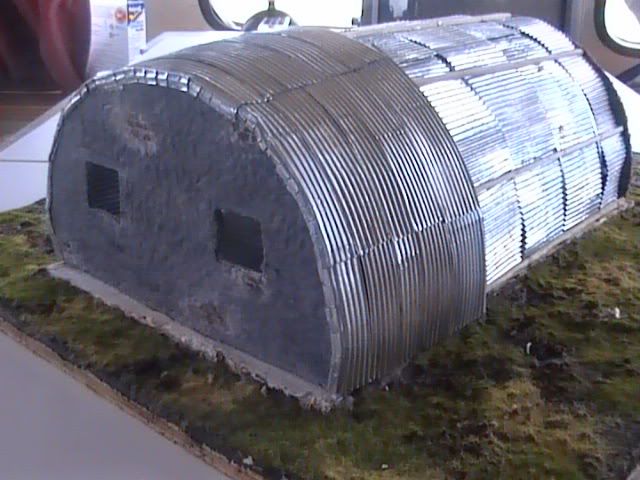 The first sheets were cut to allow them to be crimpped around the curve of the wall head 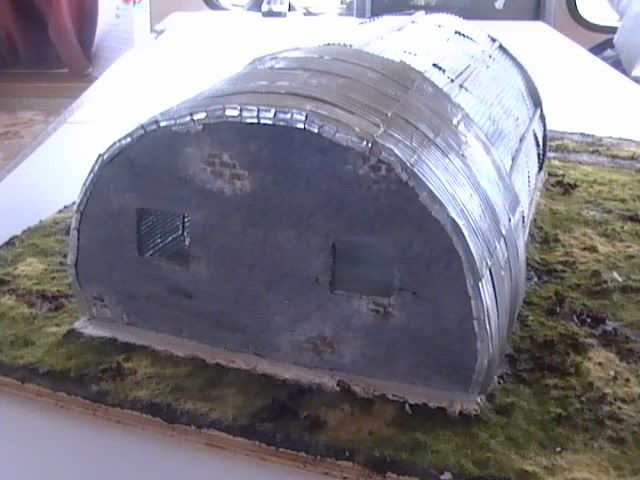 You can see how the interior skin sits 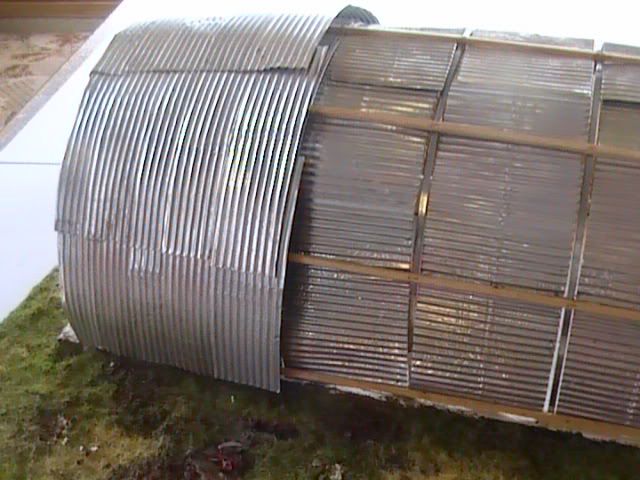 I could lift the outer skin off to add the next sheets but I found later that this led to a slight rise which I had to compensate for by keeping the skin on the base to make more accurate placement of each panel 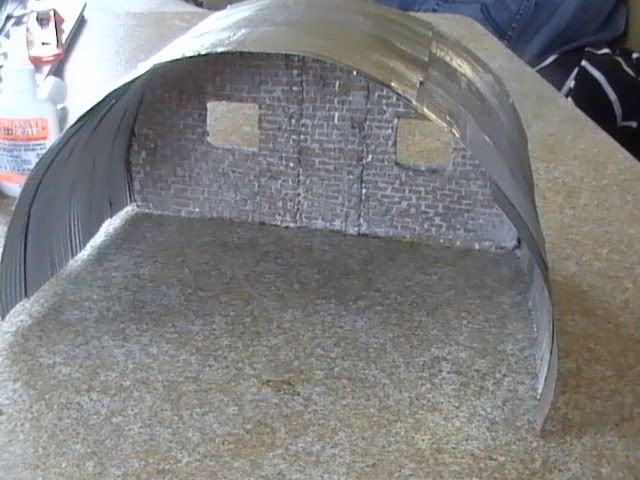 A small dot of superglue easily held the aluminium sheets together 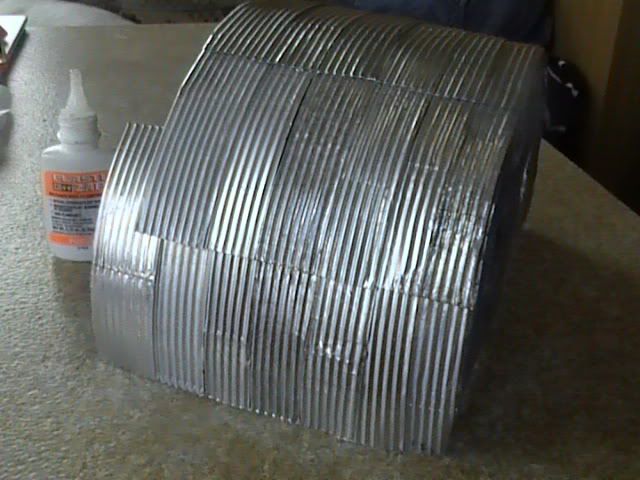 How the outer skin looks from inside 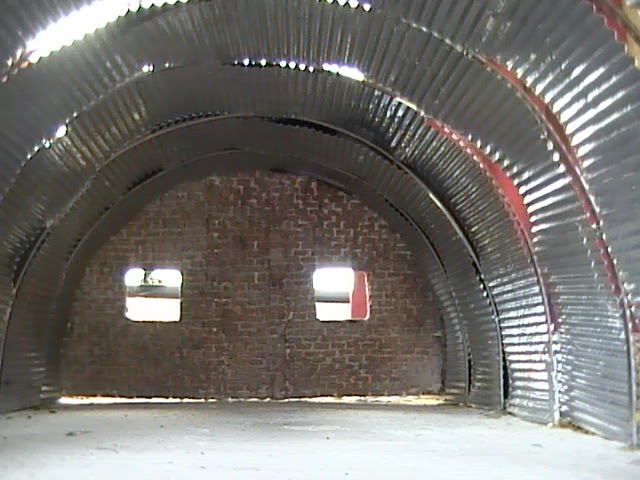 How the inner skin looks Gradually building the outer skin 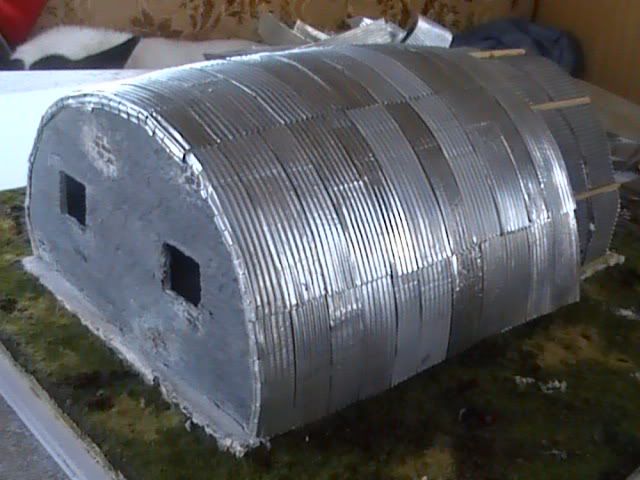 How each panel overlaps the next 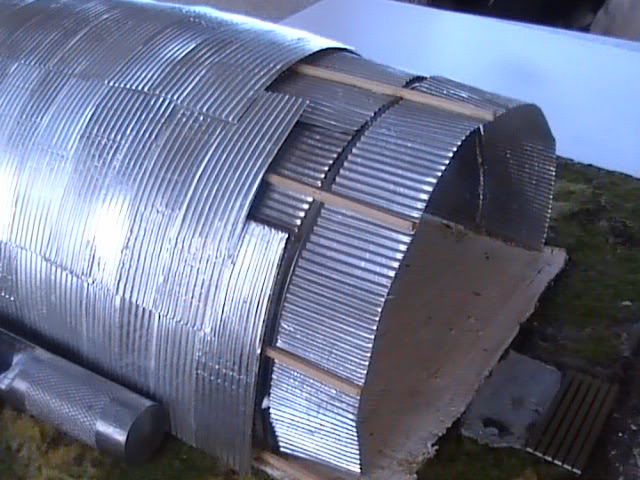 Nige |
|
|
|
Post by okdoky on Apr 4, 2010 17:59:20 GMT
|
|
|
|
Post by foxy on Apr 5, 2010 14:08:37 GMT
Nice one Nige, I like the inside views they give it a real look with the light coming through. The way you have taken the pictures out side it looks the real size of a nissen hut lol. Great work so far. |
|
|
|
Post by okdoky on Apr 5, 2010 20:22:59 GMT
Thanks Foxy
We ended up going into Elgin today so never got anything done. Am also taking a walk down the beaches tomorrow to see some of the fortifications from WW2 that are nearby towards Hopeman.
Nige
|
|
 Members' Forum")


 , but it still looks the part and made it stiffer i bet.