Post by Paul Senter on Apr 20, 2010 20:53:32 GMT
I have been asked by a colleague at work to build a Gepard, the modern anti aircraft vehicle based on the Leopard chassis.
The interesting thing about this particular build is that it is based on an actual vehicle owned by my colleague so no need for expensive books and long trawls through internet archives or indeed educated guesses as to teh location of this, that or the other - I have the real thing to compare and refer too. Needless to say I have taken over 100 photos so far which is going to be my main source of reference although the odd trip for a visit is likely to be essential.
The build is based on the Tamiya offering. First impressions are pretty good. Its quite an old moulding as the plastic is quite soft and doesn't compare to more recent releases. The colour of the plastic however is hideous - so glad they have since changed.
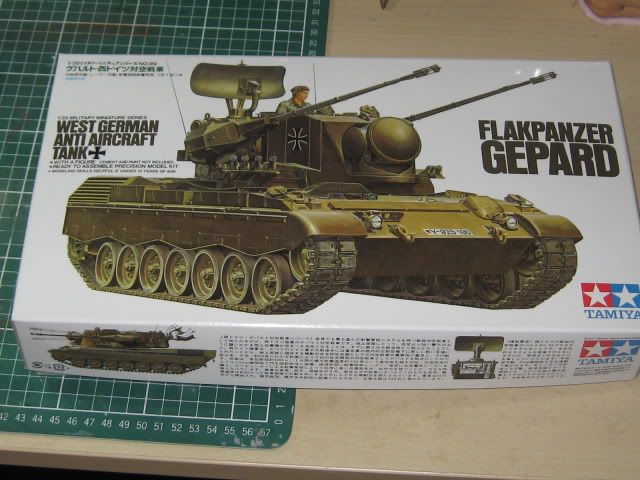
I also picked up the comprehensive Eduard PE set
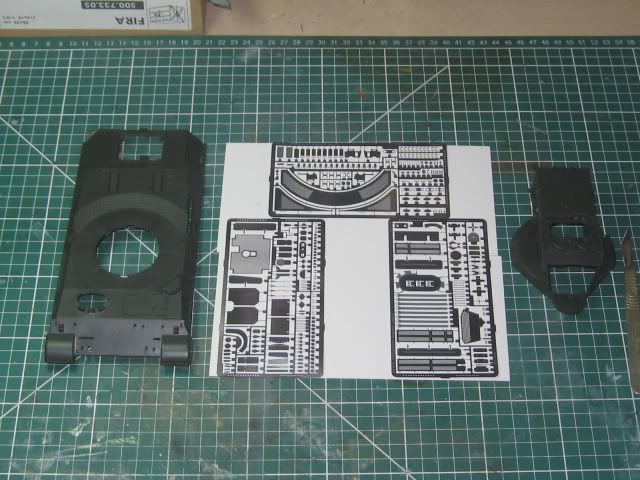
which improves things no end.
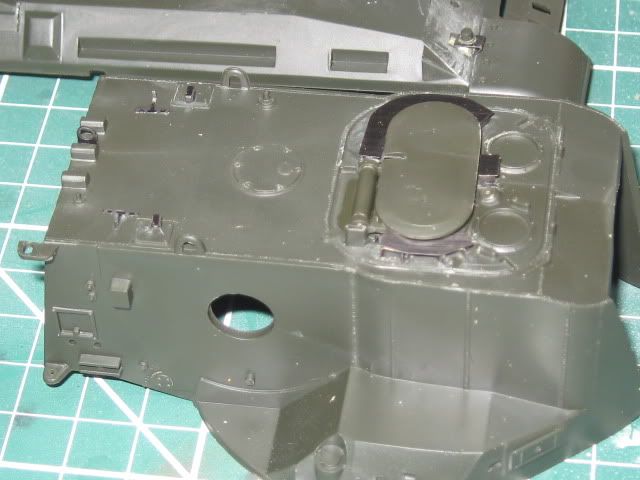
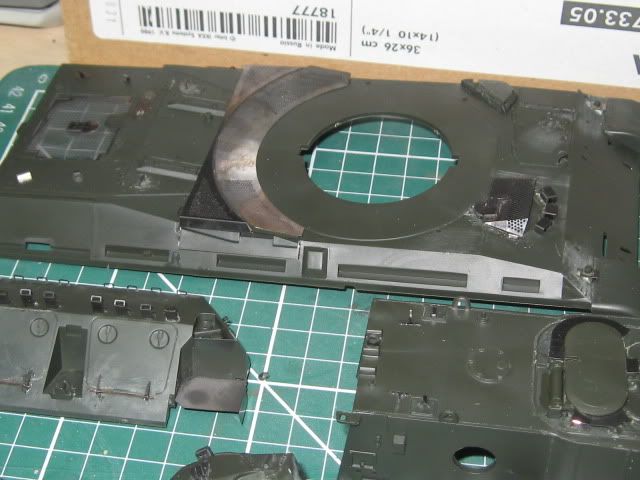
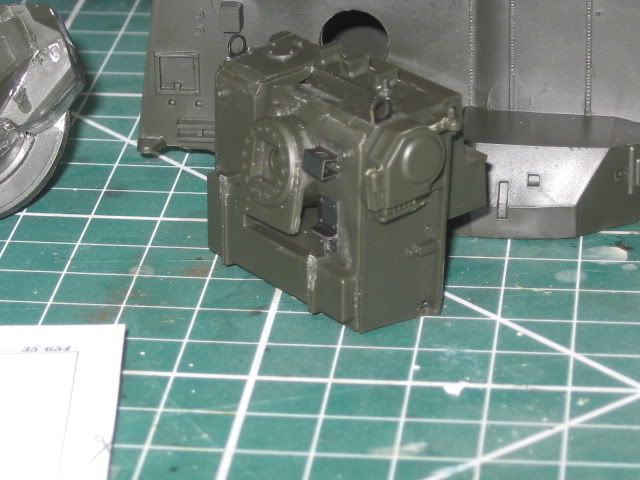
I have made a start on the kit by using the PE on most of the main assemblies, I think it will be easier to update the parts separately rather than once the kit is complete.
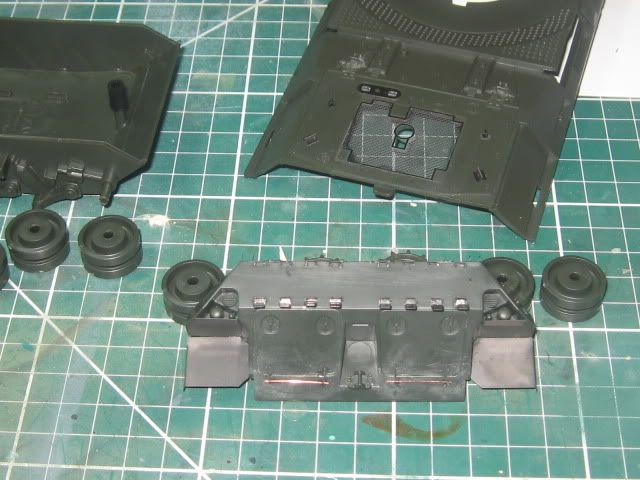
Most of the PE goes to replacing the various handles and mesh screens etc. Also replaces the hinges on some of the hatches and the vision blocks.
After completing this much I then took a long photo tour around the vehicle and noticed a number of issues with the kit that are not reflected in the real thing. For instance the hatches with the copper rods going across are actually only connected at the hinge, so a simple snip here and there to remove the rod is required. There are others too numerous to mention, needless to say I will endeavour to include as many as I can.
Clearly this unique vehicle will require unique decals so my first go at printing my own decals is going to be interesting. The vehicle is named 'Buggs Bunny' (sic) so I decided to create a template to scan based on a photograph taken of the name.
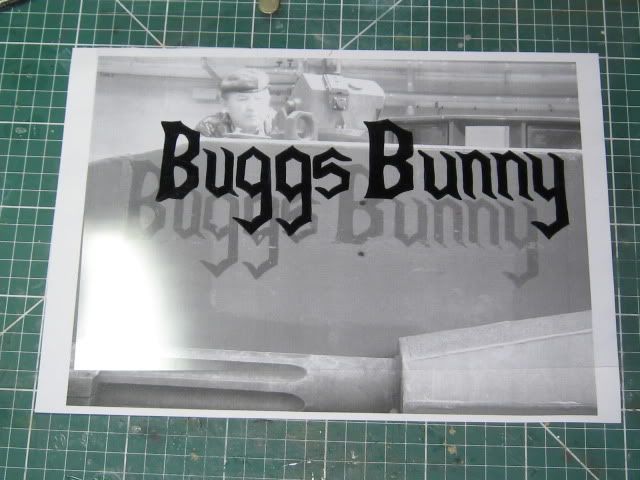
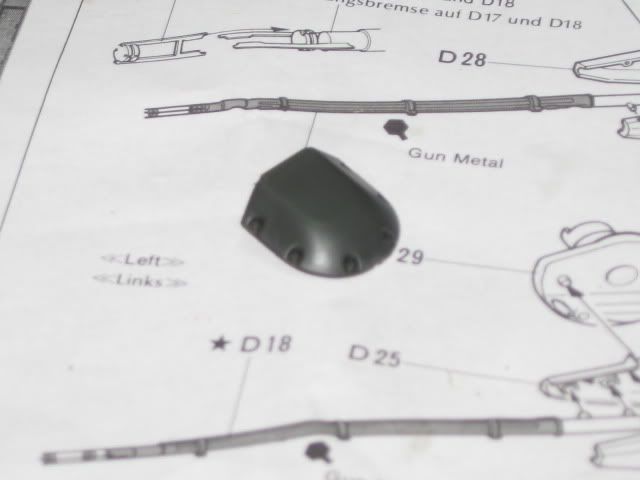
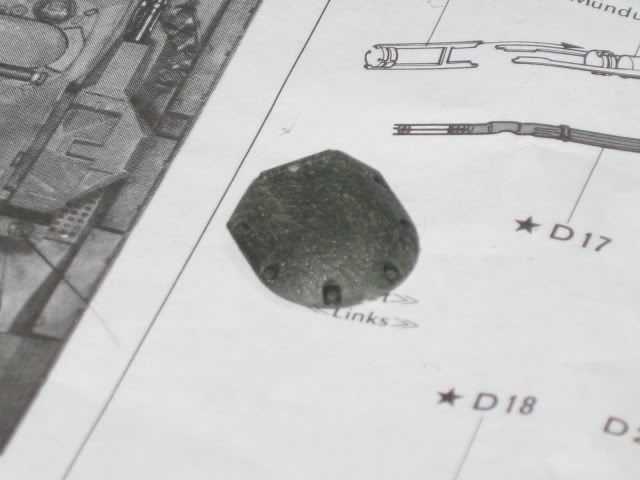
In the photo you can see the original picture (black and white) and my tracing on acetate slightly off centre. I simply drew the outline using a permanent pen used for overhead projectors, brand name Lumocolour, and simply coloured in the outline. The plan is to scan the acetate onto my computer, reduce it to the correct scale size and along with the other markings, print off onto clear decal paper. Other decals to create will be the number plate, tactical signs and the odd placard on the gun and targeting radar that are not included in the kit.
Will let you know how that goes.
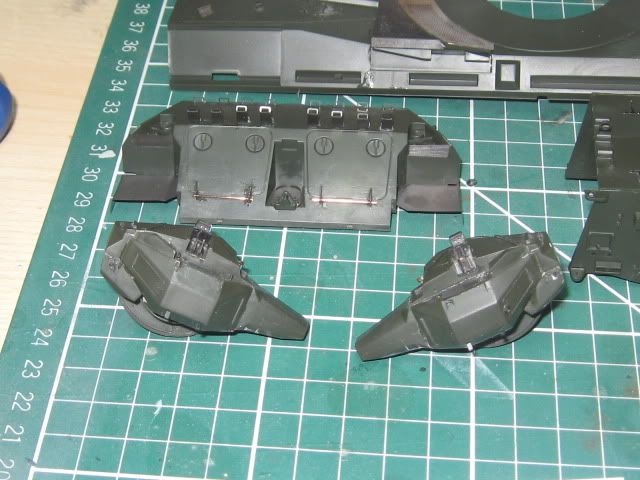
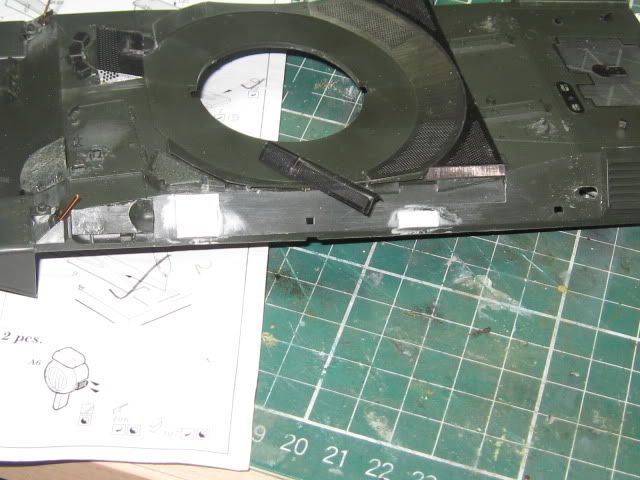
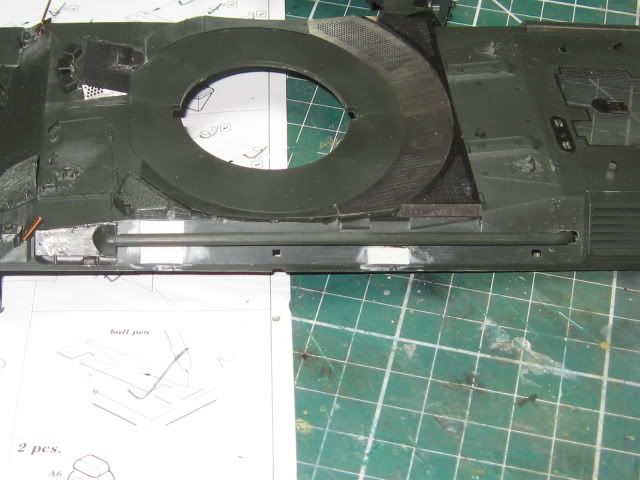
Remaining progress so far concludes with the drivers hatch, replacement vision ports and cover as well more handles. The photo highlights the softness of the plastic where it has been sanded. Liberal coating of primer once complete should clear that up.
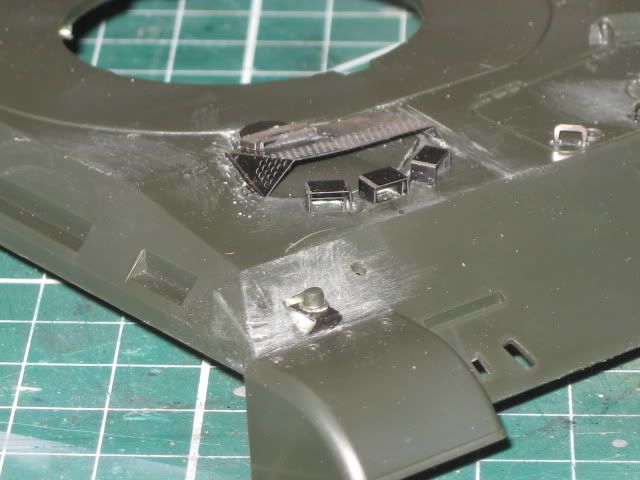
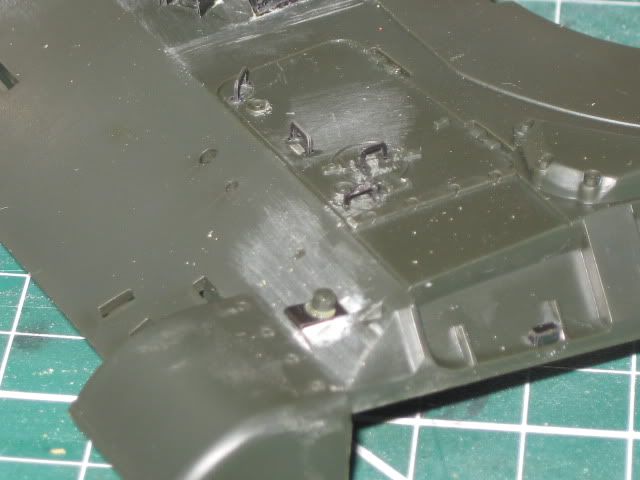
The bright white bits are where the kit part was removed and replaced by the PE part which left a small hole that had to be filled.
Other things to consider:
Belgian variant is slightly different to the German version as it has an extra bin on the left side and the canopy shelves on the back are missing. Also whilst Belgium is part of NATO it decided to create its own version of NATO Green which is somewhat lighter and will be a challenge to get right.
The overall plan is to recreate the vehicle as it was when it left service. Currently the paintwork is chipped and there is a significant amount of wear on the guns and rust on the tracks - no doubt a superdetailers wet dream, however the aim is not to push the weathering envelope to breaking point. There will be a certain amount of wear (can't help myself) but not to the extent as it is real life.
Will keep you updated
Paul
Part 2 to follow.
The interesting thing about this particular build is that it is based on an actual vehicle owned by my colleague so no need for expensive books and long trawls through internet archives or indeed educated guesses as to teh location of this, that or the other - I have the real thing to compare and refer too. Needless to say I have taken over 100 photos so far which is going to be my main source of reference although the odd trip for a visit is likely to be essential.
The build is based on the Tamiya offering. First impressions are pretty good. Its quite an old moulding as the plastic is quite soft and doesn't compare to more recent releases. The colour of the plastic however is hideous - so glad they have since changed.

I also picked up the comprehensive Eduard PE set

which improves things no end.
I have made a start on the kit by using the PE on most of the main assemblies, I think it will be easier to update the parts separately rather than once the kit is complete.

Most of the PE goes to replacing the various handles and mesh screens etc. Also replaces the hinges on some of the hatches and the vision blocks.
After completing this much I then took a long photo tour around the vehicle and noticed a number of issues with the kit that are not reflected in the real thing. For instance the hatches with the copper rods going across are actually only connected at the hinge, so a simple snip here and there to remove the rod is required. There are others too numerous to mention, needless to say I will endeavour to include as many as I can.
Clearly this unique vehicle will require unique decals so my first go at printing my own decals is going to be interesting. The vehicle is named 'Buggs Bunny' (sic) so I decided to create a template to scan based on a photograph taken of the name.

In the photo you can see the original picture (black and white) and my tracing on acetate slightly off centre. I simply drew the outline using a permanent pen used for overhead projectors, brand name Lumocolour, and simply coloured in the outline. The plan is to scan the acetate onto my computer, reduce it to the correct scale size and along with the other markings, print off onto clear decal paper. Other decals to create will be the number plate, tactical signs and the odd placard on the gun and targeting radar that are not included in the kit.
Will let you know how that goes.
Remaining progress so far concludes with the drivers hatch, replacement vision ports and cover as well more handles. The photo highlights the softness of the plastic where it has been sanded. Liberal coating of primer once complete should clear that up.


The bright white bits are where the kit part was removed and replaced by the PE part which left a small hole that had to be filled.
Other things to consider:
Belgian variant is slightly different to the German version as it has an extra bin on the left side and the canopy shelves on the back are missing. Also whilst Belgium is part of NATO it decided to create its own version of NATO Green which is somewhat lighter and will be a challenge to get right.
The overall plan is to recreate the vehicle as it was when it left service. Currently the paintwork is chipped and there is a significant amount of wear on the guns and rust on the tracks - no doubt a superdetailers wet dream, however the aim is not to push the weathering envelope to breaking point. There will be a certain amount of wear (can't help myself) but not to the extent as it is real life.
Will keep you updated
Paul
Part 2 to follow.


