 Members' Forum")


Post by okdoky on Jun 16, 2010 0:19:39 GMT
Hi folks
Following on from my Part One (Model Stash I should Stop Collecting And Start Building) I finally got clear decks in the huffin hoose.
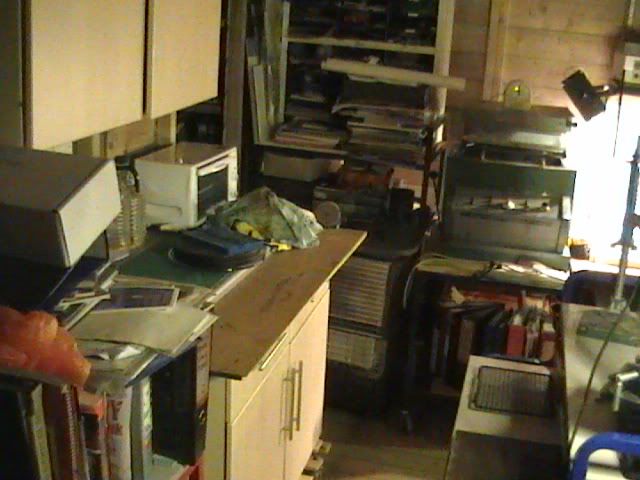
The Model Stash was moved into the free space where I had originally planned them to be. This made way for me to sort through the tonnes of junk that had built up on the work surfaces, making it impossible to find a model, never mind work on anything.
I was resigned to working on the dining table or in the caravan.
Here are a few pics of the huffin hoose now tidy and ready for me to put a model or two back on the workbenches.
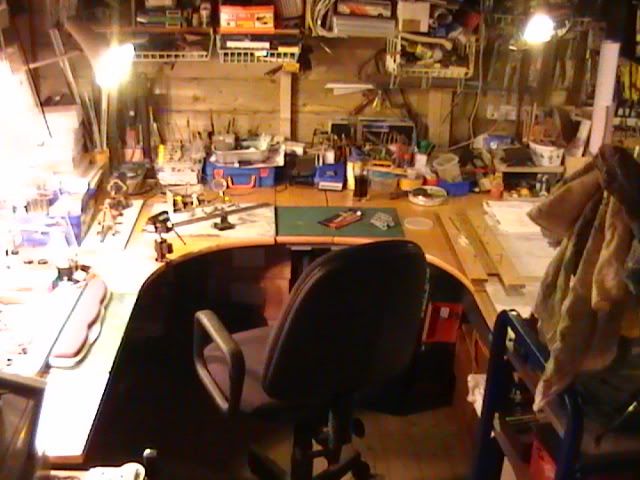
Starting right to left as you enter the shed there is the first workstation with 400 wide worktop to the right and front
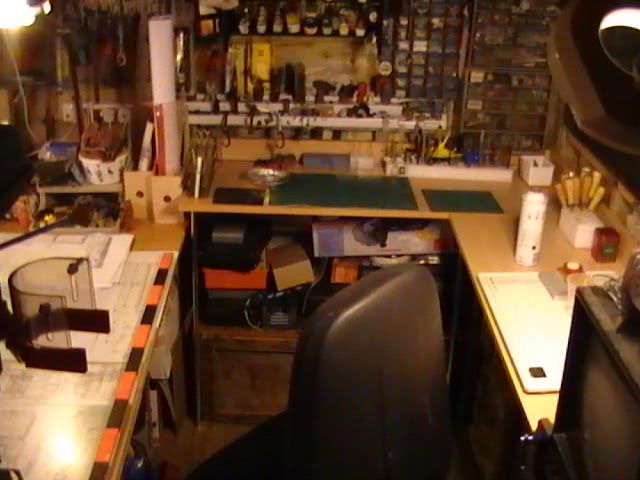
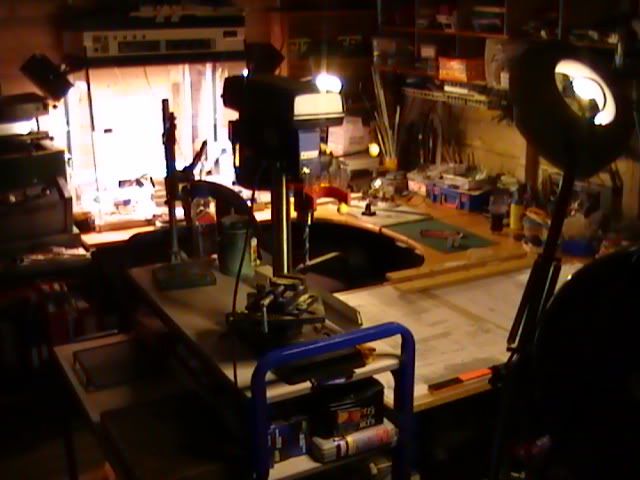
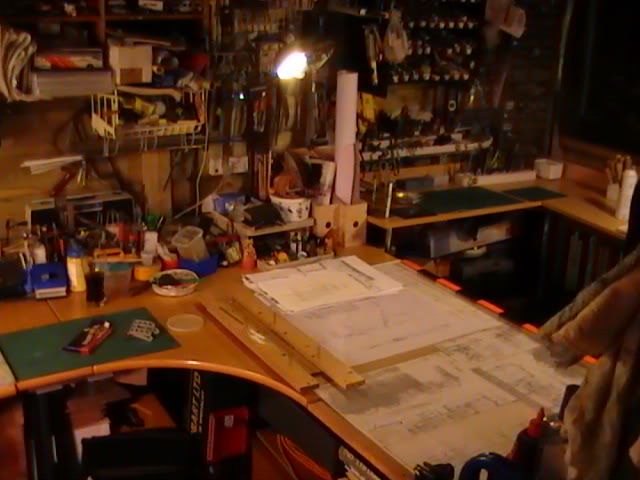
To the left of the first work station is a common desk 800 wide with clear perspex to hold and protect working drawings in place. The two level, standing work station at the end has two vertical bench drills and a separate thick heavy metal flat plate for metal working. The second working station can be seen at the back of this pic.
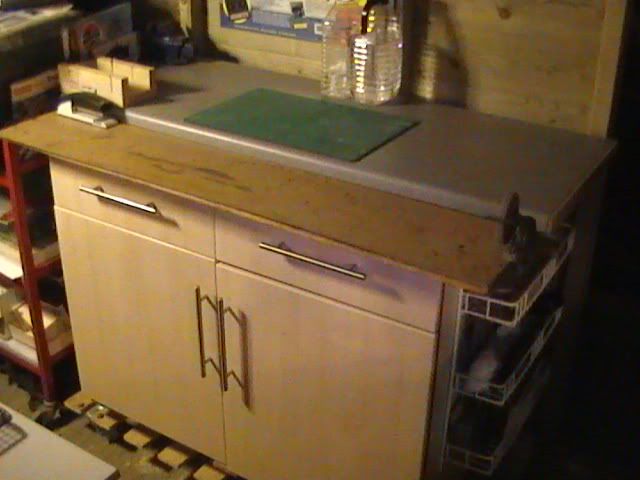
To the left of this is a cabinet with a worktop fitted with a vice, a hand turning grinding stone and a wooden mitre cutting guide
This worktop sits on top of a stiff board to give a good solid straight edge that work can be set off against.
The main workstation is made up of 800 wide desks in a U shape with the left side taken up with the fume cupboard sitting on top now vented out through the shed wall for spray painting. There are two pairs of lights hung either side to illuminate the fume cupboard
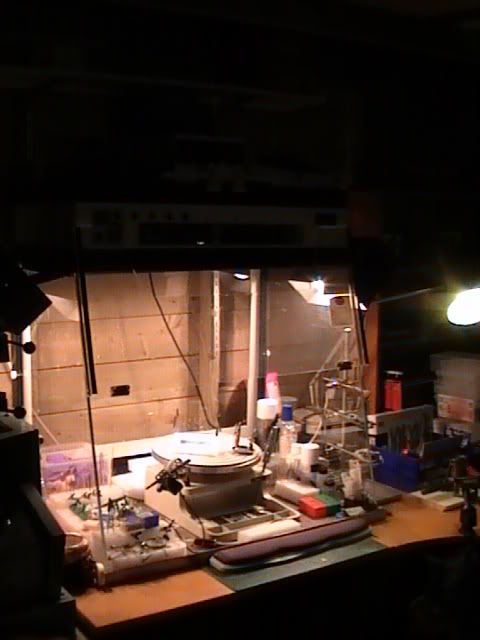
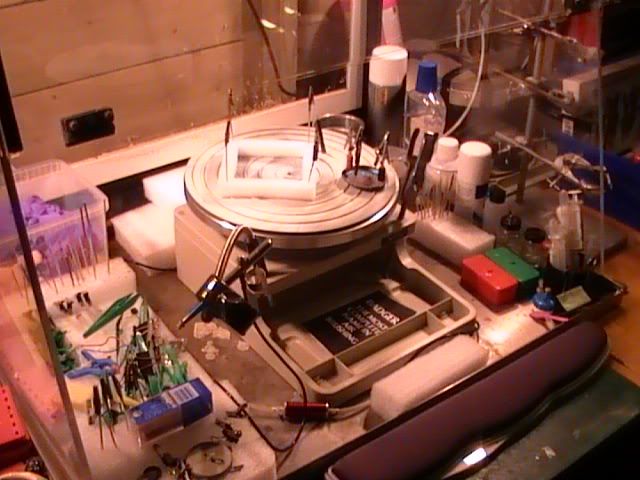
A turntable sits inside the fume cupboard and there is foam pieces, crocodile clips on tooth pics and other grips that can be stabbed into the foam to support work for spraying
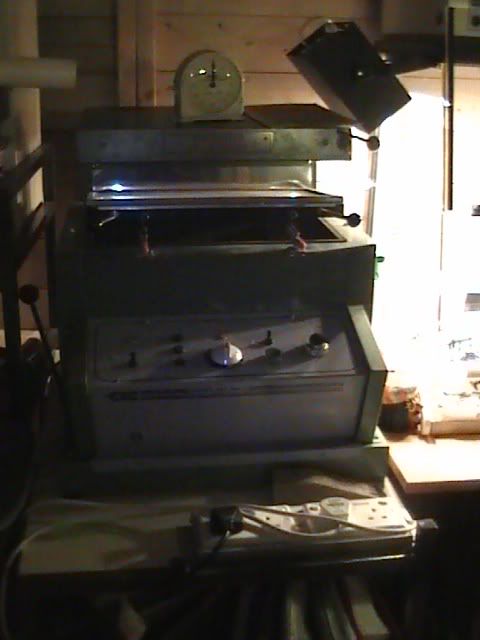
To its left is a Clark Vac U Form machine
Sharp tools and files, etc are stabbed into blocks of foam and placed in reach on the edges of the workstations
Cutting mats, marble chopping board, metal plate and flexible drill with bits are close at hand. I have a home made jig for setting out chassis construction
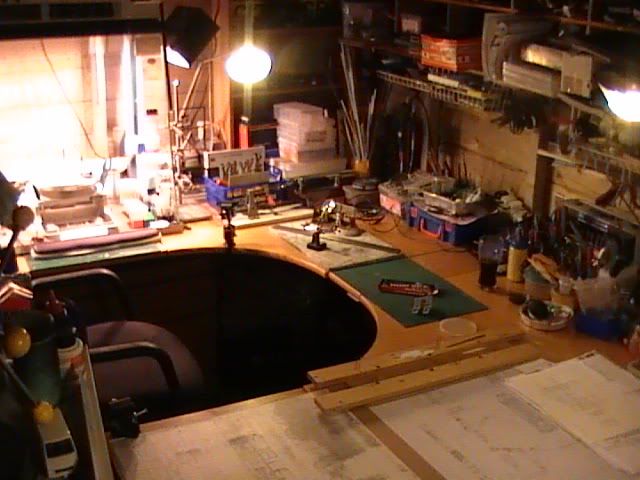
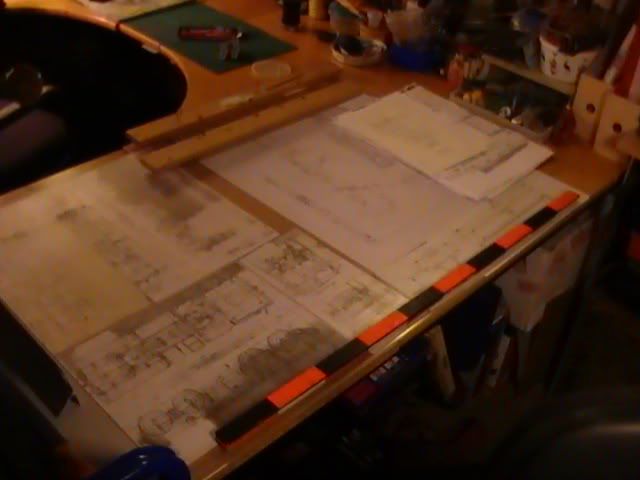
The right hand side of the U is the common desk with the reference drawings under perspex.
I've got two bright painted metre long measuring sticks I will be taking with me to the Military show to photo graph and measure some of the vehicles there
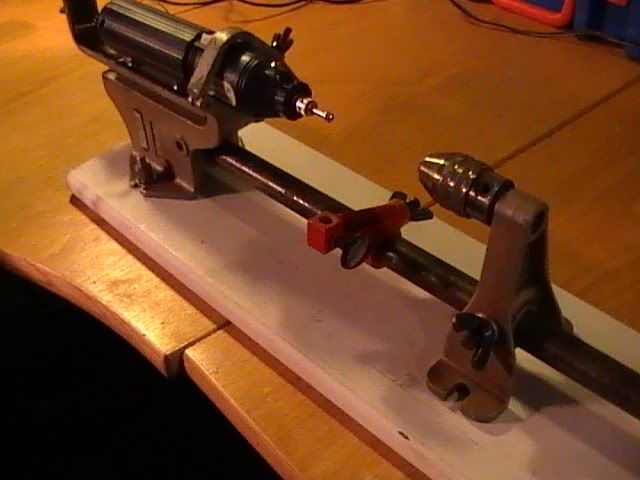
I'm hoping the mini drill will be able to allow me to turn some wheel blanks the way Casper does for some of my scratchbuild work. Dunno if it will be powerfull or controlable enough but I may invest in a better drill sometime to fit to the ancient Wolf lathe set.
My chemistry lab helping hands are great for holding large work at wierd angles to keep my owns hands free

While I was tidying up the shed, my two daughters asked me if one day I would let them build models. They are 8 and 6 yrs old so there is scope for the 350 plus models to be built some day.
I just might give them a couple of the old Matchbox aircraft to wet their appetites.
Bleeding hell I now have a tidy shed again. See how long it lasts.
Nige
Following on from my Part One (Model Stash I should Stop Collecting And Start Building) I finally got clear decks in the huffin hoose.
The Model Stash was moved into the free space where I had originally planned them to be. This made way for me to sort through the tonnes of junk that had built up on the work surfaces, making it impossible to find a model, never mind work on anything.
I was resigned to working on the dining table or in the caravan.
Here are a few pics of the huffin hoose now tidy and ready for me to put a model or two back on the workbenches.
Starting right to left as you enter the shed there is the first workstation with 400 wide worktop to the right and front
To the left of the first work station is a common desk 800 wide with clear perspex to hold and protect working drawings in place. The two level, standing work station at the end has two vertical bench drills and a separate thick heavy metal flat plate for metal working. The second working station can be seen at the back of this pic.
To the left of this is a cabinet with a worktop fitted with a vice, a hand turning grinding stone and a wooden mitre cutting guide
This worktop sits on top of a stiff board to give a good solid straight edge that work can be set off against.
The main workstation is made up of 800 wide desks in a U shape with the left side taken up with the fume cupboard sitting on top now vented out through the shed wall for spray painting. There are two pairs of lights hung either side to illuminate the fume cupboard
A turntable sits inside the fume cupboard and there is foam pieces, crocodile clips on tooth pics and other grips that can be stabbed into the foam to support work for spraying
To its left is a Clark Vac U Form machine
Sharp tools and files, etc are stabbed into blocks of foam and placed in reach on the edges of the workstations
Cutting mats, marble chopping board, metal plate and flexible drill with bits are close at hand. I have a home made jig for setting out chassis construction
The right hand side of the U is the common desk with the reference drawings under perspex.
I've got two bright painted metre long measuring sticks I will be taking with me to the Military show to photo graph and measure some of the vehicles there
I'm hoping the mini drill will be able to allow me to turn some wheel blanks the way Casper does for some of my scratchbuild work. Dunno if it will be powerfull or controlable enough but I may invest in a better drill sometime to fit to the ancient Wolf lathe set.
My chemistry lab helping hands are great for holding large work at wierd angles to keep my owns hands free
While I was tidying up the shed, my two daughters asked me if one day I would let them build models. They are 8 and 6 yrs old so there is scope for the 350 plus models to be built some day.
I just might give them a couple of the old Matchbox aircraft to wet their appetites.
Bleeding hell I now have a tidy shed again. See how long it lasts.
Nige

 ;D
;D
