|
|
Post by iansadler on Aug 2, 2010 18:53:03 GMT
Hi all , At War and Peace Show I bought this new model to work on .
I had 6 days to complete it . It is not finished due to the complex chassis.
I will in the next day or so post up a few comments I made at the time to point out various problems I encountered along the way .
Overall it is simplified in several areas and has omission's in others . These will be also noted as we go along .
To start of with step 3 the internal part to the chassis .
Notes are test fit and test fit before adding glue . Make sure everything is square and flat, as all later parts depend on this first stage. Leave to dry at least overnight before going to next step part 4 . cheers ian
|
|
|
|
Post by iansadler on Aug 3, 2010 7:36:06 GMT
Hi all , the ref book you will need is the Following Waffen Arsenal S 72 , I picked up mine at War and Peace show . cheers ian 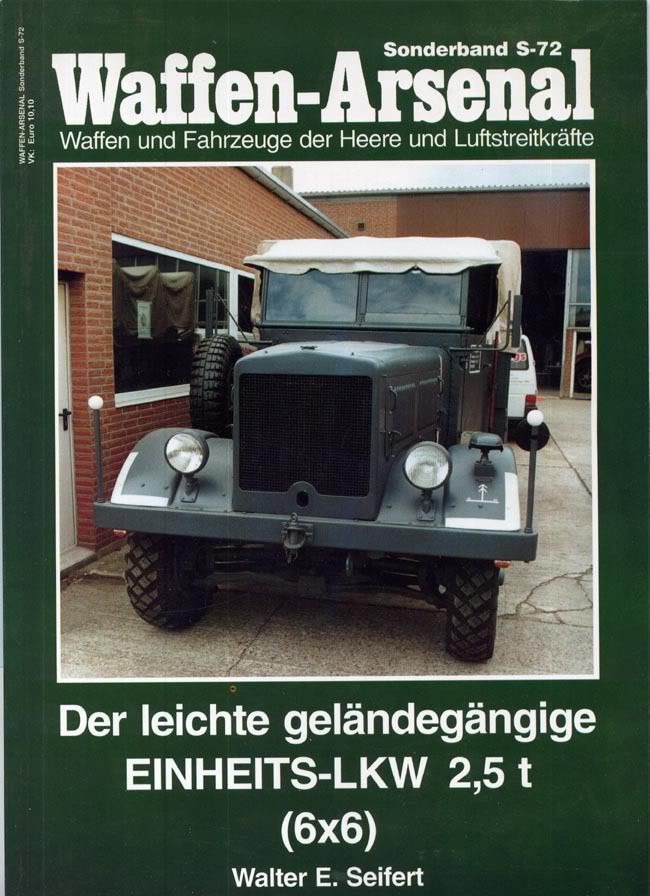 |
|
|
|
Post by iansadler on Aug 3, 2010 18:01:13 GMT
hI all, if you think it was important to keep everything square and flat in step 3 , then step 4 is a lot more complicated , and even more testing and dry fitting before glueing the parts . I found that by leaving part Y65 off the external section to the exhaust , it made life a lot easier . Also omit part X30 the rear towing part and replace with one from Italeri or Tamiya if you have one . It is far too thick and the wrong shape. Again leave over night to harden off and keep flat and square before adding the next section . cheers ian
|
|
|
|
Post by iansadler on Aug 10, 2010 8:42:29 GMT
Hi all , sorry for delay in upate , I had a slight problem with my scanner . So under the fair review I have scanned the instructions for step 5 , A picture is worth a thousand words . You will now be able to see at a glance why it is so important to make sure the frame is flat and square in all directions . cheers ian  |
|
 Members' Forum")

