|
|
Post by okdoky on Jan 4, 2009 21:30:31 GMT
Canopy looks a little a bit better painted green but I used a car paint which is a bit too glossy next coat will be a matt green by tamiya to reduce the shine. 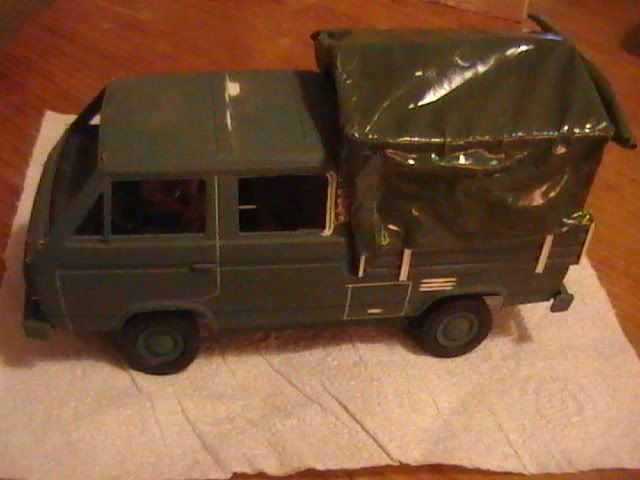 The creases look a bit more realisticin the darker colour.  I screwed up with the front panel as I cut the cab curve too high and will have to glue on a new front panel to fill the hole. Hope heads are a good bit clearer now that everyone has finished celebrations and going back to work. All the best Nige |
|
|
|
Post by okdoky on Jan 17, 2009 16:04:41 GMT
Just a brief update on how progress is going with the VW,s. Still having problems getting the fabric cover right. 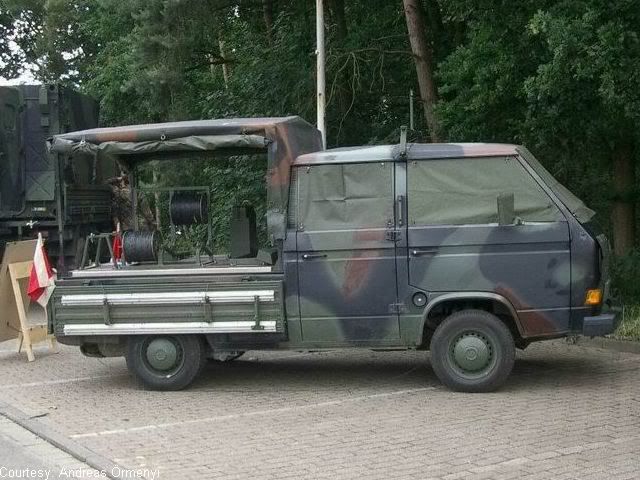 I used the plastic sheet but after painting it I found that every time I wanted to place the cover over the load bay sides the very flexible nature of the sheet meant it stiffened with the paint but then the paint flakes off when streached. That was with Car primer and then Halfords Vauxhall Leaf green.  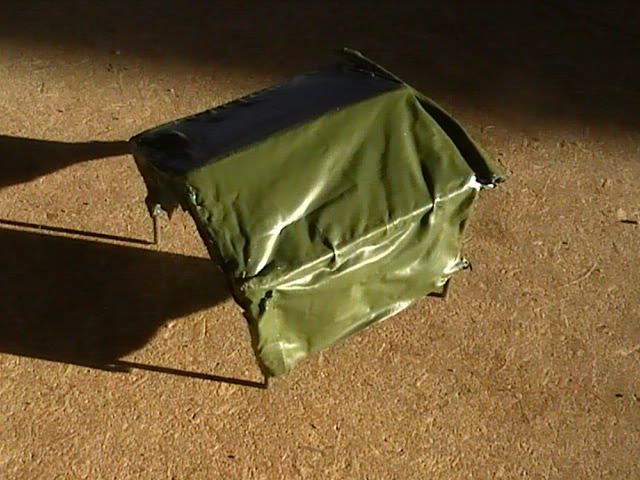 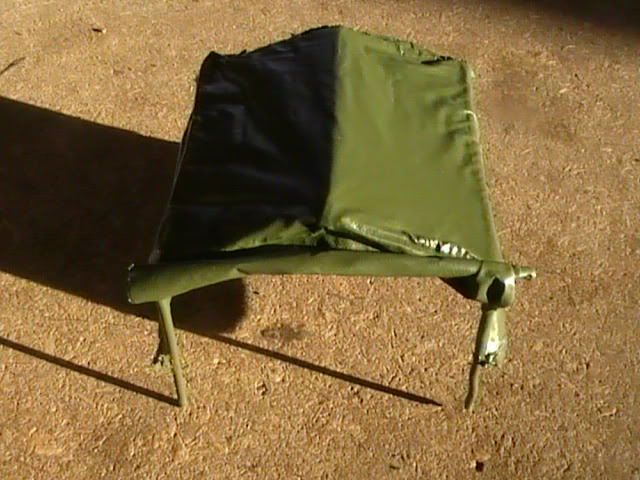 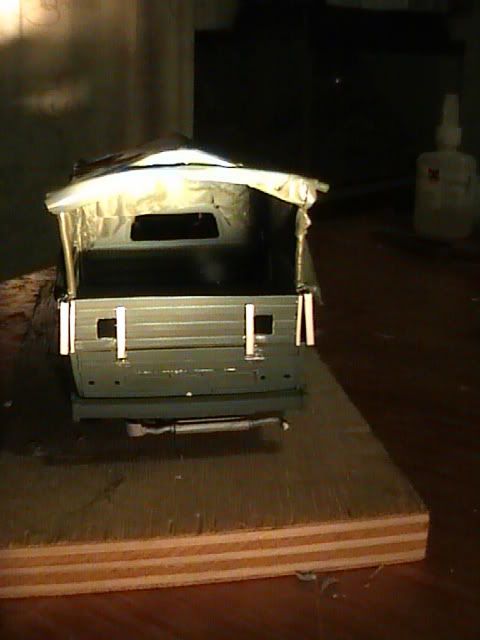 Load cover is resigned to the bin as paint had flaked too much. Any suggestions?  Crew cab and caravelle bus have both been resprayed in leaf green and will then be sprayed black cammo then the brown. Windows masked with medical tape.  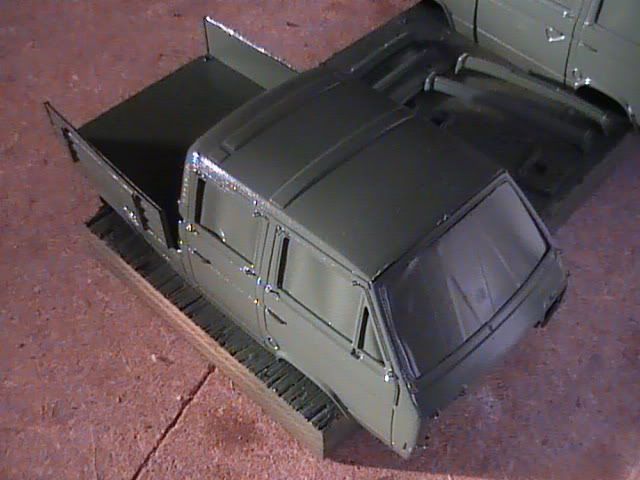 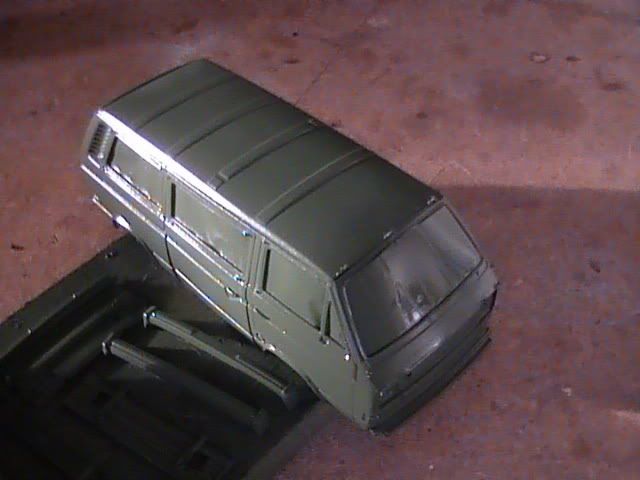 I have also realised I forgot the clips for the anti glare screens on the bus rear windscreen. 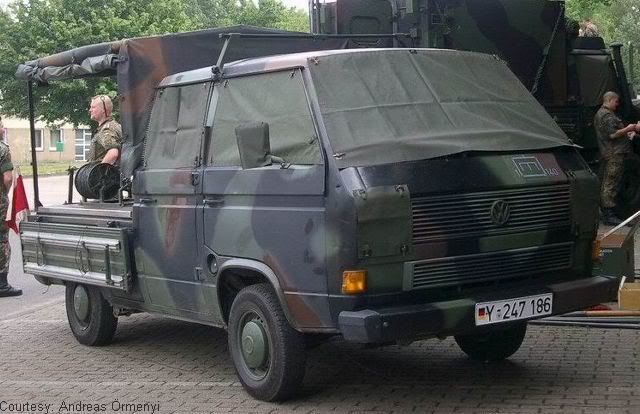 The Germans have net toggles connections fixed to the vehicles that pop through the cut-to-size screen covers,,,,,,,,,,,,, neat!!! All the best Nige |
|
Deleted
Deleted Member
Posts: 0
|
Post by Deleted on Jan 17, 2009 19:02:14 GMT
Nige, I still think that tissue coated in pva is the way to go with this.
|
|
|
|
Post by okdoky on Jan 17, 2009 19:39:28 GMT
I have the tissue,,,,,, I have the glue,,,,,,,,,,
Going to carve me up a new cover tonight cause this is getting me down not getting it right. As you can see the real cover is very smooth and I wonder if the tissue will have too rough a texture. But nothing ventured, nothing gained.
Will try to post the results tonight.
Nige
|
|
|
|
Post by okdoky on Jan 17, 2009 22:44:45 GMT
Update tonight on third attempt at cover. Thanks Nick, the tissue does work really well !!!!!!!!!! I used thin plastic coated wire for the front and rear frame and plastruct u channel with holes drilled to accept the frames for the centre top and side connecting rails. 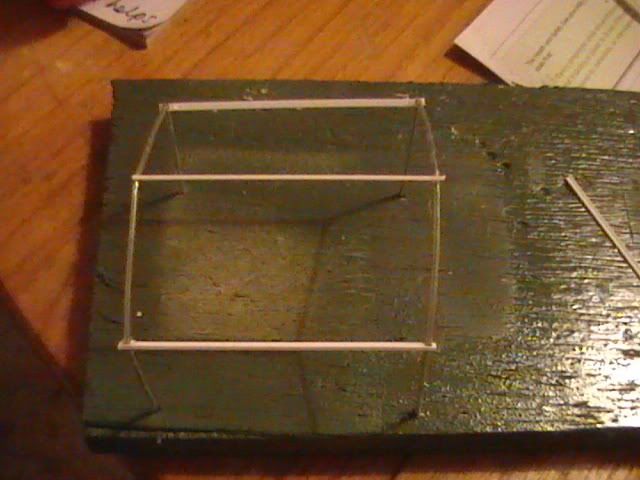 Frame placed in pre drilled holes on wood and a pocket packet of plain tissue papers raided for a two ply tissue with no odd fancy textures. Drew out the shape of the cover as if laid out flat with assumed overlap areas for tie straps to frames. 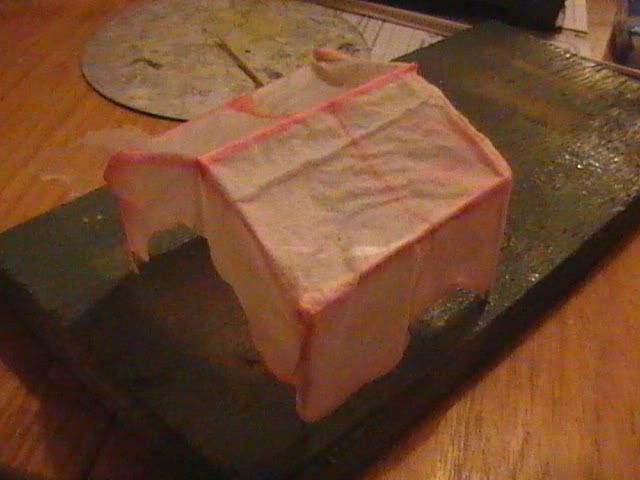 Dipped the tissue in a very thin milky mix of water and PVA glue in a chinese carry out food tray and immediately laid over the frame. Added additional water/glue mix over the tissue with a basic wide brush to allow the edges to take form and keep the tissue moving. Is laying out to dry at this time. Nick, what do you do to stiffen the tissue up if need be and also what primers and paints have you used on this? Will Halfords car spray primers and paints take to this mix? Pleased with the look, texture and shape so far. I hope it will still give me a bit of flex to allow me to place this last on the model. Cheers Nick,,,,,,, Help appreciated as allways. Nige |
|
Deleted
Deleted Member
Posts: 0
|
Post by Deleted on Jan 17, 2009 22:57:39 GMT
Ayup Nige, I use a small hair dryer and gently heat the tissue until it goes taught, but be careful, if you dry it too quickly, it will become brittle. Rather than dip the whole tissue in pva, I would tackle the tarp as 5 separate sides.
For instance, take the tissue for side one and place it against the framework, then tack the tissue along the frame and dry it as I advised, then gently wet the tissue all over and dry slowly. If your first effort fails, try my system, but it looks OK to me.
Painting is simple, use a spray primer and then a top coat, it won't dry matt but will have a slight sheen.
|
|
|
|
Post by okdoky on Jan 18, 2009 21:23:32 GMT
Hi folks I was able to shape the cover over the rear of the crewcab and load bay sides by painting the water pva mix on the tissue while in place and was pleased to see that it took the shape held after it came off dried. I realised it worked well after I dropped the body off the board I was carrying it on and it bounced on the floor and only bent the vertical poles a fraction. Is surprisingly strong combination. A bit of paint on the new cover. Started with a black matt spray direct onto the tissue to hopefully bring up the texture of the creases that have formed when the tissue became taught over the frame again just like the real thing. Then a spray of matt green from tamiya. No distorsion from the paint and appears to still a bit of movement to get it over the sides. 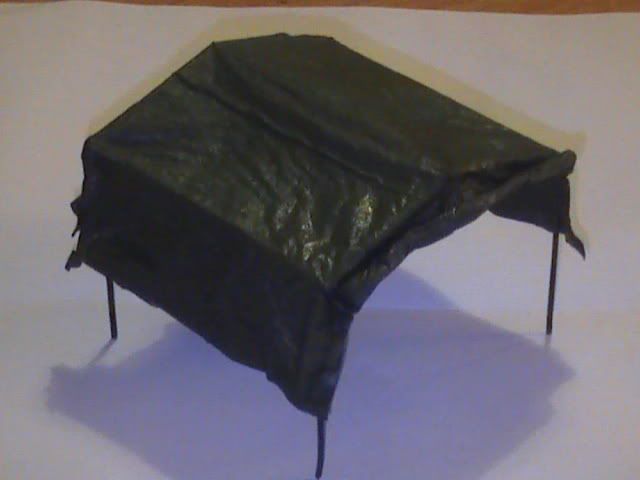 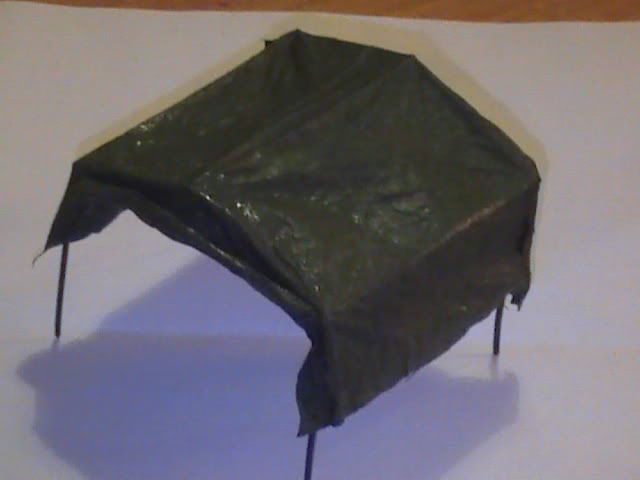 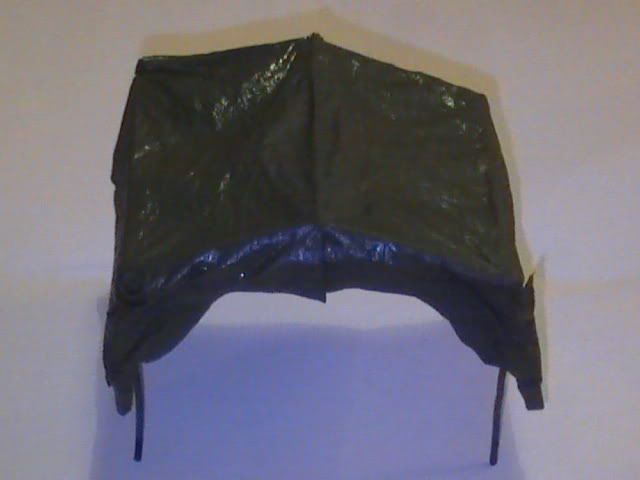 Nige |
|
Deleted
Deleted Member
Posts: 0
|
Post by Deleted on Jan 18, 2009 21:50:55 GMT
Nice one Nige, I knew you could do it.
|
|
|
|
Post by okdoky on Jan 20, 2009 23:40:18 GMT
Hi there folks An update on the Crewcab. A spray of matt black from a rattle can to hopefully accentuate the creases and then a spray of the leaf green. It seems to sit very well over the load bay sides and rear of the cab cause I wetted the tissue with a brush to allow it to take the form over and let it dry again on the body. It dried nicely and kept its shape. Here it is on for checking. 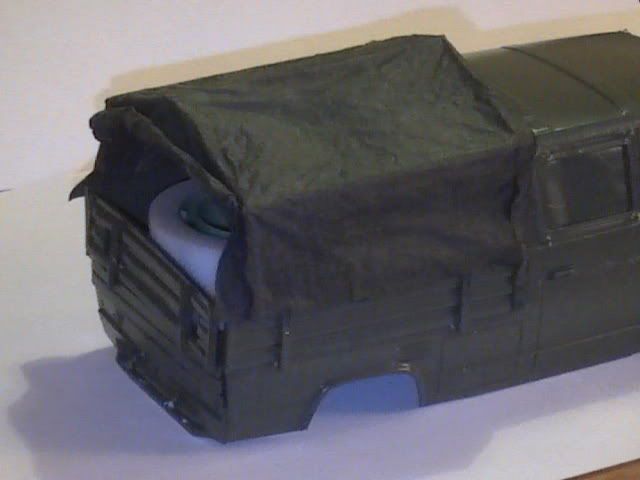 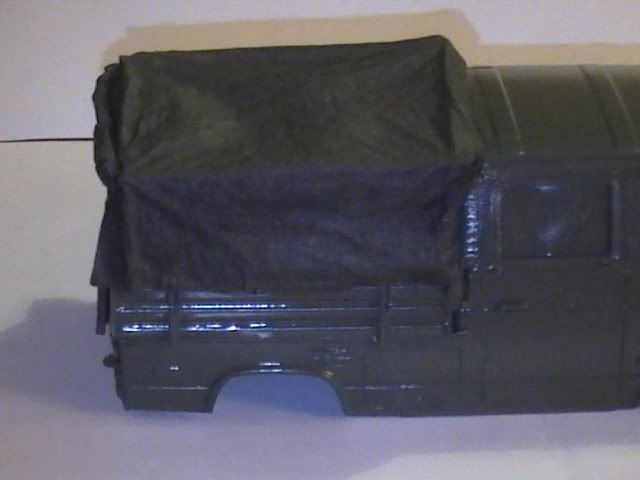 Tonight I added the blu tack to spray the black using the only pics I have. Waiting to see if I can get a response re the shape on the rear and roof of the cab as these are not clear on my pics. 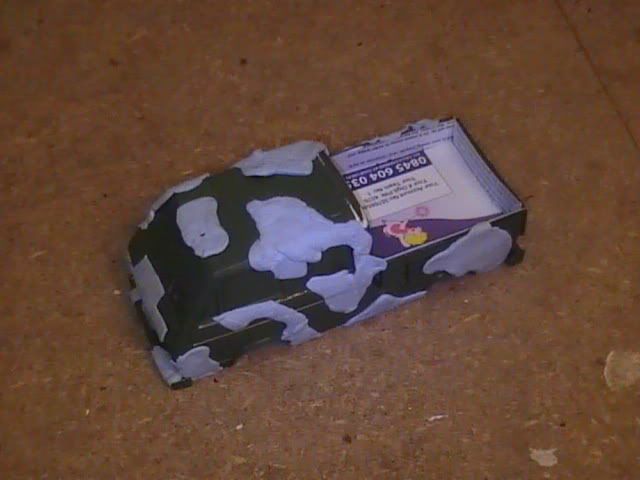  If no response I will need to guese on the rear panel and cab rear 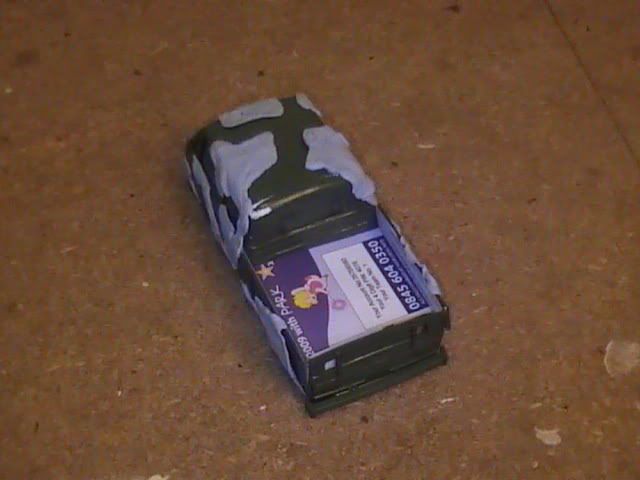 Nige |
|
|
|
Post by okdoky on Jan 21, 2009 23:38:29 GMT
Yehah Finally found what I was looking for. The camo for the rear and colours of interior a bit clearer!!! Found it on a used Bundeswehr vehicle dealers website. Very useful for pics. 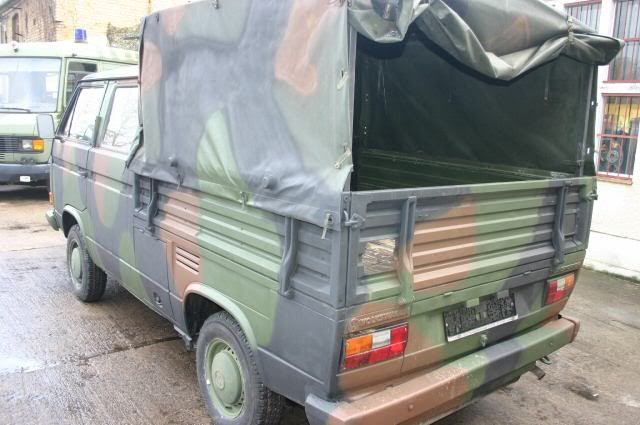 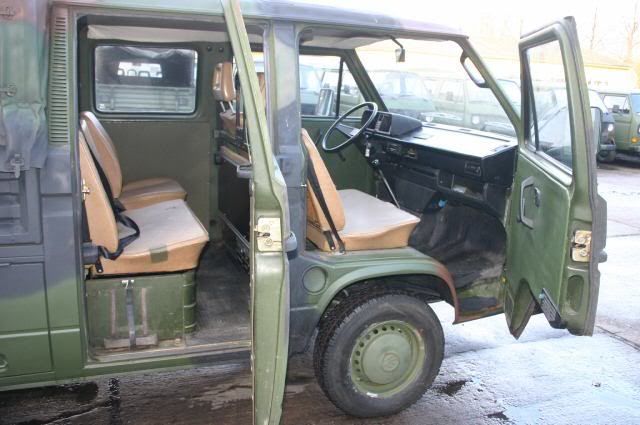 I can hopefully fix the blu tack ready for some black paint tomorrow night. I think I am going to keep the canvas one colour for some contrast though. Nige ;D ;D |
|
|
|
Post by okdoky on Jan 27, 2009 23:39:35 GMT
Got around to spraying the black then hand painting the brown camo. Having looked over the model I realised the roof was missing a large patch of green where I had forgot to mask and that the black was far too large there. A quick fix with a paper mask to respray the green patch. The real vans have varied degrees of overspray and patching up so I am not too disappointed with the slight over spray in local areas. 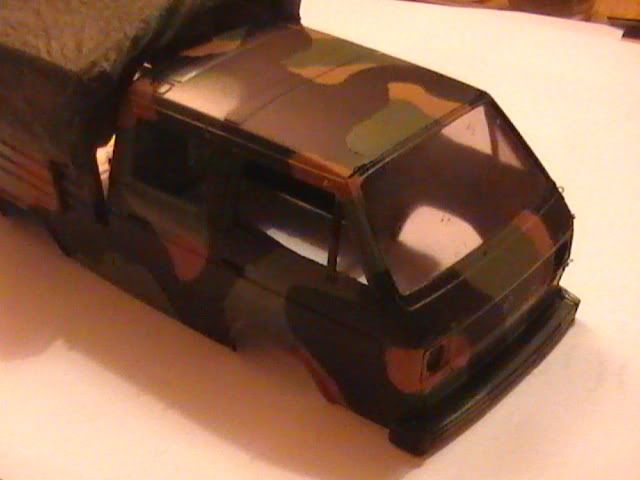 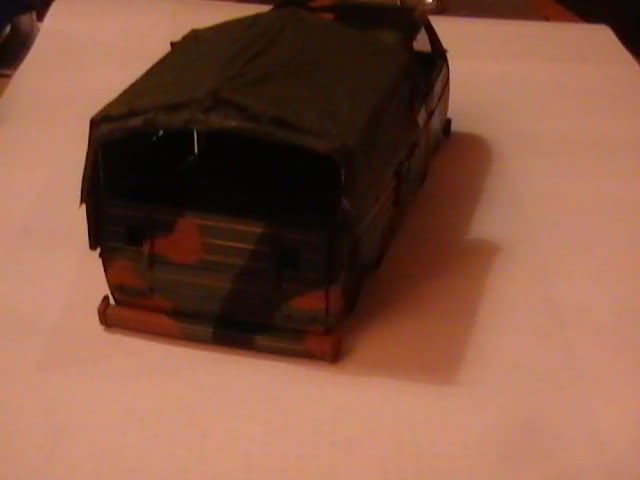 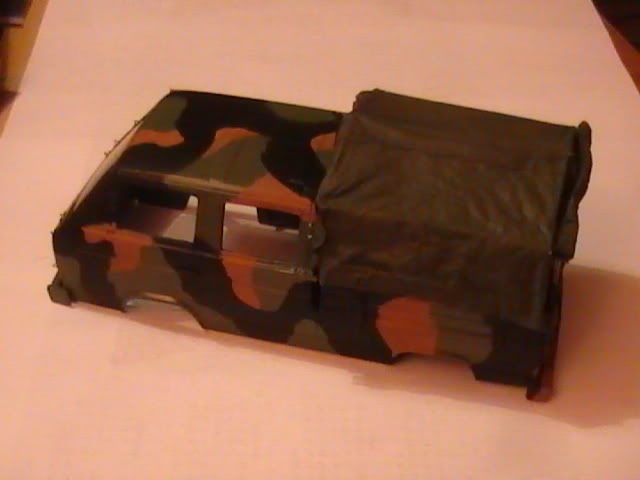 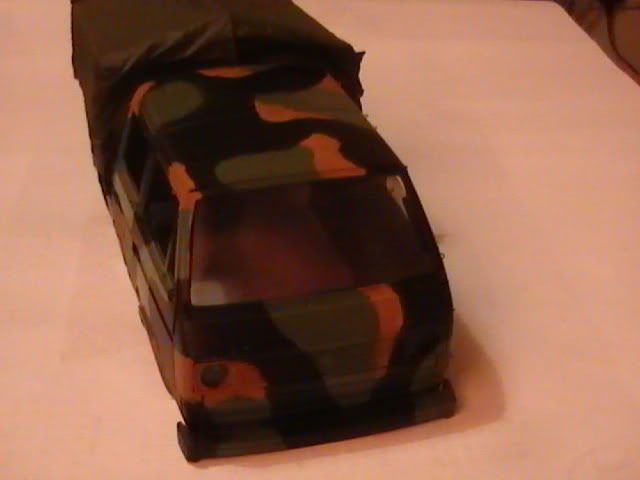 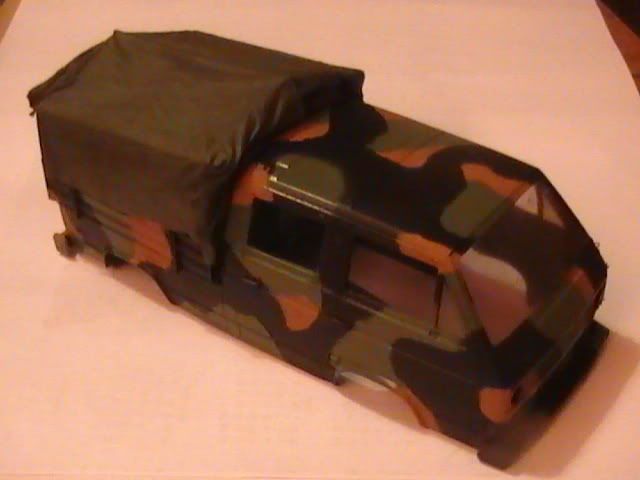 I have definitely decided that the canvas tilt is staying green one colour to keep a bit of contrast. Nige :-H :-H :-H |
|
Deleted
Deleted Member
Posts: 0
|
Post by Deleted on Jan 27, 2009 23:57:57 GMT
Ayup Nige, the green for the tilt looks OK.
|
|
|
|
Post by okdoky on Jan 28, 2009 0:05:40 GMT
Thanks Nick
I am reasonably chuffed with how it is coming on. All I need to do is find where I have put the sprues with the wee fiddly bits I left off till after painting.
Both sets for bus and crewcab set aside in a safe place,,,,,,,,,,,,,,,,,,,,,,,,, SO SAFE I CANNAE FIND THE B***ers!!!!!!!!!
A hunt in the evening tomorrow is called for.
Nige
|
|
Lonewolf
Moderator  Gods Country
Posts: 2,551
|
Post by Lonewolf on Jan 28, 2009 21:36:45 GMT
That tilt looks great. I'm not clear on a couple of points.
Did you use 2 ply tissue or did you separate it?
Have you removed it from the wire frame or is it still there?
Did you roll up the back while it was still wet or add it later?
Nice job, I lived in Germany for some time and I'm familiar with these things lol.
Wolfie
|
|
|
|
Post by okdoky on Jan 28, 2009 22:16:51 GMT
That tilt looks great. I'm not clear on a couple of points. Did you use 2 ply tissue or did you separate it? ;D The tissue is still two ply which I thought would give it a little bit more strength for picking up and working on. ;D Have you removed it from the wire frame or is it still there? ;D Since the tissue acted like a doped aircraft skin and stressed over the frame I left it on the frame so that it keeps its shape. ;D Did you roll up the back while it was still wet or add it later? ;D I rolled the rear flap up while it was wet and using a length of the frame wire along the bottom edge to start off the rolling process and left it in the rolled up flap to give it a bit of shape and form rather than it getting a chance to fold totally flat. ;D ;D Any area I needed to shape or move a little was wetted with a brush laden with the PVA / water mix so that I could form the shape over the edges of the load panels and rear of the cab. ;D Nice job, I lived in Germany for some time and I'm familiar with these things lol. Wolfie Am attempting to rebuild the quarter light that was broken in the packet (windscreen with both quarter lights as one piece originally) using micro kristal klear. Dunno if it will build up such a big gap but is worth a try. 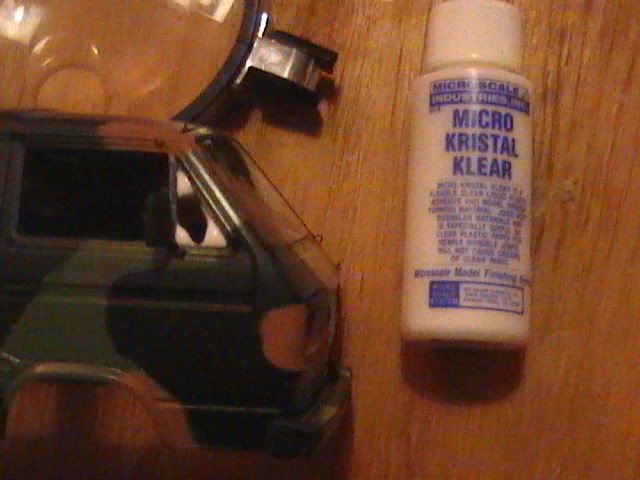 Nige |
|
 Members' Forum")


