|
|
Post by okdoky on Oct 8, 2010 2:39:29 GMT
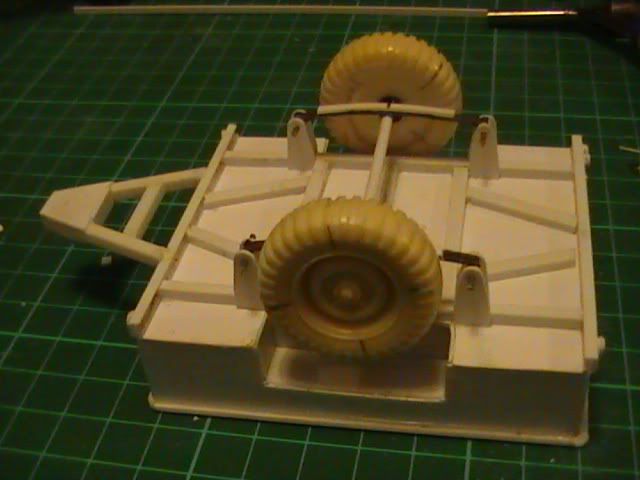
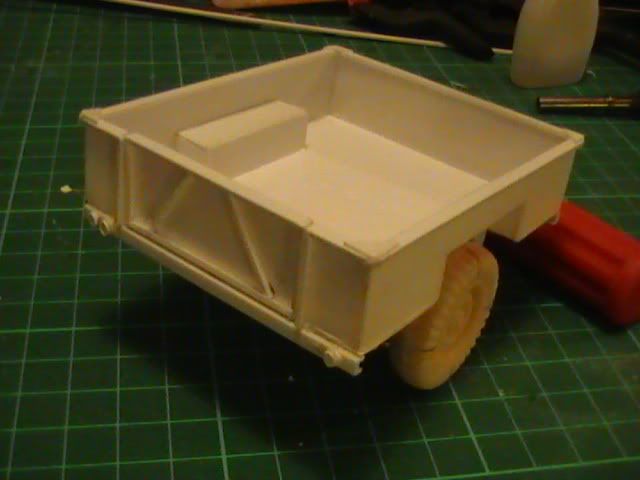
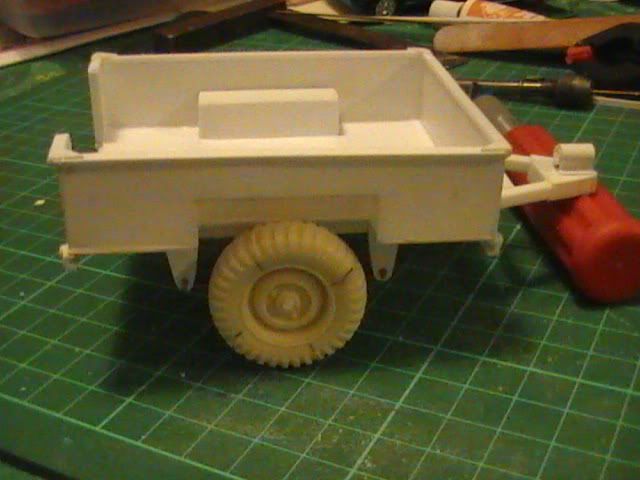
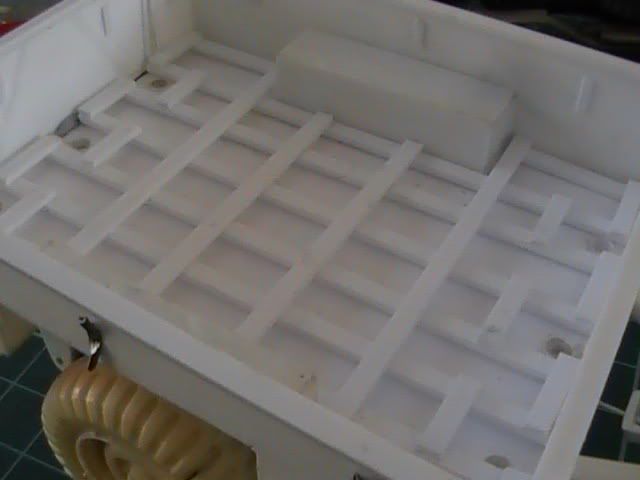
Hi Folks Thanks to Mike at the model club who gave me a loan of his 1/35 scale Firing Line Land Rover (Sanky) Trailer that I could use for reference purposes to upscale to 1/24 and scratchbuild. I was finding that the house alterations, changes at work and preparing for Baby three's arrival in December have been rather stressfull and keeping me too busy to get any decent amount of modelling done. The intention is to build a couple to go behind the 1/24 Landrover kits in the stash. I have been really chuffed at how quick it took me to throw this up having been able to get all vital dimensions from Firing Line's lovely resin, white metal and PE kit and doing the number crunching on my mobile. Something quick and simple to keep my sanity and something I knew would not challenge my numbed brain cells too greatly. Hope you like 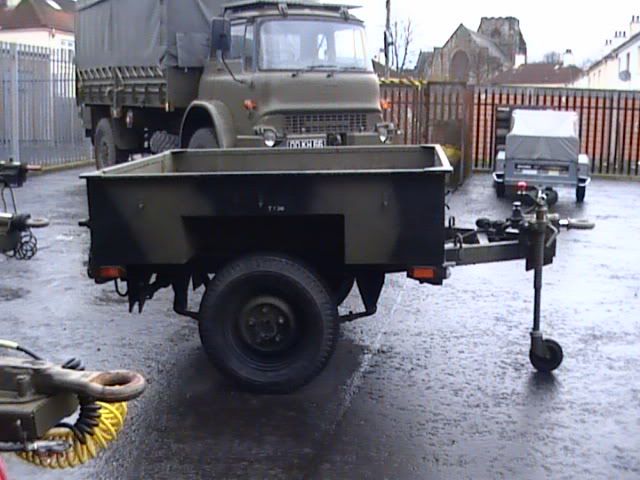 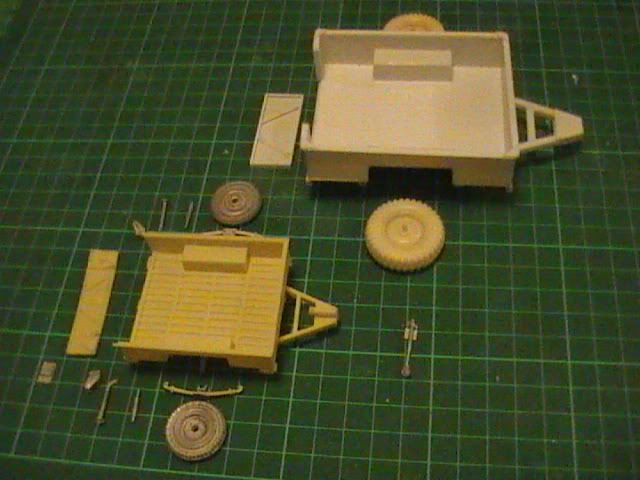 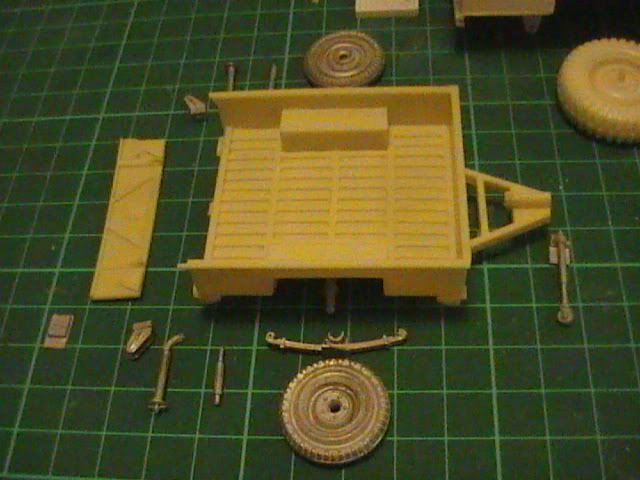   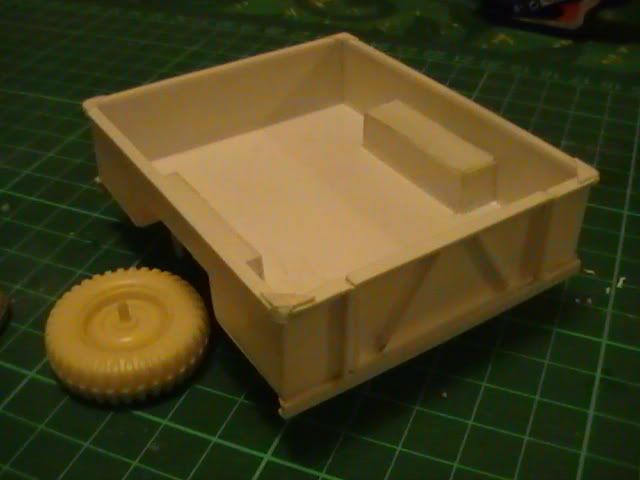     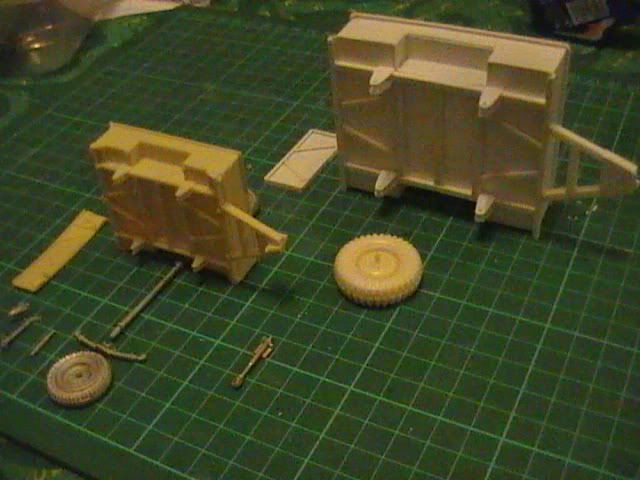 Nice kit too Firing Line Nige |
|
|
|
Post by okdoky on Oct 26, 2010 21:44:10 GMT
|
|
|
|
Post by okdoky on Oct 27, 2010 0:51:06 GMT
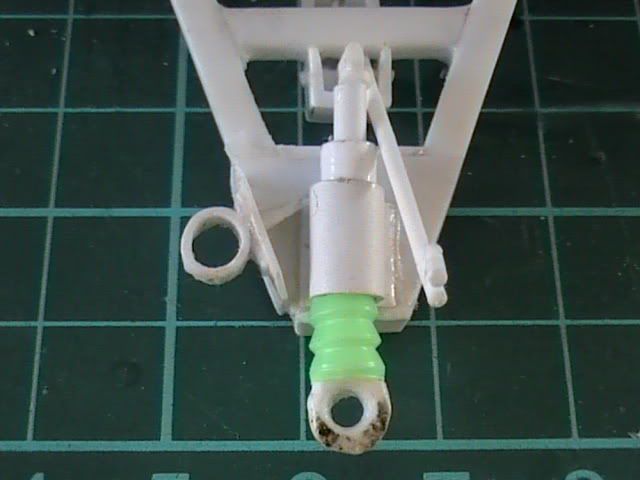
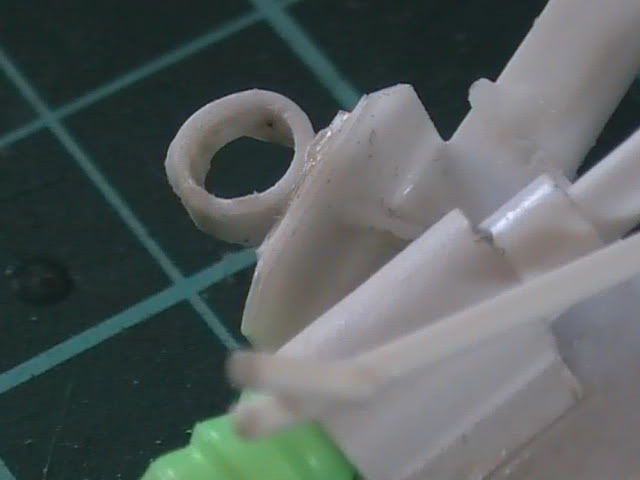
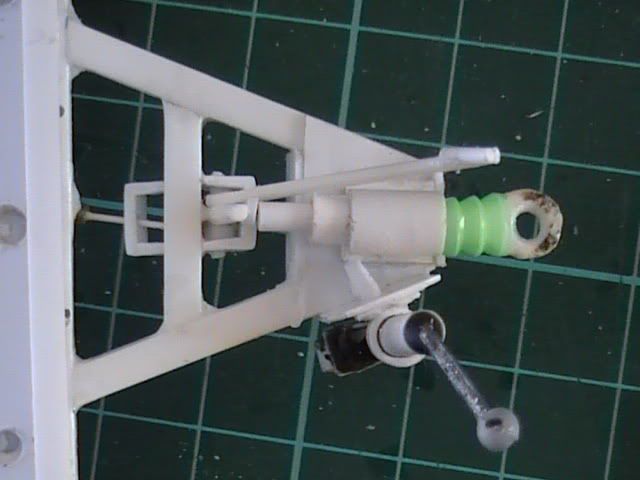
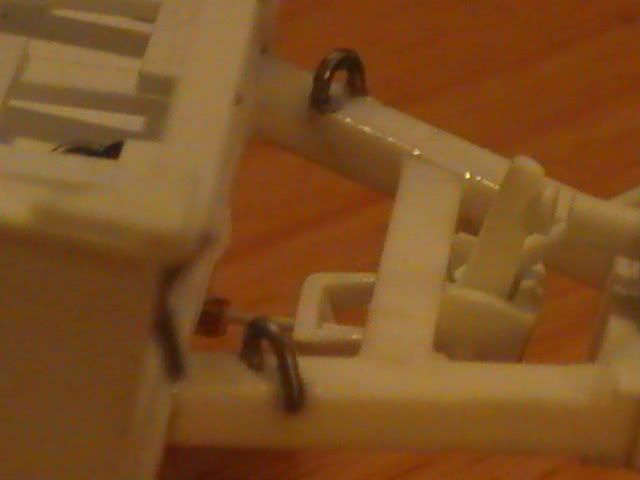
Tow hitch formed by melting the end of a sprue piece and flattening the end with my fingers. Then reeming out the hole and filing down the shank to fit into the spring housing. Tow hitch will swivel. 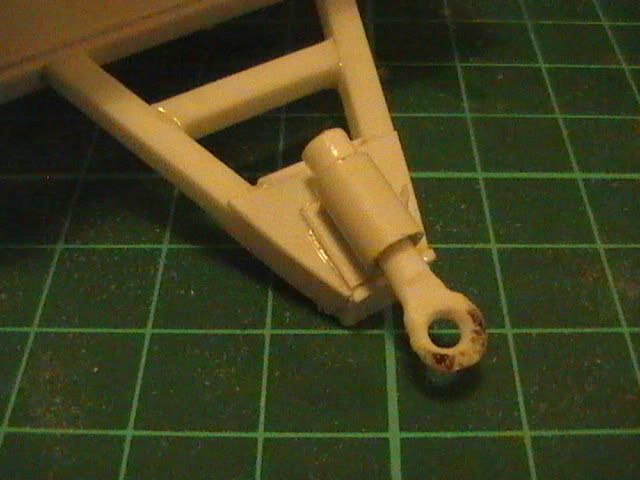 Will form the handbrake, pivots to the actuators and cables next.  |
|
|
|
Post by okdoky on Oct 27, 2010 1:37:42 GMT
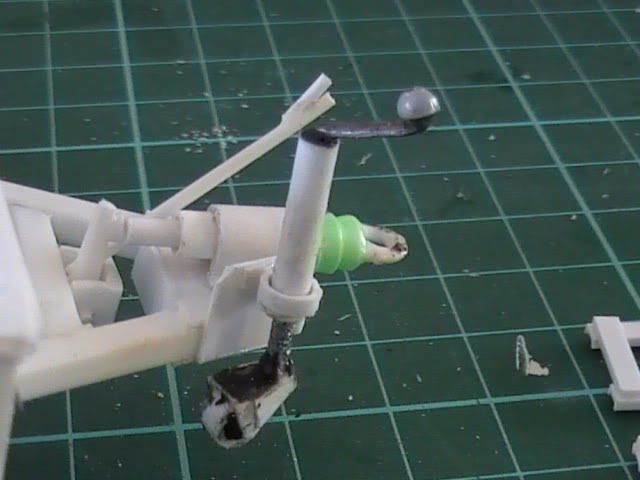
Brake lever cables and actuator 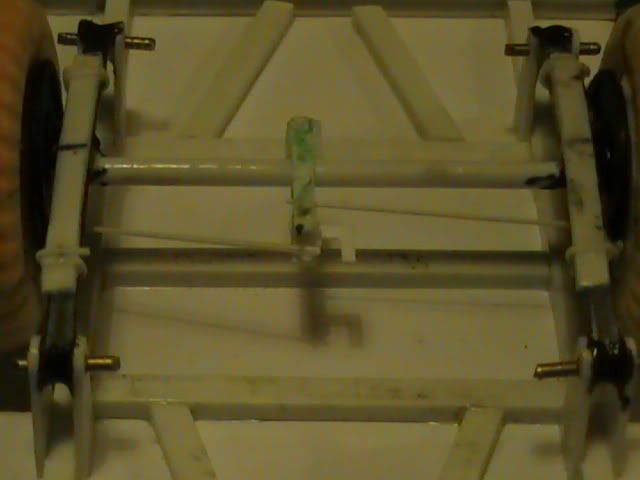 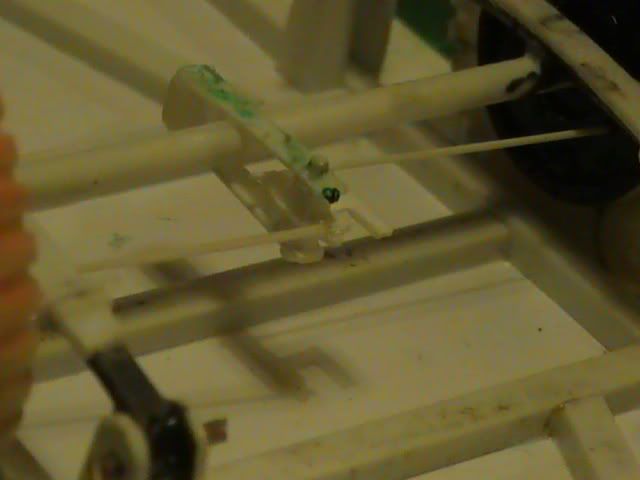 |
|
|
|
Post by okdoky on Oct 27, 2010 2:57:43 GMT
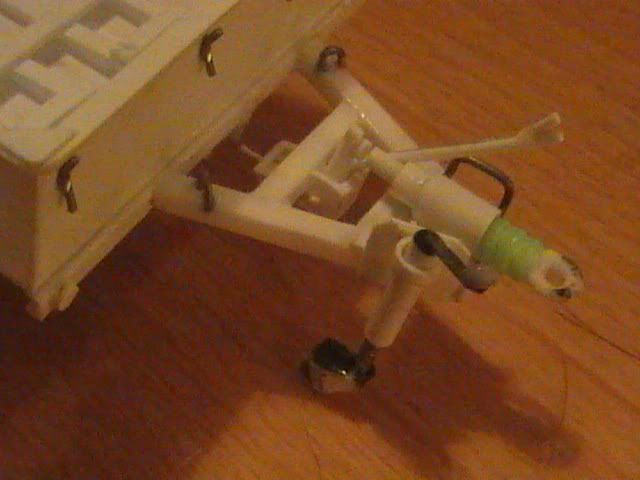
Hitch to brake actuator 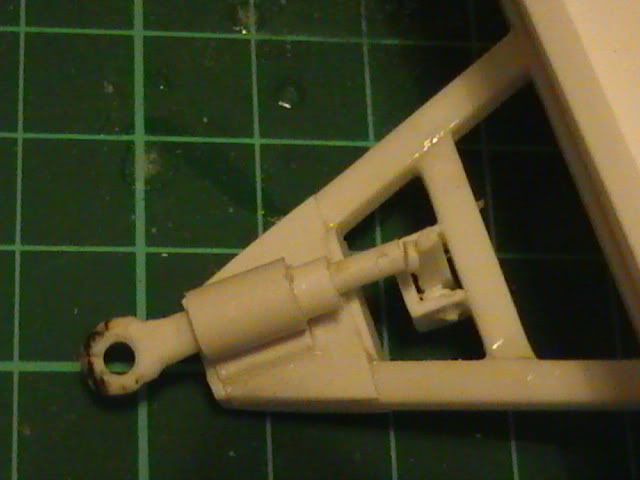 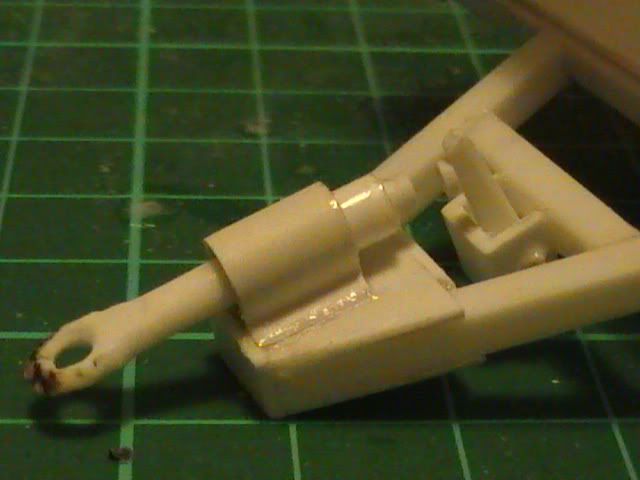 Handbrake and cables still to be added |
|
|
|
Post by okdoky on Oct 27, 2010 3:51:51 GMT
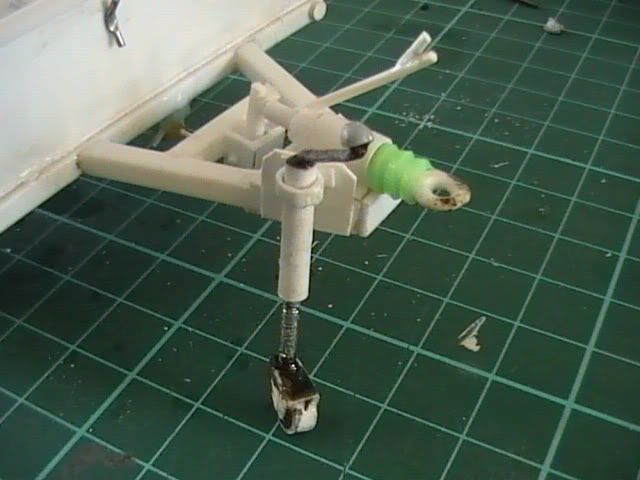
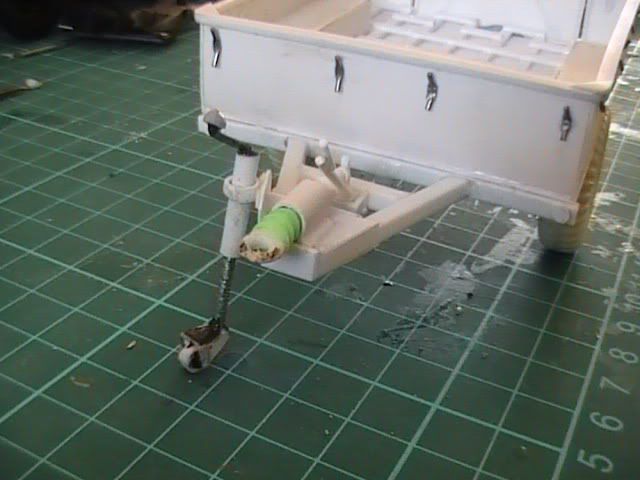
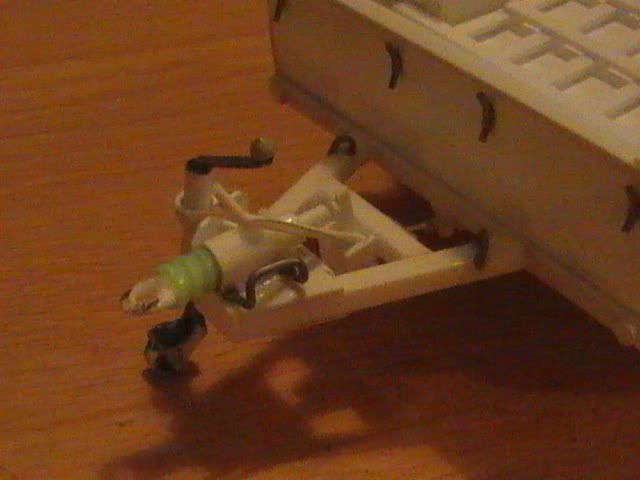
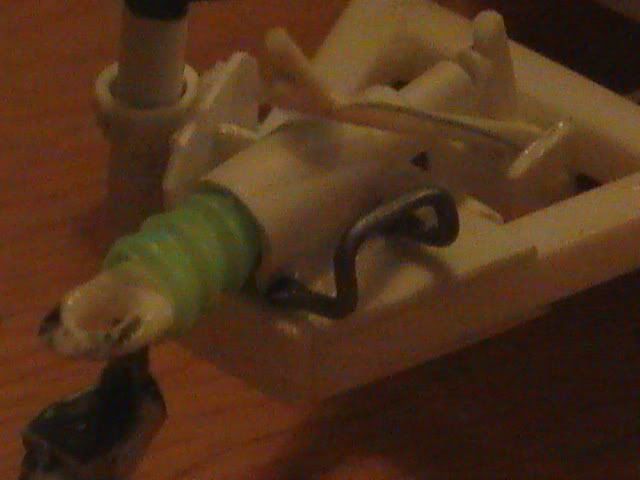
Cables connected 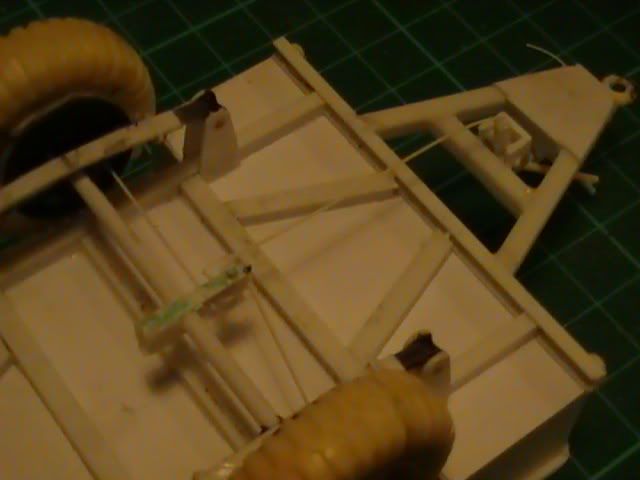 A segment of flexible straw added to make the hitch gaiter 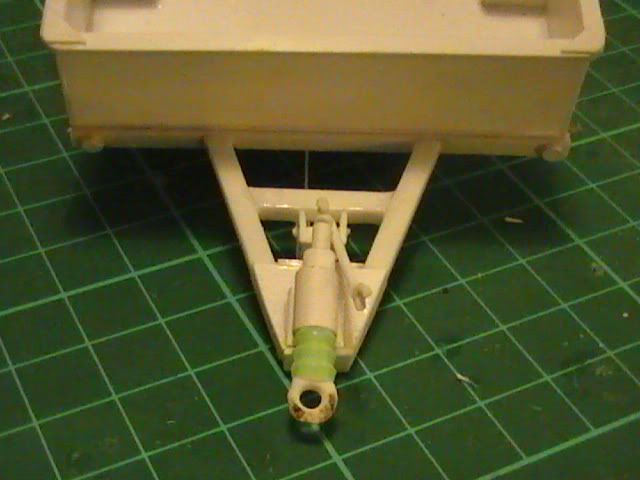 Handbrake lever added also 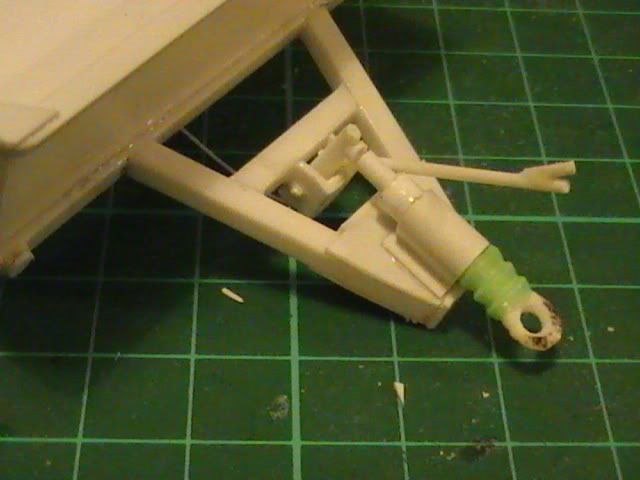 |
|
|
|
Post by Fatty on Oct 27, 2010 6:41:31 GMT
Looks great,
We had over 1500 of the flippin' things and 5500 Series 3 Land Rovers when we had the MOD disposal contract.
I must confess I didnt see any with a fold down rear tailgate, the only trailers we saw like that were the larger trailers for bedford and such.
But knowing the REME etc there were many modifications made to standard equipment......
All you got to do know is add the 30 plus layers of paint to the trailer lol....
|
|
|
|
Post by okdoky on Oct 27, 2010 7:26:15 GMT
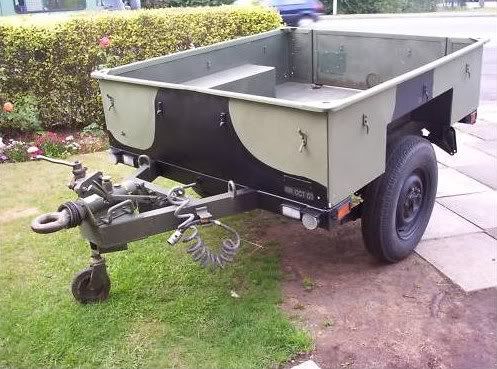
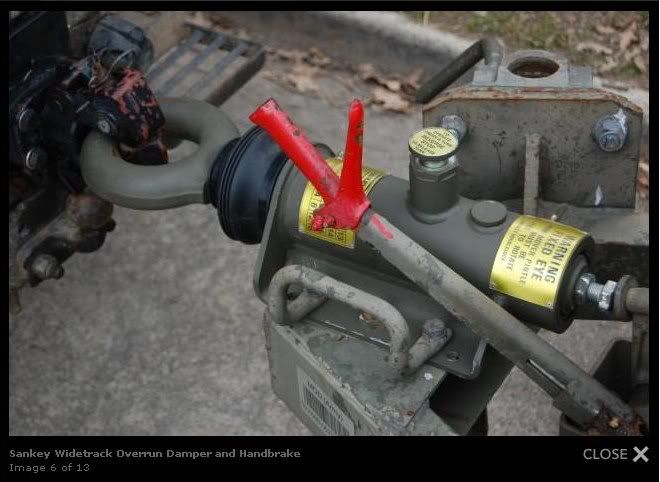
Hi Paul Strange the things you don't notice when you work with things every day, but a rear tailgate is something that is not an addaption. It was on these trailers as can be seen by the two different pics, one ex army on fleabay and the other at the TA depot the other trailer was at. 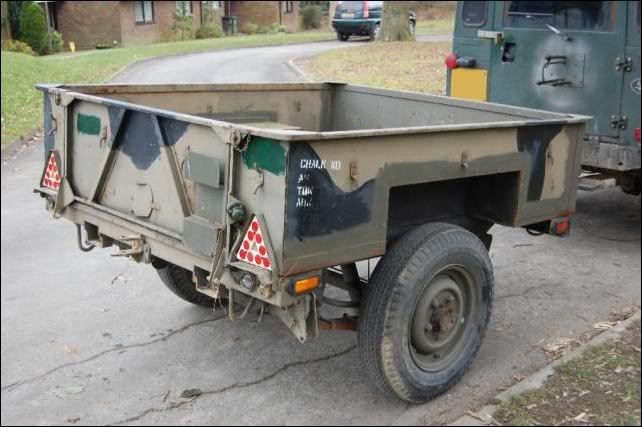 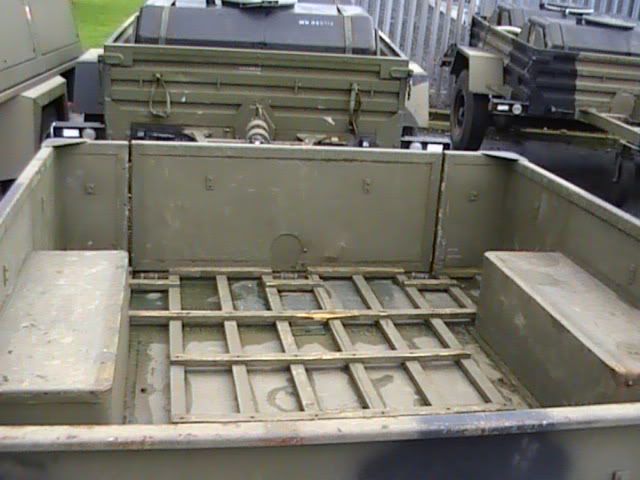 Nige |
|
|
|
Post by Fatty on Oct 27, 2010 9:30:46 GMT
Hmmm you got me there.  We did have a few with the drop down tail gates but they were bodges lol. ....as you say looks like the real deal. |
|
|
|
Post by okdoky on Nov 6, 2010 21:49:05 GMT
Hi Paul I see on Flea bay the now is a Sanky trailer with no tail gate but it does seem to show its age on the pic. Obviously there were a few versions and the tail gate may have developed out of the need for Elf n safety !!! Bad backs lifting stuff out under battle. Time for some tie downs made of solder wire cut to length and pressed flat in the middle for the fixing points 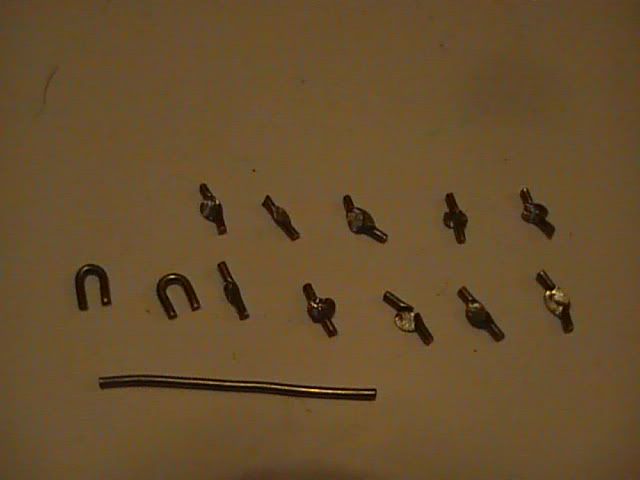 The thin squashed flash can be trimmed off with a sharp nife. 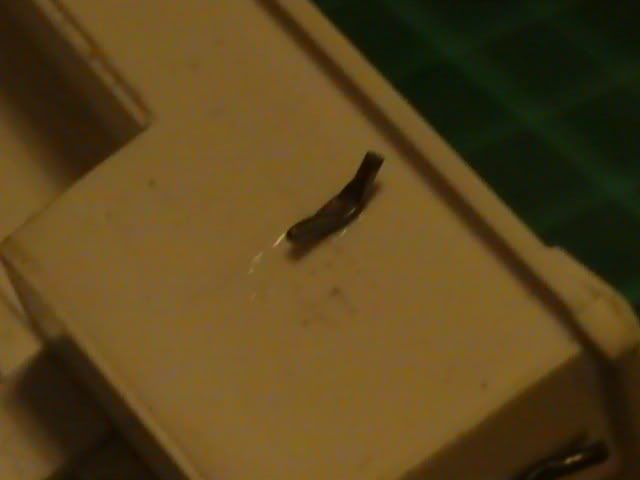 The reinforcement pieces on the inside are cut from plastic strip 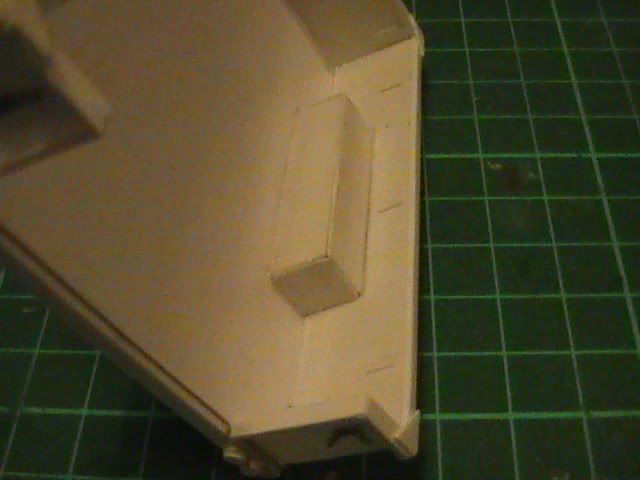 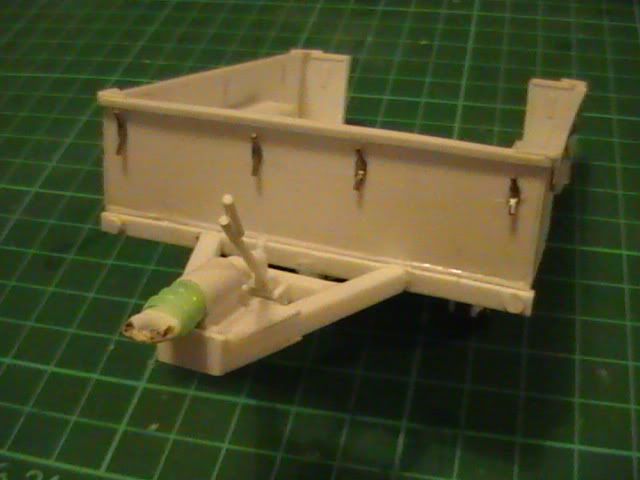 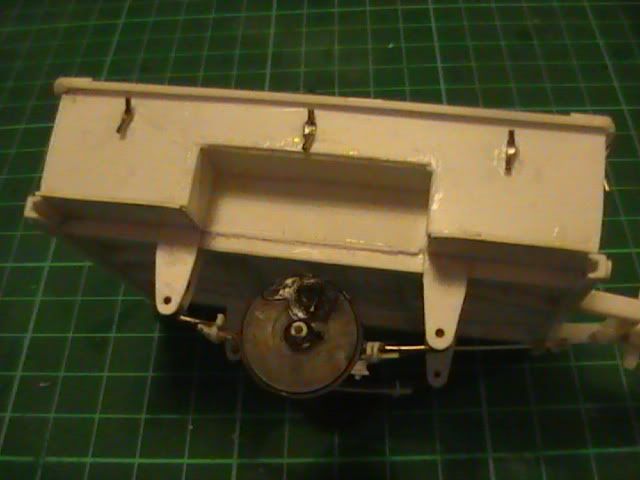 Nige |
|
|
|
Post by okdoky on Nov 8, 2010 22:38:23 GMT
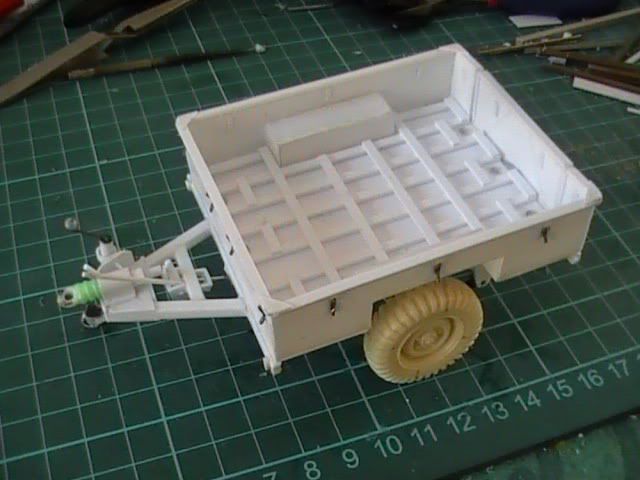
Sanky and LandRover short wheelbase together for comparison  S/wheelbase L/R is the Monogram kit bought as a built kit off flea bay for a very cheap price. Only had one broken axle stub which has been pinned through to reinforce, 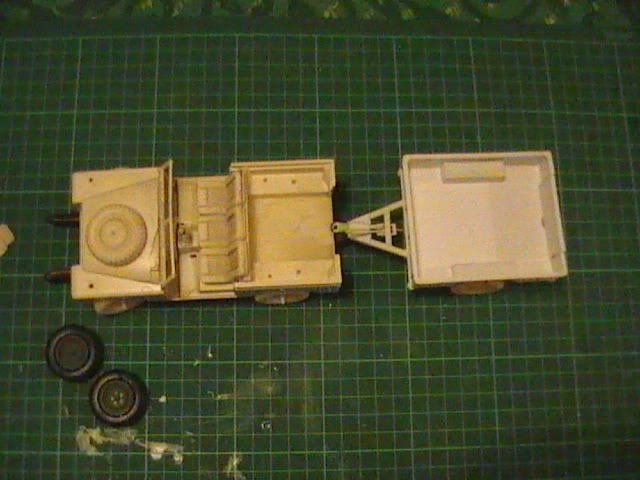 All body parts have been through a bath of Mr Muscle oven cleaner and toothbrush scrub to clear old paint. Parts must have been lightly glued as they have parted company very easily with no breakages. 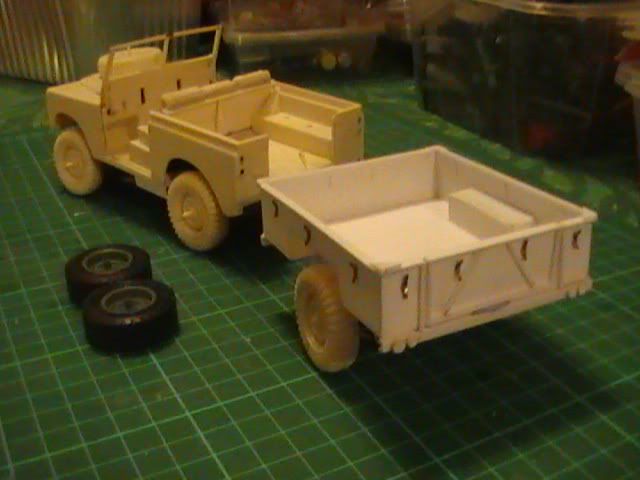 Replacement resin wheels moulded from the Esci LWB 109 L/R kit (Thanks Willie from Model Club) give it a more military look again. I will be thinking about replacing the seats too with more utilitarian types and without the middle seat. Will need to look up some pics of SWB versions in Army use. 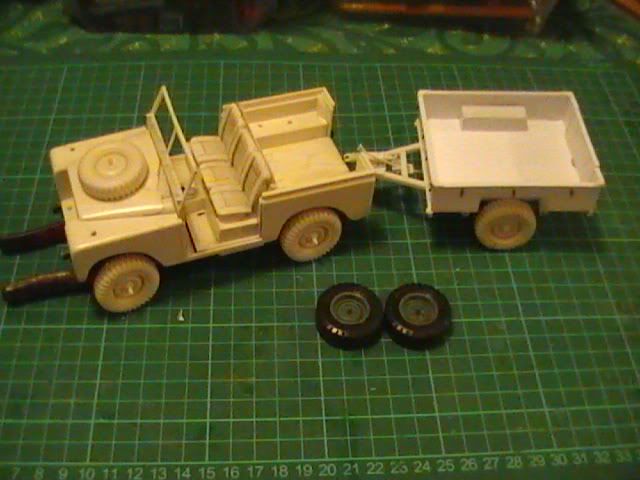 Spare tyre will lose hub centre and get its nuts drilled out (that has got to hurt). NATO style hitch will be made using the bracelet catches used on the DROPS truck too. Frenchy Any help with your magic research? Nige |
|
|
|
Post by okdoky on Nov 27, 2010 11:38:40 GMT
|
|
|
|
Post by okdoky on Nov 27, 2010 14:23:06 GMT
Time to scratch a couple of shackles for internal tie downs  Holes made in the base to accept the support for the shackle. In hind sight it would have been simple to drill the hole same size as the support but the slightly larger hole won't be easily seen. 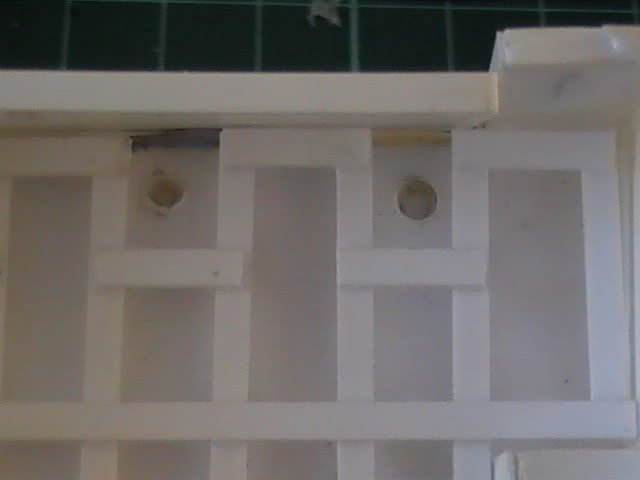 Round sprue for the support and solder wire turned around the sprue first to get the size. 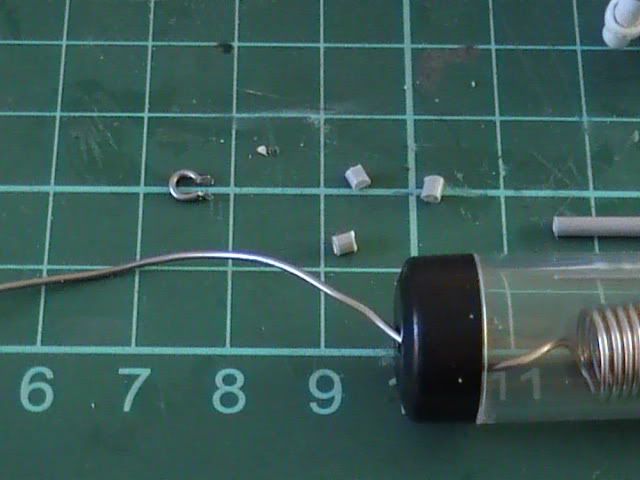 The ends of the shackle pressed flat. I know others would drill out the shackle ends on 1/35 scale and fit a pin through a hinge. I am too ham fisted to get that level of drilling right, even at 1/24 scale, therefore I am going on the basis of just enough detail to get the look. 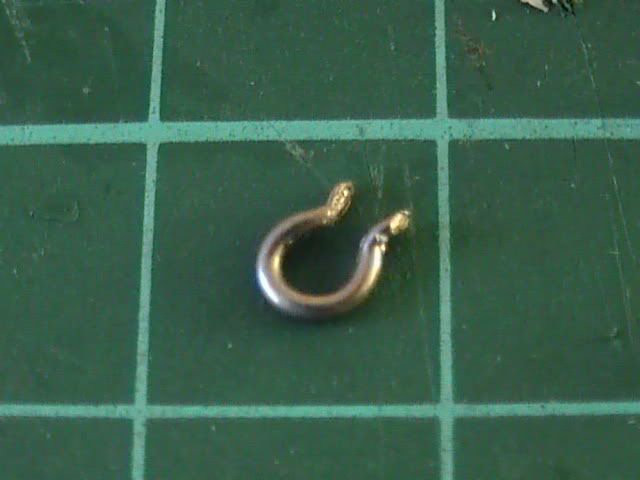 One shackle in position 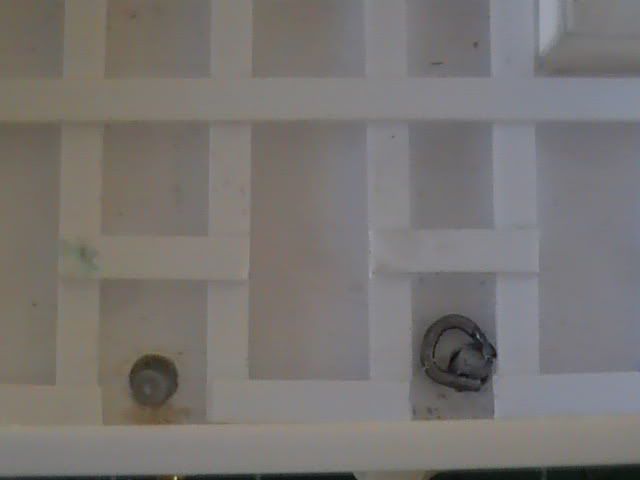 Nige |
|
|
|
Post by okdoky on Jan 18, 2011 20:29:53 GMT
|
|
|
|
Post by okdoky on Feb 12, 2011 20:56:38 GMT
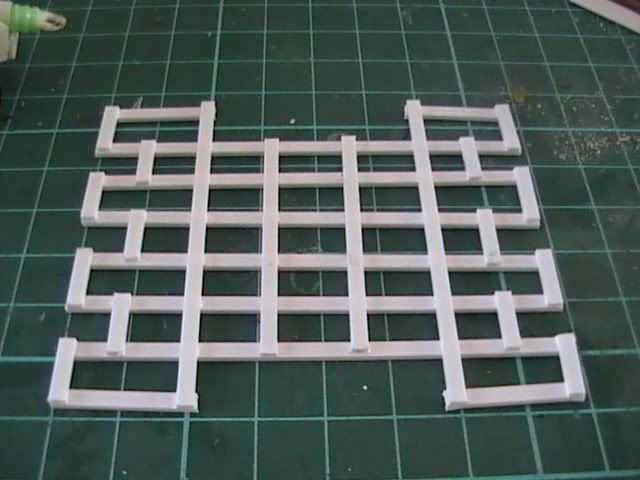
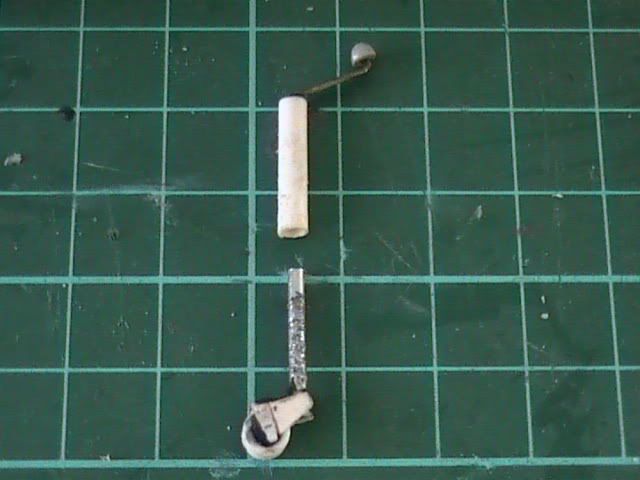
At last I have had a chance to make use of my fume cabinet spray booth that I have moved into the house from the shed. With the proper lights and comfort of heating it was a pleasure to use. 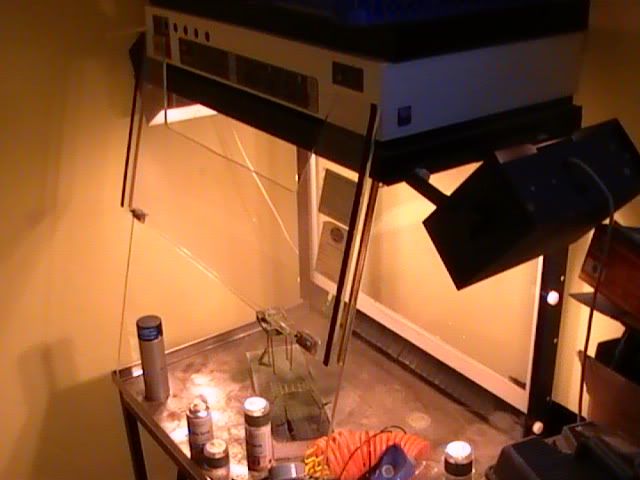 Everything got an overall spray of Halfords matt black 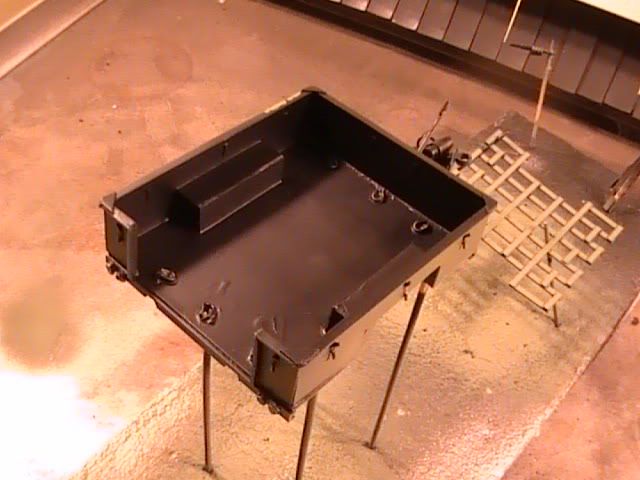 Using my foam and bamboo stick and toothpick paint stand made it very easy to prop the model for a quick spray 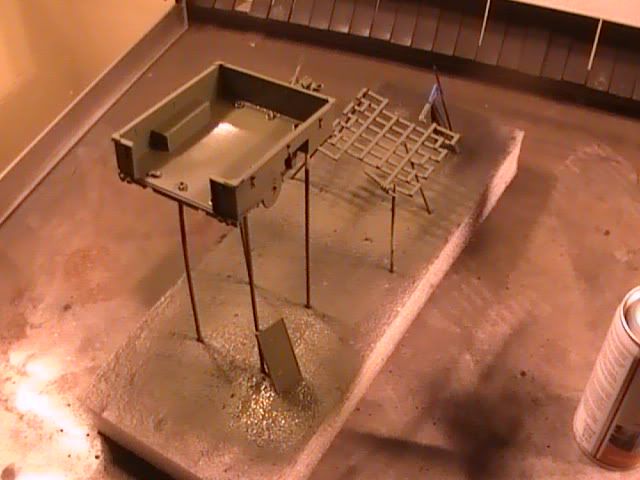  I chose to use three tones of Humbrol green, a light olive (86), grass green (80), and a dark green (30) from rattle cans. The bodywork got an overall light olive spray 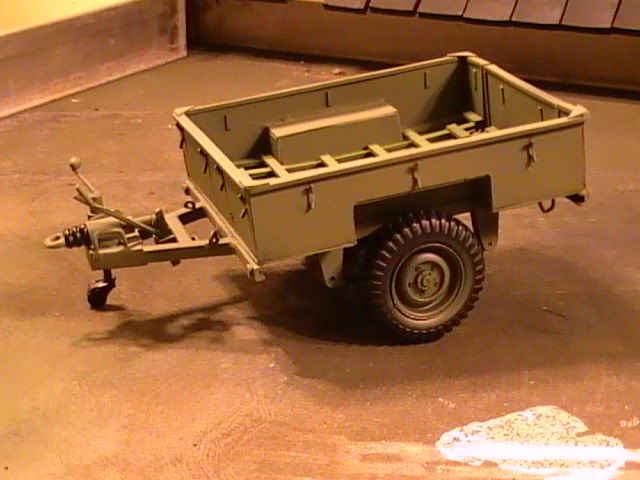 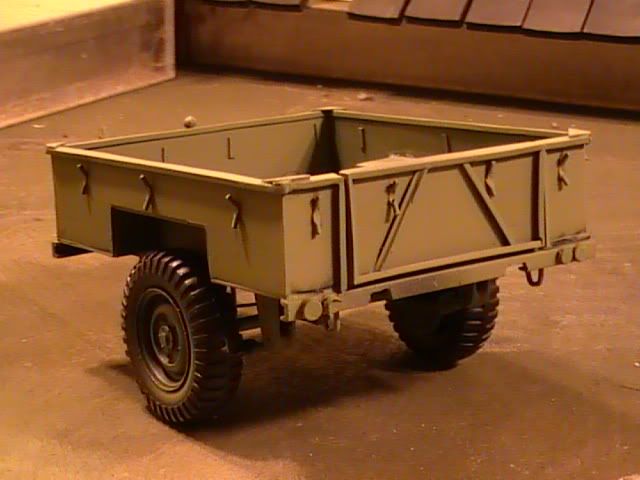 For a bit of contrast I used the much lighter grass green for the wooden lattice crib 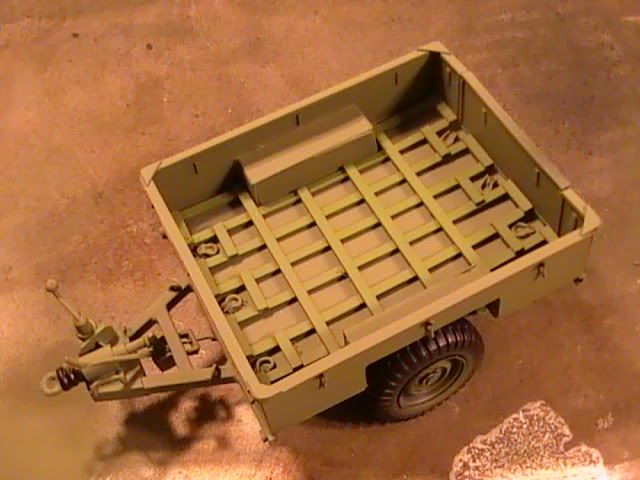 Added the black camo in a very rough manner allowing deliberate overspray and a crude, soft edging. My photos of the real thing indicate painting trailers was not something that needed to be very exact. Rough masks were torn from kitchen roll applied with simple spit to hold in place. 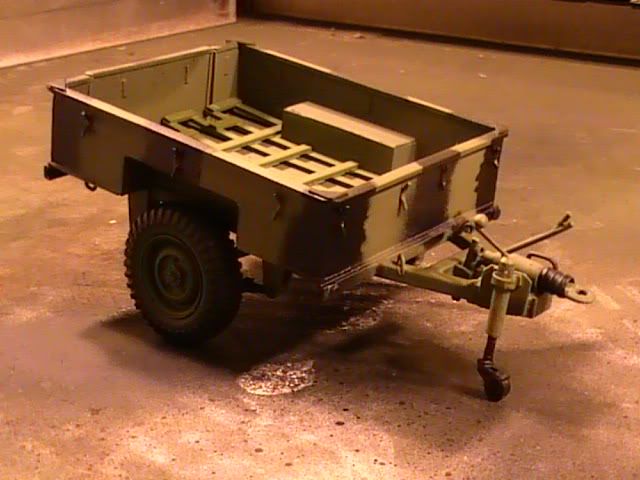  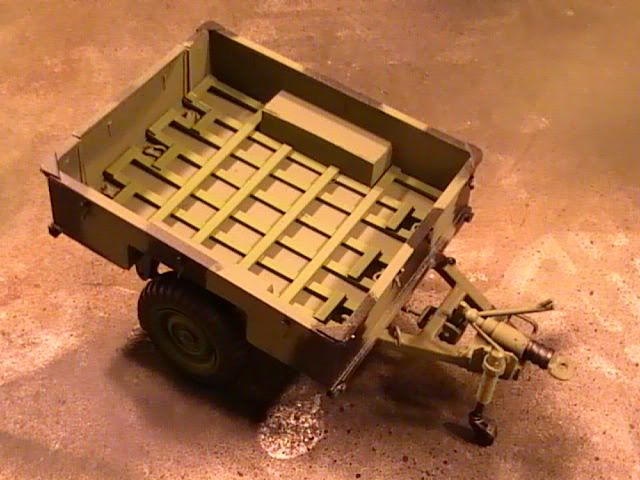 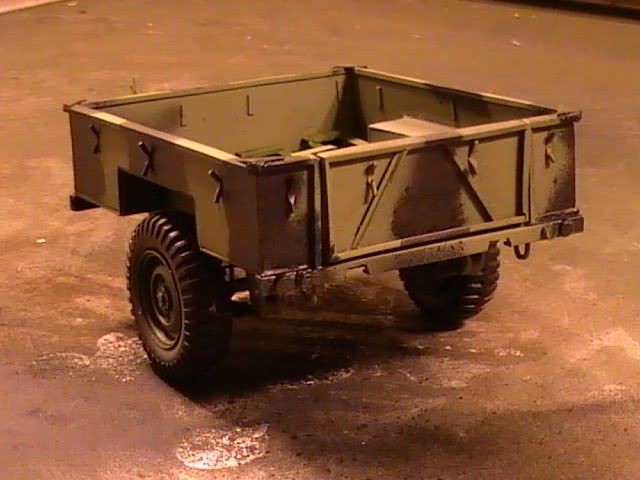 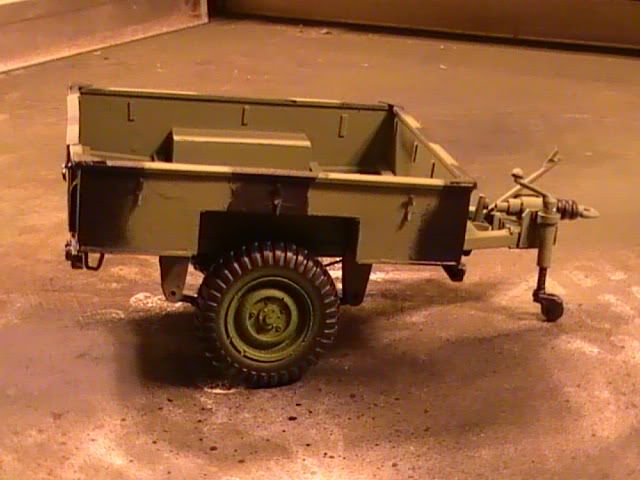 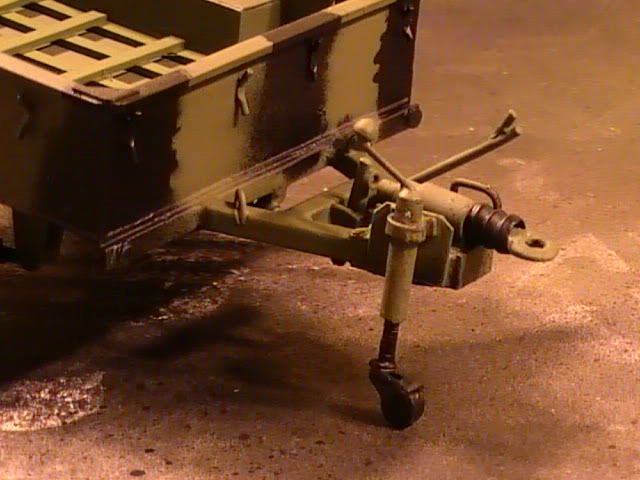 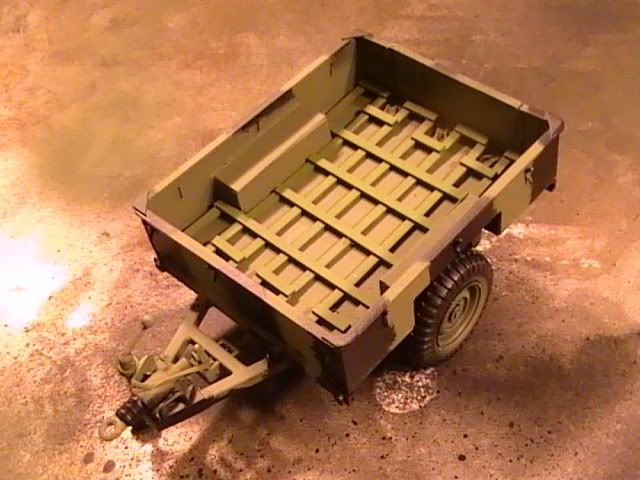 Still got detailing to add to the trailer such as the tail gate brackets, latch, rear support legs, lighting cable and plug, etc. Then I will have to add the smaller coloured items including lights, reflectors, brake lever handle and jockey wheel winder. Will have to find a couple of trailer plating labels from somewhere too. And then the final task hopefully will be to add some weathering using washes and crushed pastels. Hope you like |
|
 Members' Forum")