|
|
Post by okdoky on Dec 2, 2011 6:18:16 GMT
|
|
|
|
Post by okdoky on Dec 5, 2011 0:47:14 GMT
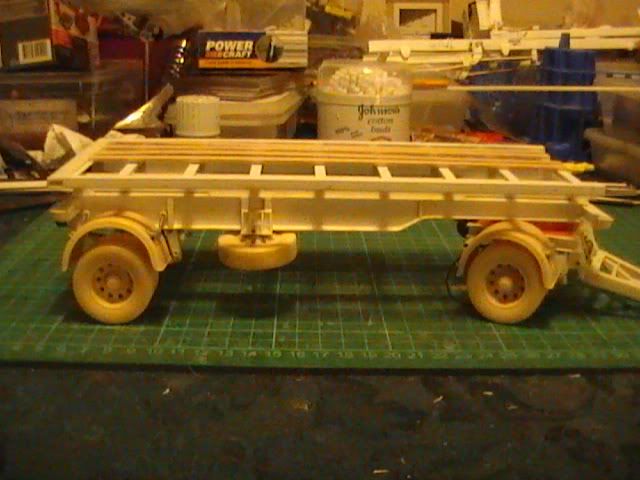
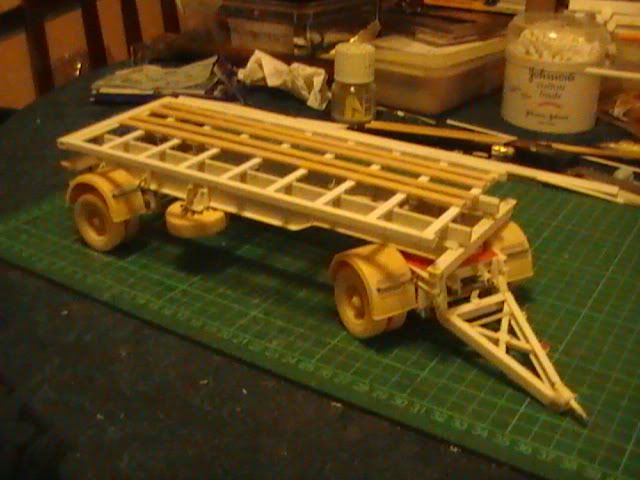
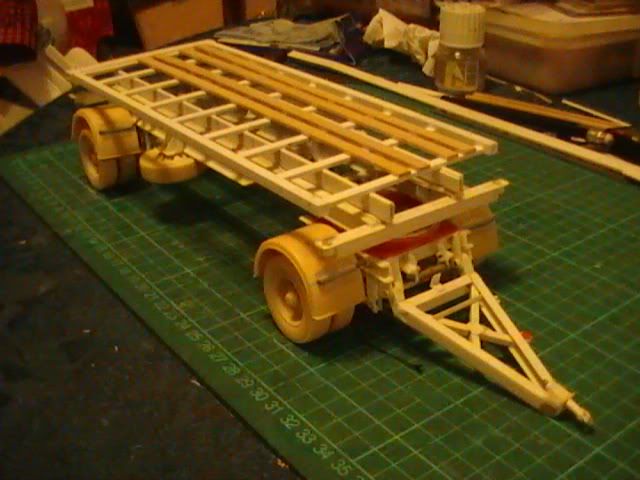
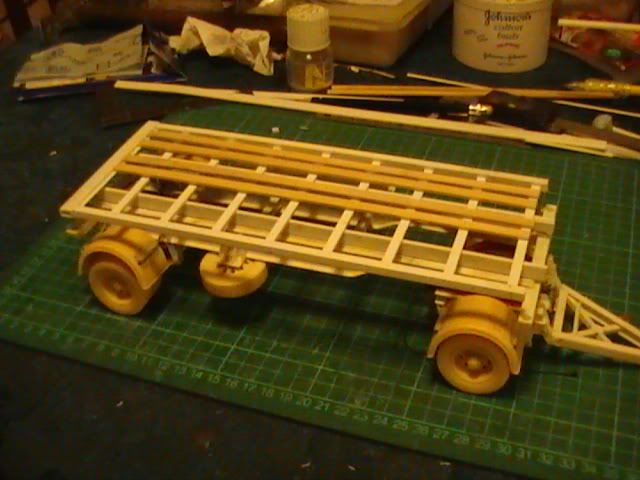
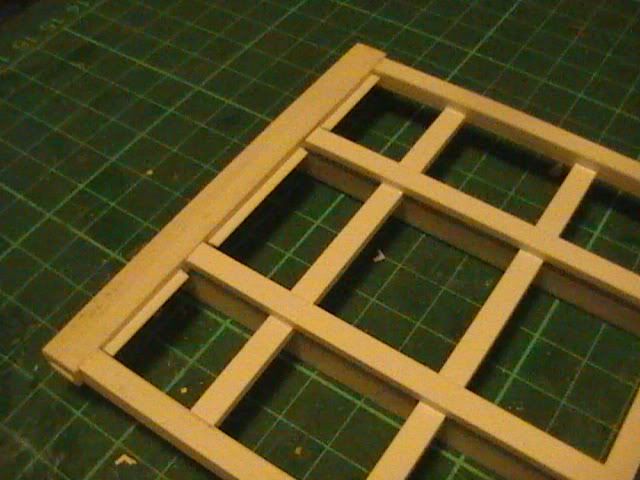
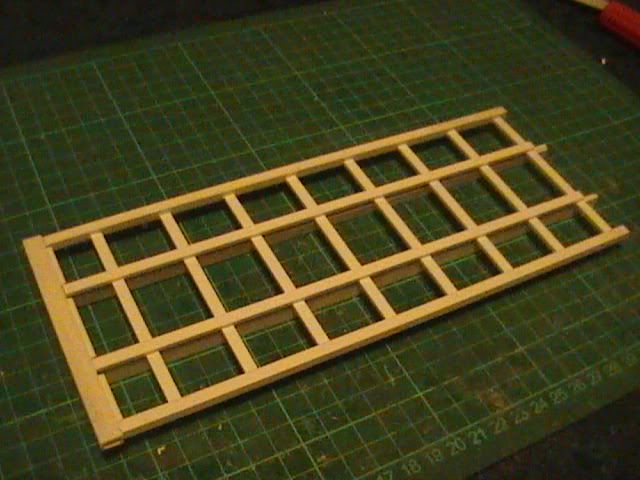
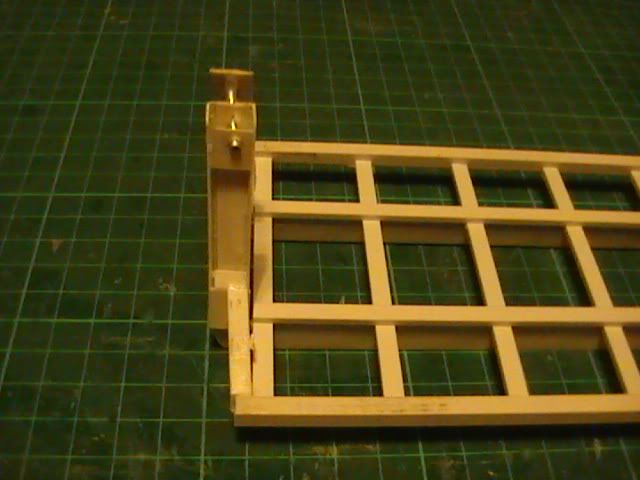
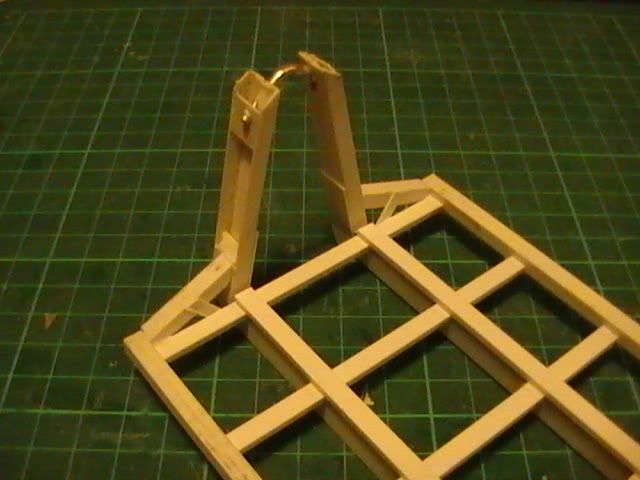
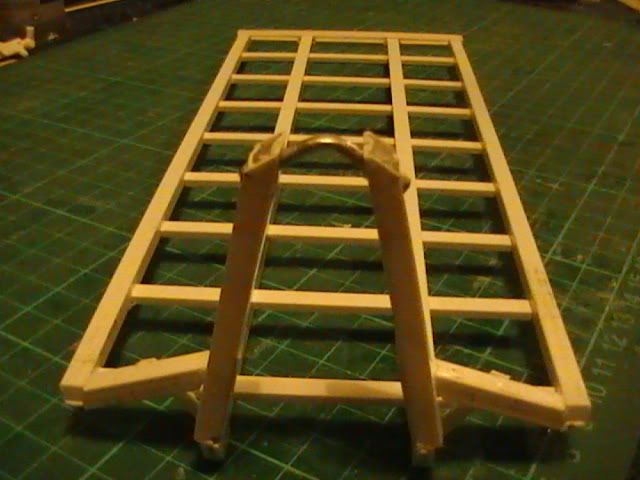
Made a start on a flatrack 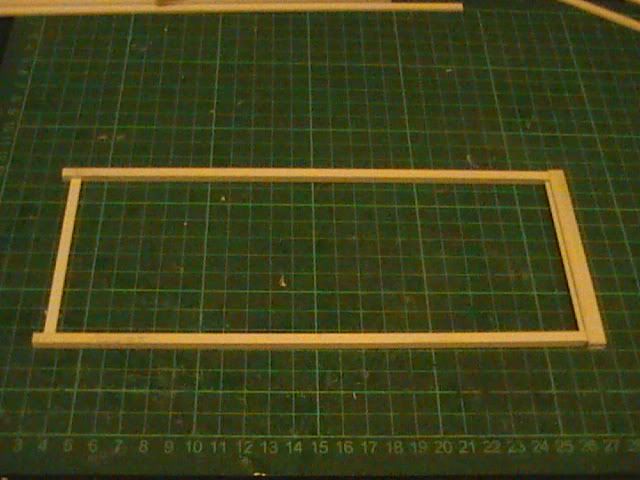 Have gone for strength in the flatrack so construction is not 100% the way it is likely to be done, but hopefully my method will cope with the rigors of handling and taking a load. 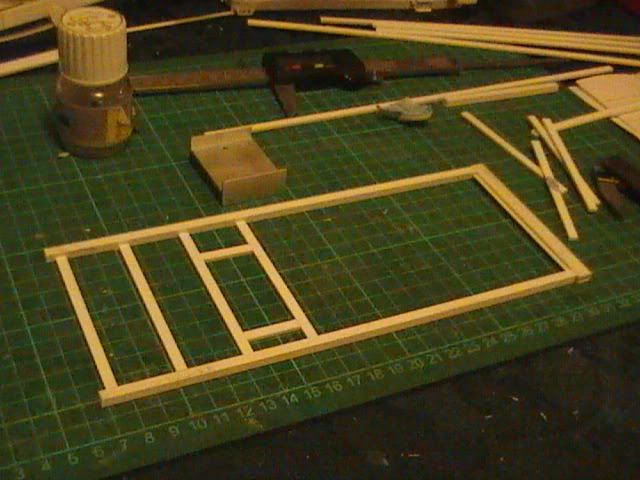 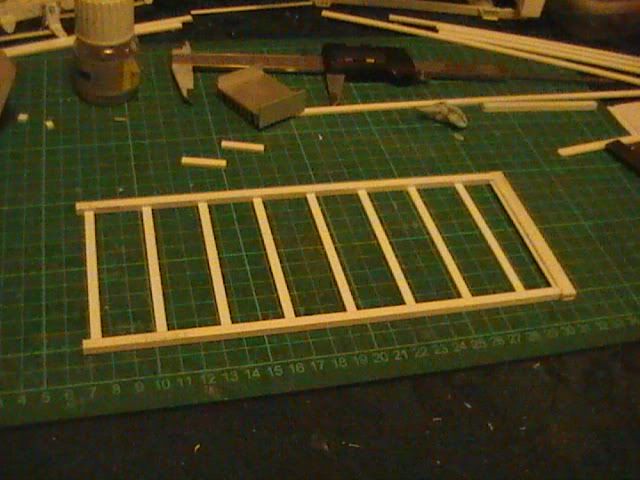 Main runners are only glued under the laterals but will get topped off with extra sections to encase the lateral bearers so they look welded in. The runners require to sit flush with the top face of the planks.  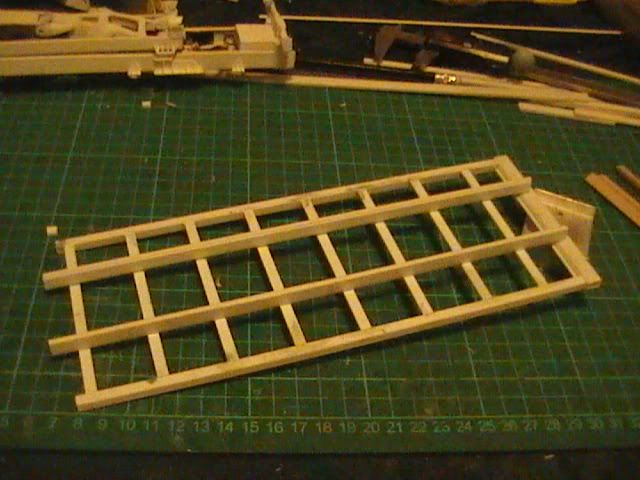 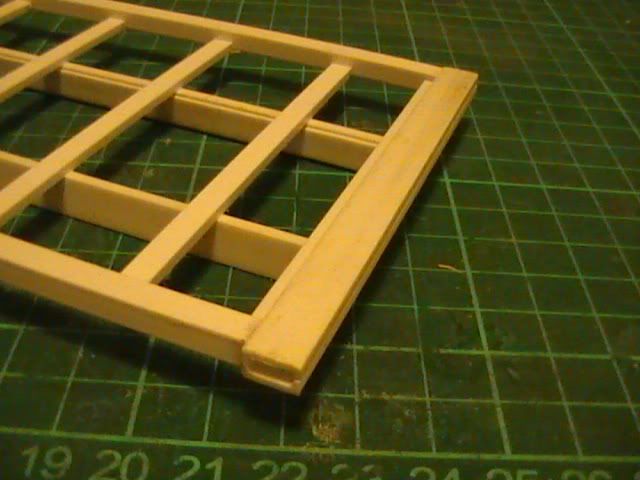 The timber planks I have are the correct thickness but are far too narrow. Might need to browse some of the shipwright sites to find correct width planks to fit the bill. It gives an idea of the look to come. 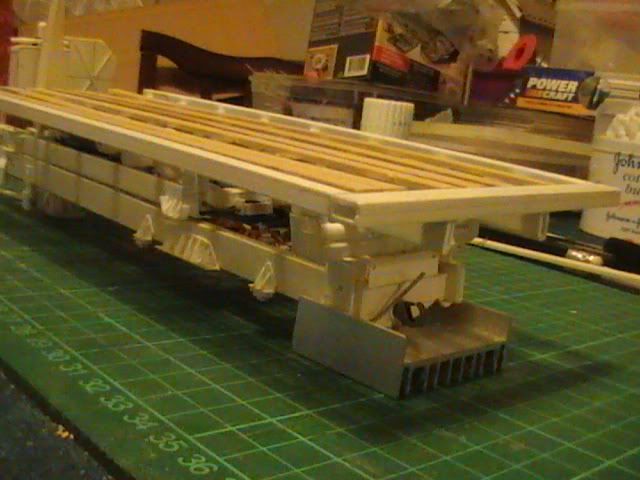 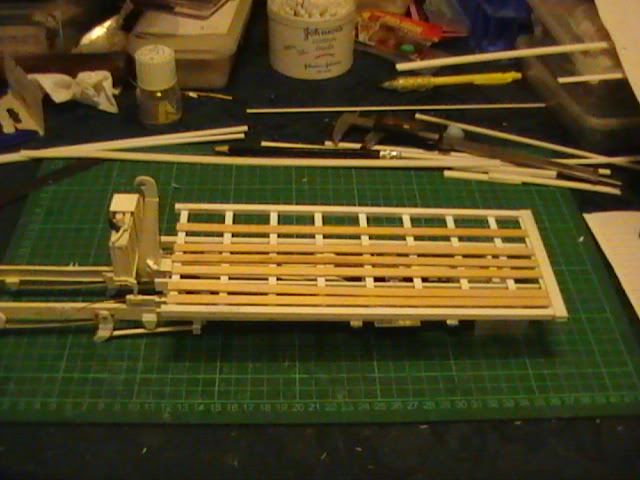 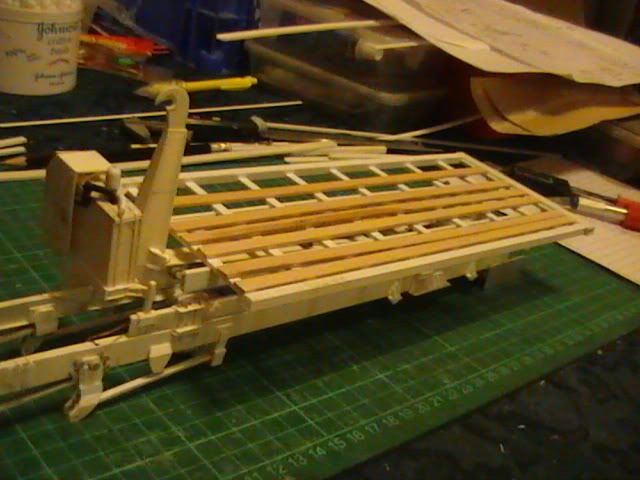 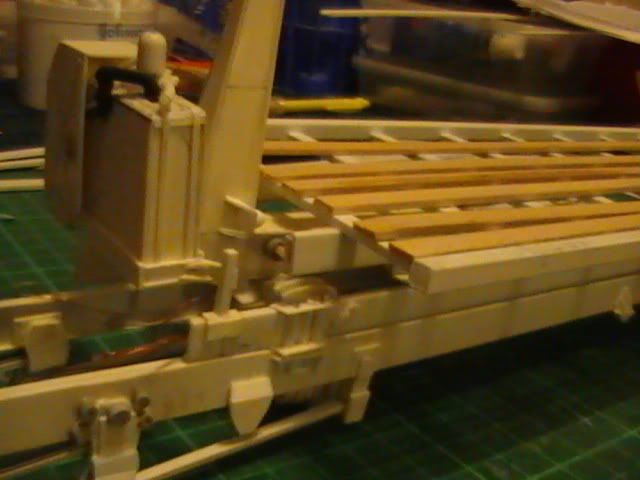 I think the flatrack sits well on the frame and gives the truck a lot of bulk now. 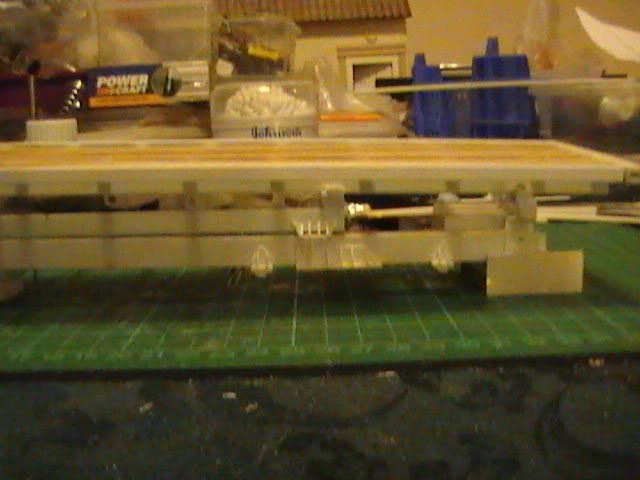 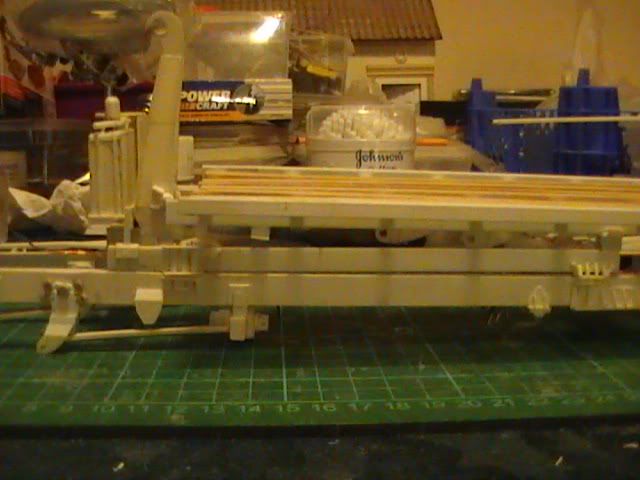 Still got the flatrack headboard to make up which has awkward angles to match up and to keep symmetrical. More to follow Hope yous like Nige |
|
|
|
Post by okdoky on Dec 5, 2011 1:03:59 GMT
|
|
|
|
Post by papasmurf on Dec 5, 2011 11:49:39 GMT
Hi Nige, you don't pick any easy subjects do you!!
With reference to your wood for the planking try the Balsa cabin or Slec (both do mail order). Just by the look of it I say it looks like spruce which we use as wing spars or anywhere needing a bit of strength in a model aircraft and comes in various sizes.
Looking good Dave
|
|
|
|
Post by okdoky on Dec 5, 2011 22:31:51 GMT
Thanks Dave
Will look them up in a bit and see what they have to offer.
Nige
|
|
|
|
Post by okdoky on Dec 6, 2011 2:29:30 GMT
|
|
|
|
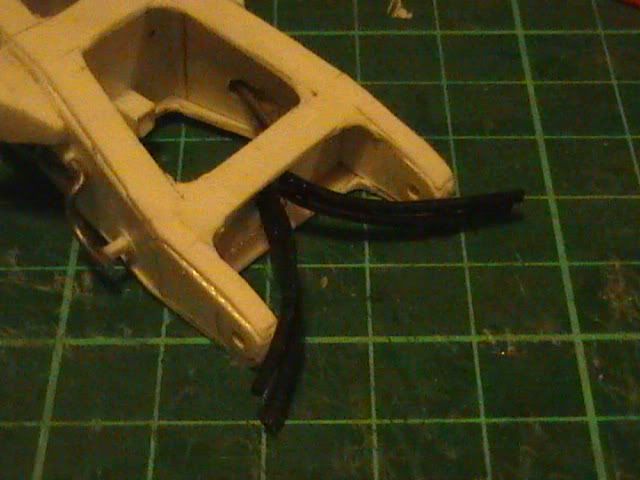
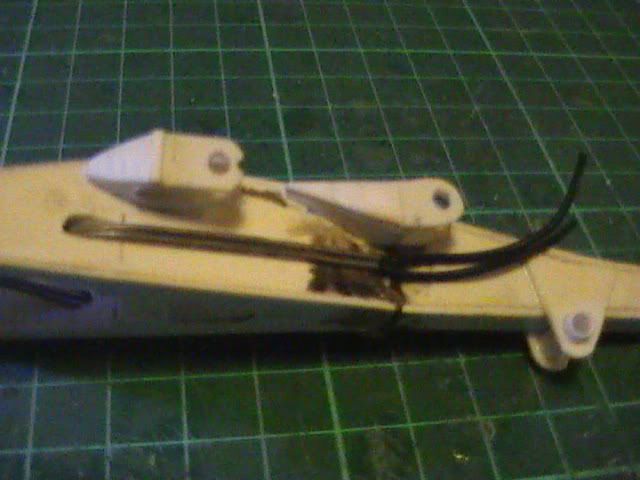
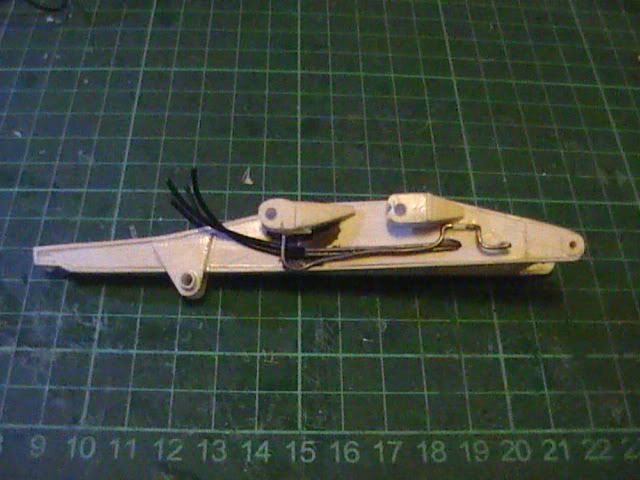
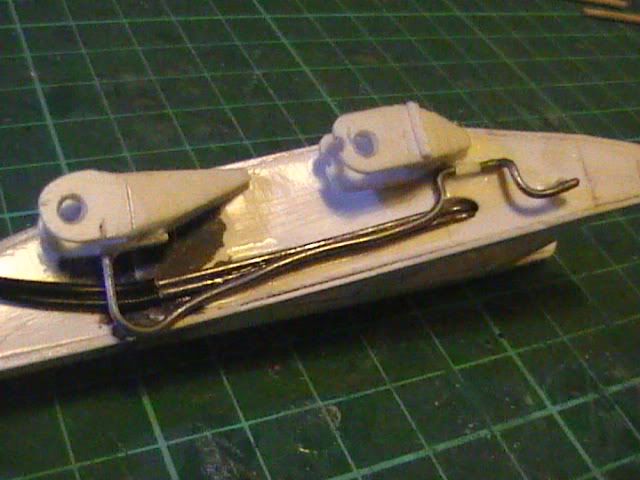
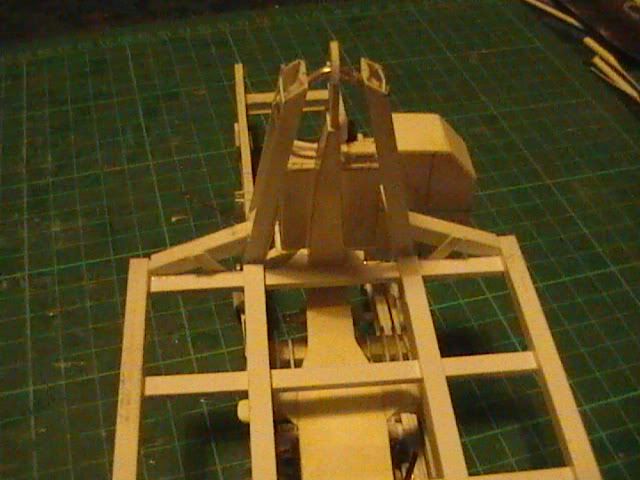
Post by okdoky on Dec 6, 2011 2:58:07 GMT
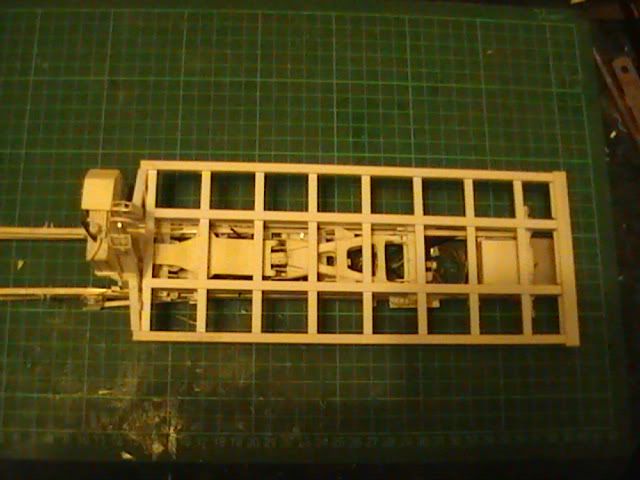
Test fit of cab on chassis I need to adjust the the cab position taking account of all the other fixtures still to go between the LHS sub-frame and the cab. 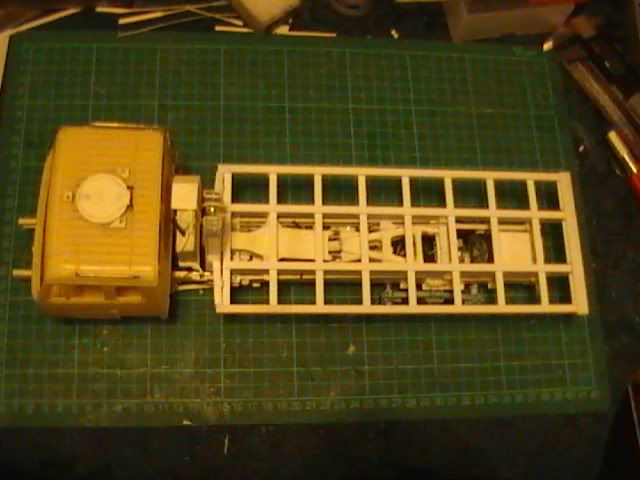 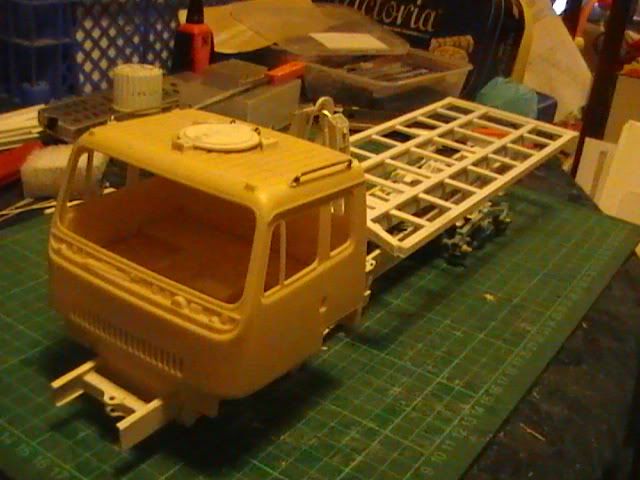 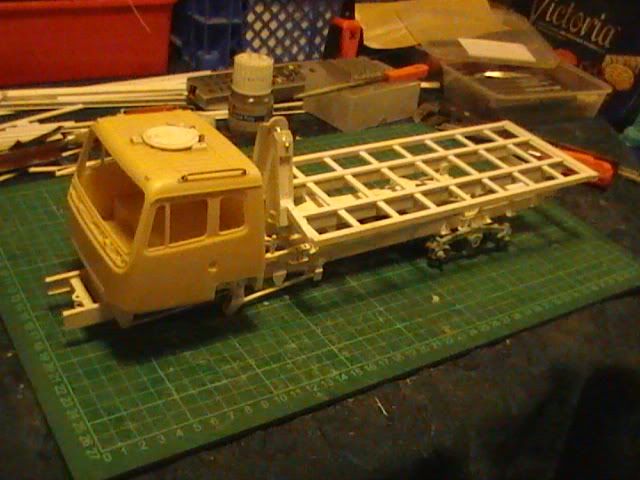 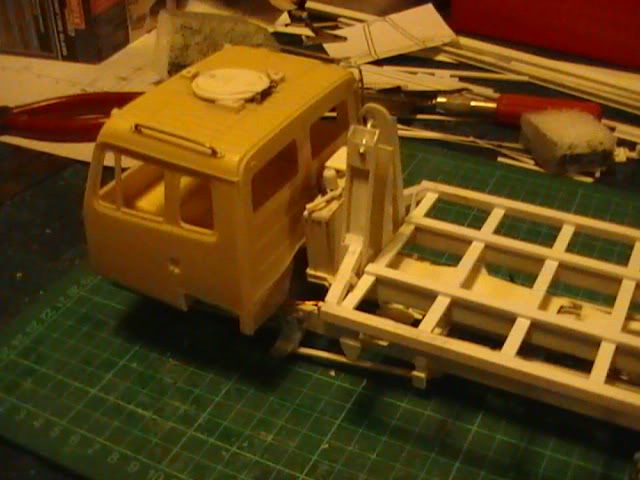 More work to do on oil tanks, cab mounts, engine bay fittings, etc Nige |
|
|
|
Post by okdoky on Dec 6, 2011 23:33:37 GMT
Had a rake through my shed to see what timber I had and came across some balsa sheets of just the right thickness I needed sitting beside my half built 1/10 scale balsa RC Spitfire. Well that is a couple of wing panels that I will need to replace to get the old kite in flying order !!!!!!! Ha ha ha ha ha !!!!!!! Another famous "round to it" !!!!!!!!!! 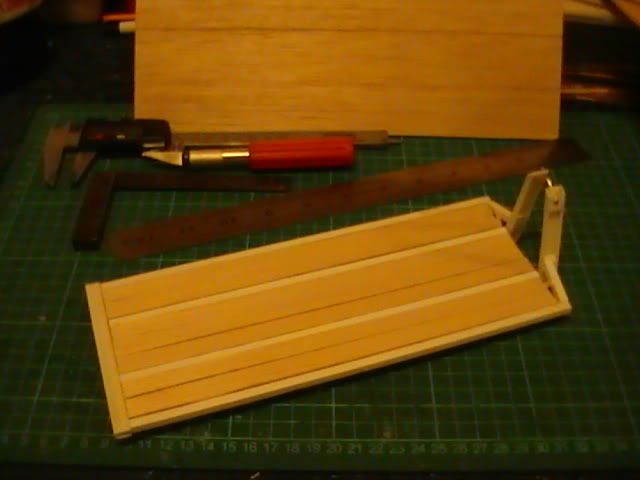 Had plenty to make all the planks for the flatrack. Will leave them un-glued until I have put the iso-lock grip corners on the rack, the tie down rails and brackets, and a lick of paint. Might be a good time to learn about weathering, Nick, as these flatracks sit out in all weather conditions and are less considered for repaints than the trucks themselves. I have also seen all shades of sand and green in pristine to faded.  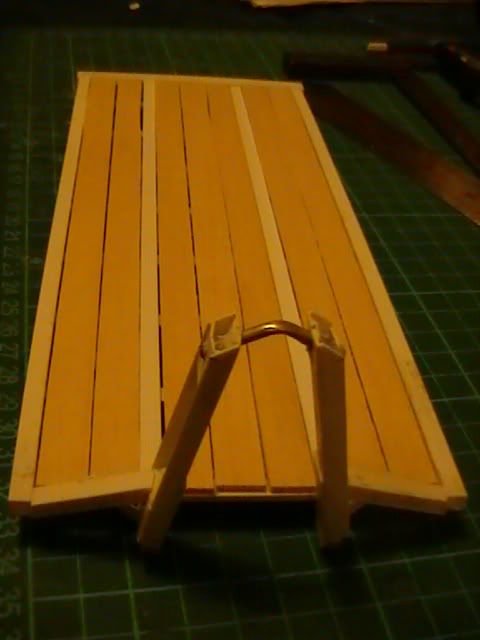 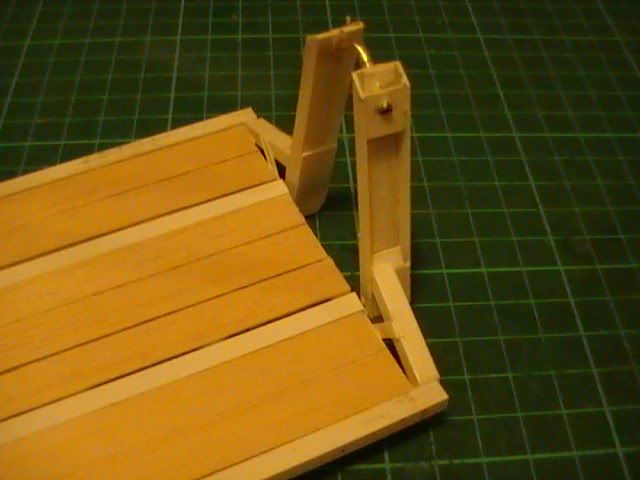 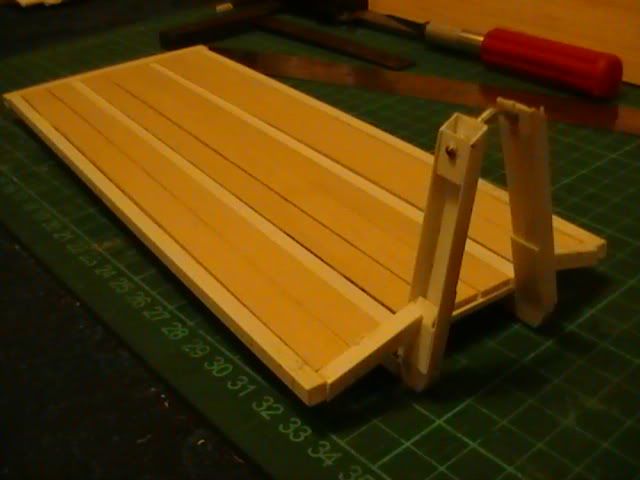 I am well chuffed with this as instantly the rack becomes recognisable. I think the corner mounts are going to be the next fiddly bit to get right as I need to make sure they all look the same and get the holes and reinforcement welds looking the part. Nige |
|
|
|
Post by okdoky on Dec 8, 2011 2:10:39 GMT
I can afford to make the boards slightly narrower as there are very noticeable gaps between each and between the main longitudinal metal framework. There will also be a minimal gap to the front and rear frame members, the tail of each being supported on a lip made from angle welded to the rear member. I will also have to try a few colour samples on the of-cuts of balsa to get the nice greyish tones of the weathered wood. I did see the timbers on a flat-rack painted too, but I don't think it was supposed to have been. Some reference photos Note, the flat rack I am doing is the version without the extensions for carrying a 20ft container. You can see the extra ISO locks on the side rails and rear cross member extensions that rotate in line with the side rails. I may do one flat rack in this form to give me the option to make a 20ft container. 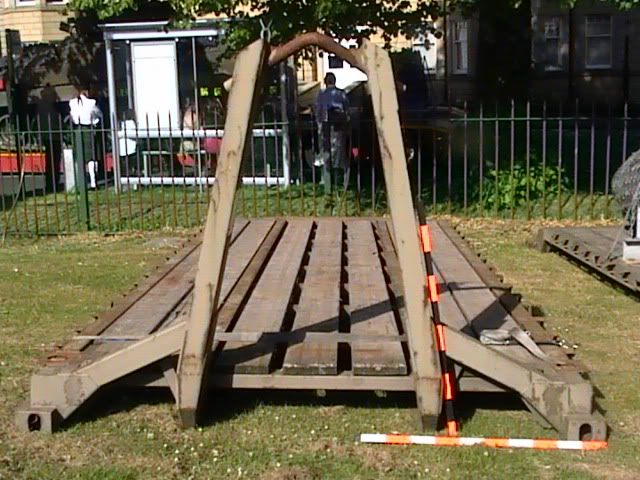 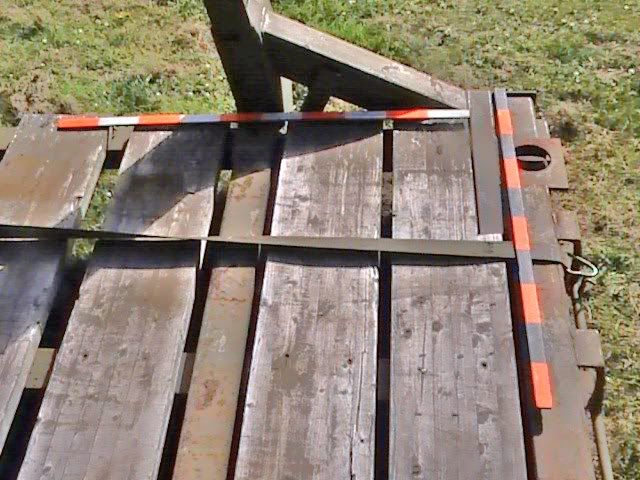 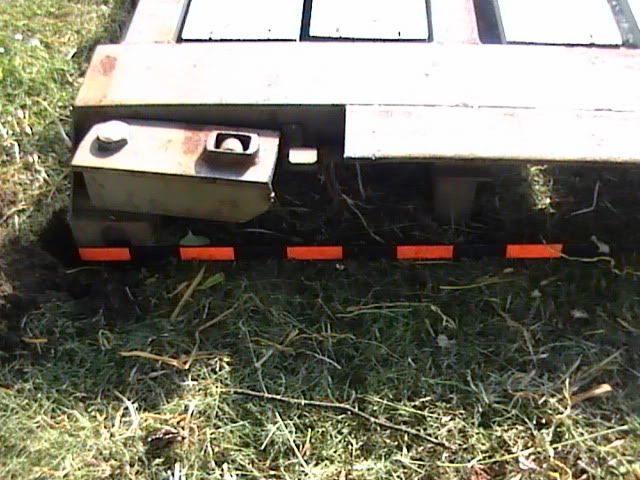 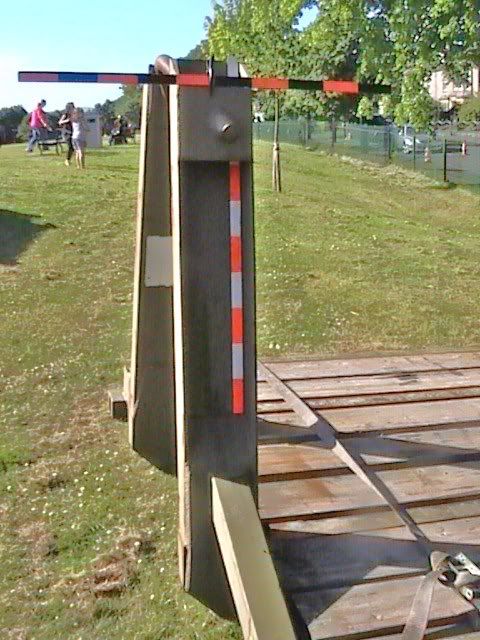 This is the basic version 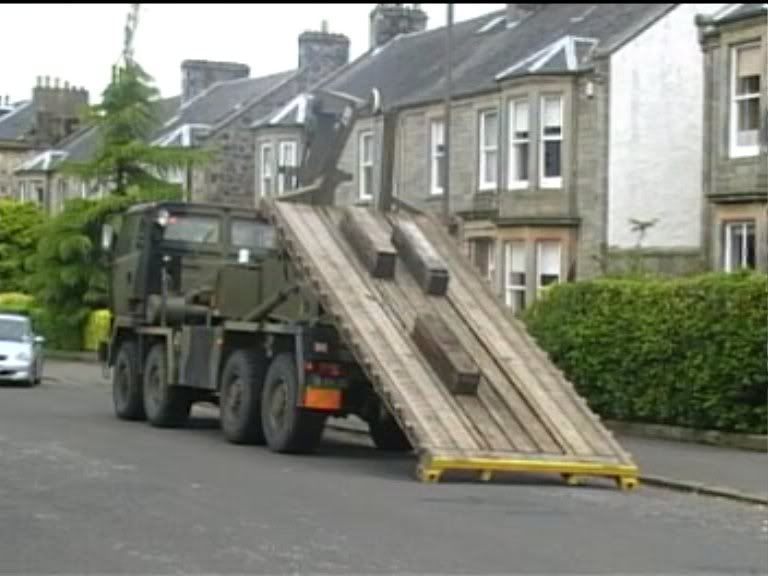 And how to carry a tank with timber blocks to stop the suspension from shimmying the tank off the side. The chains pull the tank down onto the blocks 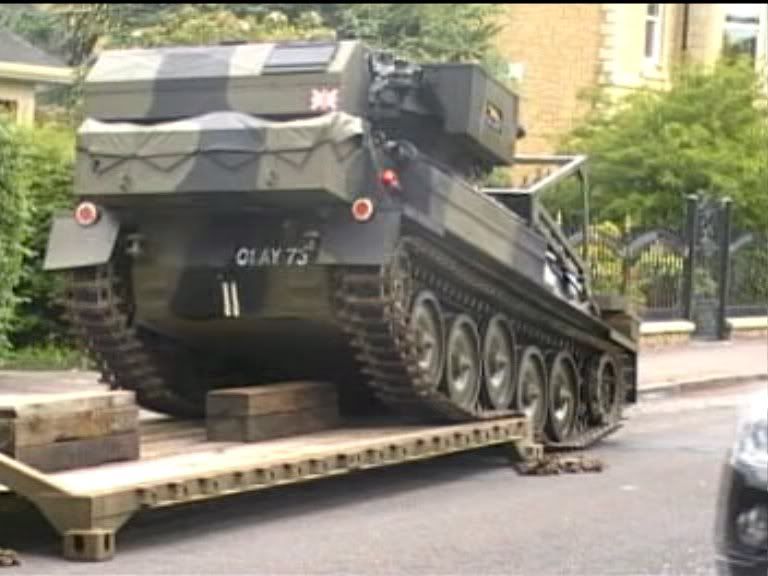 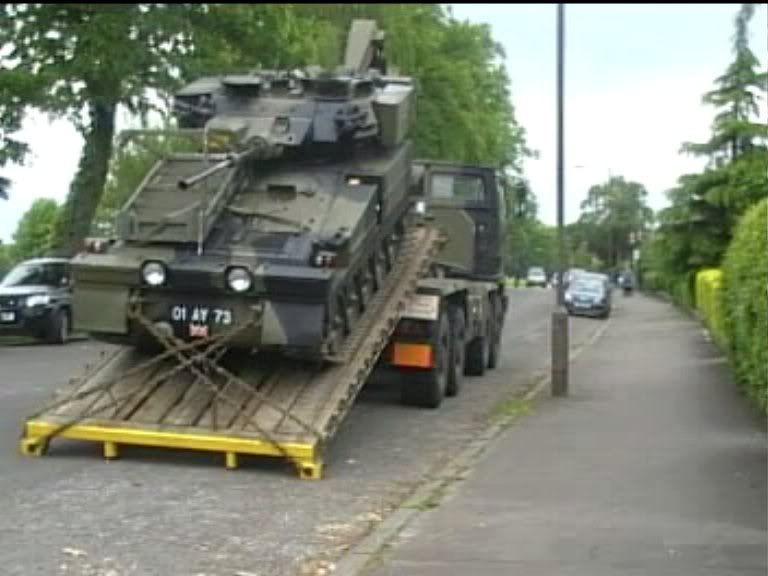 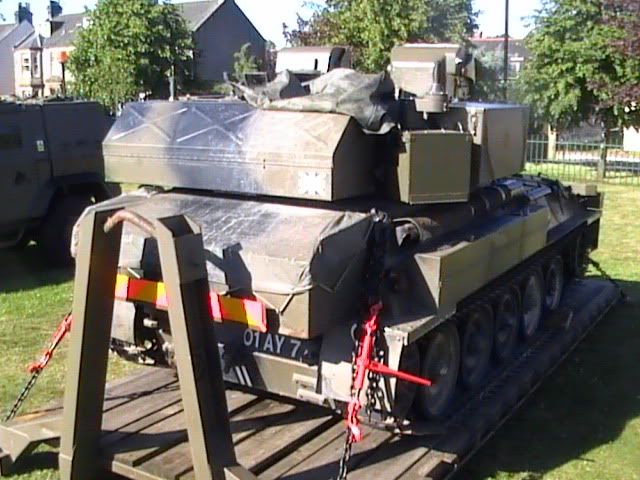 Shame there isn't a Scimitar or Scorpion tank in 1/24 scale available. |
|
|
|
Post by cosmosman on Dec 8, 2011 21:19:55 GMT
Coming on nicely.
|
|
|
|
Post by okdoky on Dec 11, 2011 0:38:26 GMT
Thanks mate ,,,,,,,, appreciated. Had some time to make the corner blocks on the flat-rack for the ISO locks using a few channel profiles, strip and sheet plastic 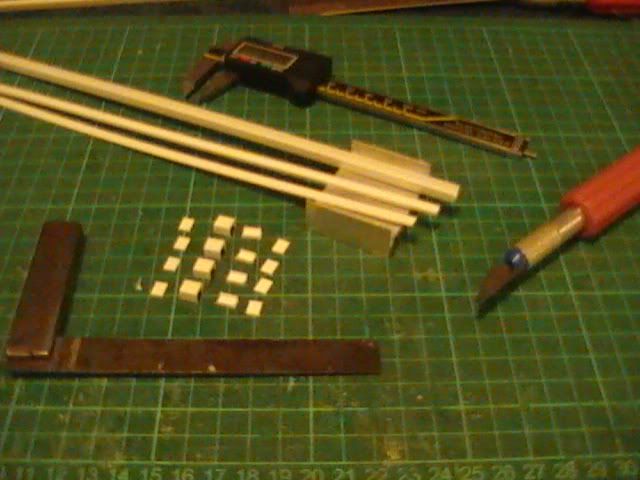 My electrical heat sink makes a good cutting block 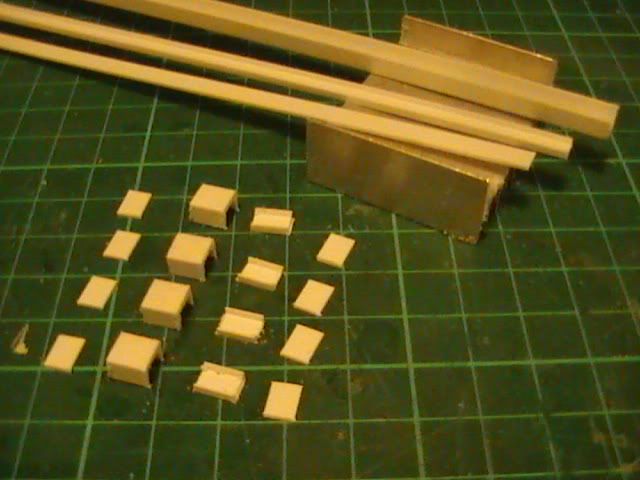 The blocks made up and ready for attaching. Will drill the holes once secured fully. 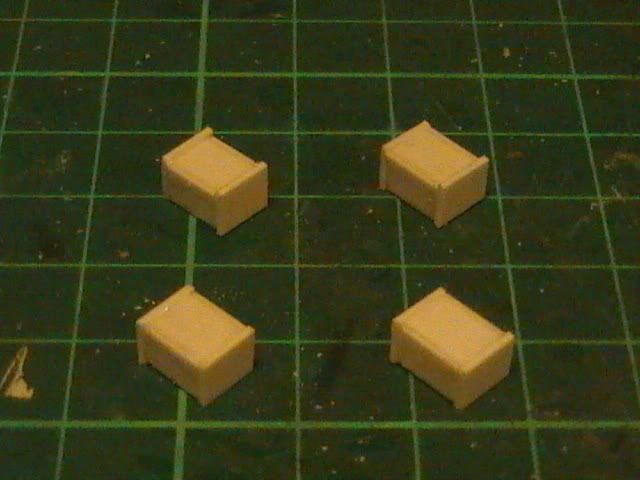 Setting out to check dimensions for cutting the support plates 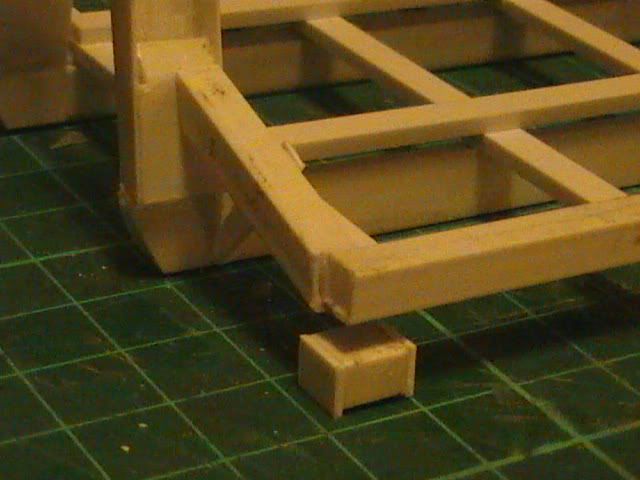 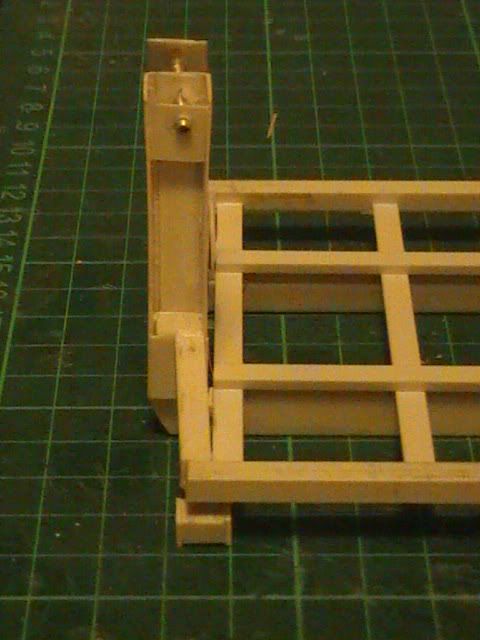 And on the trailer to check alignment with the ISO locks. Working on the back end first as the front is a little more awkward. 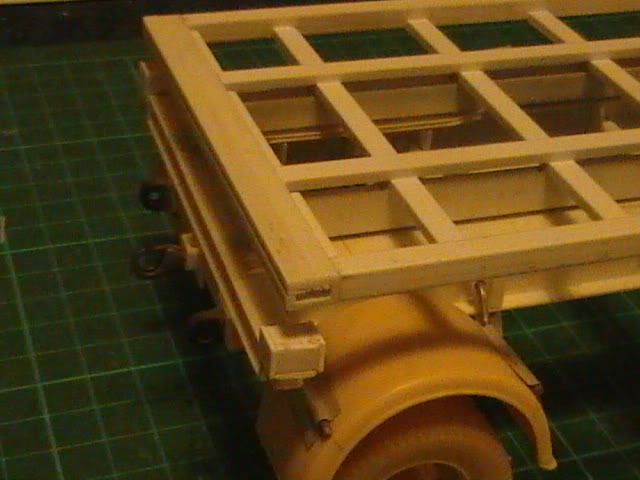 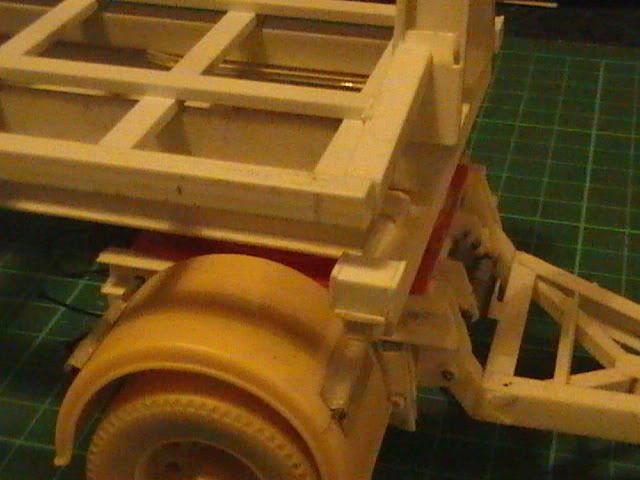 Glued in position on the rear 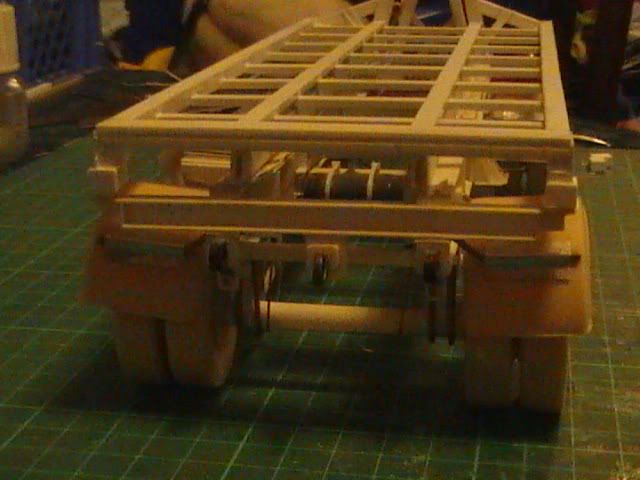 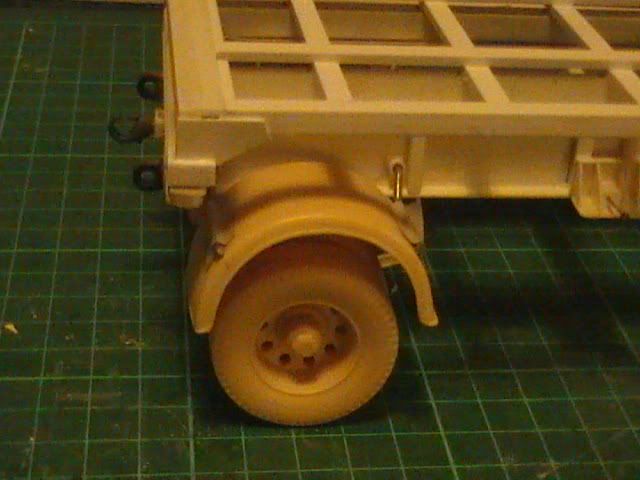 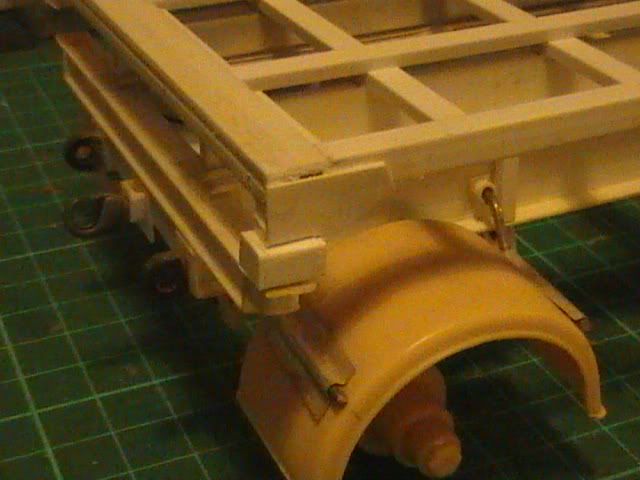 I will drill the holes tomorrow after glue had a good chance to set fully. And I will tackle the front ones tomorrow 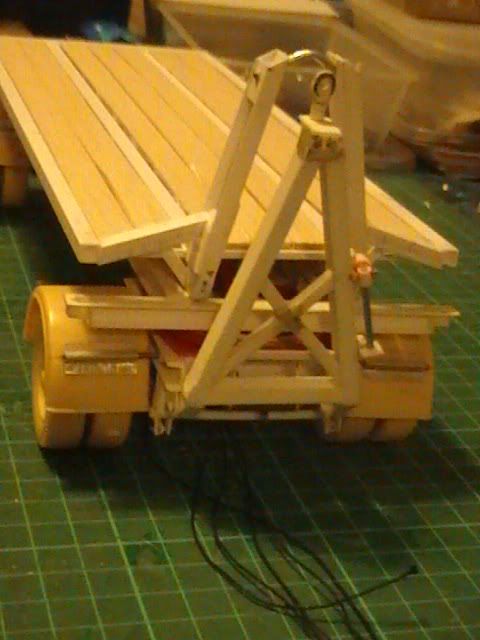 Nige |
|
|
|
Post by okdoky on Dec 12, 2011 12:20:15 GMT
Making the anchor points on the flat-rack side rails. First off to cut the thirty 4mm sections of U channel and two at 8mm. 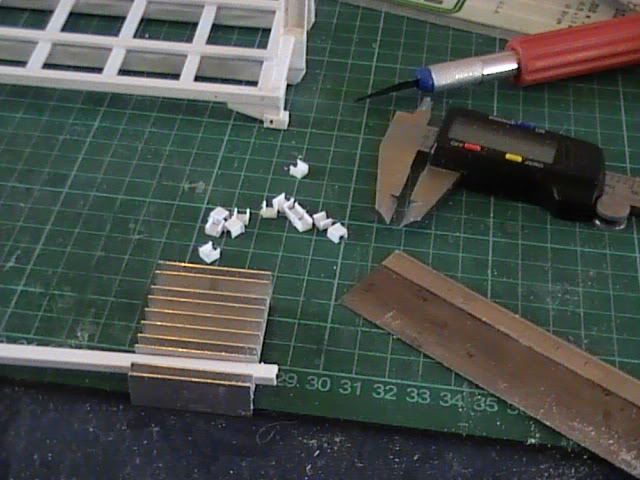 Drilled out the slots in the two centre anchor 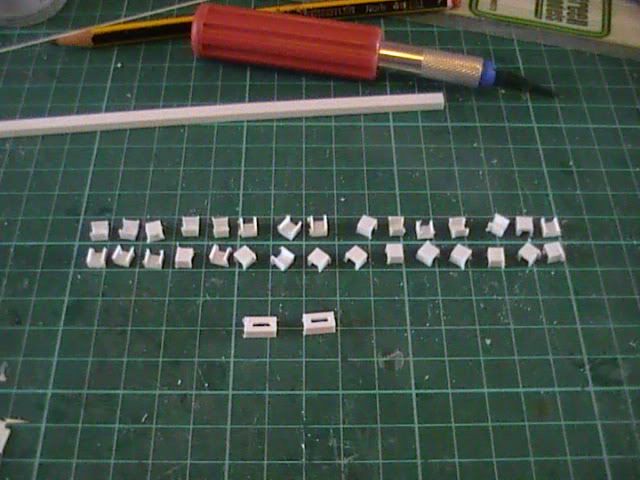 There is a pattern to the anchor points to accommodate the pattern of restrain straps that are required to prevent movement of the load due to acceleration, braking, turning and vertical bumps. 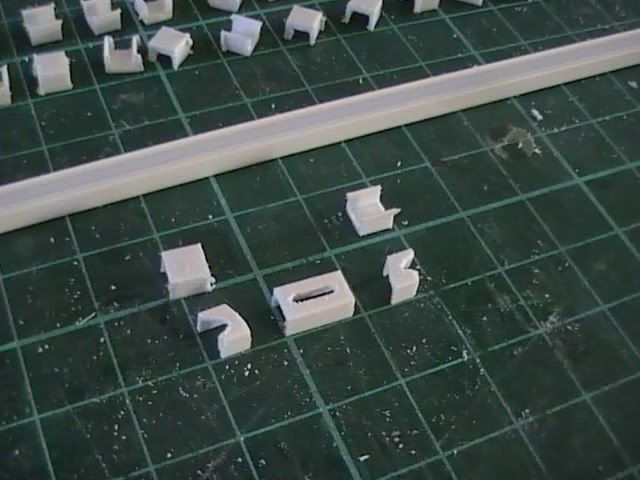 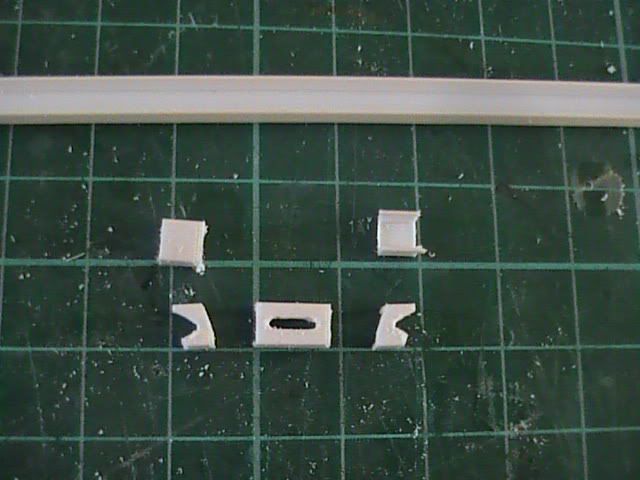 Two down, twenty eight to go and have to make sure I get the angles correct for the variations. More to follow Nige |
|
|
|
Post by okdoky on Dec 12, 2011 13:54:10 GMT
Getting numb fingers from gripping the small pieces for sanding 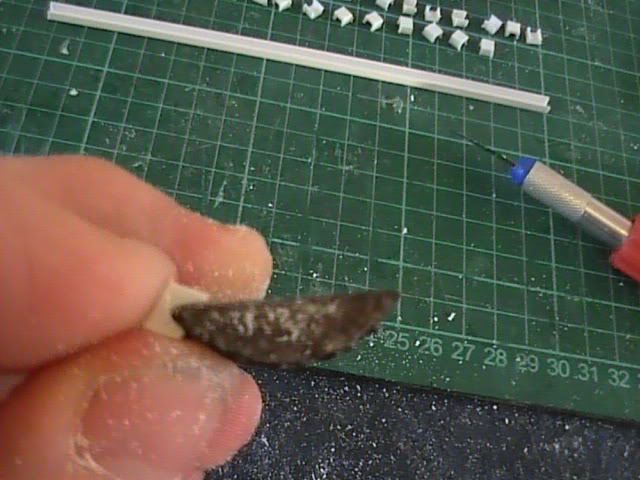 Keeping them in the right order for placement means lying them down against my sketch notes. One side cut and sanded to shape. 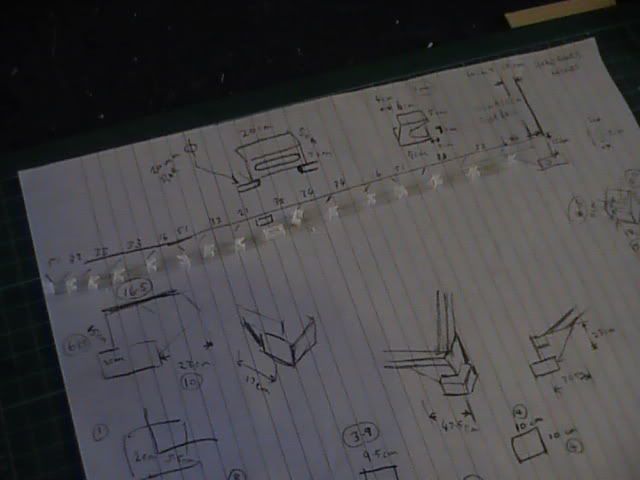 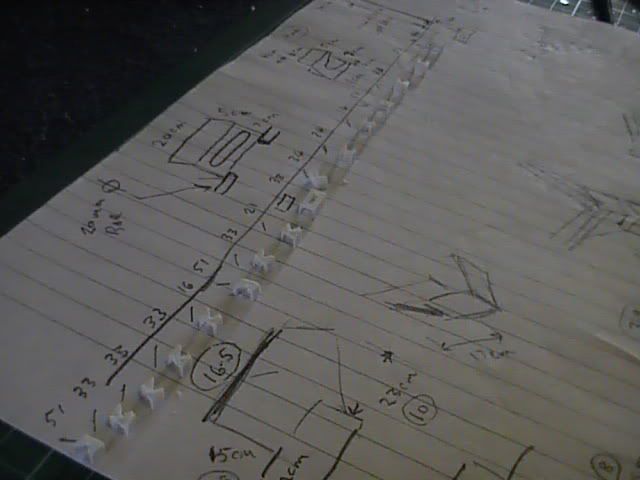 And a quarter of the rack done so far. Will add the connecting rail after it has had a good time to set the glue. 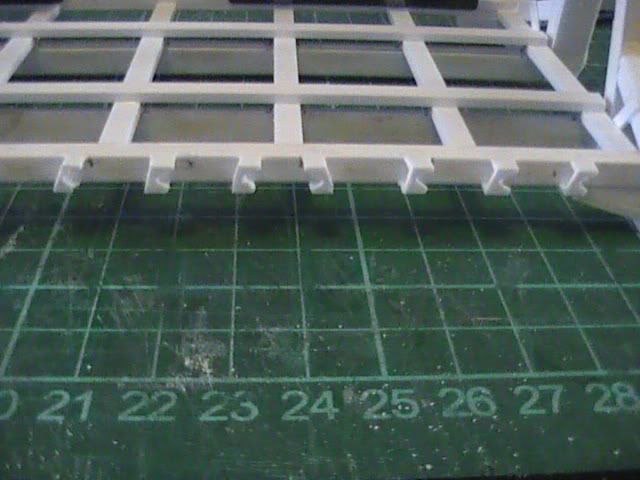 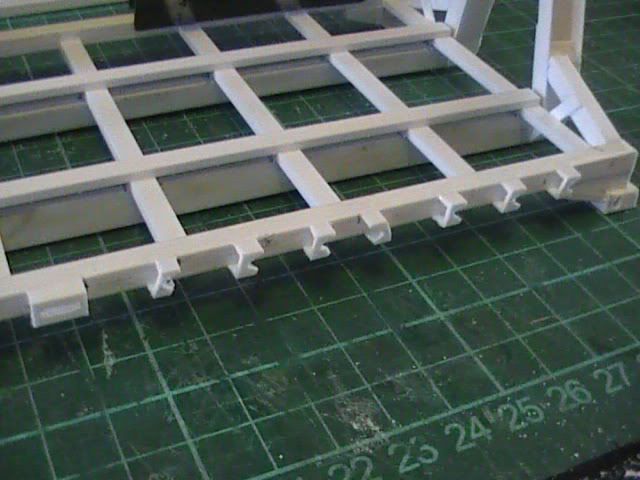 Nige |
|
|
|
Post by okdoky on Dec 12, 2011 16:43:23 GMT
Flat-rack is complete and can go for a lick of paint soon. 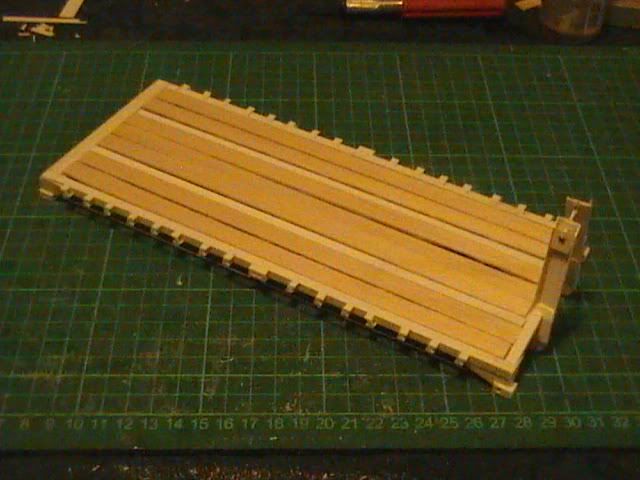 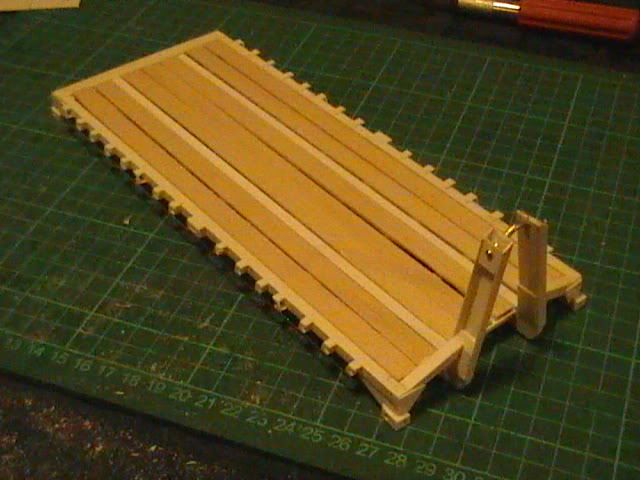 Nige |
|
|
|
Post by okdoky on Dec 12, 2011 18:53:16 GMT
Little tweeks to do to the King trailer and it too can be painted. Locker doors and hinges are one of the jobs to repair as they have been sitting so long !!!! 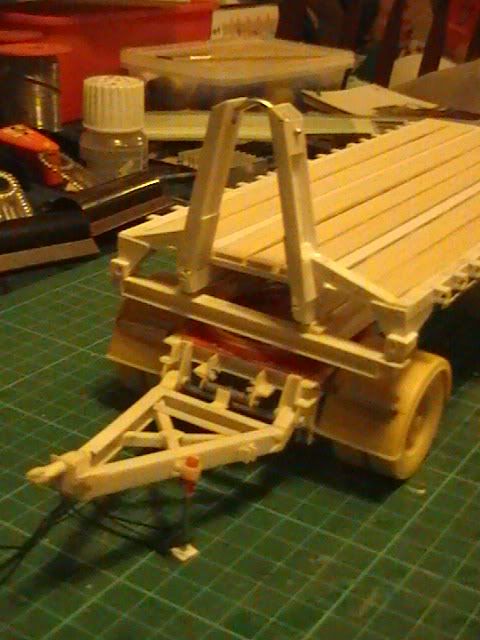 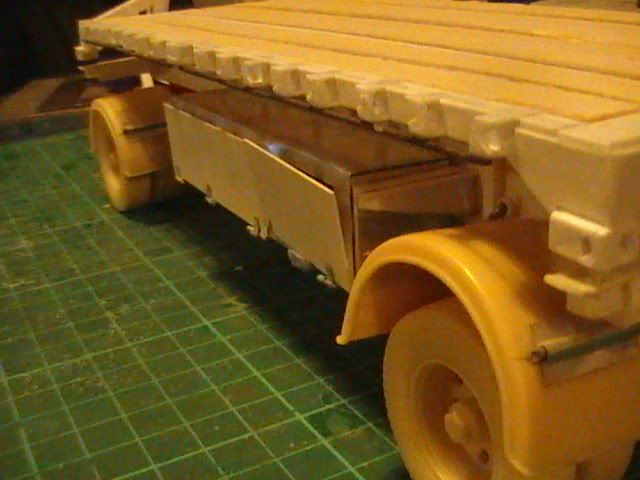 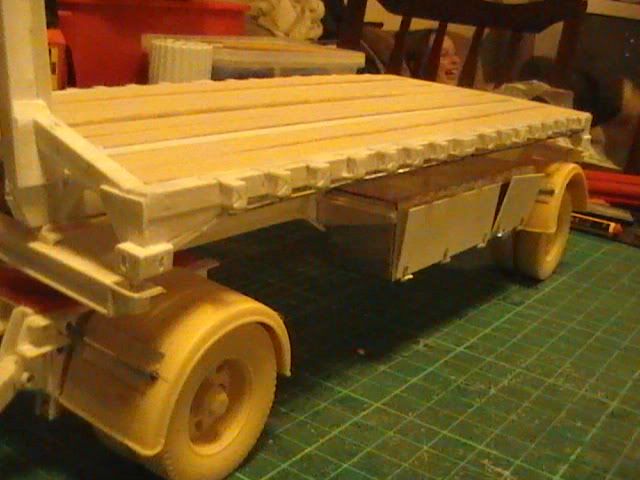 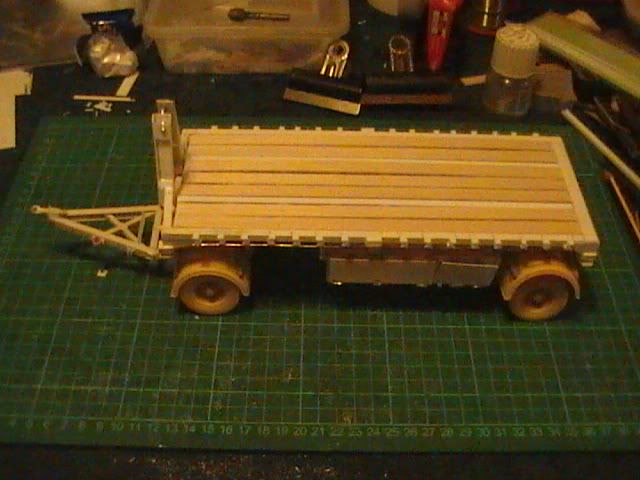 More to follow Nige |
|
 Members' Forum")