Deleted
Deleted Member
Posts: 0
|
Post by Deleted on Mar 25, 2012 9:10:45 GMT
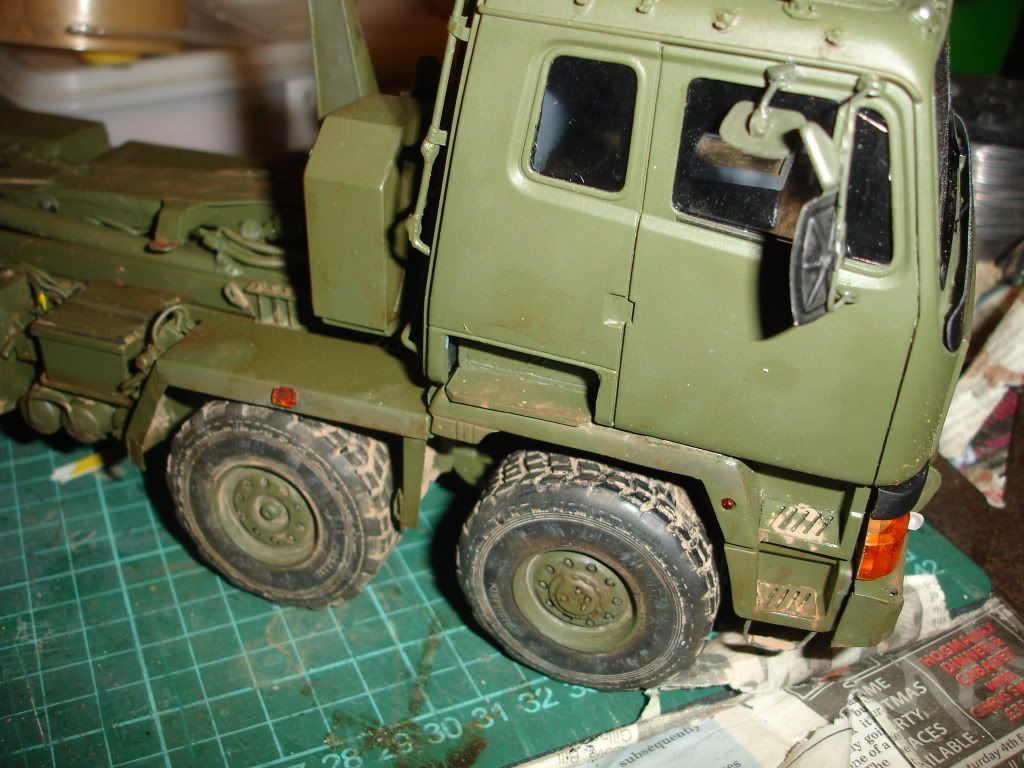
Nige, you've done really well with this, it's looking the business and I'm looking forward to seeing it at Perth. May I make one small observation. The non-slip effect on the cab roof doesn't quite look right to me, I know how much of a perfectionist you are and I have a suggestion. If possible, remove the effect by sanding, then apply a thin layer of PVA glue to the area and make sure it's totally smooth by gently dabbing with a cotton handkerchief. Just before it goes off, sprinkle some fine kiln dried sand on the area and roll it flat, I use the handle of an 'Xacto' knife. Once it's totally dry, paint it as normal and you'll have the non-slip effect.
|
|
|
|
Post by okdoky on Mar 25, 2012 21:13:19 GMT
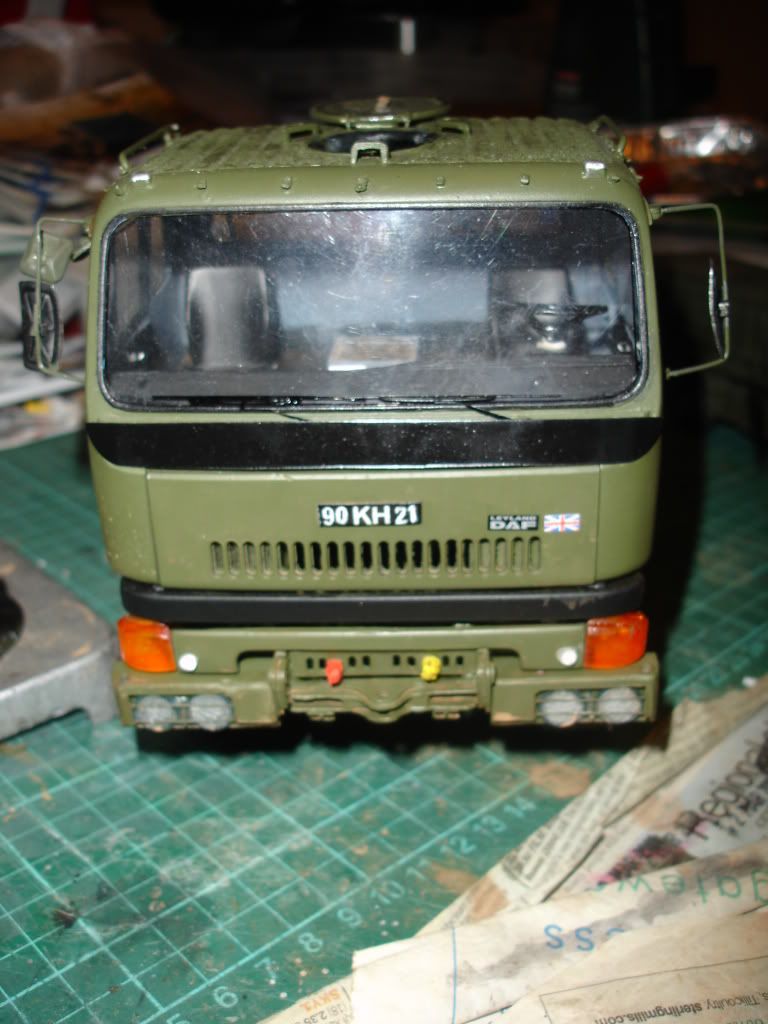
Hi Nick A few folk from other forums mentioned the roof straight off, so I bit the bullet and made a start at scraping the crap off ,,,,,,,,,,, ha ha ha ha ha !!!!!!!!!!!! It was a bit lumpier than I had hoped, so by popular request it is almost off !!!!!!!!!!! Took a break from it to let any thought processes get together on everybody's options put forward. That and to find some fine sand or flour !!!!!!!! 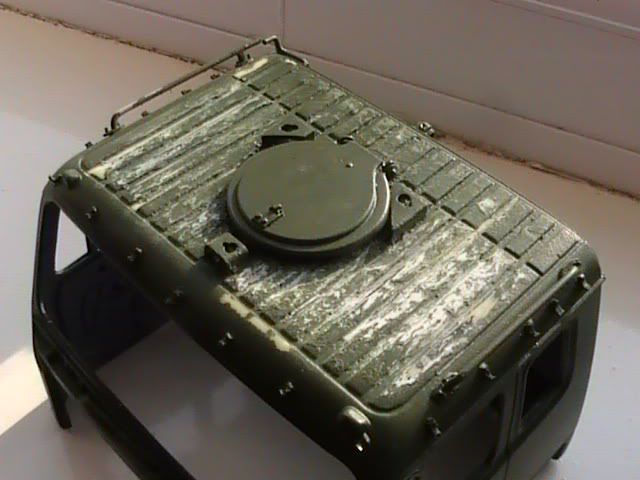 After finding out my KFS kit came without front indicators ,,,,,,,,,,,,,,,,,,,,,,,,,,,,, well not of clear plastic ,,,,,,,,,,,,,,,,,,,,,,, realised the two heavy, white metal bits were the indicators. Thought I might add some depth to them by remaking them in clear plastic. Needed thick plastic to laminate up to the thickness. Ferrero Rocher box has nice thick plastic. 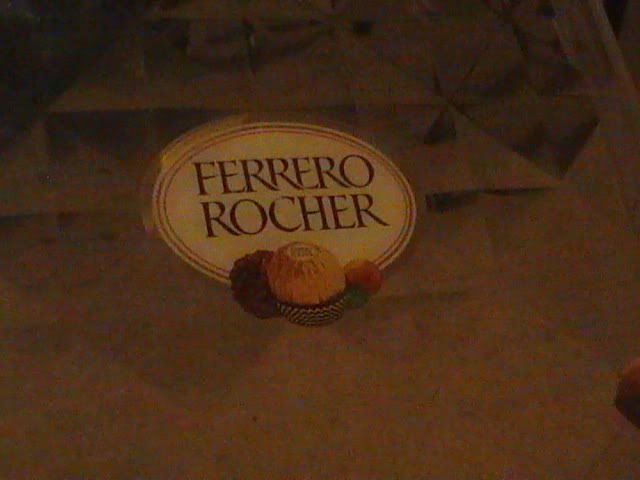  Cut the plastic to rough size and superglued the sections together (three ply) and then sanded to shape and size of KFS originals. 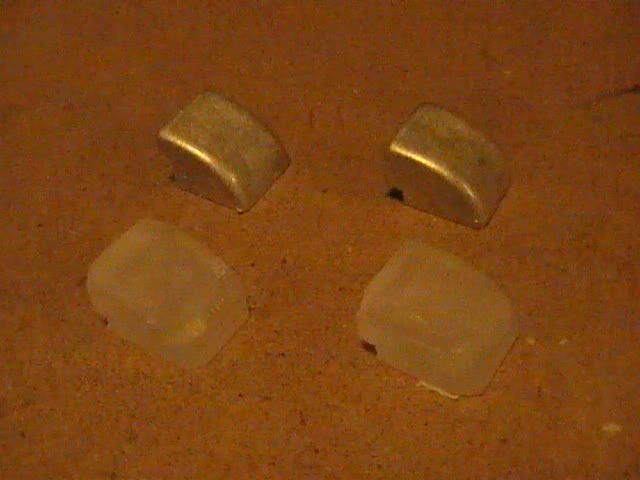 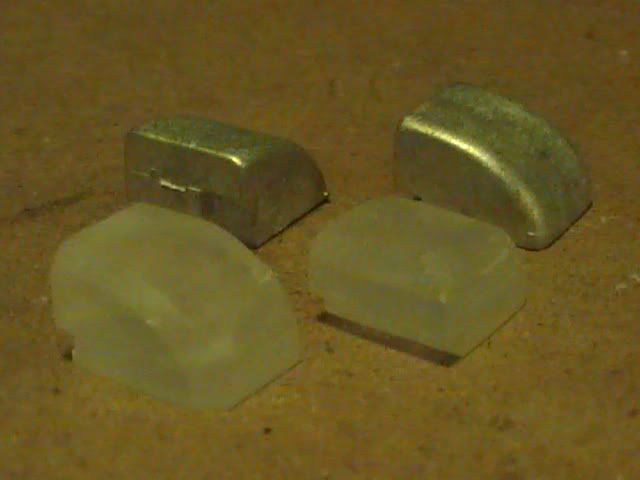 Here they are in place before I find my orange translucent paint. Will paint the KFS and mine to see how much difference they make. 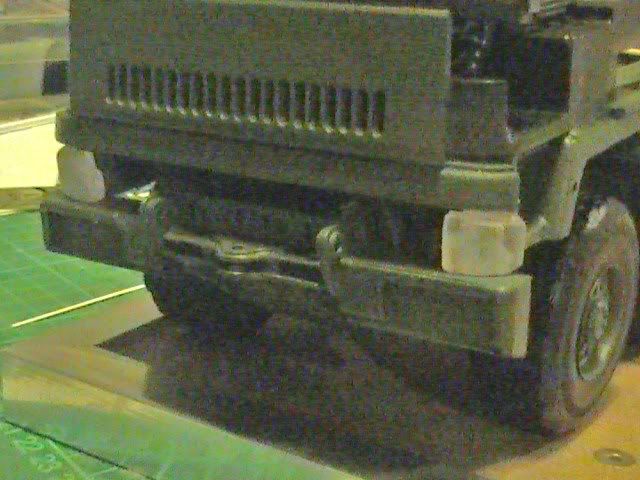 Having seen how this worked I might use the Ferrero box to try some circular headlights. Will tackle the roof during the week if I get peace. Thanks Nick and others for pestering me to do the roof !!!!!!!!!!!!!!! You just trying to give me more work to do !!!!!!!!!!!!! Ha ha ha ha ha Nige |
|
|
|
Post by papasmurf on Mar 27, 2012 19:49:59 GMT
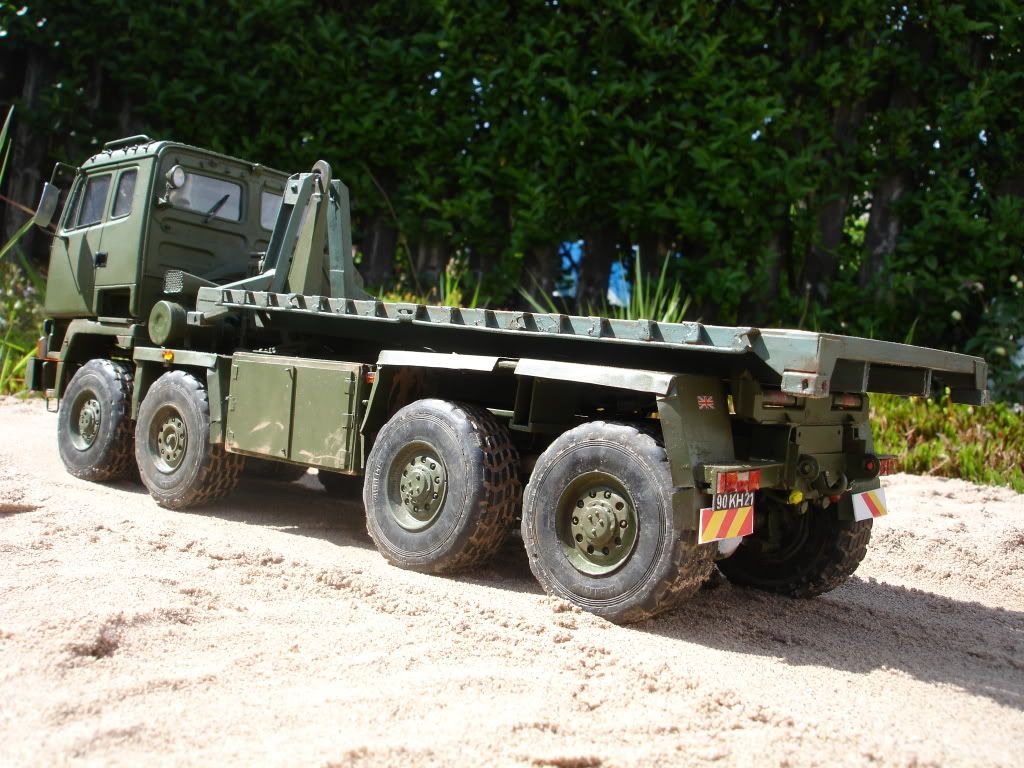
Hi Nige, you've certainly moved on since I last looked, looks really good in green. Got it in any other colour mate!!!
I did a none slip covering on a Bradley with fine sand and was very pleased how it turned out, but can't remember were I got the sand from or were it is. Someone in the club suggested Chin chilla sand from the pet shop but don't know if that's a wind up?
Dave
PS house warming at the nationals!!!!
|
|
|
|
Post by okdoky on Mar 27, 2012 20:49:01 GMT
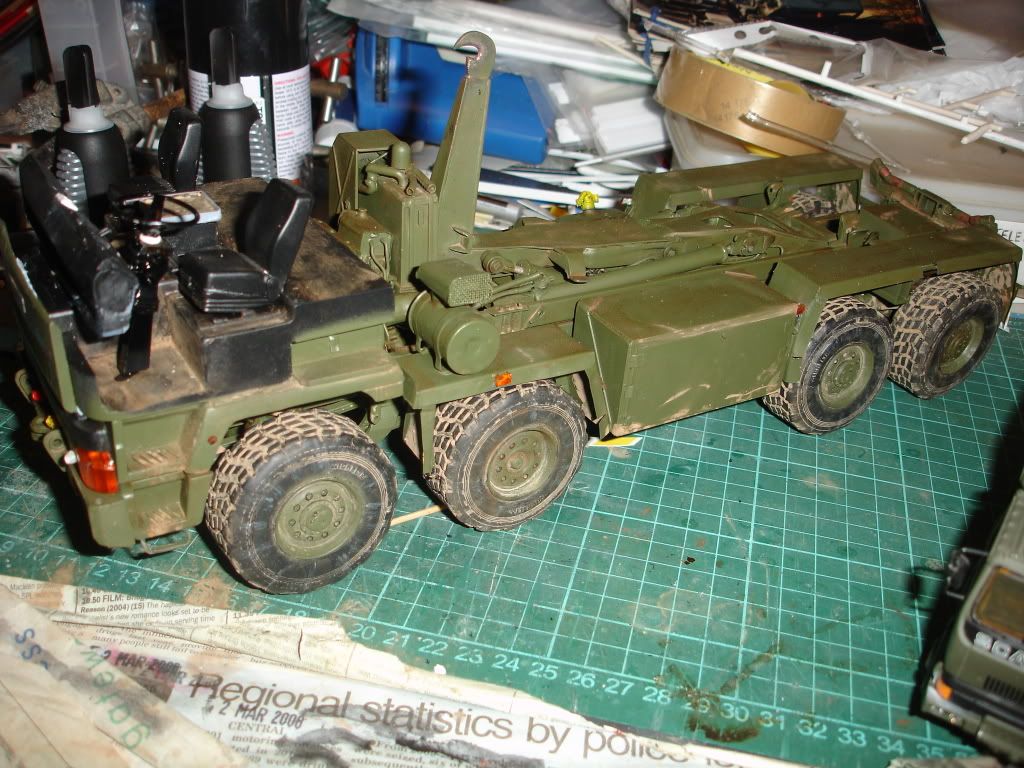
Hi Dave ,,,,,,,,,,,,,,,,,, If you buy one from the auctions you can paint yours pink with blue polka dots if you really really want !!!!!! But that would be sacrilege !!!!!!!!!!! Green ,,,,,,,,,,, green and black ,,,,,,,,,,,,, sand if you really must !!!!!!!!! I did see one in white and black at the Army day !!!!!!! Mine is staying green for now !!!!! WHAT THE HELL IS IT WITH SOME GLUES AND SUCH PROMINENT PARTS  ? Three days ,,,,,,,,,,,,,,,, four different glues ,,,,,,,,,,,,,,,,, ONLY TWO tiny BITS TO GLUE !!!!!!!!!!!!!!!! Thick superglue ,,,,,,,,,,,,,,, thin superglue JB Weld two part epoxy ,,,,,,,,,,,,,,,,,,,, V- tech two part epoxy !!!!!!!! And I am still struggling to get the F*****G parts to stay together !!!!!!!!!!!!!!!!!!!!!!!! I am trying to join the hydraulic lines to the rams that are now suitably pinned in their mounts !!!!!!!!!!!!!!!! And the action of the rams is pinging valve boxes and the hoses off !!!!!!!! Looks like the V-tech has done the job but gonna leave it overnight again !!!!!!!!!!!!!! Anyone else had a part that just refuses to stay where it should ?? Nige |
|
|
|
Post by okdoky on Mar 29, 2012 22:26:36 GMT
Nige, For your thick indicator/brake lenses have you considered using the 1:1 stuff !. Just go for a cruise through the local supermarket carpark on pension day - there's usually a few broken taillights from the old duffers playing dodgems :grin:. The 1:1 stuff is actually quite easy to cut, sand & polish with the bonus that it already has the transparent colouring (orange/red/clear). Anywho - thats Rogers handy tip for the week :cheesy: Hi Roger Went hunting the shed to find my Tamiya clear colour selection !!!!!!! What do you think I came across first !!!!!!!! A spare tail light cluster for my trailer that has been sitting in the shed gathering dust !!!!!!!!!!!! However, I also eventually found all my clear colours so I went with my own scratch built indicators for the front. 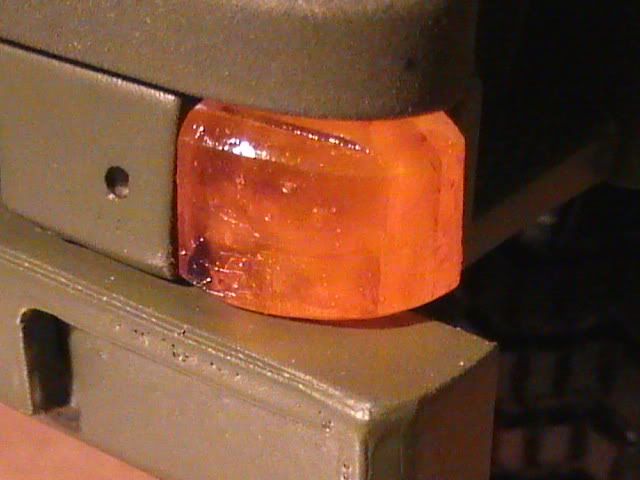 I have to say I do prefer my own, partly cause they have a bit of depth to them ,,,,,,,,,,,,,,,,,,, and just cause I made them from scrap !!!!! Ha ha ha ha !!!! 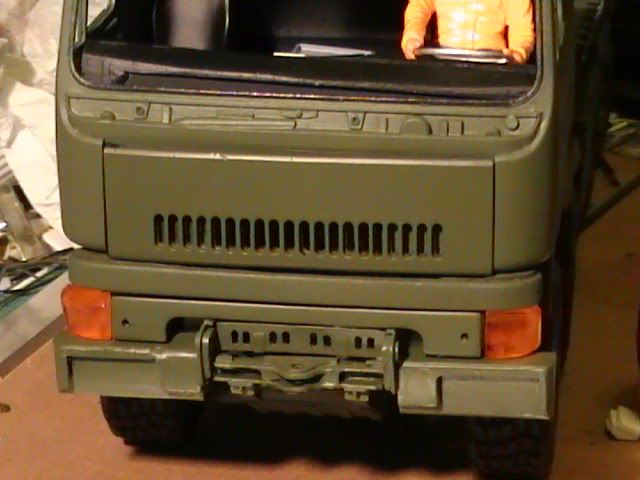 Does add a nice bit of colour too 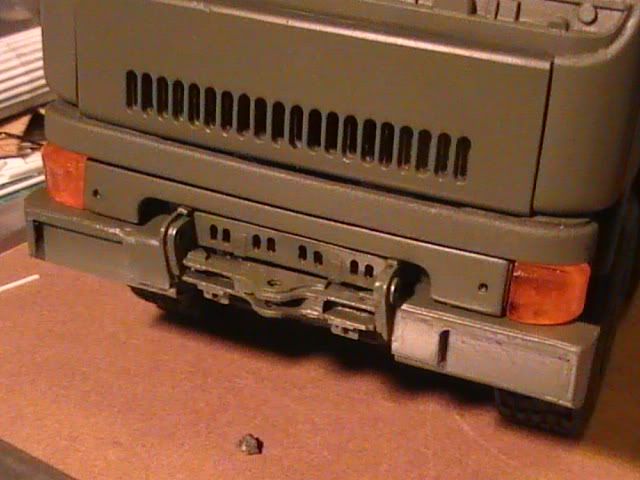 Took Howard's hint about adding the clear colours to the KFS clear square lenses to get a half red and half orange or half clear and half red clusters. Just waiting for them to dry properly before mounting them  |
|
|
|
Post by okdoky on Apr 22, 2012 22:31:12 GMT
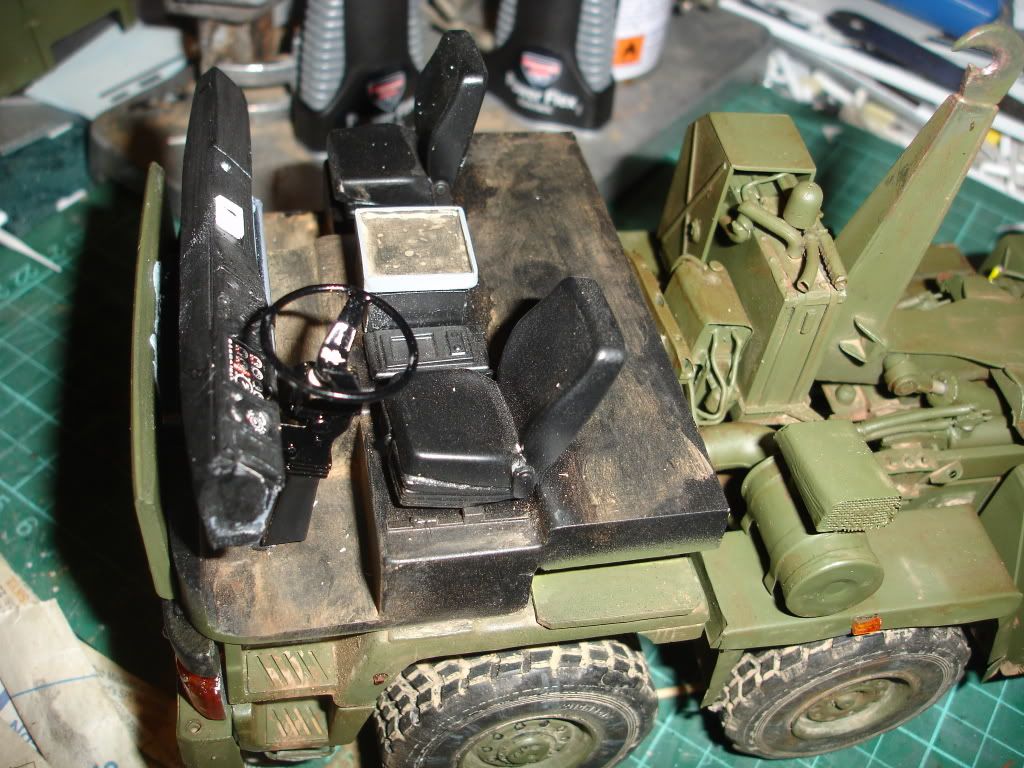
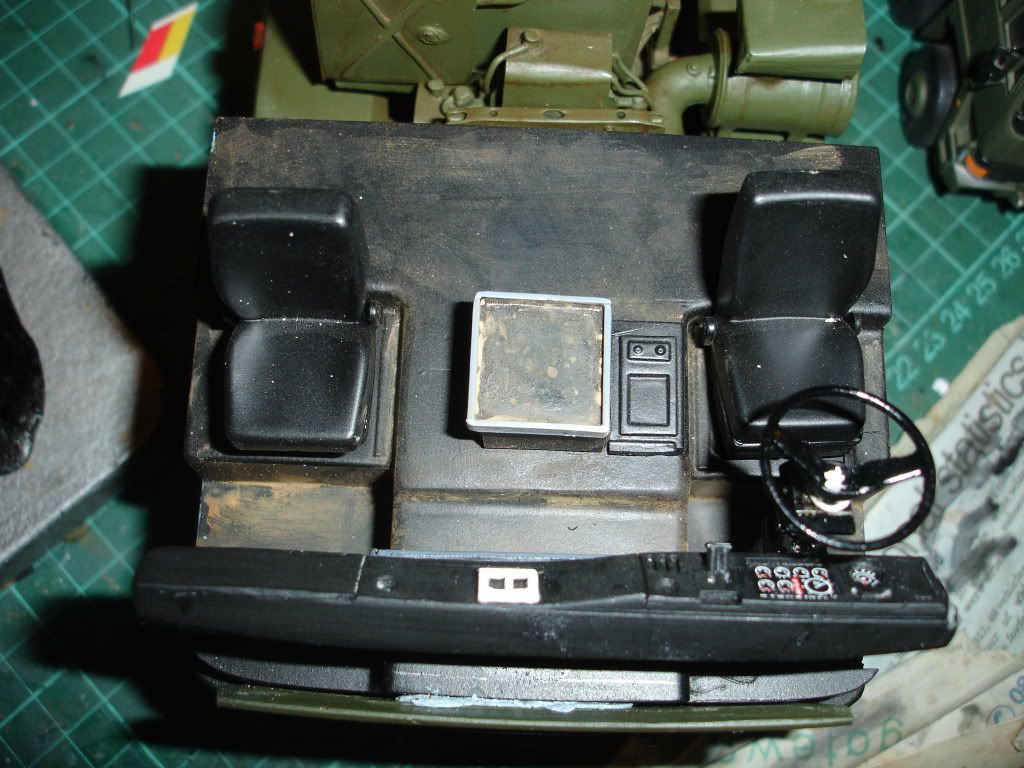
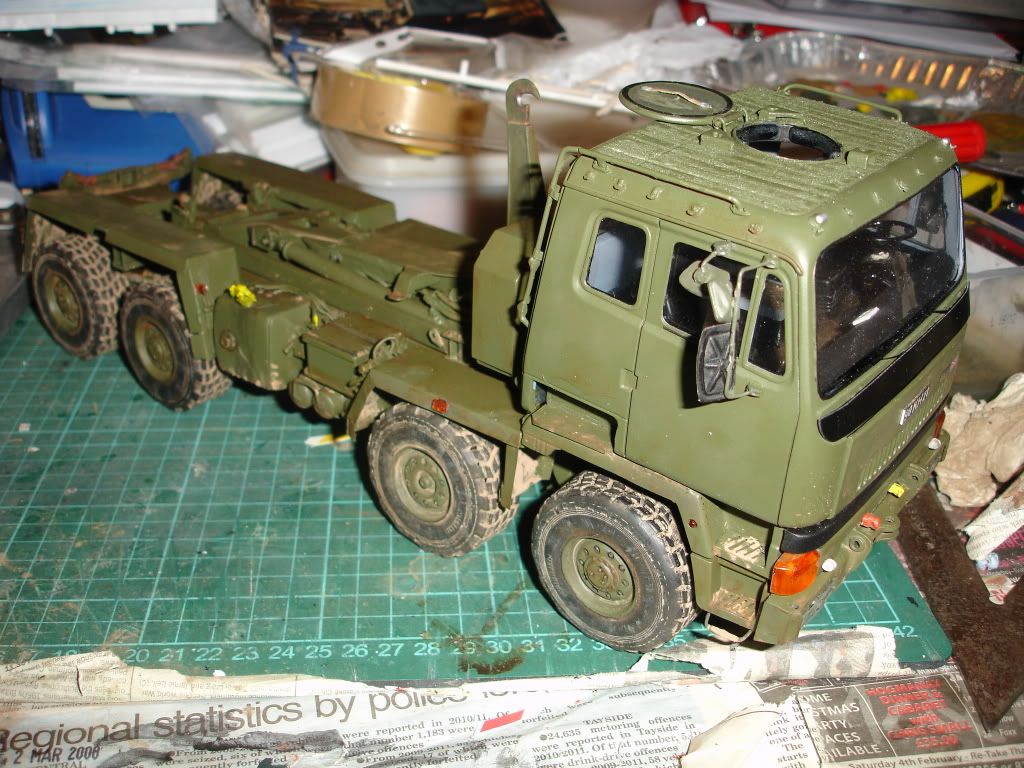
Decided to add the cushions on the roof hatch. 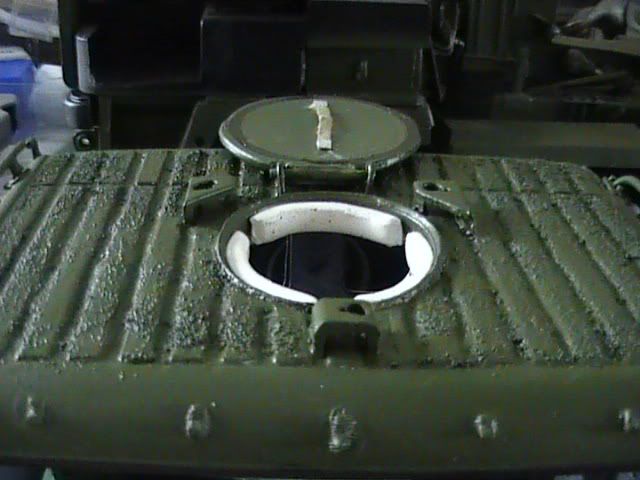 Opened a fresh pack of white-tac which just looked the right thickness and only needed to measure three short strips of the same depth as the hatch itself. 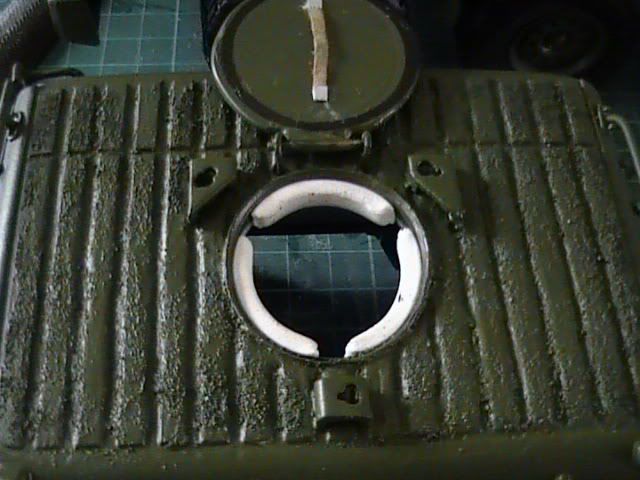 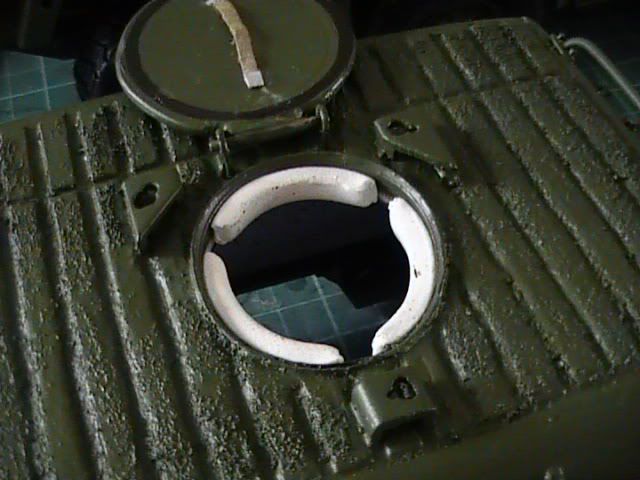 And acrylic paint takes well to it 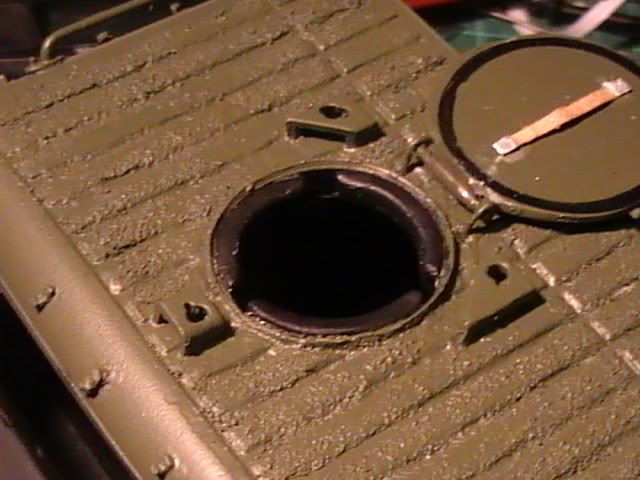 Also made the four headlights using clear plastic forks from my work's canteen for supplying the thickness of clear plastic. 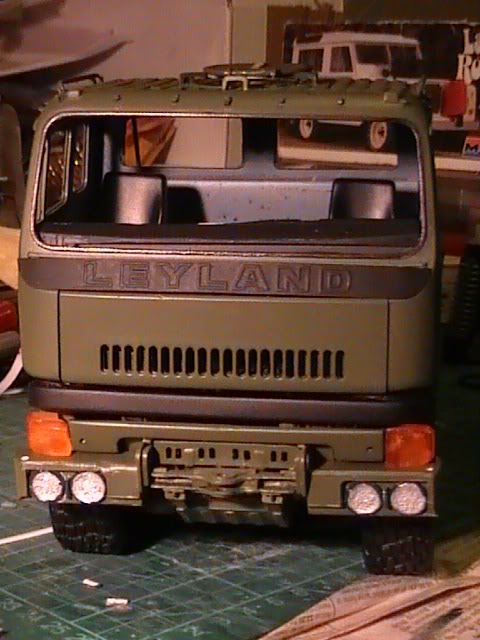 I painted the back with Tamiya X11 chrome. Also built up a curvature on the fronts by adding blobs of clearfix. 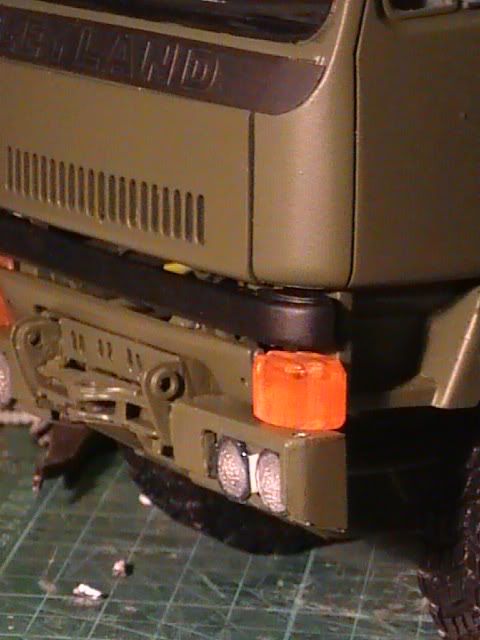 I just need to add the two thin rails across the lights. Will let the clearfix set hard first 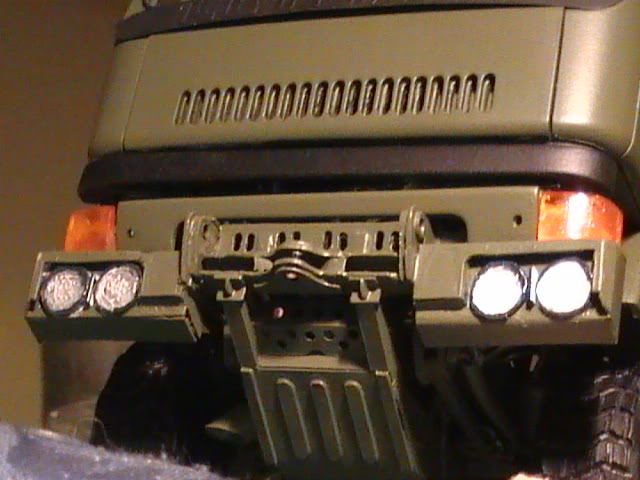 Hope you like Nige |
|
|
|
Post by okdoky on Apr 27, 2012 3:33:51 GMT
Carved a pair of side lights from clear sprue off cuts 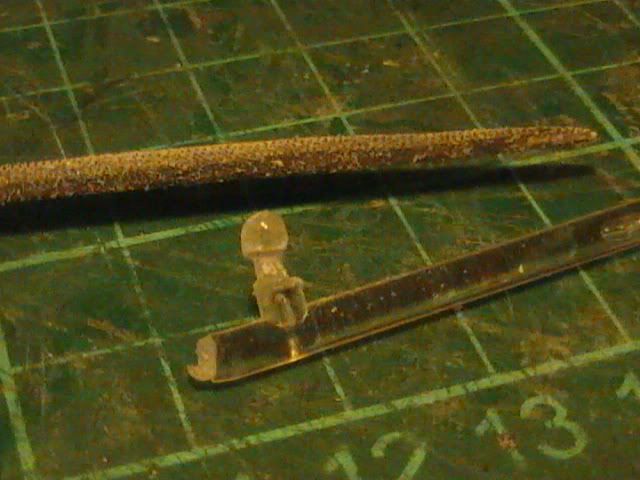 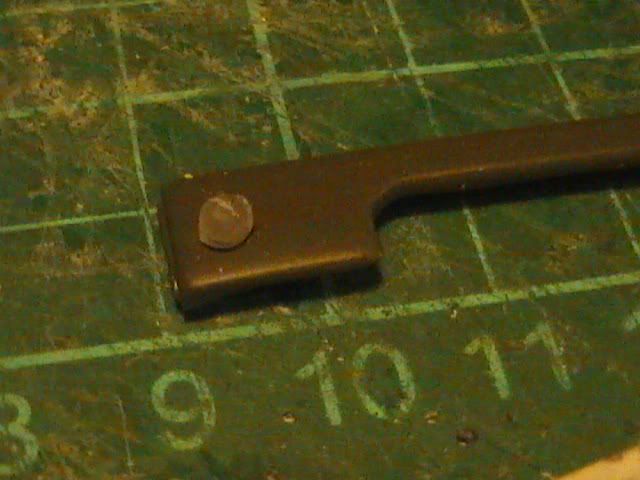 Using the KFS air cleaner in the middle and the hose. Already carved off the hanging bracket similar to the right hand air cleaner 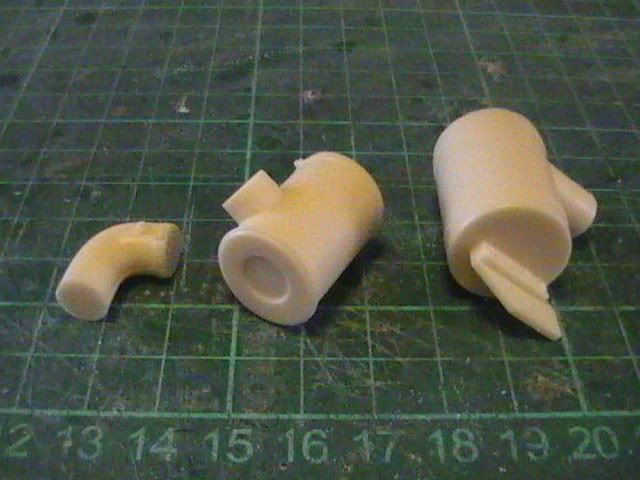 I started working on the air cleaner and realised I had the air inlet stack at the wrong end of the filter cylinder. 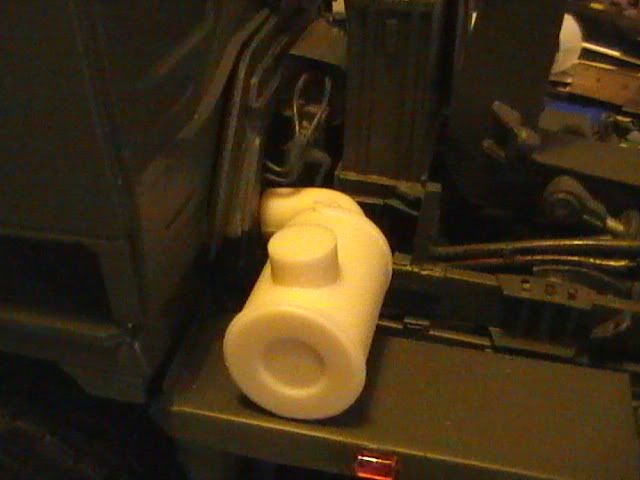 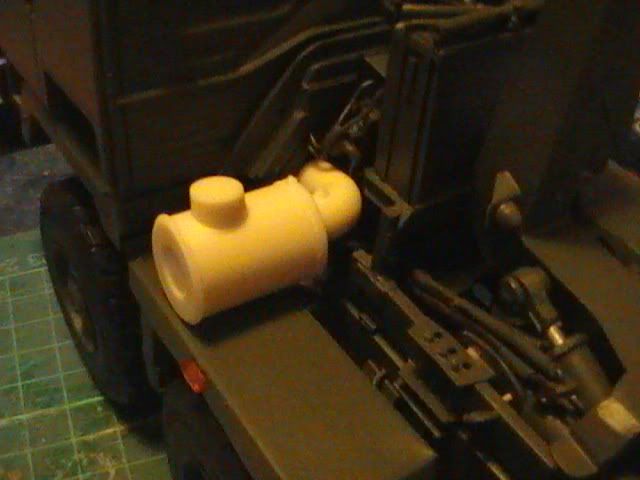 Then the wife pipes up and says "just turn it around". I said "can't ,,,,,,,,,,,,,,, I have made a flippin' big whole in the other end" ,,,,,,,,,,,,,, She says "Just fill it in ,,,,,,,,, your good at filling holes " ,,,,,,,,,,,,,, oooooooooo errrrrrrrrrr Matron !!!!!!!! Did as I was told and filled the hole, turned it around, made a fresh end to it in plasticard. Then added the support bracket feet onto the wing using thin strips of aluminum 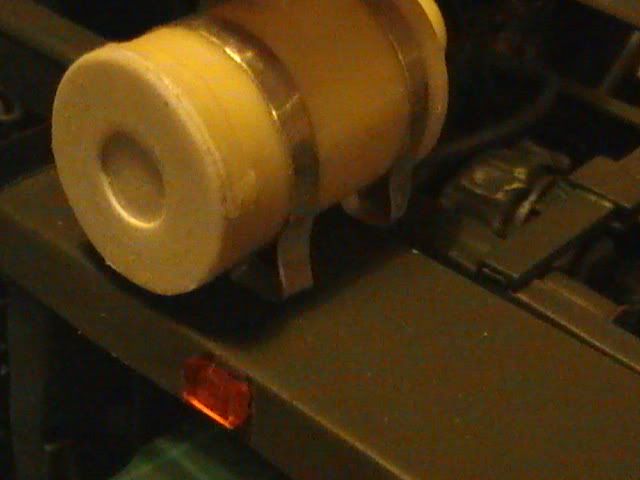 Don't you just hate it when the wife is right and you are wrong ? Needed to form the air inlet and decided upon a block of balsa wood cut and sanded to shape. Then wrapped with a layer of aluminum superglued. 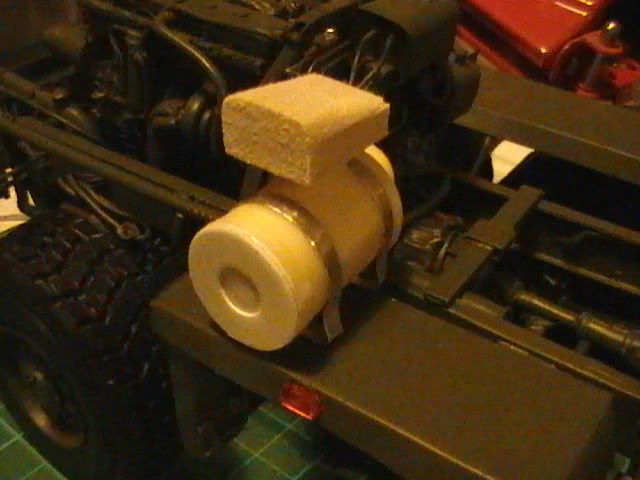 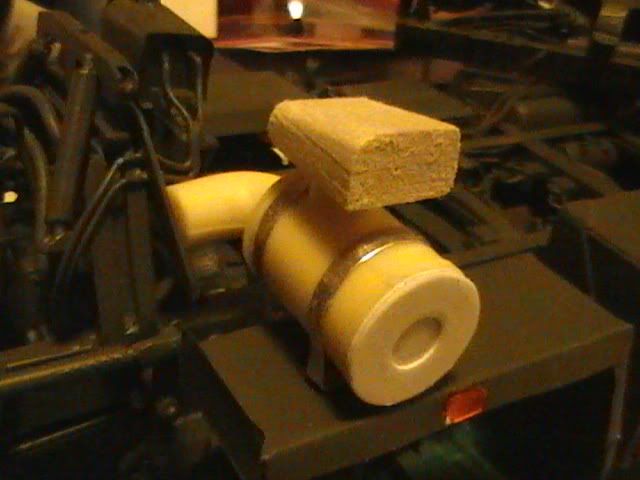 Cut a piece of fine mesh for the opening 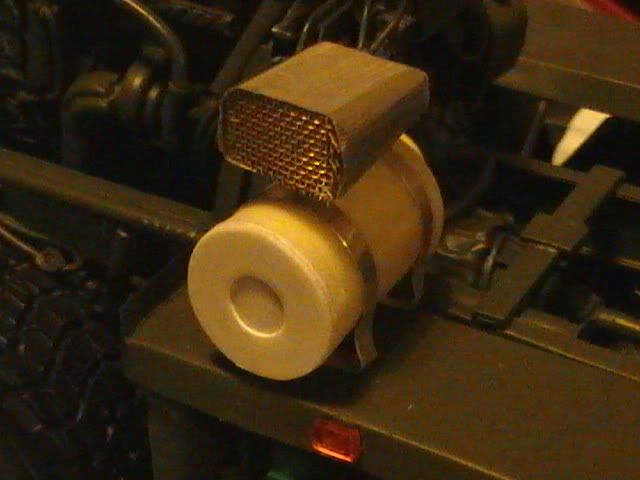 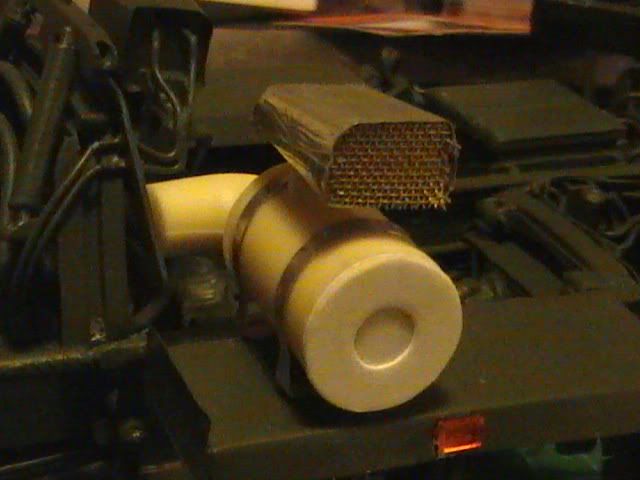 And with a lick of paint 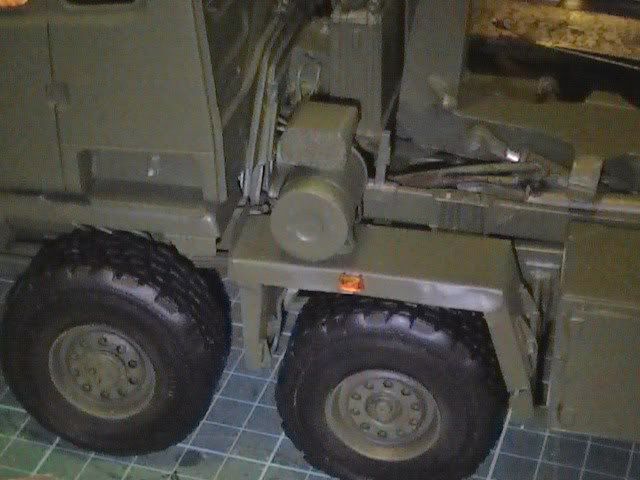  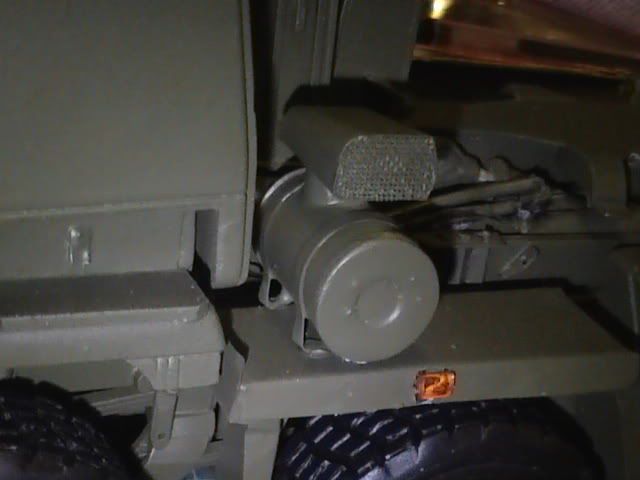 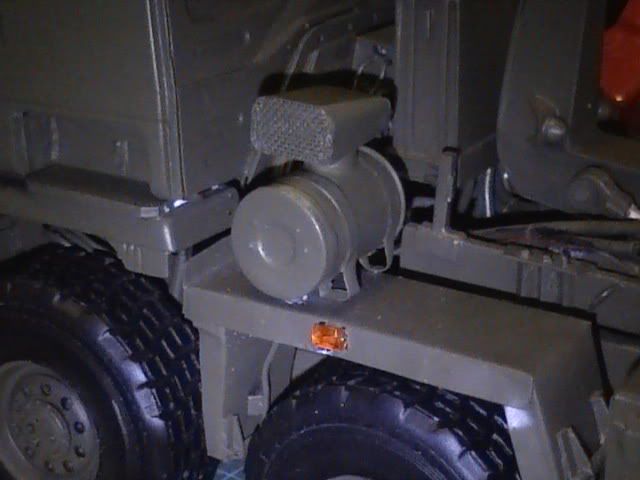 Getting there !!!!!!!!!!!! Still bits to do but looks like these will get fitted while at the table in Perth Nige |
|
|
|
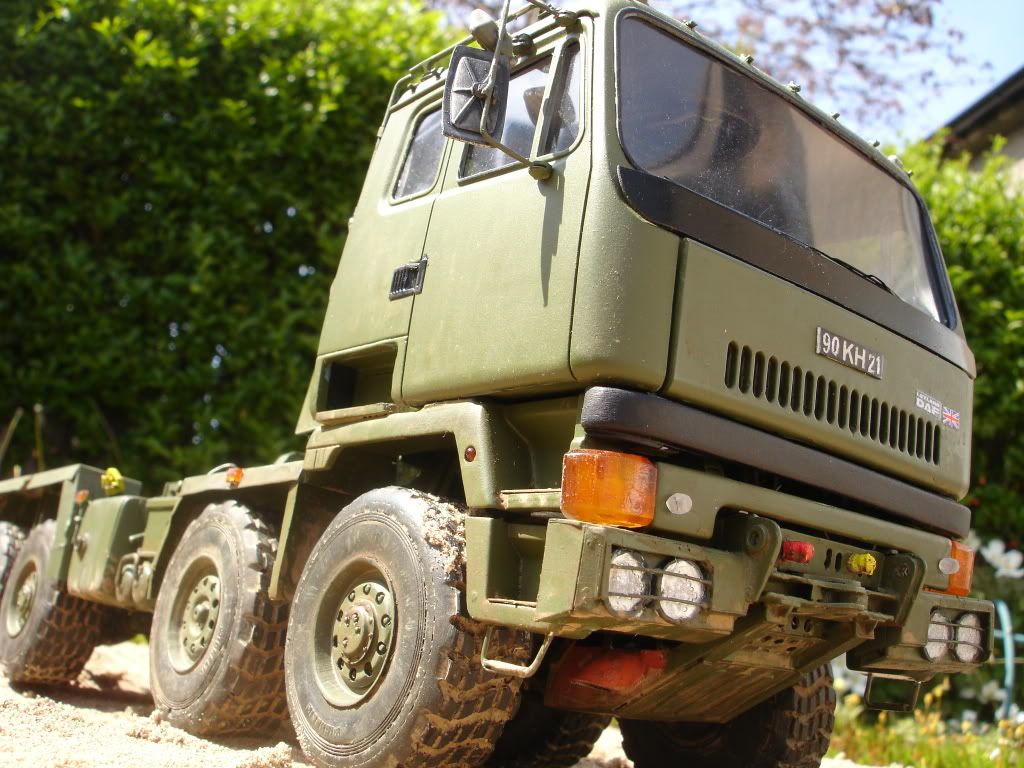
Post by okdoky on May 8, 2012 23:22:07 GMT
My attempt at number plates with old fashioned Letraset. Only problem was that the sheets I have in the correct font were only in black and lacked sufficient number two's for the registrations of the truck and trailer combinations I wanted for a trip I did in Germany. Added the letraset to white plasticard then oversprayed in black 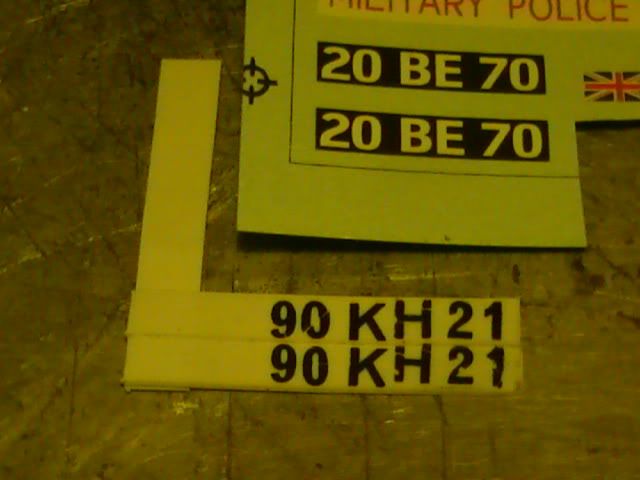 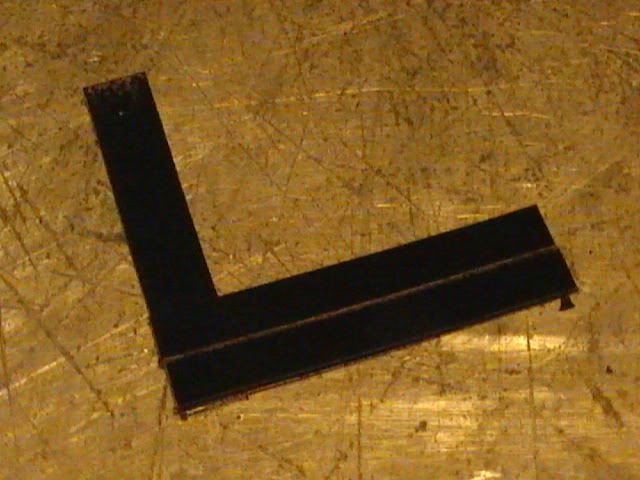 Once dry, I used sellotape to strip the letraset back off the plasticard. First attempt I had obviously rubbed the letraset down too well and ended up peeling as much paint off the card as I was peeling the letters. Problem is if you don't rub down well enough, you might end up with only half a letter taking hold and distortion trying to match the bits to transfer all the letter. 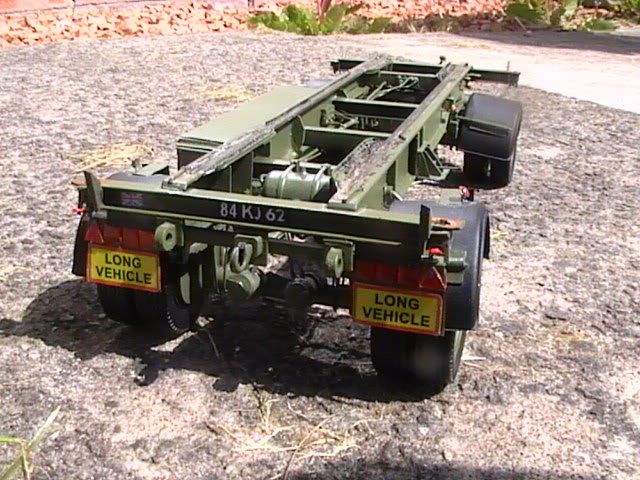 Park and release valves on the trailer brakes painted  Marker lights, twist locks rust and light grease on the slide rails all painted 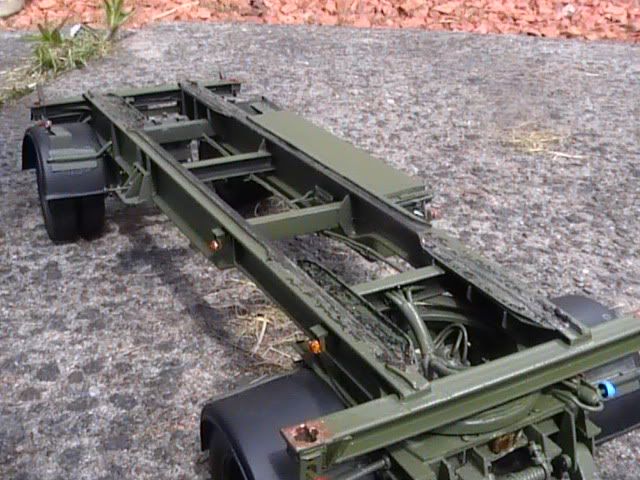 Rear light clusters, reflectors, union jack decal and long vehicle plates added 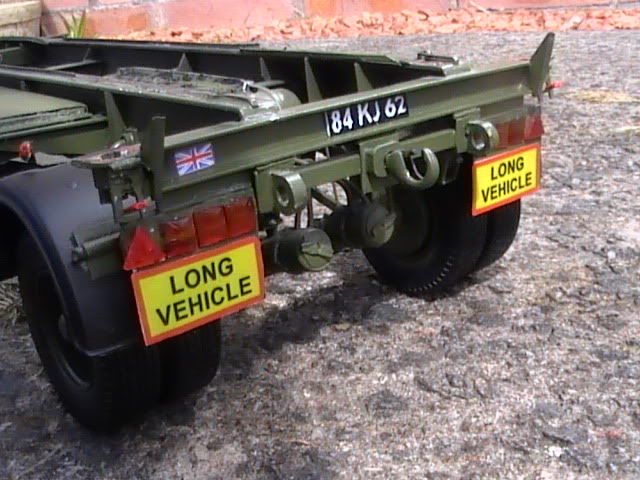 Still got to weather the wheels and chassis a little Nige |
|
|
|
Post by okdoky on May 12, 2012 10:19:35 GMT
Thought of a way to make reasonable hinge brackets for the wing mirror mounts. A bit of sprue of the right diameter sanded half flat  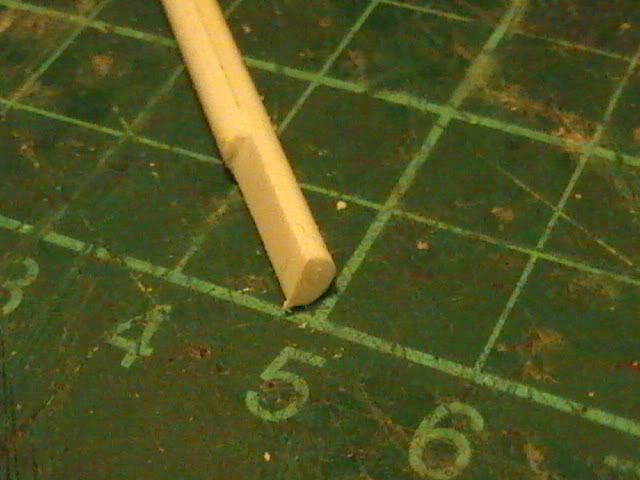 A single saw cut part way through 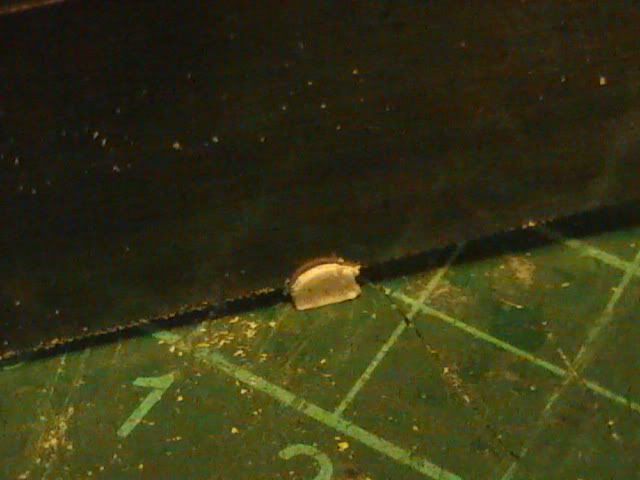 After a second full cut and using a mini drill to drill through centre. Stout wire cut and bent to shape and fed through 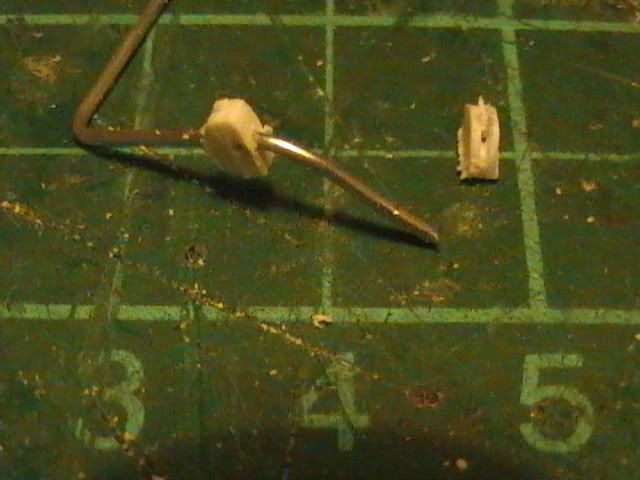 Cab drilled and mirrors mounted 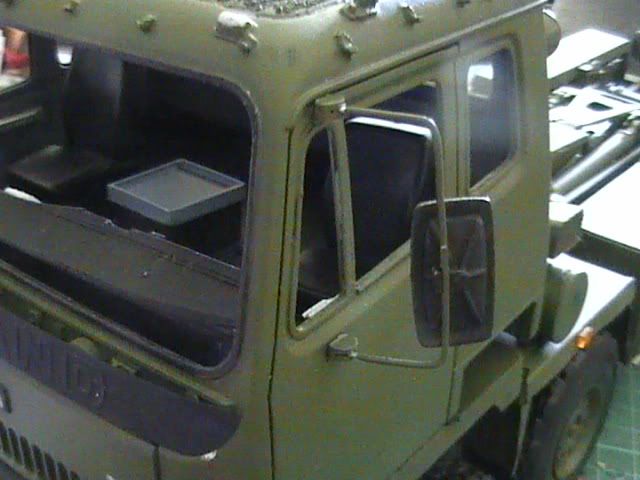  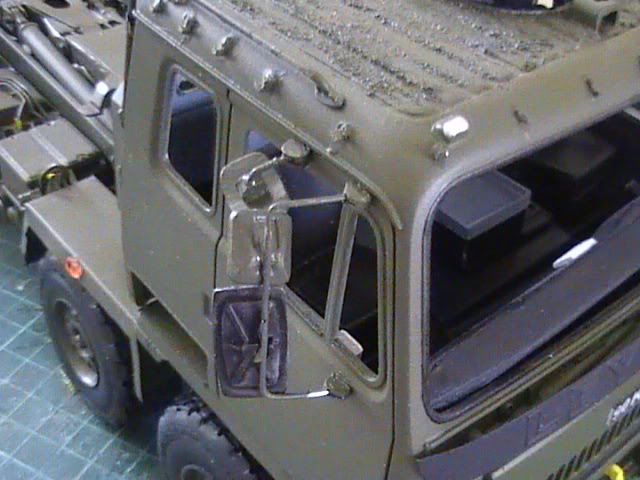 Nige |
|
|
|
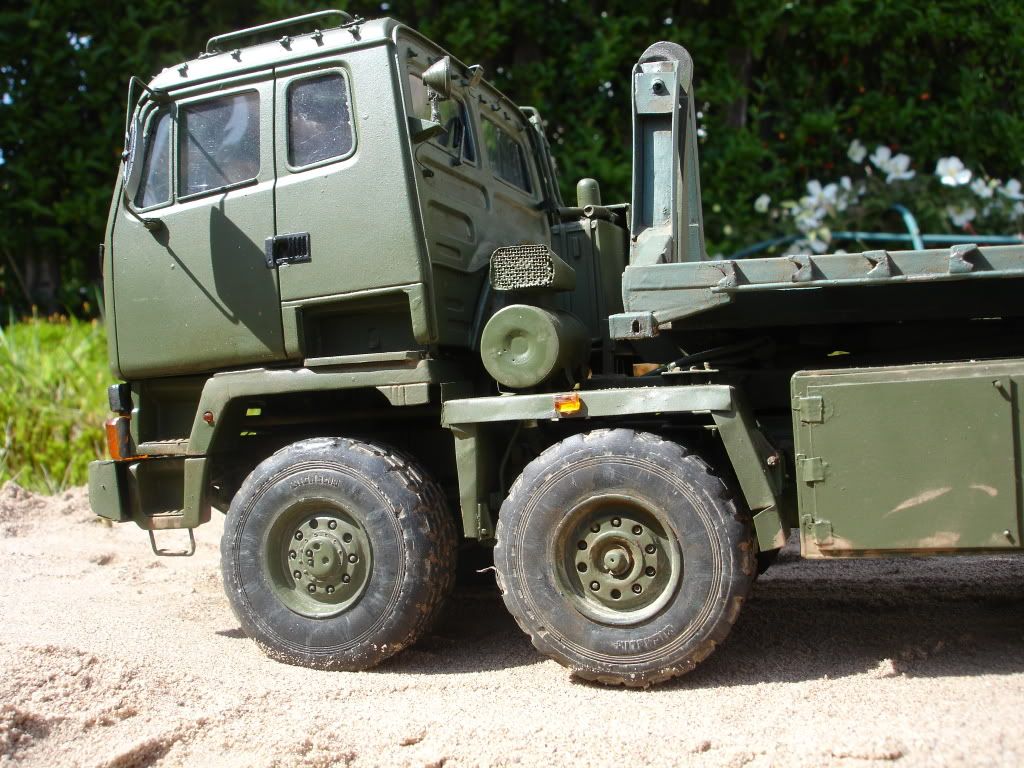
Post by okdoky on May 13, 2012 23:53:32 GMT
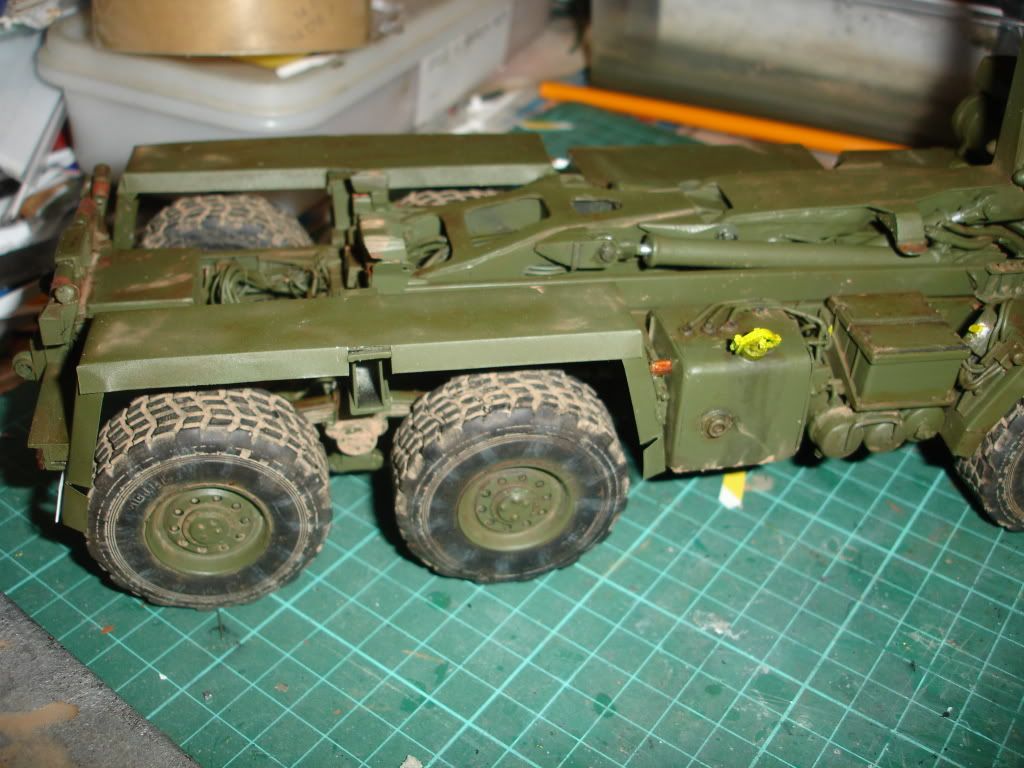
Bottom step added from wire and topped with flattened solder 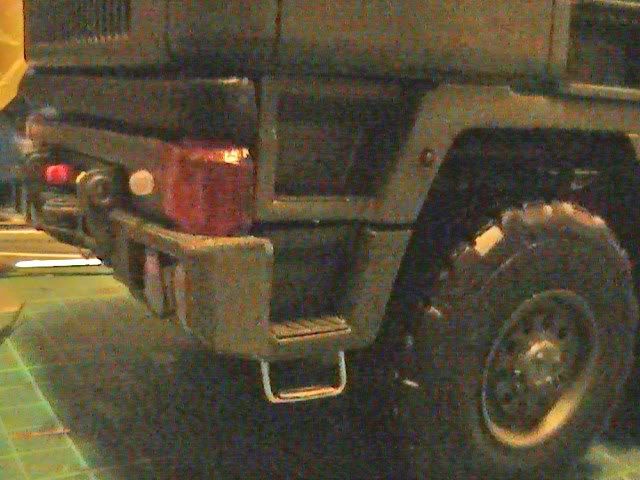 Rear window wiper and a spot light added from accessory sets 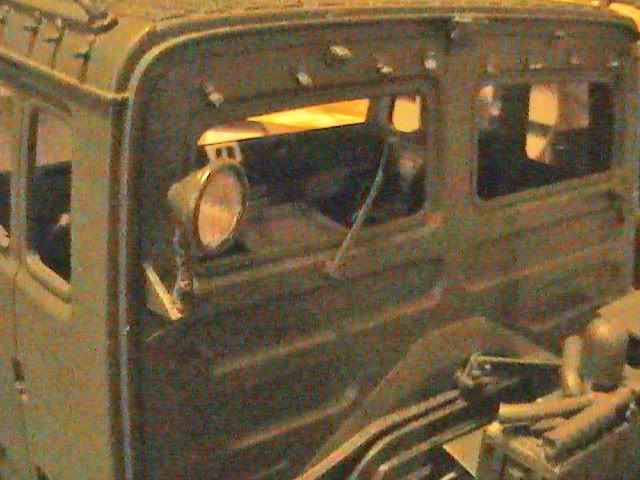 Now my first ever go at weathering wheels and tires. Main colour on the tire was a basic matt black, then a rough brush with tamiya nato black acrylic. I then added brush stokes on the tire from the hub rim outwards in nato black at intervals around it using a stippling brush. Once dry I added a little white to the nato black and very lightly dry brushed again at intervals. 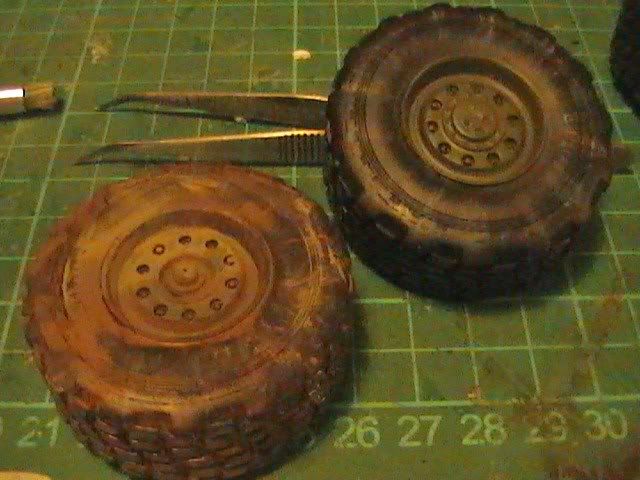 After that, I added a rough brushing of Europe dust PO28 by mig over the whole tire and hub and manipulated it with a wide brush into the treads and creases. Let it dry and then used the wide brush again to wash out and manipulate it again into areas I wanted it. 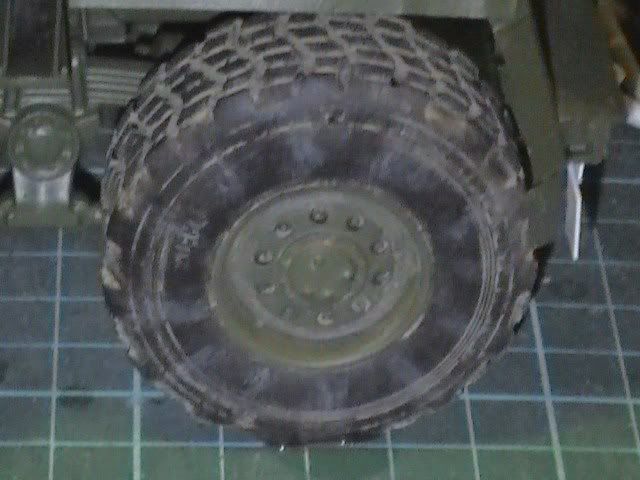 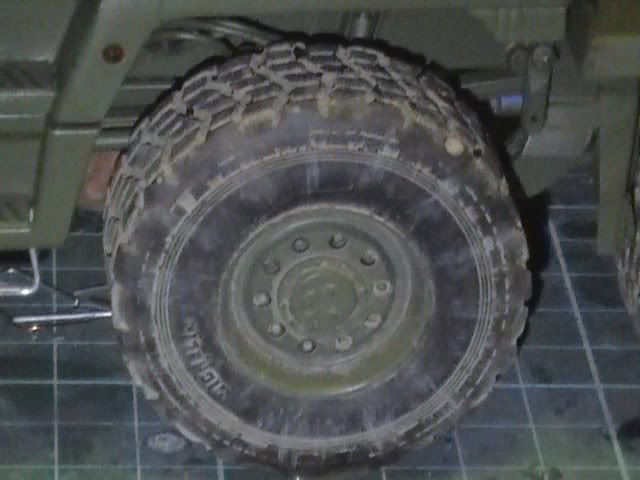 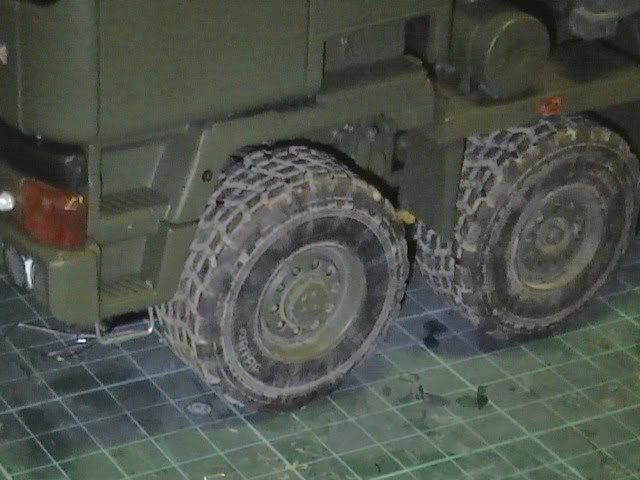 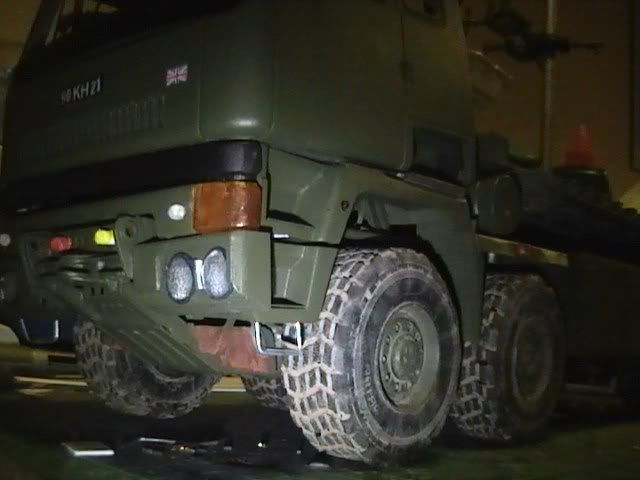 Going to try for some light oil and grease stains on the wheel nuts and lubrication points of the hubs too at some point and will freshen up the tread with a light dry brush on the areas in contact with the road. Will do the same on the trailer wheels soon. Also added the protective bars to the headlights 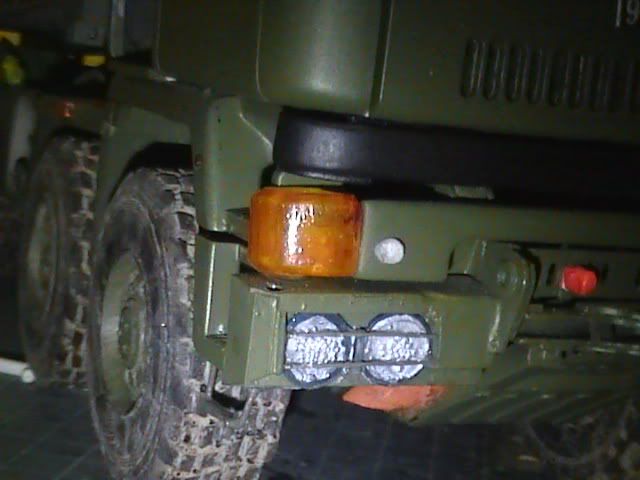 Still got the chassis and bodywork to weather but will likely start on the trailer first and practice on it. Hope it looks ok and not too over done Nige |
|
|
|
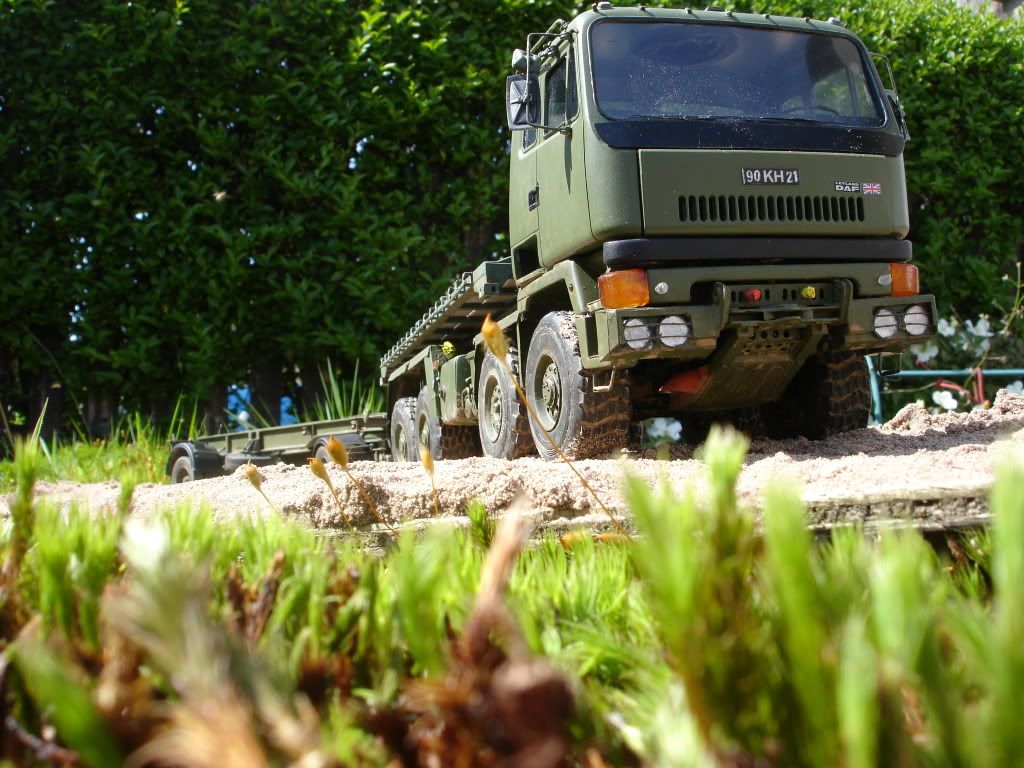
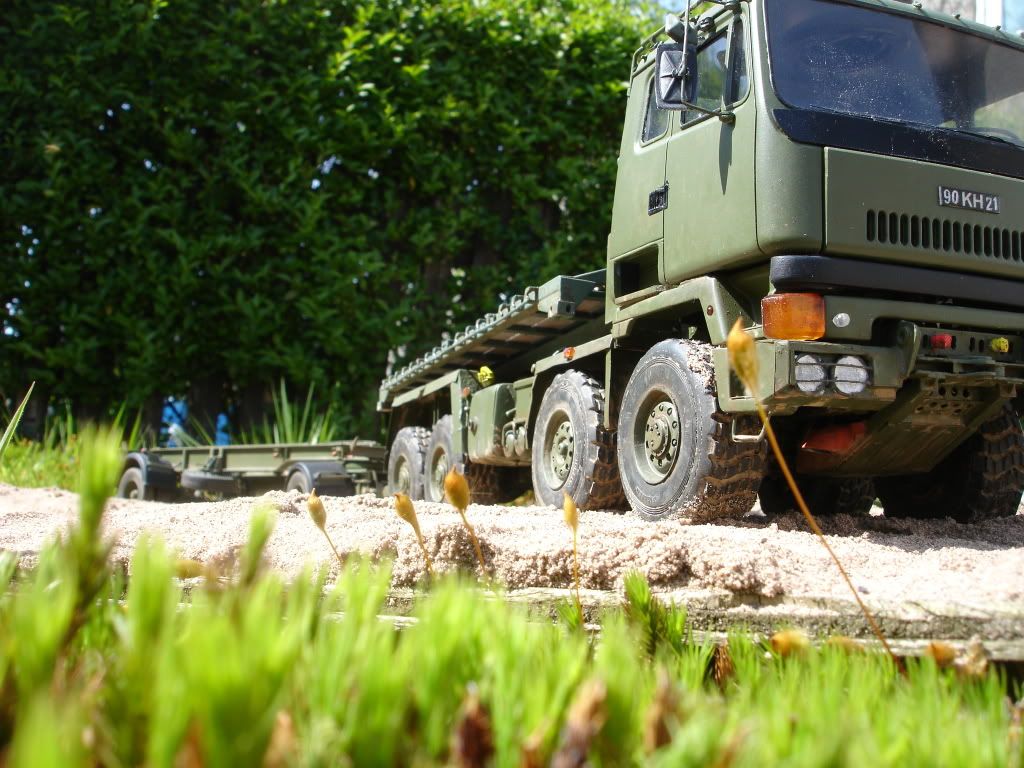
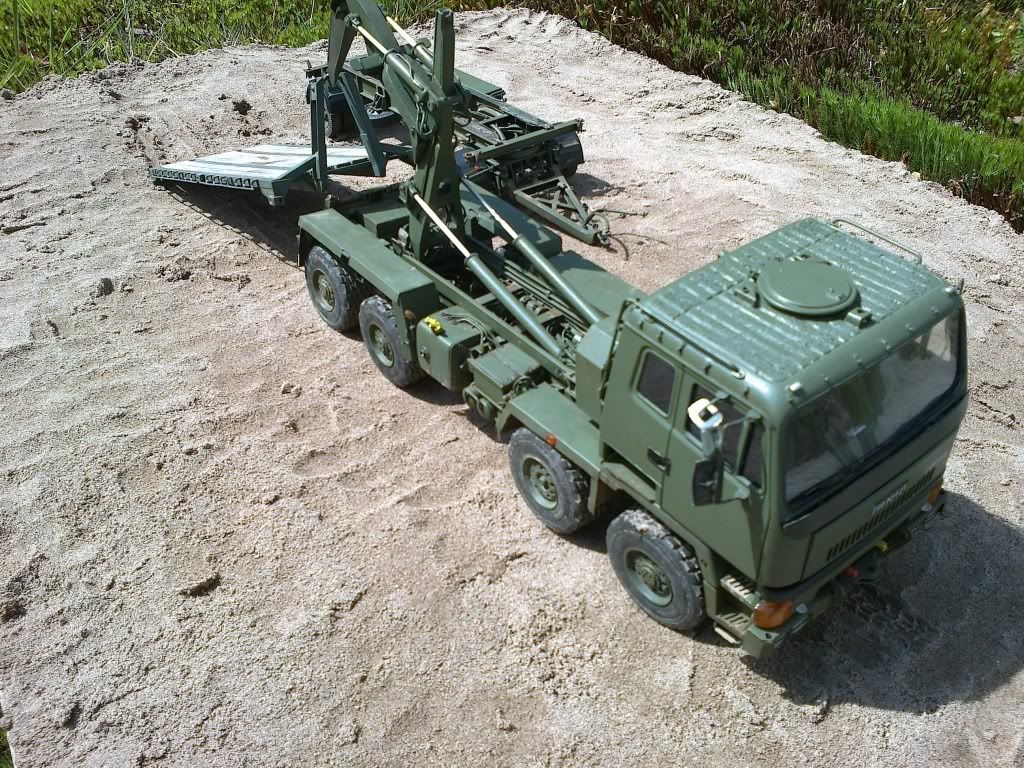
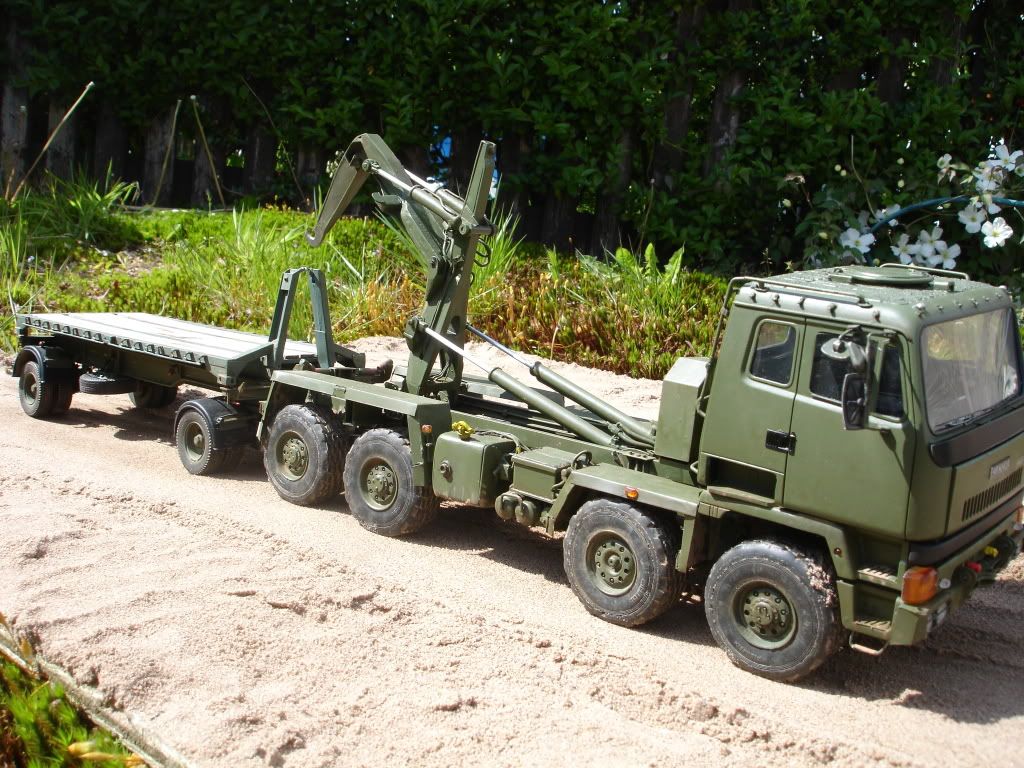
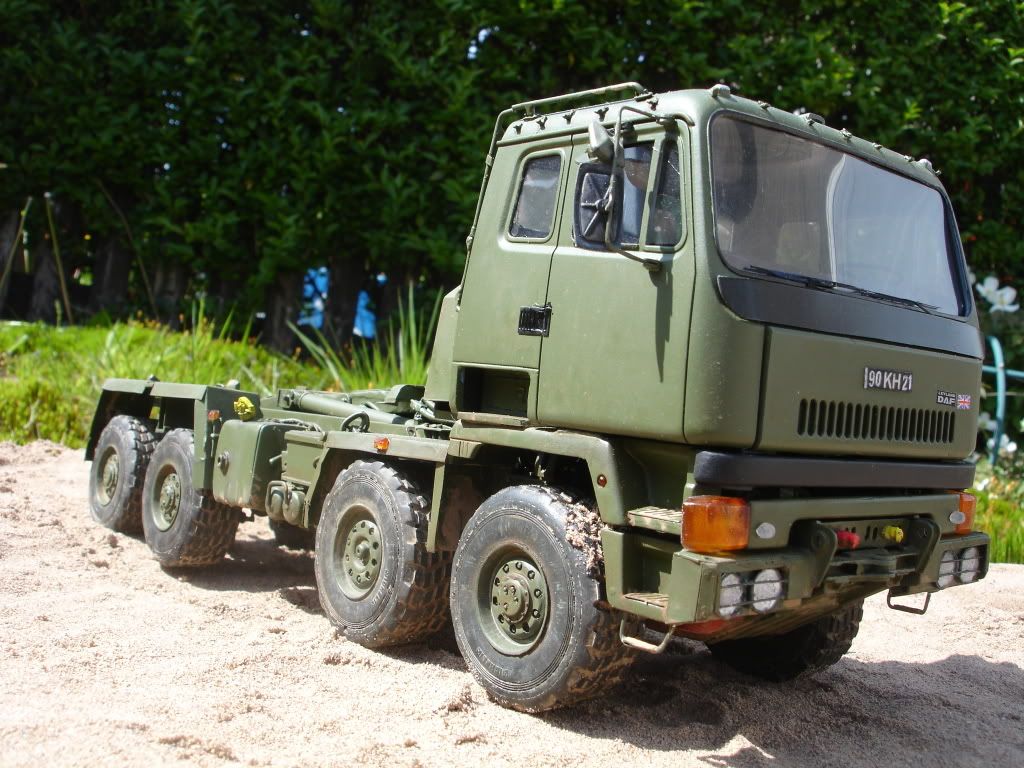
Post by okdoky on May 17, 2012 22:00:08 GMT
|
|
|
|
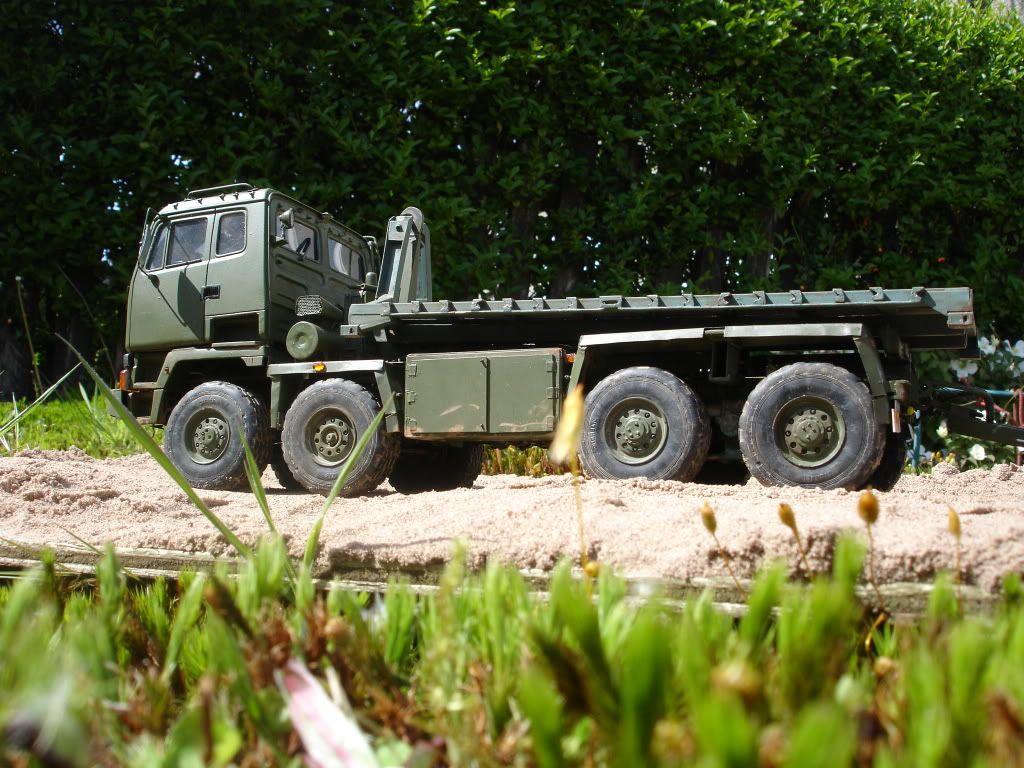
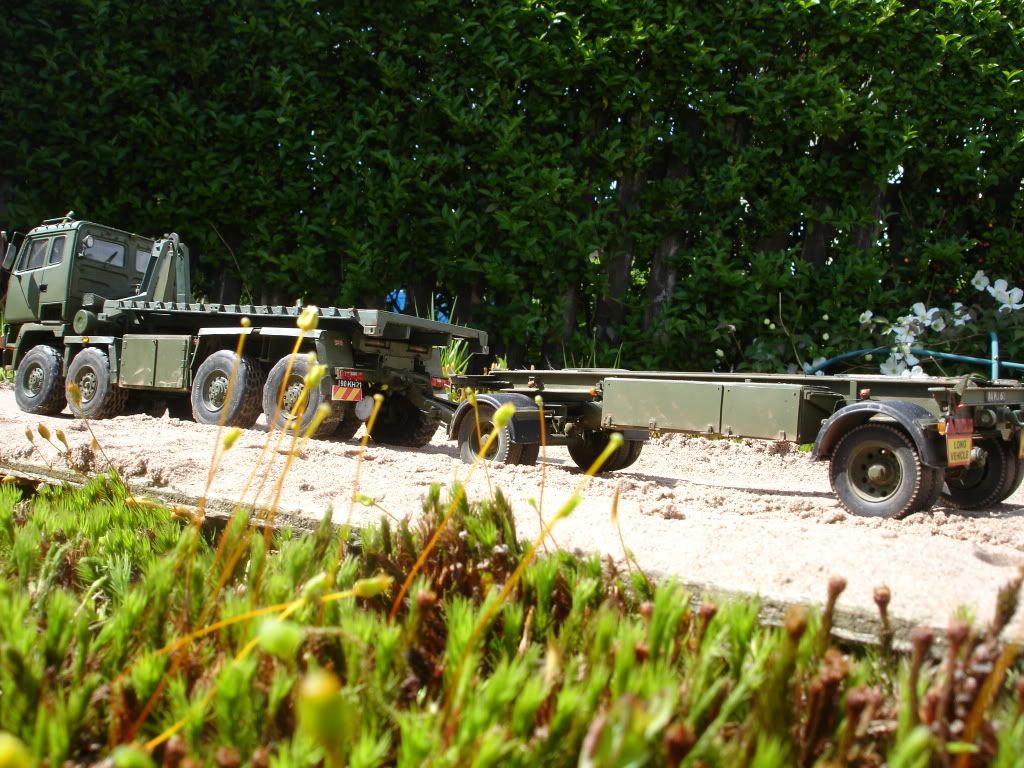
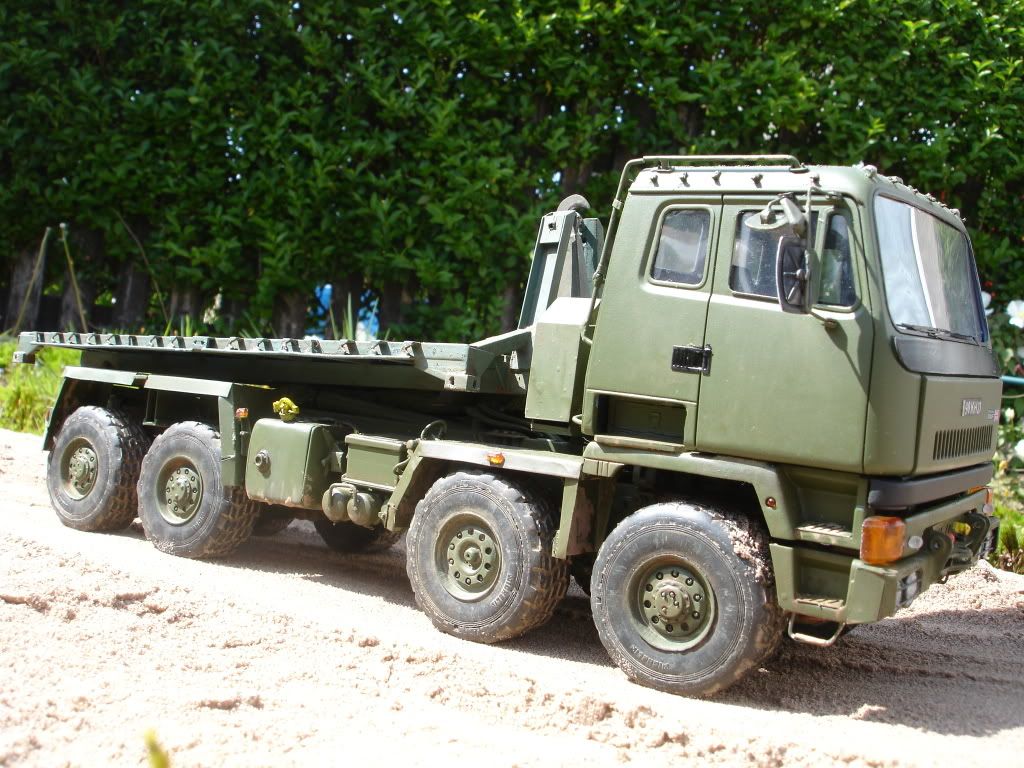
Post by okdoky on May 20, 2012 15:31:44 GMT
|
|
|
|
Post by frankaplin on May 20, 2012 20:45:26 GMT
Very Very nice Nige and a great build to boot. I see you have this also on the Brit Modeller site. Congratulations on a very hard build and all that scratch building,I hope you have as much fun on your next build,TM???.  |
|
paddy
Kit Basher
 Learn something new every day.
Posts: 79
|
Post by paddy on May 21, 2012 20:52:09 GMT
I have said this before in other places Nigel but I think this is the best example of a true modeller at work I have ever seen. Hate the word but, Outstanding!
|
|
|
|
Post by Cycolac Fan on Feb 24, 2015 3:31:22 GMT
Found this thread while searching for something totally unrelated and have spent the last couple of hours reading through the whole thing.
Very impressive build and an incredible model, congratulations and thanks for taking the time to show us it all.
Mike
|
|
 Members' Forum")