|
|
Post by Harriet on Jan 28, 2013 20:45:18 GMT
Thanks Nick, Nige and Harriet. I've been concentrating this evening on my trailer, getting the tyre mould ready for pouring resin tomorrow evening Good luck Steve, not that you'll need it though  |
|
|
|
Post by bowman on Feb 7, 2013 14:54:44 GMT
Thanks Harriet, I need all the luck I can get, and then some! Got a few of the major assemblies finished this weekend just gone, but have been struggling to upload photos because of Photobucket... However, let's see if this works.... 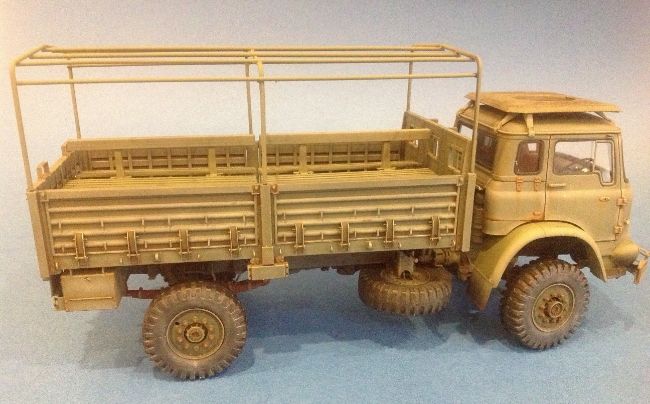 The canopy frame was made using the plastic coated wire for the "hoops" and 1.6mm diameter brass rod for the straight bars, to provide a bit of rigidity. I've still got wing mirrors, indicators, rear mud flaps, decals, and possible a canopy to do, so plenty still to go at! Cheers Steve |
|
Deleted
Deleted Member
Posts: 0
|
Post by Deleted on Feb 7, 2013 22:35:41 GMT
The canopy won't be a problem Steve!
|
|
|
|
Post by bowman on Feb 9, 2013 18:06:09 GMT
Right Nick, give me a bit of a clue - I have some tissue and (somewhere) some PVA glue. Where do we go from here please, because this really is all new to me.....
Steve
|
|
Deleted
Deleted Member
Posts: 0
|
Post by Deleted on Feb 9, 2013 18:58:34 GMT
OK Steve, it's easy honest. Here's how I started the canvas cover on my 1/16 Ford Model T ...  First of all I cut several squares of tissue paper to size which included sides and top. A small amount of PVA was dabbed on each upright and the tissue pressed into place with a soft brush. I allowed the glue to set slightly and then using a well thinned mixture of water and PVA, I washed the sides with the mixture and then gently force dried the sides with a miniature hair dryer. The heat on the tissue and PVA stretches the tissue and pulls it into place giving the sides a realistic look when they're dry. Here's a picture of the completed canvas ... 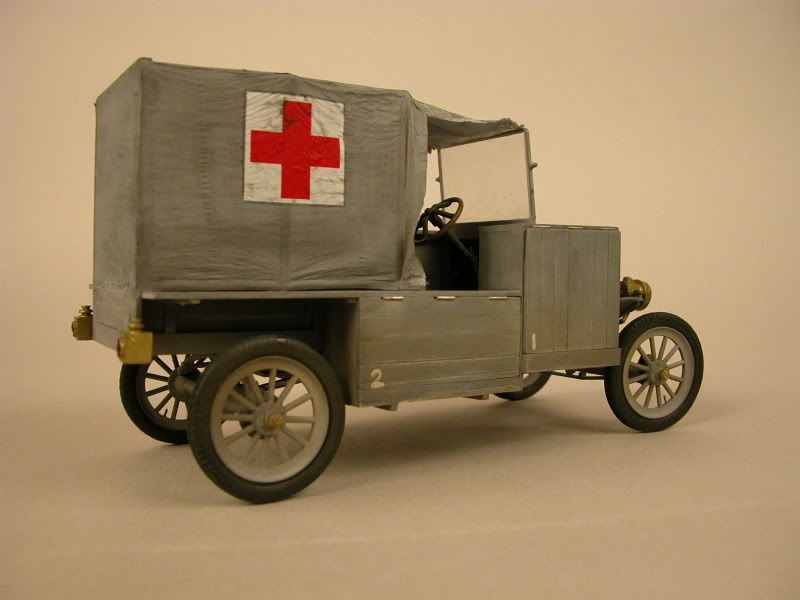 The canvas was painted in the normal way taking care not to puncture the tissue. If you have any questions Steve just ask matey, it really is that simple. |
|
|
|
Post by bowman on Feb 10, 2013 9:12:49 GMT
Nick, very, very impressive and extremely realistic looking! Do you need to use any particular type of tissue - I've seen people refer to " glazed" tissue - or will any type suffice? I shall have a practice this evening with the stuff that I've got, with a bit of luck....
Thanks again for your help.
Steve
|
|
Deleted
Deleted Member
Posts: 0
|
Post by Deleted on Feb 10, 2013 9:49:30 GMT
I've found that the best tissue is the stuff which comes out of shoe boxes. However, I have recently bought a pack of tissue from the local art shop and it's not bad. One of the first things to do is scrunch it up into a ball and then roughly flatten it out again, it makes the tissue more pliable and 'lived in'. I'll look forward to the progress, but if you want to wait until Perth, we can do it live as a demonstration at the show.
|
|
|
|
Post by bowman on May 31, 2013 9:17:11 GMT
I've still not quite finished this project, but as there is only the roof hatch and rear reflectors to fit, I thought that I might share the "final" results...  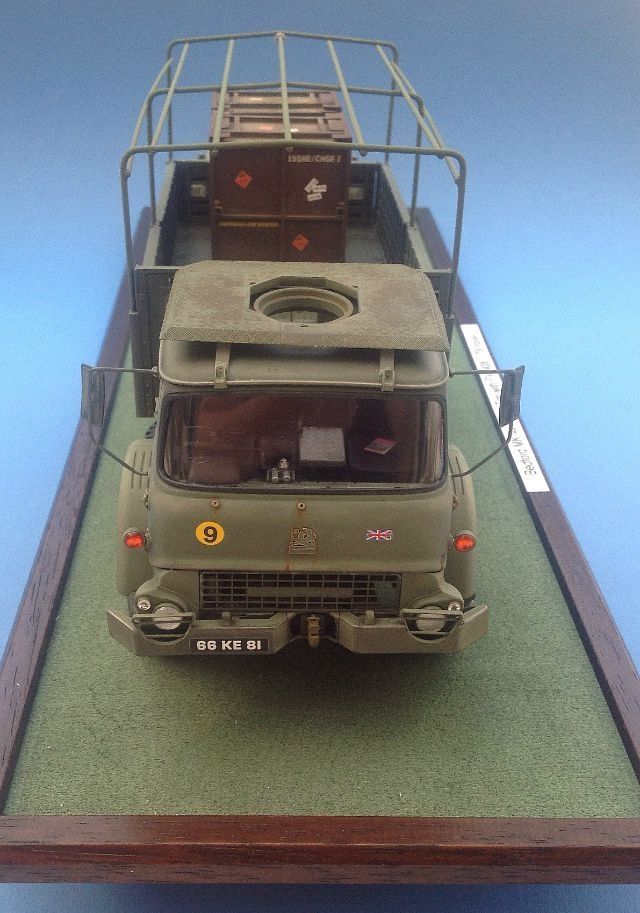 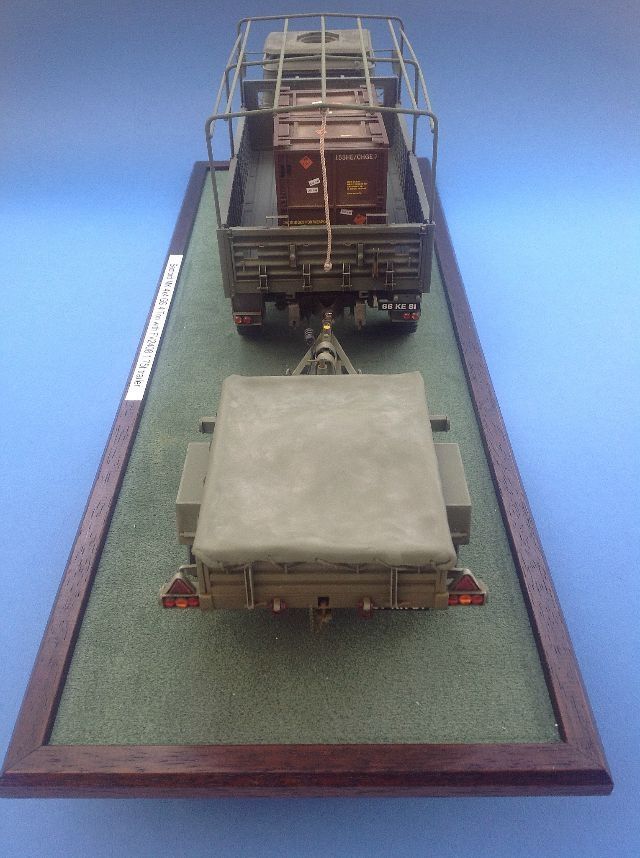 Hopefully, it will be available "in the flesh" at Duxford on the 16th June. Cheers Steve |
|
|
|
Post by Harriet on Jun 1, 2013 6:02:15 GMT
Nice one Steve!  |
|
 Members' Forum")